Are you seeking a simple way to get started with gardening, but you don’t want to dig a hole that will be there forever in your yard? Growing plants in containers is one of the simplest ways to enhance the visual attractiveness of your patio or yard. It may also provide you with fresh produce for your kitchen. Continue reading to learn all you need to know about those plants in the most convenient containers.
Below you will learn about Minnesota container gardening. Vegetable container gardening in Minnesota, how to start container gardening in Minnesota, and how to grow fruits, vegetables, herbs, and flowers in containers in Minnesota.
What are the USDA hardiness zones/planting zones of Minnesota?
The state’s planting zones are based on the state’s notoriously chilly winters and scorching summers, both of which are characteristics of the state’s continental climate. Minnesota, located in the upper midwestern area of the United States, is subject to significant climatic shifts between the seasons. The state experiences four different seasons, each characterized by its unique qualities.
Conditions ranging from very cold to subzero are typical throughout the winter. Each year, the state receives a substantial amount of snow, and in addition, it often experiences rain, sleet, and freezing rain. Snowstorms can occur far into the early part of spring. However, they usually begin to lessen intensity by the middle of the season. Tornadoes are more likely to form between March and November because of the higher temperatures.
Because warm air from the Gulf of Mexico moves northward through the south throughout the summer, it is not unusual for the region’s temperatures to remain high for an extended period. Minnesota is the third oldest state in the country, with an annual average temperature of just 12 degrees Fahrenheit during winter.
The sorts of weather patterns and the dates of the first and final frosts in the United States assist in deciding the kinds of plants and flowers most suitable for planting. If you are familiar with the various planting zones in Minnesota, you will be better able to choose when and what to plant in the state. On a Planting Zone Map, you can locate the particular growth zone that corresponds to your location.
Growing zones in Minnesota range between 3a and 5a. Take the time to determine precisely which zone you are located in within the state of Minnesota. You will have a better chance of determining the optimal time to plant to get the most successful outcomes. It is not unreasonable to plant anything designated for a zone lower than the one in which you live and expect it to last the winter.
If you want to grow anything in Minnesota, don’t plant anything designated to grow in a higher zone since anything that does well in a higher zone will certainly die in Minnesota’s frigid winters. Broccoli, potatoes, tomatoes, kale, lettuce, spinach, cauliflower, and squash are safe bets regarding the various vegetables that do well in Minnesota’s growing conditions.
If you want to guarantee that your plants will survive the winter, you should look for hardy ones in zones 3 or 4. There are many stunning flowers, all of which thrive in the climate of this region. Good chances include hardy geraniums, allium, coneflowers, butterfly weed, panicle hydrangeas, and lenten roses.
Minnesota container gardening: How to grow plants in containers in Minnesota?
Selecting an ideal container
The finest containers for growing plants are those that are somewhat large. You should be able to grow most plants that would typically grow in the ground as long as the plants have sufficient room for their roots. The minimum container size required for growing plants in a pot with a diameter of 6 inches and a depth of 8 inches for the soil. Another need for growing crops in containers is a drainage system that is adequate for the space.
The vast majority of commercial containers are equipped with drainage holes. However, you could discover that they aren’t enough. Because most plants grown in containers need to be watered daily, and rapid drainage is essential, you should consider expanding the size or quantity of the holes or slots that drain excess water. New drainage holes can be drilled into wooden containers if necessary.
It is possible to widen holes already present in clay and ceramic pots by gently chipping away at the margins of the hole, or new holes may be drilled using a masonry bit. Even if the container has no drainage holes, you may still create a drainage layer by layering rocks, pebbles, or broken pieces of pottery in the bottom of the container. This layer will collect any extra water and keep it contained until it can be utilized or evaporated.
Because plants need to be watered daily depending on the specific plant and the environment, the drainage layer should fill between one-fourth and one-third of the entire capacity of the container. Remember that the drainage layer alone will not ensure success; the ideal containers for growing plants are those that have an abundance of drainage holes.
Red clay pots, wooden containers, pressed paper pots, plastic pots, and raised beds are just a few containers used for growing plants. You can either buy these containers or create them yourself. There are positives and negatives associated with each kind. Carefully assess your unique requirements, then choose the storage containers that provide the best possible solution.
Select the perfect potting mix for your container garden
When gardening in containers, you want to use a potting mix with good drainage but enough water retention to ensure that the soil is consistently wet in the region where the roots will be growing. If the soil mix drains too quickly, it won’t be able to retain enough moisture for the plant, but if it hangs on to too much moisture, the roots can rot. Most backyard gardeners who grow plants in containers discover that a commercial “soilless” potting mix works quite well.
These mixtures are simple to use, low in weight and drain quickly. Furthermore, they do not contain any soil-borne diseases or weed seeds. Because they are available in bags of varied sizes, you can get just the quantity you want at any moment. The part that was not utilized can be kept in the bag until it is needed again. You can make your potting soil for containers by combining sharp sand, rich garden soil, and organic stuff in equal quantities.
Heating your homemade mix at a low temperature in the oven for around 1 1/2 to 2 hours is the best way to ensure that it is free of disease and weeds. It is expected that this will eradicate any germs, bugs, or weed seeds that may be present. There are commercial blends that are very low in weight.
Hanging baskets, particularly big pots you wish to move about or places where the sheer weight of the plant might be an issue, are excellent places to utilize them, such as in a window box or on a balcony. There are also certain drawbacks associated with a very lightweight mixture. Top-heavy containers can tumble over if there is a lot of wind in your region.
The next step is to plant your container garden
Most plants can be grown successfully either from seed or from seedlings that have been transplanted. Planting seedlings will provide you an immediate display, but only if your pots will be visible to others (for example, if they will be placed on a balcony, patio, or in a window box). Growing some plants from seed can be challenging. Tomatoes, peppers, eggplants, and squash are examples of such plants.
In case you missed it: Michigan Container Gardening: How to Start With Vegetables, Flowers, Fruits, and Herbs at Home
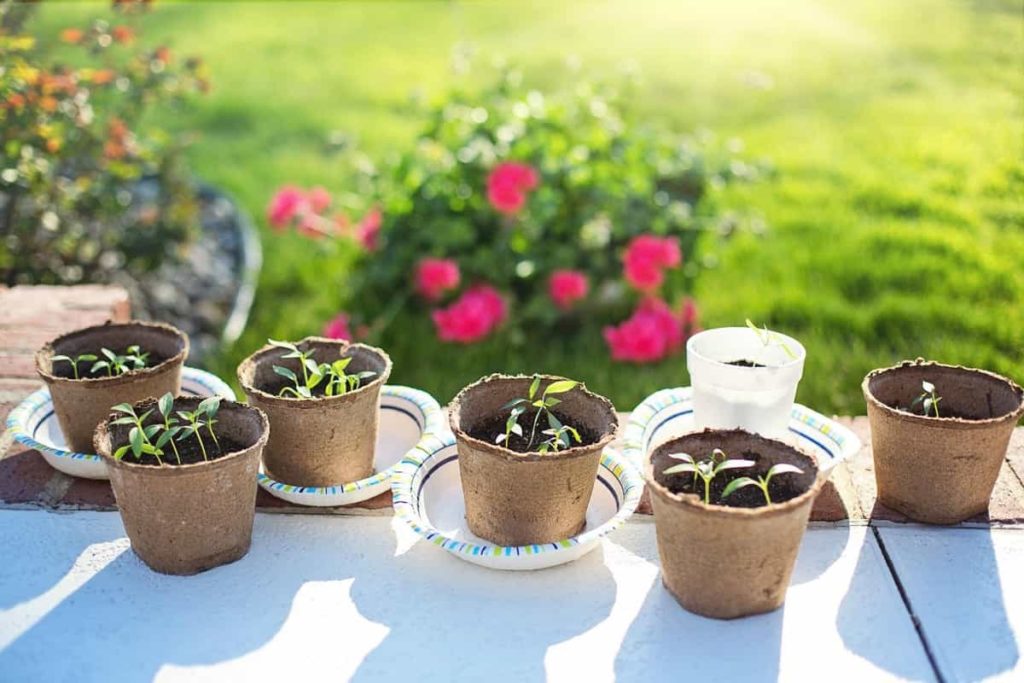
Utilizing seedlings will fasten the process of their maturing into adults. If you put seeds in bigger containers, you may continue to enjoy having gorgeous pots even as the seeds are beginning to germinate. Create a border with annuals or herb seedlings by planting them. It is essential to restrict the number of plants grown in each container. Determine how many plants can be grown successfully in the given container. Determine how much room a root crop will need after it has reached its full maturity.
Water your container garden
It’s safe to say that watering your plants is the most critical thing a container gardener does. The most common reason for the death of plants grown in containers is incorrect watering, which accounts for more losses than any other factor combined. Root rot can occur in plants if they get an excessive amount of water. If plants get insufficient water, they may wilt and eventually die.
Flowers falling can also be caused by improper watering of the plant. In a container, the potting mix should ideally have a uniform moisture level throughout, but it should not be saturated. To avoid “water stress,” plants need adequate moisture. The morning is the most common time for gardeners to water containers, and they do so until the water emerges from the drainage holes.
This approach is only suggested if the potting mix you use drains quickly and the container has enough holes to allow appropriate drainage. If you water the plants in the morning, they should be completely dry by the evening, which will help avoid diseases. In the early afternoon, if you live in a hot and dry region, you should check on your containers again. Container-grown plants will dry out more quickly than those planted directly in the ground.
The ideal approach to water plants inside containers is by hand, using either an adapter for a garden hose that acts as a sprayer or a watering can. More creative gardeners wish to experiment with automated watering systems; however, they can be expensive. Before we begin, a few words of caution: Water can be distributed with considerable power by hoses that do not have a sprayer or mister nozzle.
This can cause holes to be created in the potting mix. Root systems may be harmed as a result of this. In addition, if your hose is left outside in the sun for an extended period, you should flow enough water through it so that the water is at room temperature or slightly warmer. Plant roots should never be submerged in hot water.
Fertilize and mulch your container garden
The use of mulch, particularly in containers of a greater volume, can assist in maintaining the soil’s moisture content for longer. Wood chips, compost, and sawdust are some of the organic mulches that may be used to great advantage in landscaping. Plastic mulches are useful, but they don’t exactly wow with their aesthetic value.
Container gardening results in suffocation for the plants. After the root systems have consumed all of the nutrients provided by the potting mix, there is nowhere else for them to go. The solution is to fertilize on a consistent and frequent basis. Many complete fertilizers are available, and many are expressly developed for plant use. Container gardeners can locate these fertilizers easily.
The ratios 18-20-16, 18-12-10, and 10-10-10 are common N-P-K breakdowns. An emulsion made from fish is another popular ingredient. These fertilizers can be scratched or dug into the soil surface in dry form, administered as a liquid solution in combination with watering, or sprinkled on the soil surface in the case of timed-release fertilizers. Other methods of application include applying the fertilizer in a dry form. Carefully follow the instructions on the label for any kind you decide to purchase.
Because containers holding plants need to be watered daily, the soil in such containers can quickly lose its nutrients. Think about applying the fertilizer at half the intensity and twice as frequently; this should be plenty to provide your plants with constant nutrition. Fertilizers with controlled releases are another useful method.
You only need to use this sort of fertilizer once every growing season since its capsules are designed to slowly release a trace quantity of fertilizer into the soil whenever the crop is watered. In a container garden, pests are less likely to spread since no one plant is concentrated in a single container. Unfortunately, pests may still create a nuisance. Most insects, including white feet and aphids, can be deterred from an area with bursts of water.
Top vegetables to grow in containers in Minnesota
In Minnesota, it is possible to grow a wide variety of vegetables in containers, including lettuce, kale, cabbage, onions, carrots, squash, spinach, and other leafy greens. Details are underneath.
Tomatoes: You can start the seeds for this nutrient-dense red veggie indoors in pots. The month of March is an excellent time to begin growing a tomato plant. Because tomatoes thrive in bright sunshine, you should plant them in a location that gets at least 8 hours of sun each day when they are ready for transplanting.
In case you missed it: Growing Organic Tomatoes From Seeds – At Home, In Balcony, Outdoors, Indoors, Terrace, Backyard
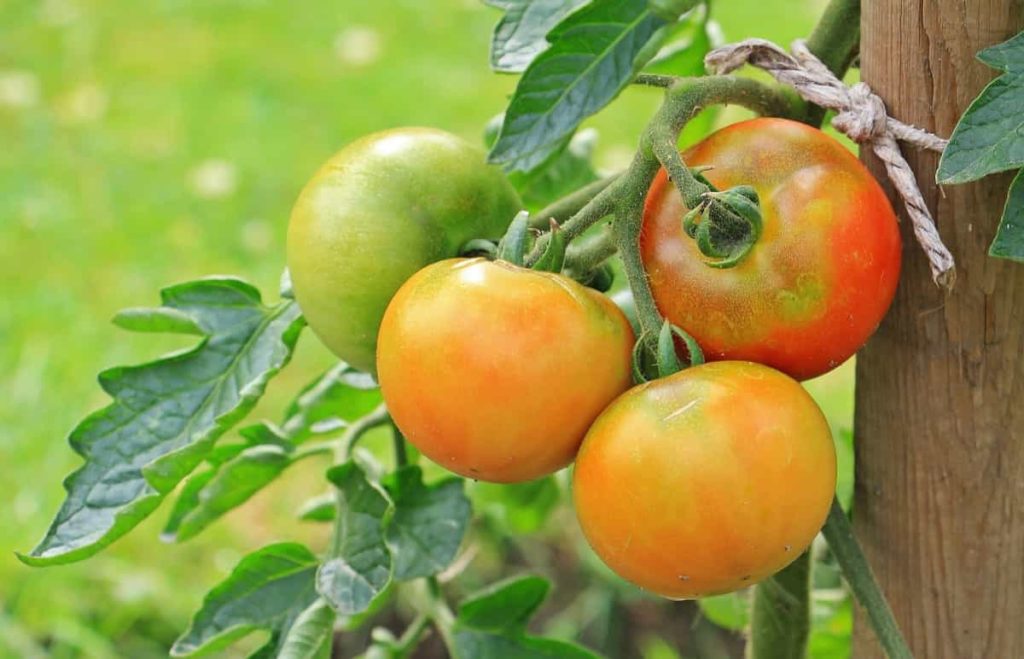
Kale: Because it can withstand the chilly weather patterns typical of Minnesota, kale is considered one of the finest vegetables for growing in containers in the state. This healthy plant likes to thrive in soil rich in nutrients and compost that has been aged. Be careful to water the soil consistently to maintain its moisture level.
Lettuce: This leafy green crop is simple to grow in Minnesota and can sprout during the cooler months. Growing lettuce in pots is a straightforward process. It thrives in chilly, sandy, and loose soil and must have good drainage. Materials that have been composted have the potential to enhance the plant’s growth circumstances. Growing lettuce does not need much sunshine; at the very least, it needs to be exposed to the sun for four hours.
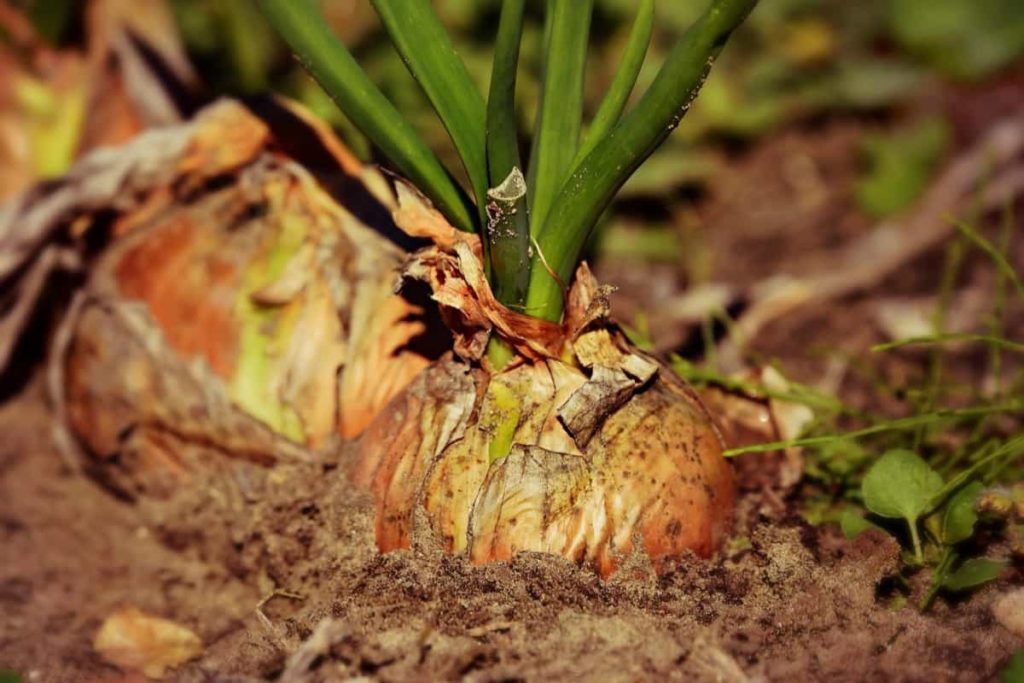
Onions: When the potting mix has good drainage in the early spring is when onions should be planted for the most excellent results. This vegetable does best when grown on soil that is high in nitrogen. Because onions like to grow in a very open environment, you should leave a space of six inches around each plant. Growing onions takes a very long period; typically, they need between 100 and 175 days to reach full maturity. It is not necessary to water onion plants very often; they need half an inch of water once every seven days.
In case you missed it: Growing Small Onions In Pots – For Balcony, Terrace, Backyard
Cauliflower: The cauliflower has to have a mulch layer that is at least three inches thick covering it, and it needs to be watered often and in large amounts. These quick-growing veggies must be blanched between 50 and 100 days after planting. When the head of the cauliflower plant reaches around six inches in diameter, this indicates that the plant is ready to be harvested.
Top fruits to grow in containers in Minnesota.
When the circumstances are perfect, one can grow pears, cherries, apples, apricots, gooseberries, plums, and peaches in containers in Minnesota. Details are given below.
Strawberries: These well-liked berries may be grown in little time at all. So much so that they can become invasive if allowed to their ways in an open area. Plant them in pots to prevent them from spreading too far from where they were originally planted.
Apples: For container planting, look for miniature apple varieties that are self-fertile or need a companion tree to yield fruit. A pot with a minimum of 20 inches in diameter should be used. Apples can be grown outside in a sunny place in your yard since they are quite resilient.
Blueberries: These are an excellent option for growing in containers due to their preference for acidic soil. Initially, a 12-inch-diameter container should be enough, but your budding blueberry shrub will soon want additional space.
Gooseberries: Gooseberries thrive in compact areas and containers, making them ideal for those with limited room. There are a lot of tasty berries on the little plants if they get adequate sunshine. Gooseberries should be kept in a big, airtight container. It’s a good idea to use fabric pots since they allow for much ventilation.
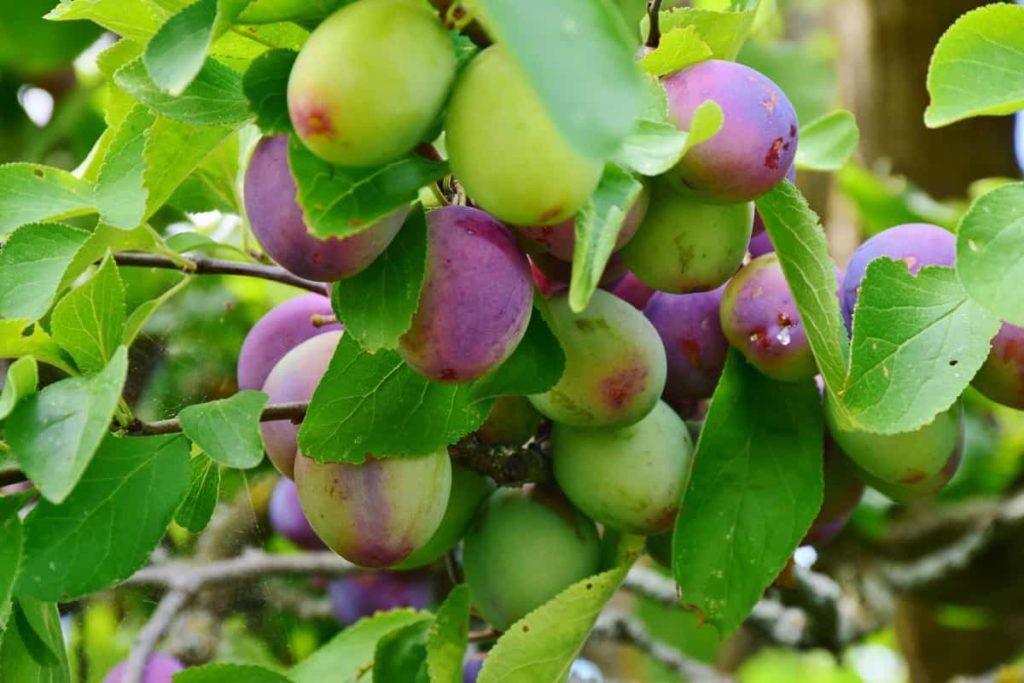
Plums: To protect early blossoms from frost, potted plums may be relocated to the correct location and covered with fleece if required. Plums need a lot of grit in their compost to help with drainage. If you have space for one plant, go for a self-fertile type.
In case you missed it: Best Fertilizer for Plum Trees: Homemade, Organic, Compost, Natural, Liquid, When and How to Apply
Top flowers to grow in containers in Minnesota.
Many flowers can be grown in containers in Minnesota, such as asters, coneflowers, chrysanthemums, geraniums, marigolds, petunias, begonias, daylilies, peonies, and other flowers.
Asters: Asters are perennials that bloom all year round. They’ll still look great in the shade and withstand a lot of abuse. Flower pot asters grow well and provide beautiful blooms. Between mid-summer and early October, they are in full flower.
Chrysanthemums: For your garden, chrysanthemums provide vibrant colors in various sizes and shapes. They can also withstand the high temperatures that are common in the summer.
In case you missed it: Growing Chrysanthemums in Pots from Seeds, Cuttings
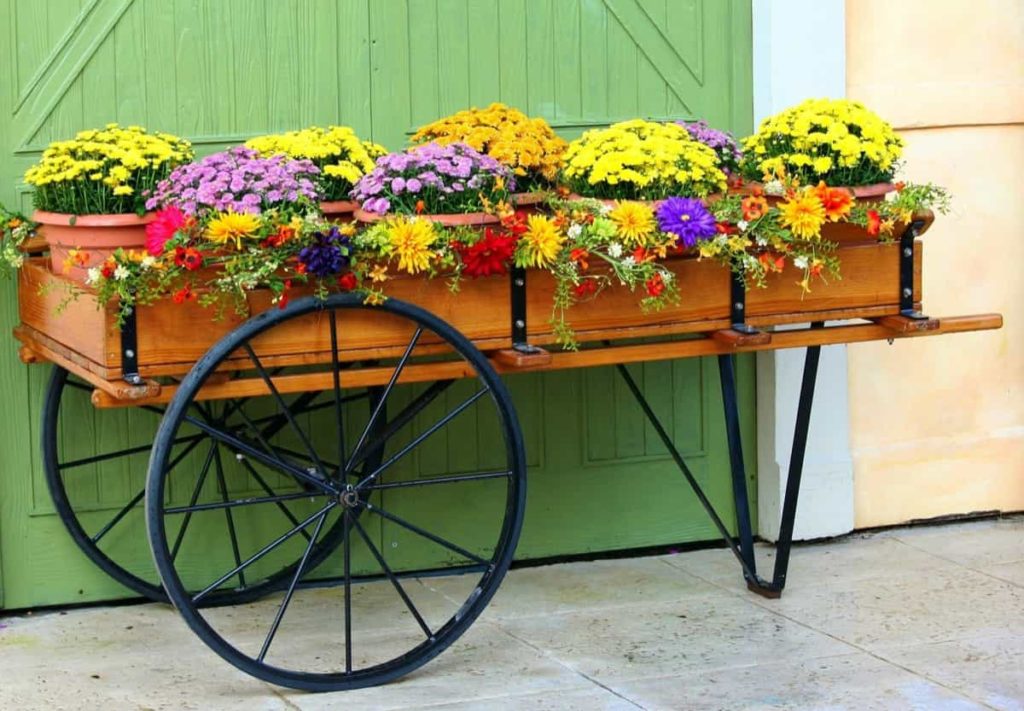
Coneflowers: Colorful purple and lavender tones, as well as white, can be seen in coneflowers. Butterflies are drawn to these blooms all year round because of the long-lasting effect on them.
Geraniums: There are a large variety of geraniums to choose from, and they come in a variety of hues. In addition, they flourish in direct sunlight and want frequent maintenance, such as deadheading and watering.
Marigolds: As a general rule, marigolds thrive in dry and wet soil and bloom throughout the growing season, regardless of the amount of sunshine they get.
Top herbs to grow in containers in Minnesota
Many herbs can be grown in containers in Minnesota, like basil, chives, cilantro, lavender, dill, mint, oregano, etc. Some of the details are given below.
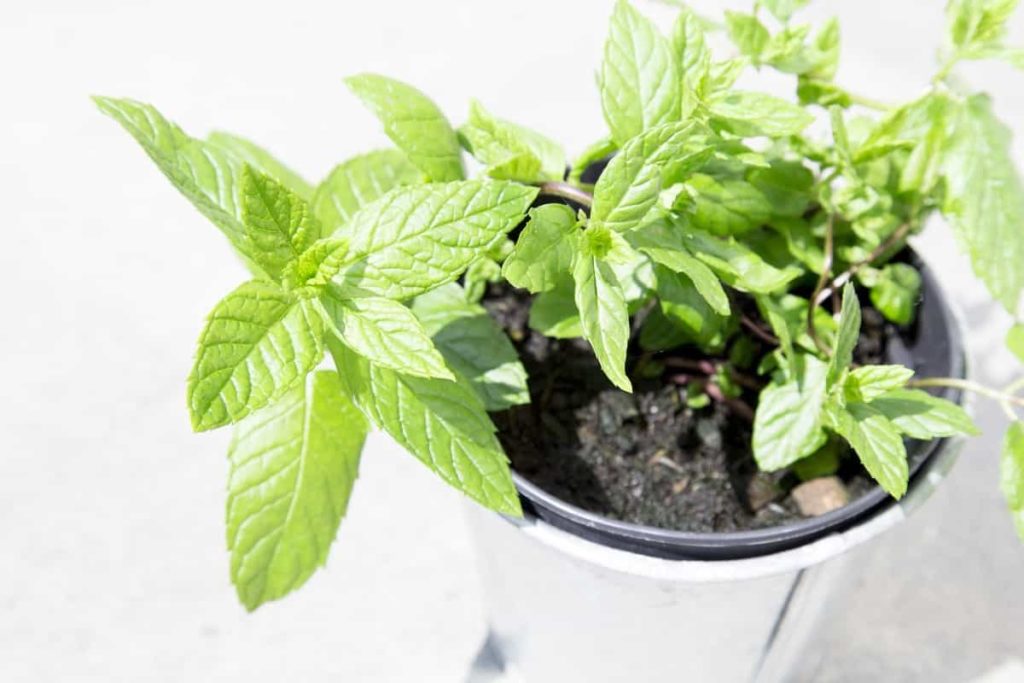
Mint: No matter how hard you try, you can’t get mint to stop growing. Regardless of where you want to put them, these plants will swiftly take over your yard if not contained in pots. Compared to other herbs, mints like moister soil, so be sure to water them often.
In case you missed it: 18 Common Mint Plant Problems: How to Fix Them, Solutions, and Treatment
Basil: Since basil grows swiftly from seed, you can easily grow exotic basil varieties like lemon basil, Thai basil, or purple basil from seed. If you want to attract bees to your garden, allow some of your basil plants to bloom towards the end of the season.
Chives: As an onion-like plant, they are known for their intense flavor and may be found in anything from soup to salad. They’ll spread like wildfire if you put them in the ground. Allow a few chives to blossom so that you may attract pollinators like bees and other beneficial insects.
Cilantro: Make sure the soil in which you grow cilantro is rich in the organic matter since this herb prefers it. Once the plant has grown to six inches, the leaves may be picked—Cook with the upper leaves rather than the bottom ones of the plant. Pickling spice coriander can be made from cilantro, allowing it to blossom and generate seeds.
Dill: Dill is another spice often used in pickling and belongs to the same family as cilantro. Like cilantro, it grows most well when started from seed. Gardeners generally plant it many times in the spring, two weeks apart, to assure a steady supply of seeds.
- How to Grow Hibiscus from Flower
- Plantation Ideas for Home Decoration: A Beginners Guide
- Flower Garden Designs and Layouts for Beginners
- Planting and Spacing Techniques in Papaya: A Beginner’s Guide
- Growing Gold: Essential Techniques for Planting Pineapples
- How to Make Kalanchoe Plant Bushy: Home Remedies and Solutions
- 11 Reasons Why Your Gardenia is Not Blooming: Home Remedies and Solutions
- Eco Elegance: The Guide to Designing a Drought-Tolerant Landscape
- Gardening on a Slope: Strategies for Hillside Landscaping
- Nourish and Flourish: Top Organic Mulches for Thriving House Plants
- Everything You Want to Know about Indian Mogra Flower: Discover Uses and Growing
- Green Thumb Success: Expert Tips for Cultivating Greenhouse Pumpkins All Year Round
- Maximize Growth & Flavor: The Ultimate Guide to Companion Planting in Herb Gardens
- How to Control Rhododendron Problems Naturally: Home Remedies and Organic Ways to Fix Them
- Natural Magic: The Remarkable Benefits of Cinnamon for Plants
- Best Steps to Revive Dying Tulip with Natural and Organic Treatment
- 10 Reasons Why Your Angel Trumpet is Not Blooming: Remedies and Treatment
- How to Fix Periwinkle Leaf and Flower-Related Problems: Natural Remedies and Solutions
- How to Fix Zinnias Leaf and Flower Problems: Discover Natural and Home Remedies
- Organic Steps to Induce Lemon Tree Flowers: A Comprehensive Guide
- Bloom Booster: Crafting the Perfect Homemade Bougainvillea Fertilizer
- Optimizing Growth: A Guide to Applying NPK Fertilizer for Potted Plants
- 10 Best Homemade Fertilizers for Rubber Plant: DIY Recipes and Application Method
- How to Boost Female Pumpkin Flowers: Effective Steps for More Flowers and High Yields
- Transform Your Indoor Garden: Top Benefits of Pink Salt for Houseplants
- 10 Best Homemade Fertilizers for Peacock Plants (Calathea): Easy DIY Guide
- Unlock Blooms: 9 Reasons Why Your Potted Chrysanthemum is Not Blooming
- 8 Reasons Why Your Potted Hibiscus is Not Blooming: Fix it with Simple Solutions
- Unlock Blooms: 9 Key Reasons Your Potted Frangipani Won’t Flower
- 10 Reasons Why Is My Ice Plant Not Blooming: Remedies and Treatment
- 10 Reasons Why My Potted Hydrangea Not Blooming: Treatment and Remedies
- 10 Reasons Why is My Wisteria Not Blooming: Remedies and Treatment
- 10 Reasons Why is My Goldfish Plant Not Blooming: Remedies and Treatment
- Maximize Your Space: Ultimate Guide to Balcony Gardening with Grow Bags
- 10 Reasons Why Your Iris is Not Blooming: Remedies and Treatment
- 10 Reasons Why Your Anthurium Plant is Not Blooming: Treatment and Remedies