Mint tastes good, smells good, and is fun to grow, but you also have many potential problems you can run into when growing Mint. With no natural defense, Mint is a vulnerable herb that falls prey to several common pests, including worms, spider mites, and thrips. Left unchecked, infections can ruin your plant from repair. But with regular checks, early offender assessment, and ensuring that the plant has the best care, the Mint plant can be preserved in the growing season and beyond.
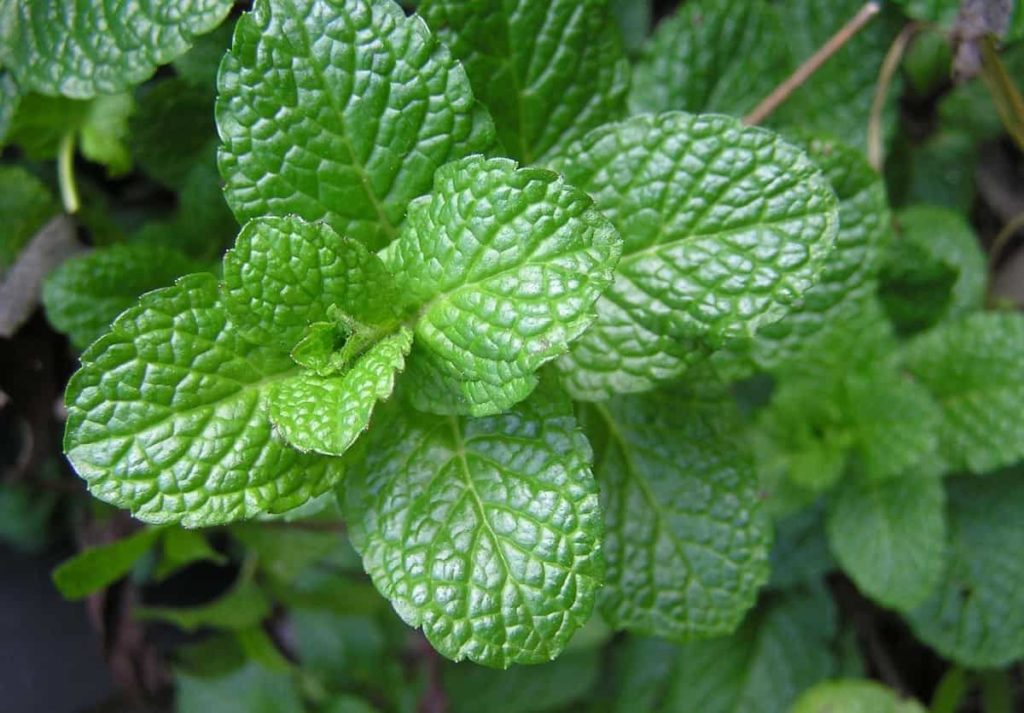
Common problems that affect the Mint plant, such as powdery mildew, are usually caused by fungi found in soil or carried in the wind. Fungi thrive in shady, wet conditions, prevent growth, and kill a healthy plant. Identify the disease that is making the leaves and trunks of the bushy plant look sick so you can treat the problem before it destroys the plant or finds a way to affect the surrounding plants and vegetables. Let’s check out common Mint plant problems below.
Common mint plant problems
Leggy and thin or stretching Mint plants
When growing Mint, people face a common problem: their plants grow long, thin, and tall instead of dense and bushy. The most common reasons Mint plants are thin and leggy rather than dense and bushy are lack of sunlight, heat, water, or nutrients, although too much fertilizer can also be one of the reasons.
Solution – The best way to prevent Mint plants from stretching and growing taller is to increase the sunlight they get. Other things can help move the plant to a warmer spot and grow it in a large pot in well-drained, nutritious soil while watering it when the top dries up.
Slow or stunted growth in Mint plants
Mint plants spread rapidly, so their space eventually disappears if they have limited space and capacity for roots. When this happens, the plant will stop growing because it cannot get water and nutrients properly. While this is the most common reason, stunted growth in Mint can also be caused by other problems such as excessive water, excessive fertilization, or poor growing conditions.
Solution – The best way to save the root-connected Mint plant is to transplant it into a large pot with more room for its roots. For large Mint plants, it is a good idea to divide the plant into two or more parts and plant each in separate pots.
Mint dying
Over-watering
Plants need air in their roots; without it, the roots die and start rotting.
Solution – Large pots retain water from the roots, allowing the mix to become waterlogged. A mixture of standard potting soil with perlite and peat moss or a dose of coir is ideal. Black, slimy roots show that your Mint has root rot and needs extra attention. All plants need a little more water during hot weather and less when cool. During winter, which may be as low as once a month.
In case you missed it: Mint Gardening For Beginners – How To Start, FAQs
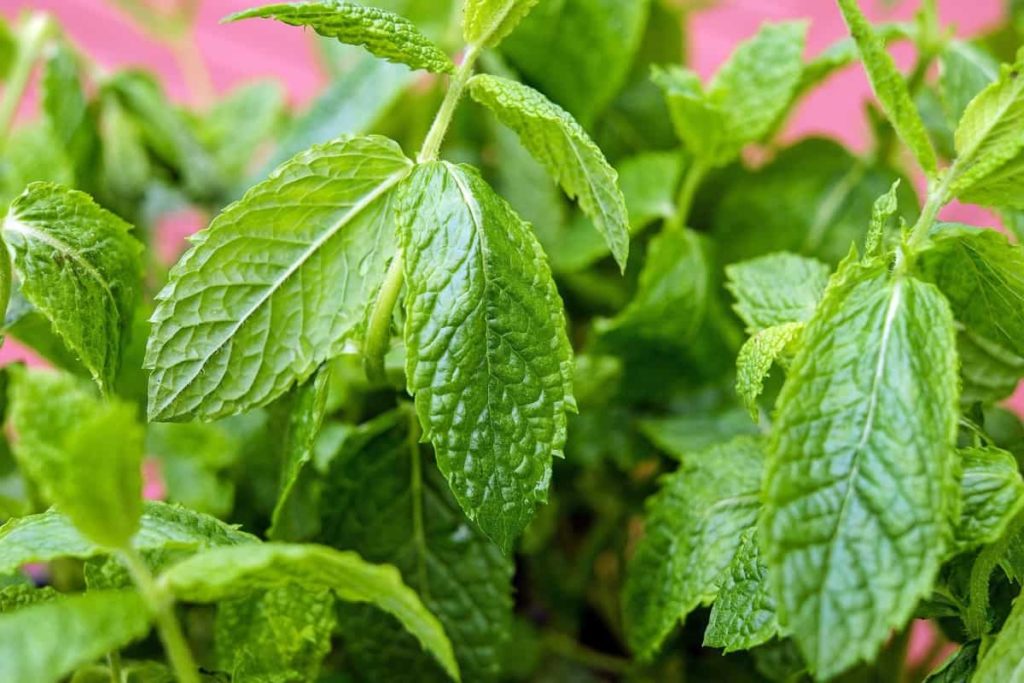
Under-watering
Under-watered Mint is crispy and brown, with dry leaves and dry soil. The medium in the pot is loose, and the whole plant feels poorly preserved.
Solution – Under-water is much easier to correct than over-water. Dry soil ironically keeps moisture poorly, and water poured from above will only likely flow out from the bottom. Watering from the bottom hydrates the medium better and directly delivers water to the roots.
Lack of nutrients
Your Mint needs reliable supplies of nitrogen, phosphorus, and other minerals to help it grow. Without them, your Mint will eventually stop growing and eventually die. Old soil, more water, and damage to roots are all factors that limit nutrition.
Solution – Repotting your plant is a way to give your Mint access to new minerals. But if your plant is in relatively fresh soil, a good starting point is to add liquid fertilizer once a month when watering. Add coir, peat moss, compost, and worm castings to your potting medium. Applying slowly-release grains on the soil surface. They release nutrients into the soil whenever you give water.
Heat stress
While Mint resists cool temperatures, hot is another case. As a low-lying climate-adapted plant, your Mint will become dehydrated if they are too hot.
Solution – Avoid pots directly in sunlight to prevent heat stress, especially in summer. Keep an eye on room temperature during the day in a hot climate. If you have inadvertently fried your poor Mint, moving it only to the cool part of the house is the easiest solution.
Incorrect soil pH
Mint prefers neutral soils to mild acidity, around 6 to 7 pH. It is an ideal that allows them to access nutrients in the soil and protect their roots from pathogens.
Solution – The acidic potting medium will benefit from the garden lime. It is a white powder and can be sprinkled on soil. Salts like aluminum sulfate can bring your pH back to alkaline soil, although it takes some time to become effective. Adding peat moss or used coffee grounds to the medium will help keep your potting medium-light acidic.
Not enough sunlight
Mint thrives in bright light. It does not tolerate low light. Your Mint will be long stems with some leaves, often on the closest side to its light source. It’s your Mint trying its best to reach what little sun it can get.
Solution – It’s a very easy problem to fix; move your plant to a bright area of your home. Your Mint is ideal for these dangerous bright areas that scorch other plants.
Mint leaves are turning yellow or brown
The most common reason Mint plants, especially leaves, are yellow or brown is the lack of nutrients. However, there are other possible causes, such as lack of sunlight, excessive waterlogging, overfertilization, or lack of space.
Solution – The best thing you can do to prevent many leaves of your Mint from getting yellow or brown is to ensure your plant has the right growing conditions. The Mint turns dark green, looks fresh, and usually grows better in full or partial sunlight in well-drained, nutritious soil and is watered whenever the top of the soil is dry. Without these conditions, some leaves will likely start to turn yellow and eventually fall.
In case you missed it: Mint Growing Tips, Techniques, Ideas, and Secrets
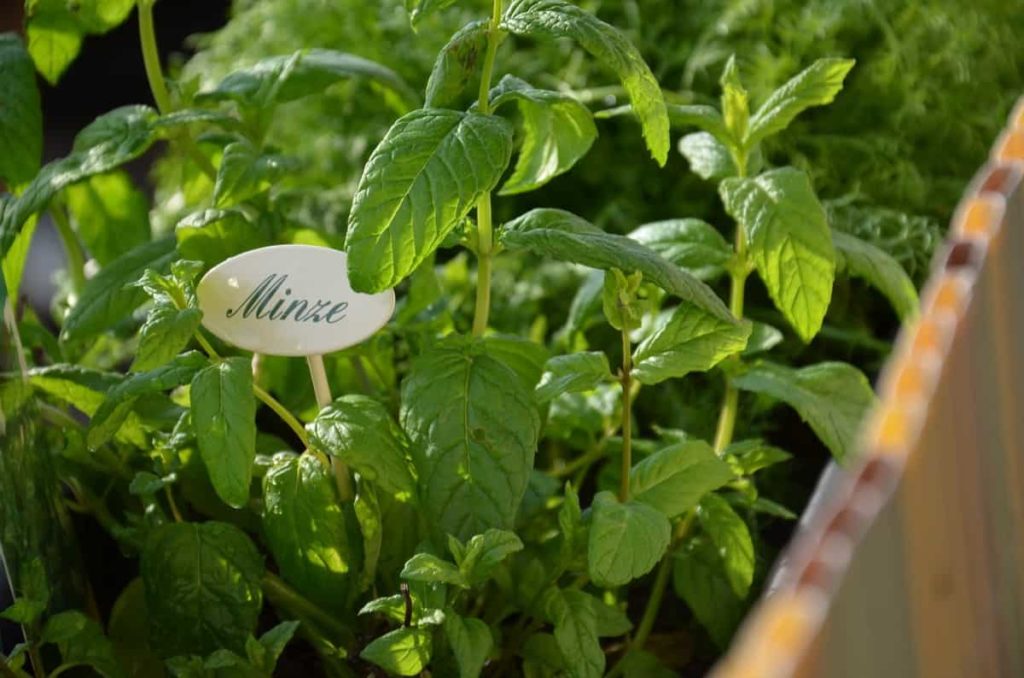
Mint spreading and getting out of control
Unlike many other herbs, the Mint runners spread horizontally. Spreading is good because it allows you to get too much Mint with the least effort, but if it goes out of control, it can be a problem too.
Solution – The best way to eliminate this problem in the Mint plant is to physically remove the entire plant, including the roots. The easiest way to remove Mint is to use a good shovel and go to work. Make sure to dig deep and eliminate the entire root system as it can otherwise grow back over time.
White spots on Mint plant leaves
Mint plants started getting small white spots on their leaves, although by then, they looked perfectly healthy and very common.
Solution – The best way to save a Mint plant that insects like aphids or thrips are attacking is to spray the entire plant with natural liquid soap or neem oil and dip it in a bucket full of water. Keep the entire plant underwater until more bubbles come in, and then take it out.
Wilted or drooping Mint plants
Wilted plants are one of the most common problems of Mint growers. Wilting, sometimes called drooping, occurs when the leaves of a plant begin to hang loose and become soft and folded.
Solution – The best way to prevent the Mint plant from wilting is to ensure that proper water is applied. Mint grows best in constantly moist soil and never dry or wet, as both can cause it to wilt. Water Mint when dry to touch the top of the soil but do not allow it to dry completely. While wrong water is perhaps the main reason for wilting Mint plants, other growing conditions such as sunlight and temperature also play a role, so make sure your Mint has the right growing conditions.
Burned or scorched Mint leaves or stems
If some leaves on your Mint plant look like they have burned or scorched, it has likely been suffering from very intense sunlight for too long. Mint usually grows very well throughout the sun, but if you live somewhere where sunlight can be very intense for a long time, it can become too much for your Mint. Damage to the sun will usually occur to leaves near or above the plant as they are most affected by sunlight.
Solution – When some leaves above the Mint plant appear to be burnt or scorched, the best way to save the plant is to move it to a place where it faces the less direct sun, although it should still get something. Cut the infected stem and leave the plant to promote new, healthy growth.
Mold or mildew on Mint plants or soil
Like mold or mildew, and often does, most types of garden plants affect, including Mint. When this happens, it is better to work quickly to prevent it from spreading too much. The most common reason Mint plants are molded to moisture or too wet soil.
Solution – If mold or mildew is on parts of your Mint plant, remove affected parts as soon as possible. If the plant has a mold on the soil, gently scrape it with a spoon, or if it is too much, transfer the plant to another pot. You should remove all potentially affected plant parts to prevent them from spreading.
In case you missed it: Growing Mint Indoors – A Full Planting Guide
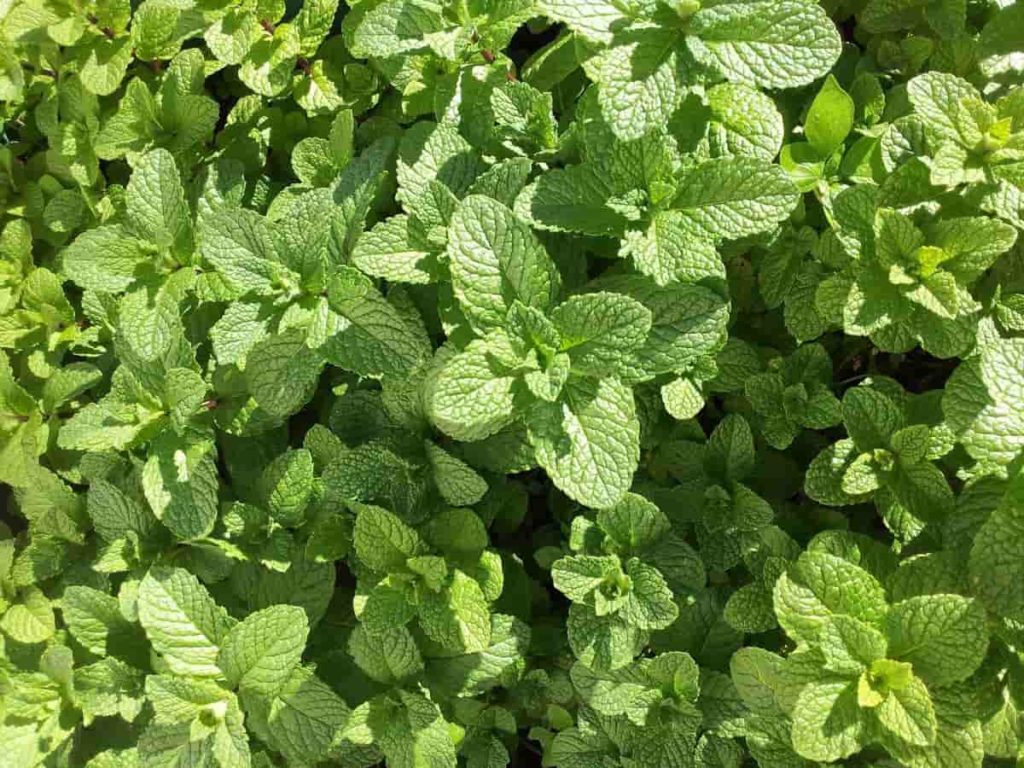
Orange or rust-colored spots on Mint leaves
If your Mint plant leaves have orange or rust-colored spots, it is likely to be Mint rust. If so, you must work quickly to prevent it from spreading or entering the ground. Mint rust is a fungal disease that mostly affects the Mint species.
Solution – The best way to control Mint rust is to remove any affected plants immediately before spreading, and the soil is contaminated. No fungicides are available for gardeners to treat Mint rust.
Diseases
Powdery mildew
Small white spots on the Mint plant’s healthy leaves symbolize powdery mildew. It is a relatively common fungal disease that finds its way into the garden through soil or wing. It does not discriminate; if it is not stopped, it will quickly spread to the surrounding plants. Powdery mildew can slow the growth of the Mint plant and should be removed as soon as it is seen.
Solution- Spray fungicides on the affected plant to remove powdery mildew, which is safe for the garden and approved for Mint plants; safety precautions; and reading and following all the label instructions for time, disposal, and storage. Do not use chemical fungicides on Mint, which are grown for consumption in drinks and food. Since powdery mildew thrives in shady areas, you should prune back the plant to allow for more sunlight and better air circulation.
Black stem rot
Black stem rot appears as a black or dark brown canker on the plant’s stem. The leaves will be yellow and wilted.
Solution – You should remove plants with black stem rot marks from the garden and the surrounding soil. To prevent the black stem rot in the garden, keep the soil airy and ensure that it maintains a pH balance of about 5.5.
Pests
Mealybugs
Mealybugs are one of the most common insects your Mint plant will face. Mealybugs bite leaves and stem and suck their juices; your plant will stop growing, and colorless leaves will bend and fall quickly.
Solution – One of the simplest ways to deal with mealybugs is to apply soapy water or rub alcohol in affected areas with cotton buds. Neem oil is also very effective on mealybugs and can also be used to prevent larvae from maturing.
Flea beetles
Flea beetles cause severe damage to plant leaves, including making holes and removing new leaves of their vibrancy.
Solution – Jumping flea beetles can also be their weakness, as sticky traps are an effective way to lure adult beetles away from plants and stop them in their tracks. Moreover, since flea beetles are soft-bodied, they are highly vulnerable to neem oil or soapy water solutions.
In case you missed it: Growing Mint In Balcony – Pudina Planting Guide
Aphids
The Aphids are known to spread rapidly and can lead to devastating diseases if not controlled.
Solution – Depending on the severity of your aphid’s problem, there are two ways to treat it. If the infection is small and has been controlled, you can cut the affected leaves from the plant. If there is a high number of aphids, you may need to use an insecticidal soap spray that strips the insect of its cell membrane. You can also use an oily solution that suppresses them.
Cutworms
A sure sign you have an attack is that your Mint has cuts and holes and finds insects like small caterpillars at the base of plants in the evening.
Solution – You can rely on some treatments to rid your Mint of cutworms. The first is by manual, picking them up from your plant. Since the cutworms are inactive during the day, the best time to strike is at night, when they are most active. Remove the insects when you discover them. Leave them in a bucket of soap water to kill them. Another treatment to consider is diatomaceous earth, which dehydrates any insect that walks through it. Finally, just create a protective barrier around the base of your Mint plant.
Spider mites
There are many mites, but the main culprit feeding Mint is the mite of a two-spotted spider. They live under leaves and are particularly attracted to new plant growth.
Solution -Neem oil is especially effective in killing mite attacks. You can also rub alcohol in the affected areas of your plant. Another solution is to increase your water frequency. As these insects thrive in dry, barren conditions, wetting their Mint plant and ensuring the soil is moist will help remove their numbers.
Loopers
You may have a looper attack if you see holes or bite marks throughout your plant or which seem to be cocoon shedding. Checking your plant for common infections is a great way to catch them before they cause much trouble.
Solution – First, depending on the intensity, you may be able to remove all the loopers by hand. Place the loopers in a bucket of soap water to dispose of them. You can also use a pesticide that contains Bacillus thuringiensis, which is toxic to some insects, especially caterpillars, without damaging other beneficial insects. Pepper spray is also effective, as the caterpillars do not appreciate heat or strong smell.
How to control Mint pests naturally
Oil spray
Oil sprays are a very effective natural insect treatment and often include fungicides, providing a huge defensive boost for your Mint plant. Oil sprays act by suffocating soft-bodied insects such as mites and mealybugs without affecting plant growth at all or damaging useful pollinators like bees and butterflies.
Soap spray
Soap spray will deal with mealybugs, aphids, caterpillars, and more. The only thing to consider is that soap spray will kill insects only on contact and doesn’t repel them.
Neem oil
Neem oil is vegetable oil from the neem tree, particularly related to the immature larvae stage pests. Using neem oil is highly effective against most common insects that affect the Mint, including mealybugs, aphids, thrips, and mites.
Garlic spray
The strong smell of Garlic is a huge natural deterrent for many Mint insects, including beetles and spider mites. Think of Garlic spray as a preventive measure, as it will repel insects before you set up on your plant and lay eggs.
Pepper spray
Hot, spicy things are a big insect repellent and will ensure that your Mint is foul-tasting and not worth the effort. Pepper sprays are particularly effective if you have difficulty with aphids, loopers, and other soft-bodied insects.
In case you missed it: Growing Mint In Backyard, Planting Mint At Home
Essential oils
Suppose you want to attract more beneficial insects like pollinating bees while removing annoying ones. Many essential oil sprays contain strong fragrances, such as Lavender, Rosemary, PepperMint, and more, which mostly haunt unwanted insects.
Pyrethrin
Pyrethrin is a powerful natural pest controller that targets the insect nervous system on contact. It is especially useful against moths and flies. The use of pyrethrin is extremely toxic to pollinators like bees and bumblebees.
Diatomaceous earth
Suppose you want to rid your Mint plant of earth-based insects such as beetles, mites, slugs, and more. When insects walk on this powder, they inhale it and die. Just sprinkle it around your Mint plant to create a barrier and a replacement.
Flying traps
Traps are often glue-based and catch them if they wander too close. Place them around your Mint plant to become a protective, preventable barrier. Flying traps around your plant are especially effective against flying pests such as moths and aphids.
- Flower Garden Designs and Layouts for Beginners
- Planting and Spacing Techniques in Papaya: A Beginner’s Guide
- Growing Gold: Essential Techniques for Planting Pineapples
- How to Make Kalanchoe Plant Bushy: Home Remedies and Solutions
- 11 Reasons Why Your Gardenia is Not Blooming: Home Remedies and Solutions
- Eco Elegance: The Guide to Designing a Drought-Tolerant Landscape
- Gardening on a Slope: Strategies for Hillside Landscaping
- Nourish and Flourish: Top Organic Mulches for Thriving House Plants
- Everything You Want to Know about Indian Mogra Flower: Discover Uses and Growing
- Green Thumb Success: Expert Tips for Cultivating Greenhouse Pumpkins All Year Round
- Maximize Growth & Flavor: The Ultimate Guide to Companion Planting in Herb Gardens
- How to Control Rhododendron Problems Naturally: Home Remedies and Organic Ways to Fix Them
- Natural Magic: The Remarkable Benefits of Cinnamon for Plants
- Best Steps to Revive Dying Tulip with Natural and Organic Treatment
- 10 Reasons Why Your Angel Trumpet is Not Blooming: Remedies and Treatment
- How to Fix Periwinkle Leaf and Flower-Related Problems: Natural Remedies and Solutions
- How to Fix Zinnias Leaf and Flower Problems: Discover Natural and Home Remedies
- Organic Steps to Induce Lemon Tree Flowers: A Comprehensive Guide
- Bloom Booster: Crafting the Perfect Homemade Bougainvillea Fertilizer
- Optimizing Growth: A Guide to Applying NPK Fertilizer for Potted Plants
- 10 Best Homemade Fertilizers for Rubber Plant: DIY Recipes and Application Method
- How to Boost Female Pumpkin Flowers: Effective Steps for More Flowers and High Yields
- Transform Your Indoor Garden: Top Benefits of Pink Salt for Houseplants
- 10 Best Homemade Fertilizers for Peacock Plants (Calathea): Easy DIY Guide
- Unlock Blooms: 9 Reasons Why Your Potted Chrysanthemum is Not Blooming
- 8 Reasons Why Your Potted Hibiscus is Not Blooming: Fix it with Simple Solutions
- Unlock Blooms: 9 Key Reasons Your Potted Frangipani Won’t Flower
- 10 Reasons Why Is My Ice Plant Not Blooming: Remedies and Treatment
- 10 Reasons Why My Potted Hydrangea Not Blooming: Treatment and Remedies
- 10 Reasons Why is My Wisteria Not Blooming: Remedies and Treatment
- 10 Reasons Why is My Goldfish Plant Not Blooming: Remedies and Treatment
- Maximize Your Space: Ultimate Guide to Balcony Gardening with Grow Bags
- 10 Reasons Why Your Iris is Not Blooming: Remedies and Treatment
- 10 Reasons Why Your Anthurium Plant is Not Blooming: Treatment and Remedies
- 10 Reasons Why Your Aquaponic Plants Are Not Flowering: Remedies and Treatment
- 10 Reasons Why Your Agapanthus is Not Flowering: Remedies and Treatment