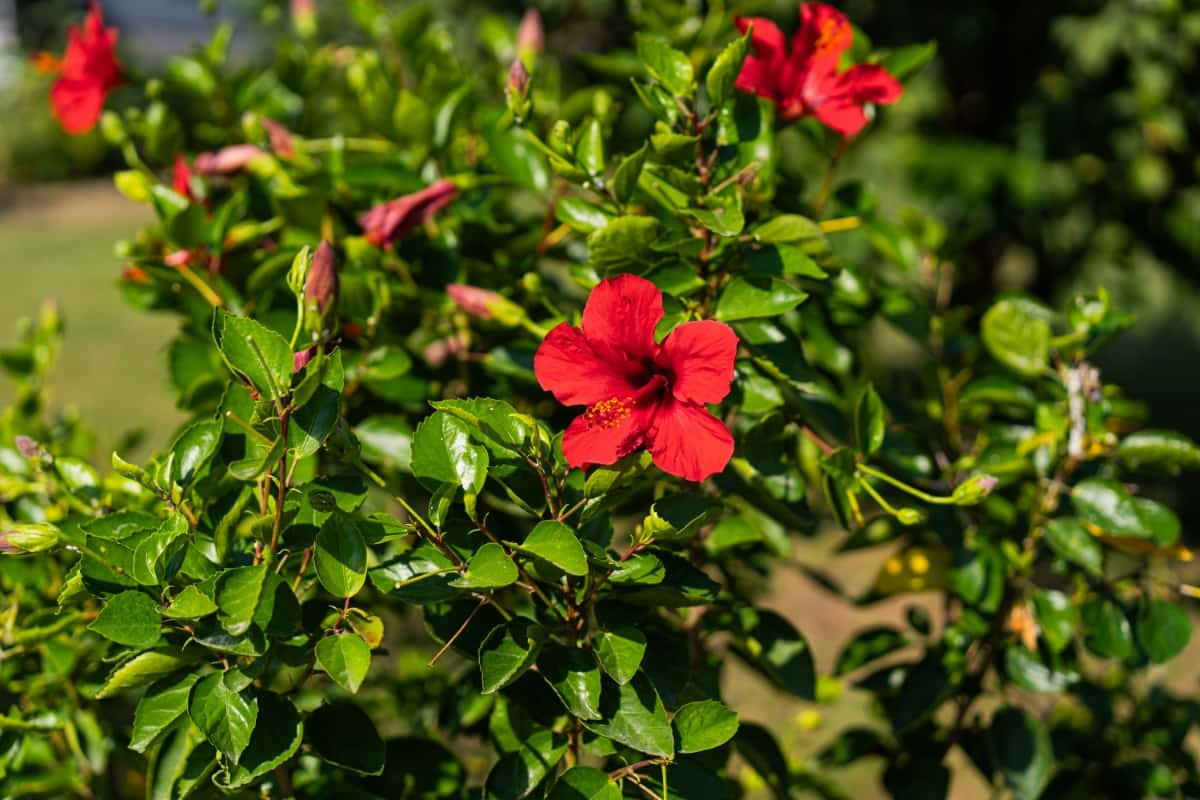
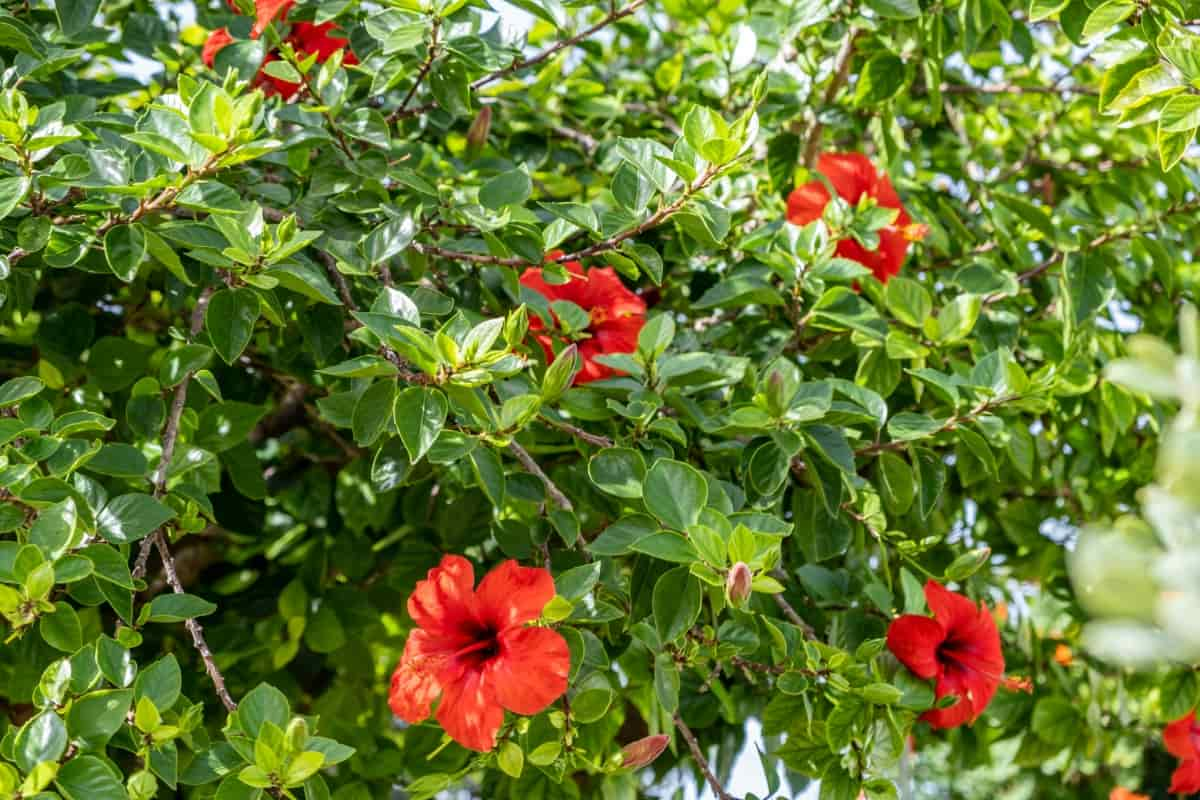
With its striking flowers and lush green foliage, the Hibiscus rosa-sinensis is a stunning addition to any garden. It belongs to the mallow family (Malvaceae) and can be grown from seeds extracted directly from the flowers themselves.

Selecting the Right Hibiscus Flower
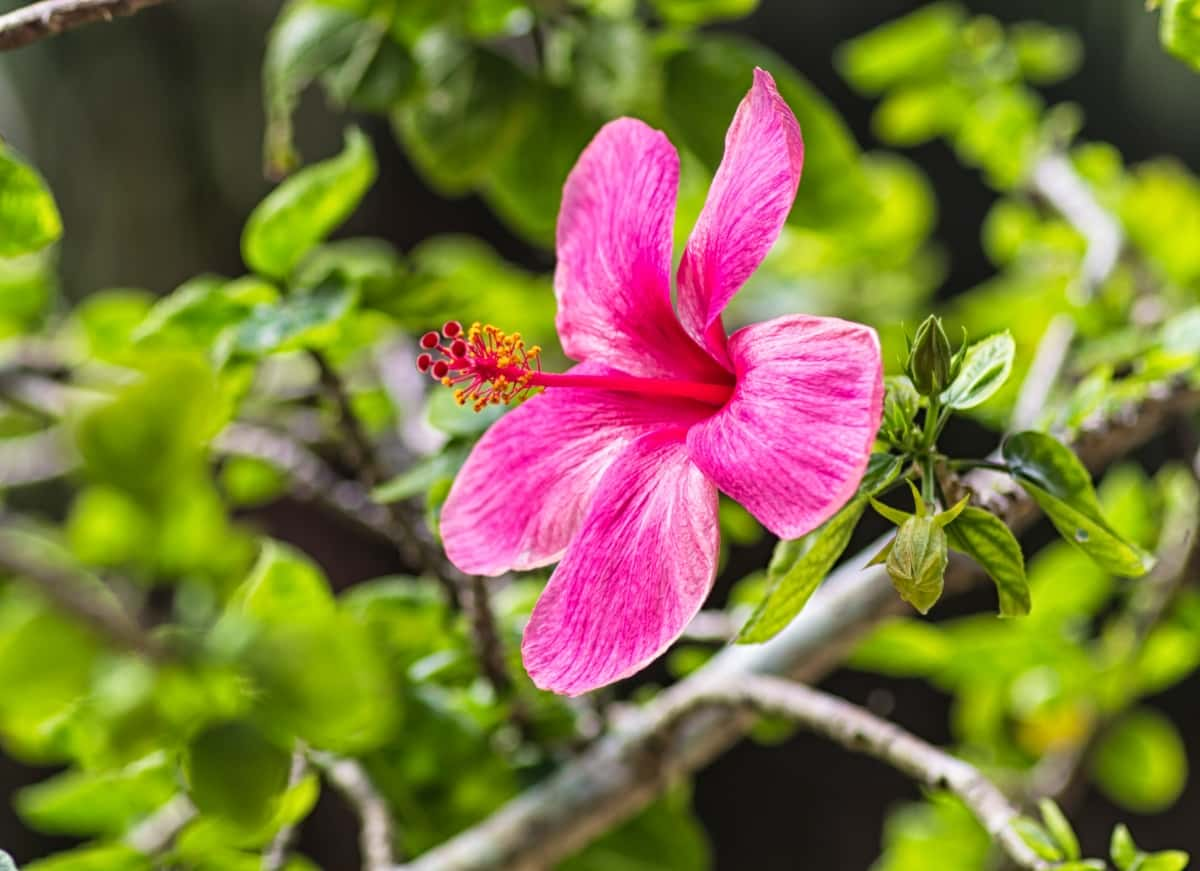
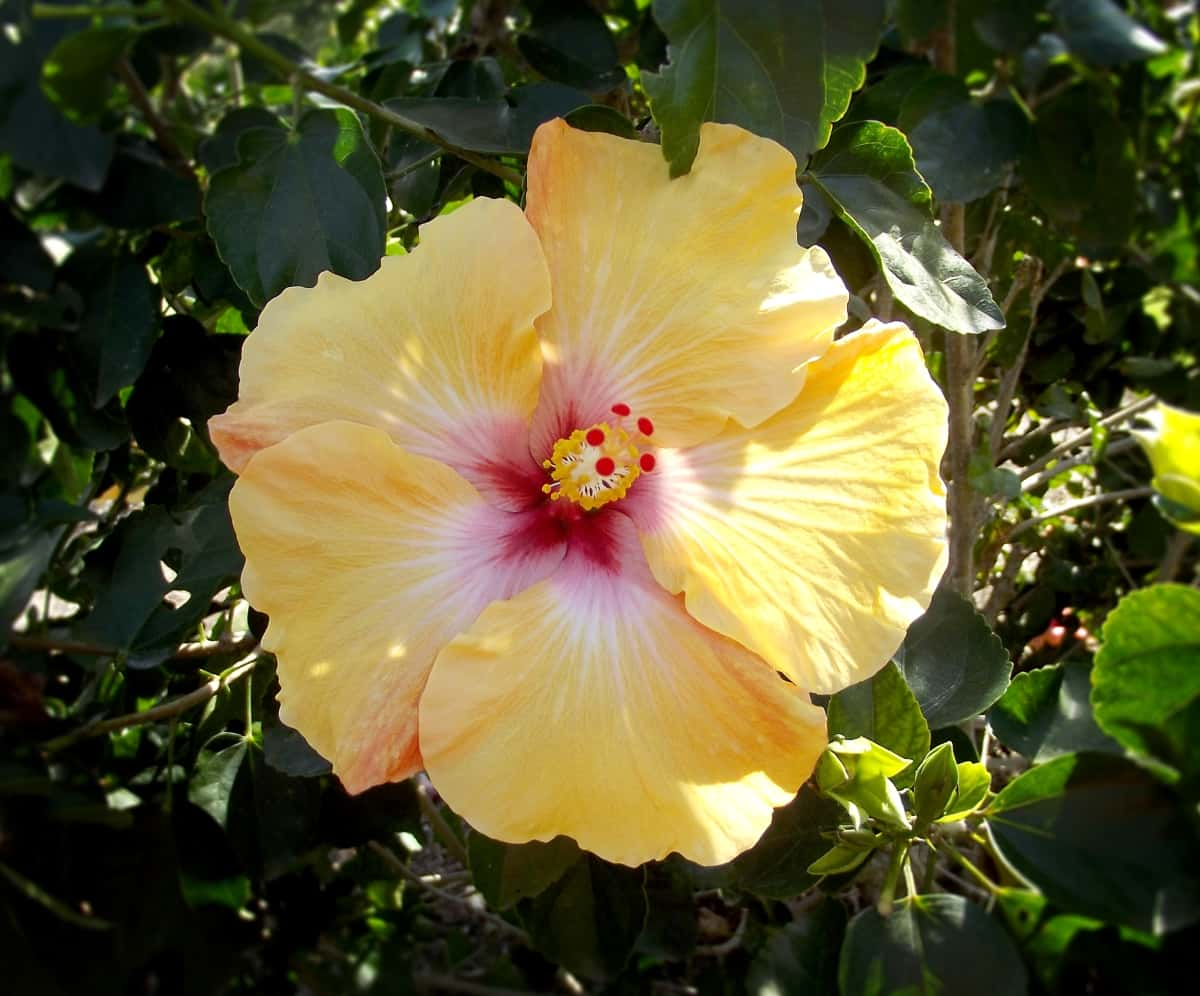
With so many options available, it’s essential to choose a flower that suits your preferences and environment. Some popular varieties include the vibrant red Hibiscus rosa-sinensis, the delicate pink Hibiscus syriacus, and the exotic yellow Hibiscus schizopetalus. Consider factors like color, size, and bloom time when selecting your Hibiscus flower. Think about whether you want a compact shrub or a tall tree-like plant in your garden. Different varieties thrive in different climates, so pick one that will flourish in your region.
Extracting Seeds from the Hibiscus Flower
Start by selecting a mature and healthy Hibiscus flower for seed extraction. Look for a flower that is fully bloomed and vibrant in color. Once you’ve chosen the right flower, carefully remove the petals to reveal the seed pod inside. Gently open the seed pod to access the small black seeds within. Take your time and handle them with care, as they are delicate.
To separate the Hibiscus seeds from any remaining plant material, gently rub them between your fingers or on a paper towel. Once cleaned, allow the Hibiscus seeds to air dry before storing them in a cool, dark place until you’re ready to plant them.
Preparing the Seeds for Planting
Start by carefully removing the seeds from the dried flowers. Ensure you select mature, healthy-looking seeds for optimal growth. After extracting the seeds, gently clean off any remaining plant material and allow them to air dry completely. This helps prevent mold formation during germination.
In case you missed it: Growing Hibiscus Plants in Pots from Cuttings, Seeds

To enhance germination rates, consider scarifying or nicking the seed coat slightly with a nail file or sandpaper. This method allows moisture to penetrate the seed more easily. Another way is soaking the seeds in warm water overnight before planting them in the moist soil mix. This can help soften hard seed coats and start germination.
Choosing the Right Soil Mix
Hibiscus plant thrives in well-draining soil that is rich in organic matter. A good soil mix for Hibiscus should consist of perlite, potting soil, and peat moss to ensure proper drainage and root development. Avoid heavy soils that can retain too much water and lead to root rot.
Ensure the soil’s pH level is slightly acidic to neutral, ideally between 6.0 and 7.0. This will help your Hibiscus absorb essential nutrients efficiently from the soil. Consider adding some sand or vermiculite to improve aeration and prevent compaction in the soil mix. This will promote healthy growth and overall plant vigor.
Planting the Seeds
Once you have extracted the seeds from the Hibiscus flower, it’s time to plant them and watch your garden bloom with vibrant colors. Planting Hibiscus seeds is a rewarding experience that requires patience and care. Choose a well-draining soil mix for planting. The soil should be moist but not waterlogged to provide an optimal environment for seed germination. Make small holes in the soil and place the seeds gently inside, covering them lightly with more soil.
Water the planted seeds carefully, making sure not to flood them. Hibiscus plants like consistent moisture but dislike being overly saturated. Place the pots in a warm and sunny spot where they can receive adequate sunlight throughout the day. Monitor your seeds closely as they sprout and grow into young plants. Adjust watering frequency based on their needs, ensuring they are healthy and thriving.
Ideal Watering Practices
Watering your Hibiscus plants is a crucial aspect of their care routine. To ensure they thrive, it’s important to follow ideal watering practices. Hibiscus plants generally prefer consistently moist soil but not waterlogged conditions. One way to determine if your Hibiscus needs watering is to check the soil—if it feels dry, it’s time to water. When watering the plant, aim to moisten the entire root ball thoroughly without saturating it.
In case you missed it: Hibiscus Gardening For Beginners – How To Start, FAQs

During hot summers or in dry climates, you can need to water more frequently than in cooler or humid environments. A watering can with a spray nozzle helps deliver an even amount of moisture without damaging delicate roots. Remember that consistency is key to maintaining healthy Hibiscus plants.
Providing Optimal Light Conditions
Hibiscus flowers love sunlight, so it’s essential to place them in a spot that receives at least 6 hours of direct sunlight daily. Indoor Hibiscus plants can be placed near a south-facing window where they can soak up the sun’s rays. If outdoor planting is preferred, choose a location with ample sunlight and some partial shade during the hottest parts of the day.
Avoid placing your Hibiscus in areas with strong drafts or air conditioning vents, as this can stress the plant. Additionally, rotating the plant occasionally ensures all sides receive equal light exposure for balanced growth.
Fertilizing Your Hibiscus Plants
For fertilizing Hibiscus plants, you want to ensure they receive the nutrients required for healthy growth and vibrant blooms. Select a balanced fertilizer with nitrogen, phosphorus, and potassium equally to promote overall plant health. During the planting season, apply a water-soluble fertilizer every two weeks diluted in water according to package instructions. Additionally, consider using a slow-release fertilizer once at the beginning of spring to provide continuous nutrients throughout the season. This will help sustain steady growth and encourage abundant flowering.
Monitoring Growth and Caring for Young Plants
Once your Hibiscus seeds have sprouted, it’s essential to monitor their growth and provide proper care for young plants. Keep a close eye on each plant’s development to ensure it is growing steadily and healthy. Inspect the plant leaves for any signs of discoloration, pests, or diseases. Prune any damaged branches to promote new growth and maintain plant health. As your Hibiscus plants continue to grow, consider providing support such as stakes if needed to prevent them from bending or breaking.
In case you missed it: 15 Common Hibiscus Plant Problems: How to Fix Them, Solutions, and Treatment

Adjust watering frequency based on the plant’s needs and environmental conditions. Proper drainage is crucial to prevent root rot and waterlogged soil. Address common issues like yellowing leaves or stunted growth promptly with appropriate solutions to stay vigilant against them.
Transplanting and Ongoing Care
When the young plants have outgrown their initial pots, it’s time to move them into larger containers or garden soil carefully. For optimal growth, select a sunny place with well-draining soil. Gently remove the Hibiscus plant from its current container, being cautious not to damage the plant roots. Loosen any tangled roots and place the Hibiscus plant in its new home at the same depth as before. Water thoroughly after transplanting to help reduce shock and promote healthy root development.
Regularly inspect for Hibiscus plant pests and diseases, taking prompt action if any issues arise. Prune your Hibiscus as needed to maintain shape and encourage new growth. Growing Hibiscus from a flower can be a rewarding and fulfilling experience. With the right care and attention to detail, you can watch your Hibiscus plants thrive and bloom beautifully.
- Broccoli Seed Germination and Selection
- Asparagus Seed Germination and Variety Selection
- Seasonal Flower Gardening: Best Practices for Spring, Summer, Fall, and Winter
- How to Grow Hibiscus from Flower
- Plantation Ideas for Home Decoration: A Beginners Guide
- Flower Garden Designs and Layouts for Beginners
- Planting and Spacing Techniques in Papaya: A Beginner’s Guide
- Growing Gold: Essential Techniques for Planting Pineapples
- How to Make Kalanchoe Plant Bushy: Home Remedies and Solutions