Are you eager to cultivate a lush garden without the hassle of traditional tilling and digging? No-dig gardening is your solution! In this approach, we’ll explore the art of gardening without disturbing the soil, reaping numerous benefits. We’ll cover everything from conserving soil structure to reducing weed growth.
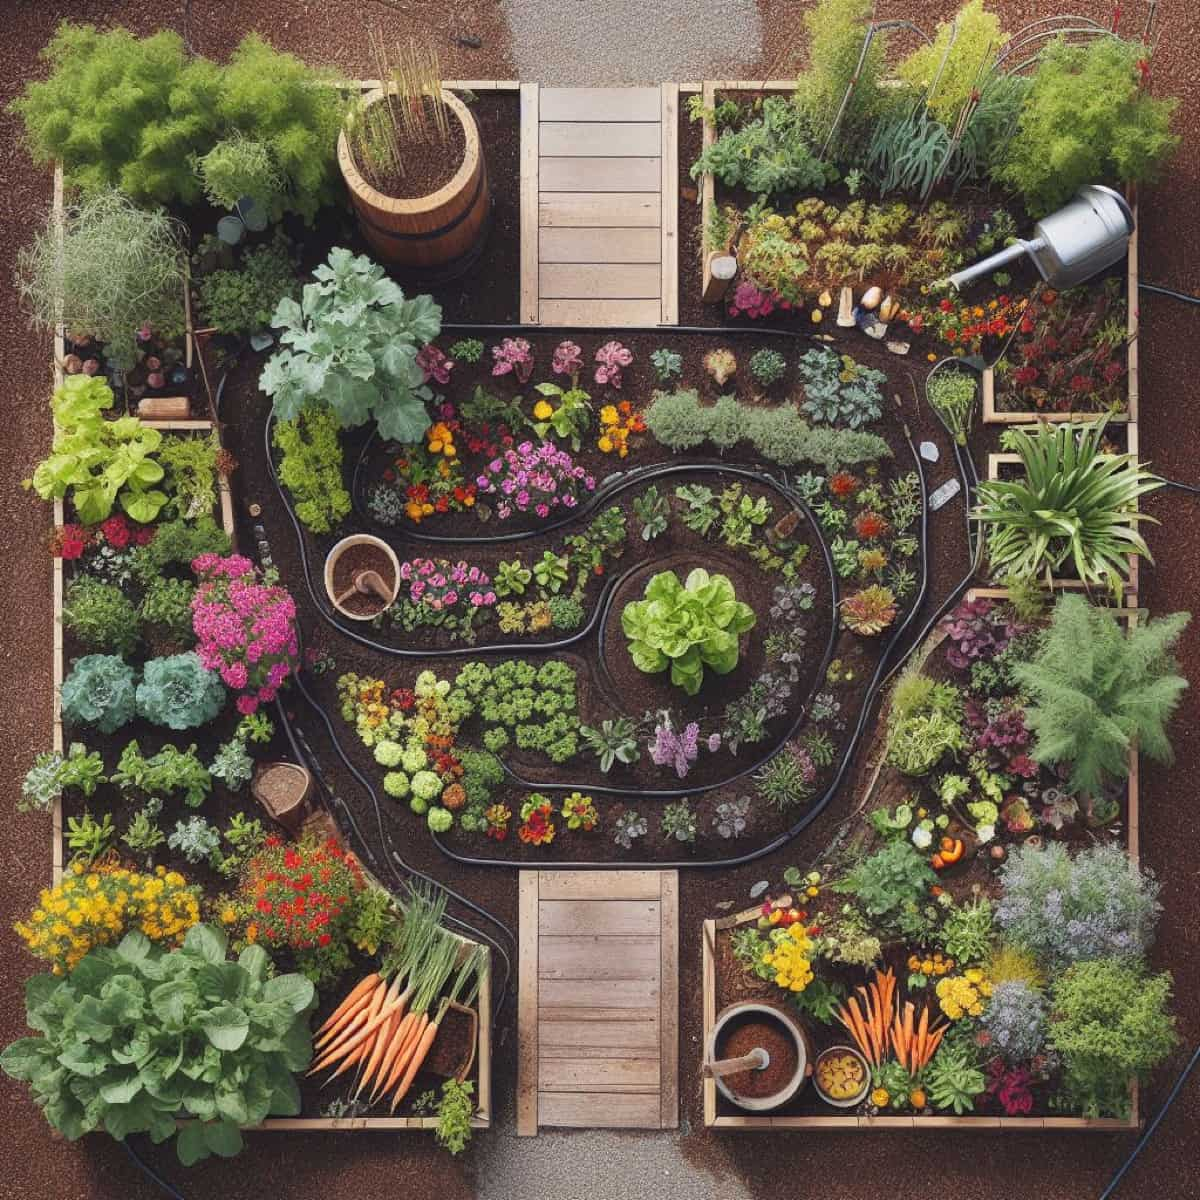
Plus, we’ll recommend some fantastic plant options that thrive in a no-dig environment. So, if you’re ready to embark on this gardening journey, let’s dive into the world of no-till gardening methods, its advantages, and the perfect plants to get you started.
How to Start No-Dig Gardening from Scratch
What is No-dig Gardening?
The No Dig gardening method creates and maintains garden beds with minimal soil disturbance, eliminating labor-intensive digging or tilling. The fundamental principle here is to protect the delicate soil structure, prevent exposure of dormant weed seeds, and preserve beneficial organisms by avoiding digging and tilling. This gardening technique is not a recent innovation;
It has been practiced for centuries but has gained popularity recently. Various variations of the method exist, such as “sheet mulching,” “layered gardening,” and “lasagna gardening,” all sharing the core idea of no digging or tilling. You can apply this method to establish new garden areas or enhance existing ones, including vegetable beds. It’s suitable for vegetable plots, perennial and annual beds, raised beds, and even pathways.
Benefits of No-dig Gardening- Advantages of Adopting a No-dig Approach in Your Garden.
Bigger Harvests: Studies have shown that No-dig beds yield larger vegetable harvests than traditional dug-over soil. However, it’s worth noting that certain crops, like potatoes, may still perform better in tilled soil.
Time-Saving: Embracing the No-dig approach significantly reduces the time spent on labor-intensive tasks like digging, weeding, and watering. This efficiency is ideal for those with busy schedules.
In case you missed it: Best Gardening Tool Set in India: Top 15 Price List Included
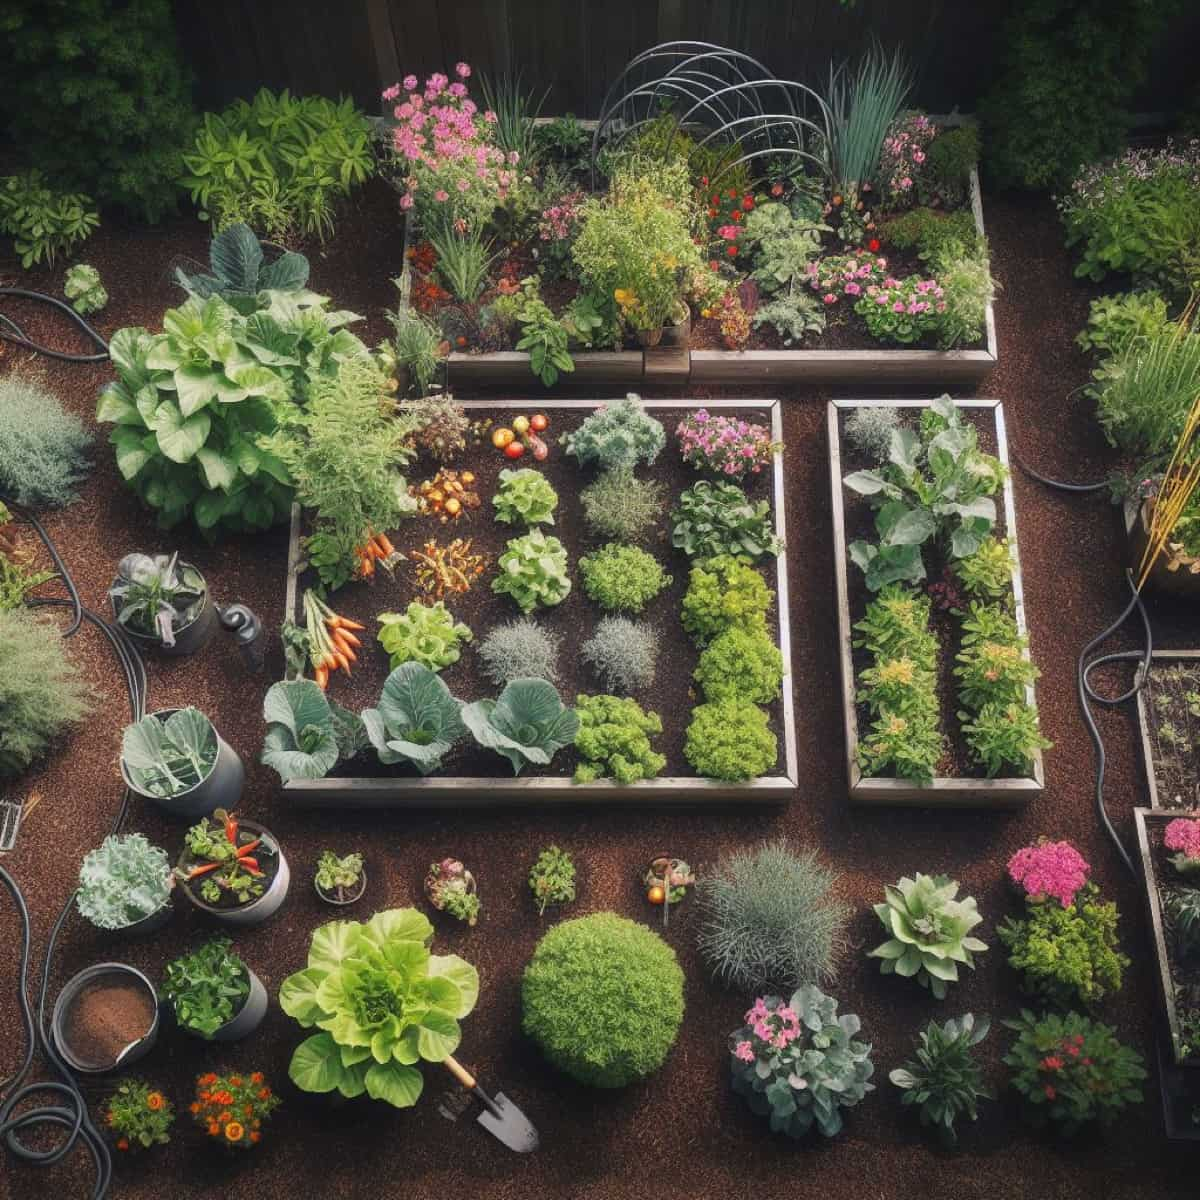
Less Weeding: Digging can unintentionally bring weed seeds and roots to the surface, promoting weed growth. By avoiding digging and applying a layer of organic matter, like compost or well-rotted manure, you create a weed-suppressing mulch, making it harder for weeds to thrive. While No-dig doesn’t eliminate weeds, it weakens perennial weeds, making them easier to manage.
Physical Well-being: Gardening is a fantastic form of exercise, but strenuous digging can be challenging, especially in cold and wet conditions. No-dig gardening requires less physical exertion, making it accessible to a broader range of individuals.
Improved Drainage and Water Efficiency: Mulching the soil retains moisture, reducing the need for frequent watering. Additionally, the No-dig approach helps prevent soil compaction, ensuring water can penetrate the ground effectively.
Soil Carbon Conservation: Digging disrupts the soil and releases carbon into the atmosphere as CO2. No-dig gardening helps retain carbon in the soil, contributing to efforts to combat climate change.
Less Mud and Easy Access: No-dig beds don’t become sticky and impassable in heavy rain, as with clay soil. You can return to gardening sooner after rainfall without worrying about soil compaction or muddy boots.
Earlier Harvests: No-dig gardening allows for earlier planting and sowing since you won’t spend time digging. The soil also warms up faster in undug beds, especially in colder regions, extending the growing season and reducing the risk of issues like blight.
Stronger Plants: By avoiding digging, you preserve beneficial soil organisms, including mycorrhizal fungi, that aid in plant nutrient and moisture absorption. This fosters quicker establishment and robust growth of seedlings.
Enhanced Flower Beds: The No-dig method can be applied to flowerbeds, too. A yearly application of compost as a 2cm layer nourishes ornamental plants, reducing the need for weeding and promoting healthy, thriving blooms.
How to Start a No-dig Garden: Step-by-step Instructions on Setting Up a No-dig Garden Bed
Step 1: Knock Down Weeds and Grass: If you’re starting on an area with existing grass or weeds, mow the area using your lawn mower’s lowest setting. For well-established perennial weeds, it’s best to dig them out initially.
In case you missed it: Cold Frame Gardening DIY: How to Make, Plant, Grow, Advantages and Disadvantages
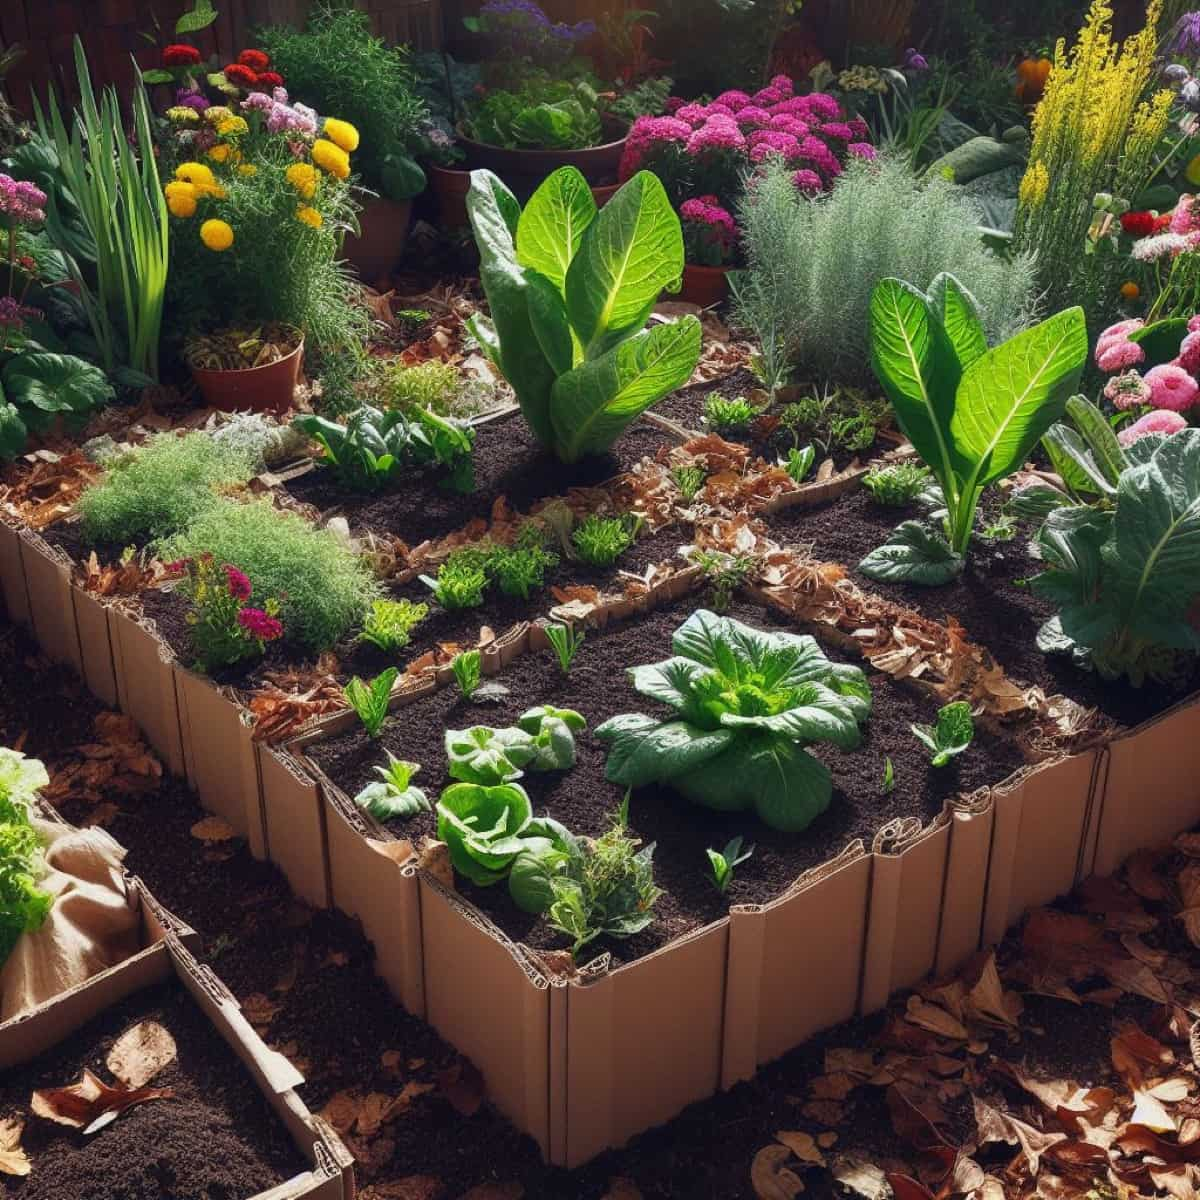
Step 2: Add Garden Edging (Optional): Installing garden edging is recommended if your no-dig garden is adjacent to grass, preventing future encroachment of weeds and grass.
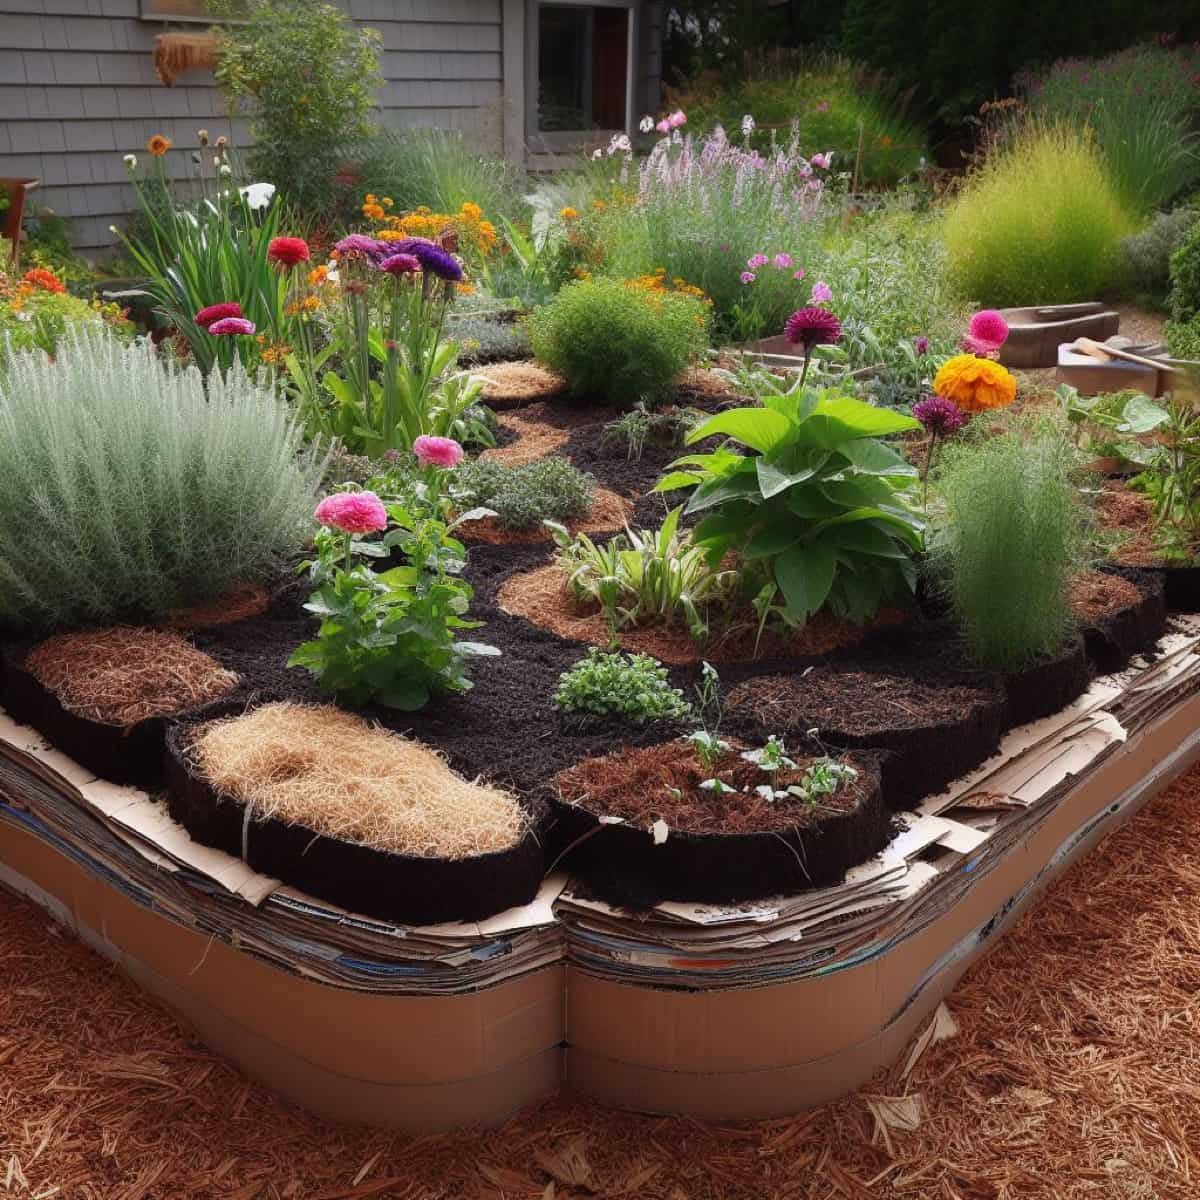
Step 3: Cover with Cardboard or Newspaper: Lay thick cardboard or several layers of newspaper over the entire area. Ensure there are no gaps for weeds to penetrate. Wet the cardboard or newspaper to soften and help it conform to the ground.
Step 4: Wet It Down: Spray water over the cardboard or newspaper to prevent it from blowing away and soften it further.
Step 5: Pile on Organic Matter: Apply a generous layer of organic mulch materials, such as compost, rotted manure, peat moss, and worm castings, on top of the cardboard or newspaper. The layer should be 4-6 inches deep to block light and maintain moisture.
Step 6: Keep It Watered: Consistently water the bed to soften the cardboard and facilitate decomposition. This is crucial for successful no-dig gardening.
Step 7: Optional Mulch Layer: If desired, add a layer of traditional mulch like weed-free straw or shredded wood to enhance moisture retention and discourage surface weed growth.
Step 8: Plant Your Garden: The beauty of no-dig gardening is that you can plant right away. As the plant roots reach the softened cardboard, they’ll grow into the soil beneath.
Choosing the Right Location for a No-dig Garden: Factors to Consider
Factors to ponder include sunlight exposure, as most vegetables and others require a minimum of 6-8 hours of direct sunlight daily for robust photosynthesis and yield. Soil quality plays a pivotal role; well-draining loam or sandy loam soils are preferable, while heavy clay or waterlogged areas should be avoided. Assess the proximity to water sources, as consistent irrigation is essential. Moreover, avoiding areas with strong winds and ensuring a convenient location for garden access aids in successful no-dig gardening.
Materials for Building a No-dig Garden Bed: Exploring Different Options
- Thick cardboard (remove any staples, labels, or tape) or newspaper
- Organic mulch material (compost, leaf mulch, peat moss, well-rotted manure, and worm castings)
- Water
- Lawnmower (optional)
- Garden edging (optional)
- Top mulch (e.g., weed-free straw, grass clippings, or shredded leaves – optional)
Layering Techniques in No-dig Gardening: Importance of Layering Organic Materials
Layering techniques in no-dig gardening are pivotal for building healthy, nutrient-rich soil without disturbing the ground. This method involves stacking organic materials in specific layers for optimal soil development. The importance lies in creating a thriving ecosystem within the soil, supporting beneficial microorganisms and earthworms that enhance soil structure and fertility. Each layer serves a purpose: cardboard or newspaper suppresses weeds, organic matter like compost enriches soil with nutrients, and mulch retains moisture while preventing weed growth.
Best Plants for No-dig Gardens: Plant Varieties That Thrive in a No-dig Environment
Vegetables: Leafy greens like lettuce and kale, root crops such as carrots and potatoes, and vine crops like tomatoes and cucumbers thrive in no-dig beds. The undisturbed soil structure allows for healthy root development and robust yields.
Fruits: Berry bushes like raspberries and blueberries, dwarf fruit trees, and strawberries adapt well to no-dig gardens. They benefit from the consistent moisture retention and nutrient-rich soil created by layering organic materials.
In case you missed it: How to Grow Hawthorn Trees: Propagation, Planting, Pruning, and Winter Care
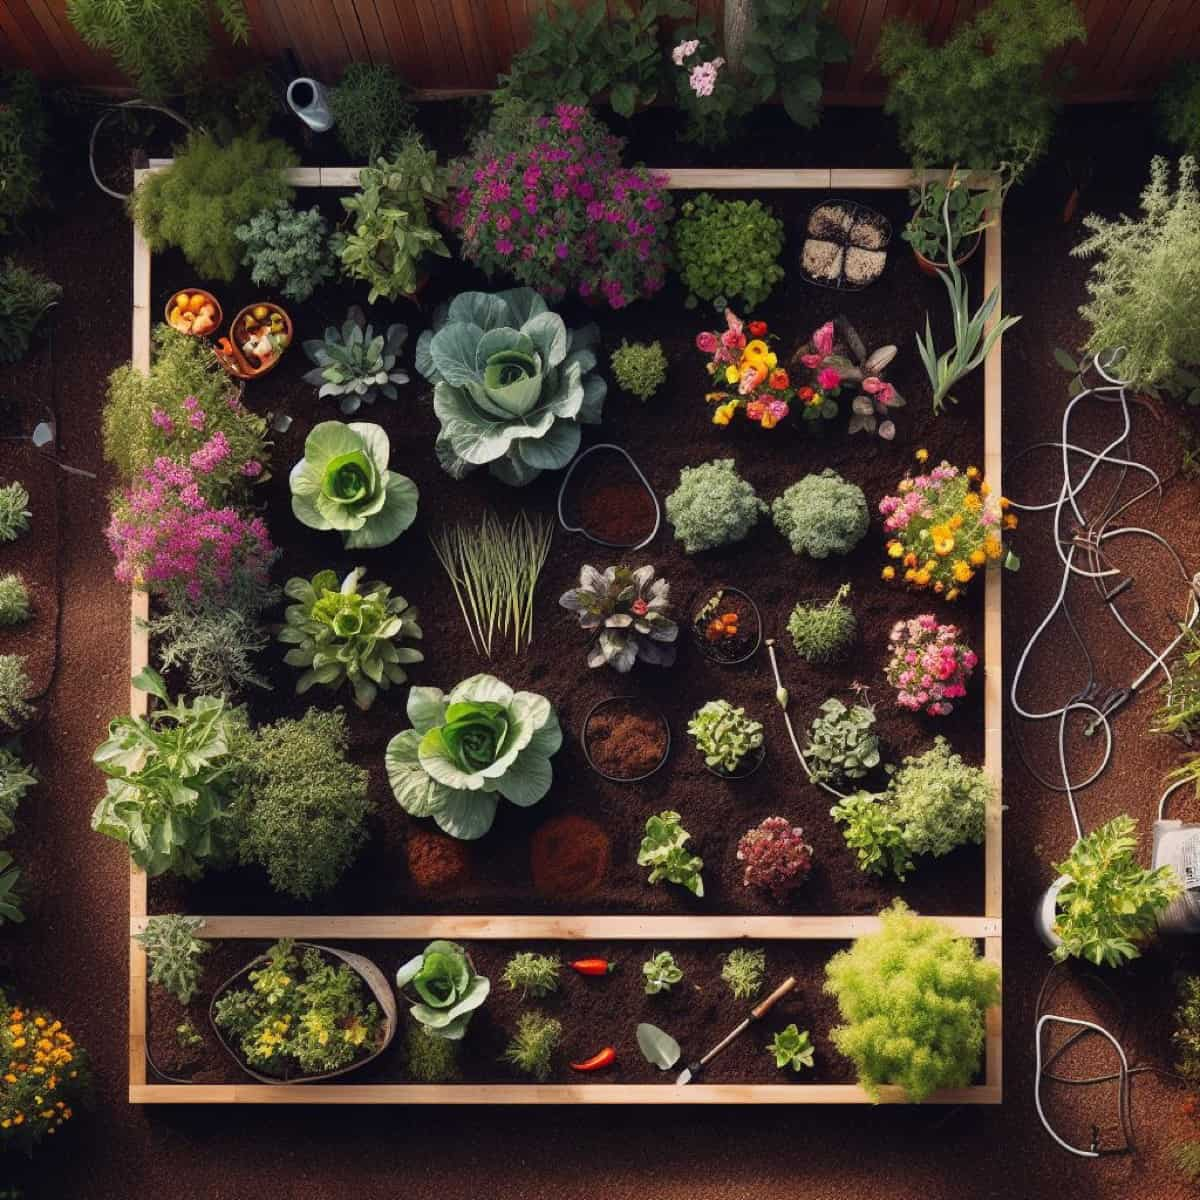
Flowers: Perennials like daylilies, peonies, and annuals such as marigolds and zinnias flourish in no-dig environments. These plants appreciate the weed-suppressing mulch and nutrient-rich soil, producing vibrant blooms.
Maintaining a No-dig Garden: Managing Weeds, Pests, and Soil Fertility in a No-dig System
- Weed Control: Inspect and remove any emerging weeds by hand to prevent resource competition. Mulching with organic materials suppresses weed growth effectively.
- Pest Management: Encourage natural predators like ladybugs and use non-toxic pest control methods. Healthy soil and diverse plantings also deter pests.
- Soil Fertility: To replenish nutrients, apply compost or organic fertilizers on the surface annually. This enriches the soil without the need for tilling, sustaining its fertility.
Composting in a No-dig Garden: How to Incorporate Composting Into Your No-dig Garden
As usual, start by layering organic material like wood chips or straw on top of cardboard or newspaper to smother weeds. Then, add a thick layer of well-rotted compost, rich in nutrients. This compost layer nourishes the soil beneath and supports plant growth. Over time, the compost breaks down, enriching the soil further. Regularly replenish the compost layer, especially in late autumn, to maintain soil fertility.
Transitioning From Traditional Gardening to No-dig Gardening: Steps to Convert
- Plan Your Transition: Decide which garden areas you want to convert to no-dig beds. Start small to gain experience.
- Clear Existing Weeds: Remove weeds or grass by mowing, digging, or using cardboard and mulch to smother them.
- Build No-dig Beds: Layer cardboard or newspaper over the cleared area. Apply a thick layer (4-6 inches) of compost or organic matter.
- Add Mulch: Cover the compost layer with organic mulch, like straw or wood chips, to retain moisture and suppress weeds.
- Planting: You can plant directly into the mulch layer. Make holes for seeds or seedlings, and water thoroughly.
- Maintain: Top up with compost annually, water regularly, and keep paths weed-free.
No-dig Gardening in Small Spaces: Implementing No-dig Techniques in Limited or Urban Areas
Lasagna Gardening: This method builds garden beds through layering. Begin with a base layer of cardboard or newspaper to smother weeds. Next, add a 2-4 inch layer of moisture-retaining materials like wood chips, straw, or grass clippings. Follow this with a deep (4-8 inches) layer of nutrient-rich compost, possibly mixed with grass clippings. After watering lightly, plant a cover crop like clover. By the next spring, you’ll have nutrient-rich soil ready for planting.
Straw Bale Gardening: This method involves planting directly into straw bales, which is ideal for poor soil quality. Nitrogen and potting soil are added to the bales to provide nutrients. Dwarf varieties work best due to bale height limitations. Wire mesh supports may be needed for root vegetables.
In case you missed it: 14 Best Trees for Fall Colors: Top List Composed
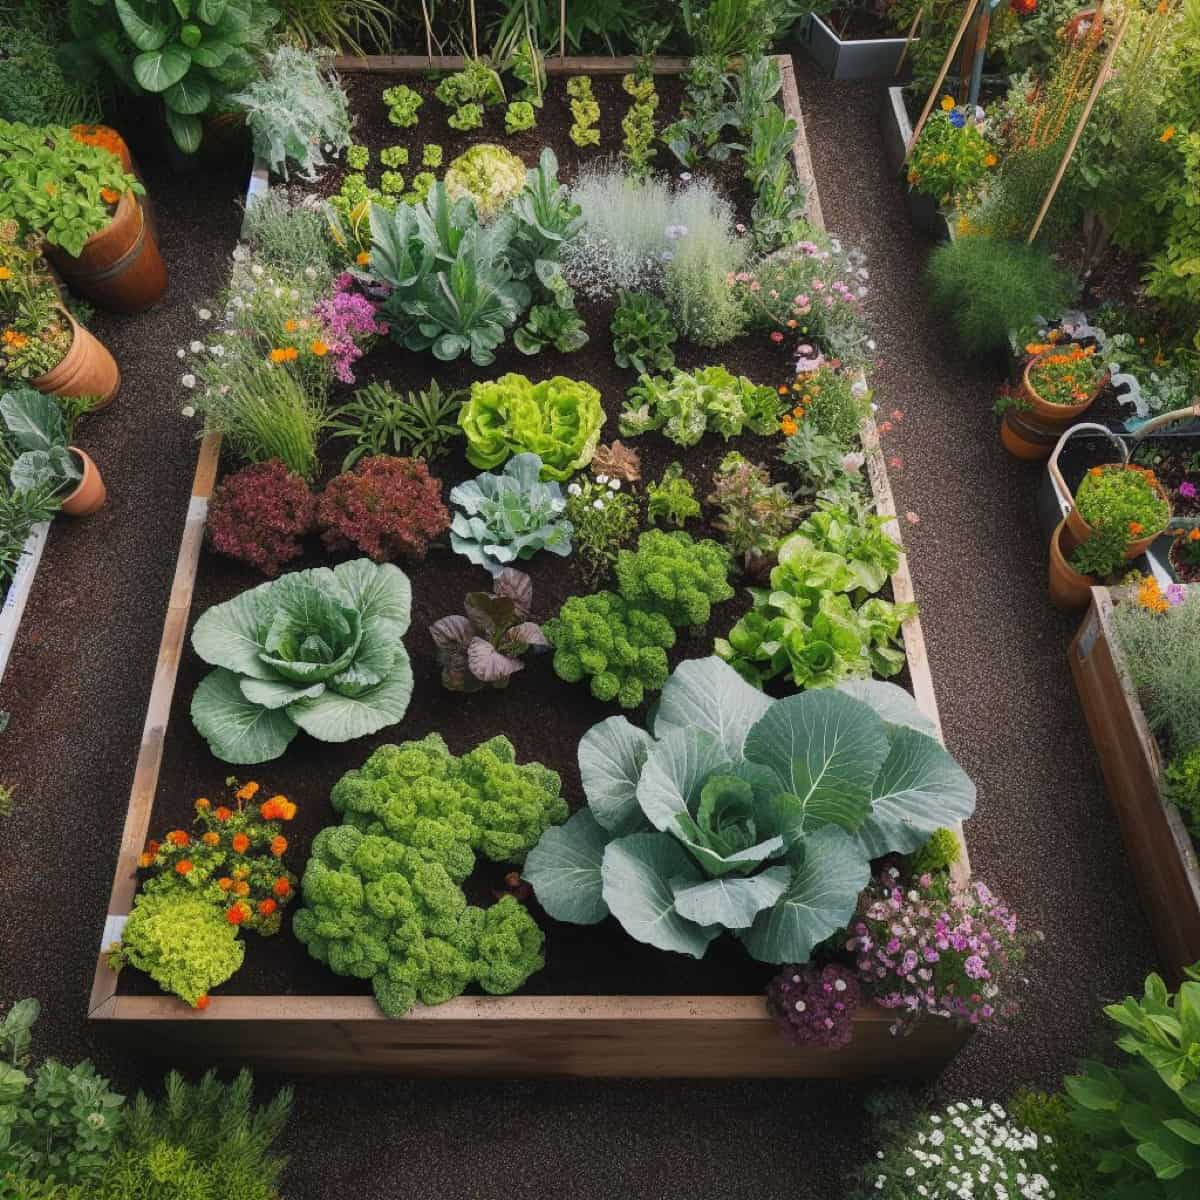
Container Gardening: Plants are grown in containers, offering control over nutrition and space-saving advantages. It’s particularly useful for those with limited garden space or who need precise nutrient control.
Bag Planting: Bag planting is a variation of no-till gardening where plants grow directly in enriched organic potting soil bags. Cardboard or newspaper is used as a base layer, and bags of potting soil are placed on top. After the first season, compost is added to enrich the soil.
No-dig Gardening for Beginners: Advice for Those New to No-dig Gardening
Clear Weeds: Begin by removing existing weeds from your garden plot. You can do this by hoeing or manually pulling them out. Tough weeds like brambles and docks may require digging. Cover the soil with cardboard before applying the compost mulch if your garden has a substantial weed presence. Otherwise, a 5cm layer of well-rotted compost directly on the soil will suffice.
Mulch: Spread a layer of composted garden waste, composted wood chips, leaves, or well-rotted manure over the cleared area. Avoid using un-decomposed mulches like straw, as they can create a habitat for slugs and snails, potentially harming your plants.
Divide Your Garden: Divide your garden plot into separate beds with pathways in between to facilitate easy access. Applying mulch to the planting areas will naturally raise the beds, making them distinct. Alternatively, you can opt for raised beds to simplify gardening further.
Sowing and Planting: You can sow seeds or plant directly into the compost mulch. Seedlings particularly thrive in this nutrient-rich environment.
Weed-Free Paths: Keep the paths between your garden beds free of weeds and grass. One effective way to achieve this is using cardboard as a weed barrier.
Frequent Mulching: To nourish the soil and support its microbial life, apply more mulch once a year, preferably in late autumn after the final harvests. Cover the beds with a 3-5cm layer of compost. Sieving the compost is unnecessary; use a fork to break up larger lumps.
Long-Term Benefits of No-Till Gardening
No-till gardening is less labor-intensive than traditional methods, requiring minimal preparation for subsequent seasons. It uses organic fertilizers, grass clippings, bark chips, and mulch, producing chemical-free, safe produce. No-till systems also conserve water by using mulch or wood chips to retain moisture and reduce soil erosion risk. Additionally, no-till gardening requires less work, as there’s no need for strenuous soil digging each year, benefiting both the environment and the wallet.
In case you missed it: How to Grow and Care for Crocosmia Flowers: A Step-by-Step Guide
Conclusion
No-Dig Gardening unlocks a path to sustainable, low-maintenance cultivation by embracing no-dig gardening. With its organic principles and varied plant options, it’s an approach that nurtures both plants and soil health, reducing effort and yielding bountiful, chemical-free harvests.
- Gardening Techniques in Planting Vegetables
- Where to Place Indoor Plants in Your Home
- How to Grow Tomatoes Organically at Home: A Comprehensive Guide
- Organic Gardening on a Budget: Low-Cost Methods and Materials
- Gongura Seed Germination and Planting Methods
- Cabbage Seed Germination and Selection
- Broccoli Seed Germination and Selection
- Asparagus Seed Germination and Variety Selection
- Seasonal Flower Gardening: Best Practices for Spring, Summer, Fall, and Winter
- How to Grow Hibiscus from Flower
- Plantation Ideas for Home Decoration: A Beginners Guide
- Flower Garden Designs and Layouts for Beginners
- Planting and Spacing Techniques in Papaya: A Beginner’s Guide
- Growing Gold: Essential Techniques for Planting Pineapples
- How to Make Kalanchoe Plant Bushy: Home Remedies and Solutions
- 11 Reasons Why Your Gardenia is Not Blooming: Home Remedies and Solutions
- Eco Elegance: The Guide to Designing a Drought-Tolerant Landscape
- Gardening on a Slope: Strategies for Hillside Landscaping
- Nourish and Flourish: Top Organic Mulches for Thriving House Plants
- Everything You Want to Know about Indian Mogra Flower: Discover Uses and Growing
- Green Thumb Success: Expert Tips for Cultivating Greenhouse Pumpkins All Year Round
- Maximize Growth & Flavor: The Ultimate Guide to Companion Planting in Herb Gardens
- How to Control Rhododendron Problems Naturally: Home Remedies and Organic Ways to Fix Them
- Natural Magic: The Remarkable Benefits of Cinnamon for Plants
- Best Steps to Revive Dying Tulip with Natural and Organic Treatment
- 10 Reasons Why Your Angel Trumpet is Not Blooming: Remedies and Treatment
- How to Fix Periwinkle Leaf and Flower-Related Problems: Natural Remedies and Solutions
- How to Fix Zinnias Leaf and Flower Problems: Discover Natural and Home Remedies
- Organic Steps to Induce Lemon Tree Flowers: A Comprehensive Guide
- Bloom Booster: Crafting the Perfect Homemade Bougainvillea Fertilizer
- Optimizing Growth: A Guide to Applying NPK Fertilizer for Potted Plants
- 10 Best Homemade Fertilizers for Rubber Plant: DIY Recipes and Application Method
- How to Boost Female Pumpkin Flowers: Effective Steps for More Flowers and High Yields
- Transform Your Indoor Garden: Top Benefits of Pink Salt for Houseplants
- 10 Best Homemade Fertilizers for Peacock Plants (Calathea): Easy DIY Guide
- Unlock Blooms: 9 Reasons Why Your Potted Chrysanthemum is Not Blooming