A simple yet powerful technique in agriculture can extend your growing season, protect your plants from harsh weather, and boost your garden’s productivity – cold frame gardening. This comprehensive guide will delve into creating, planting, and nurturing your cold frame garden. You’ll discover the advantages and disadvantages of this ingenious method, and by the end, you’ll have the knowledge and skills to embark on your cold-frame gardening journey.
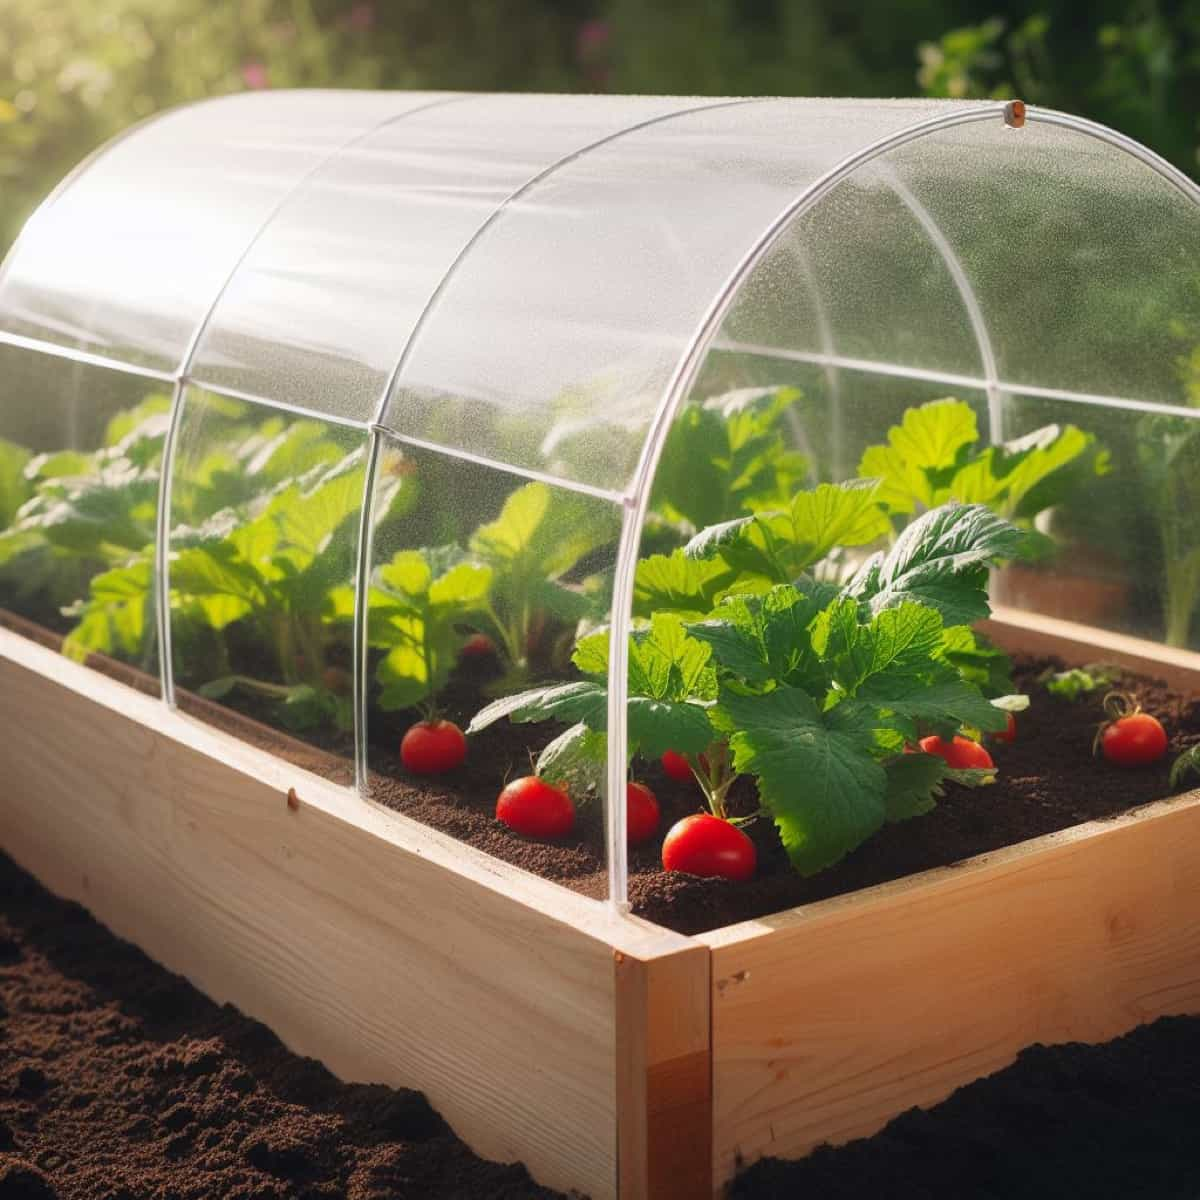
Cold Frame Gardening DIY
What is Cold Frame Gardening?
Cold frame gardening is a horticultural practice that harnesses the power of simple, raised boxes equipped with clear covers to shield plants from harsh elements, including cold temperatures, snow, and extreme weather conditions. These ingenious structures serve as miniature greenhouses, capturing and retaining heat from sunlight. This extension of warmth into the colder months can significantly lengthen your growing season, sometimes by several weeks or even months.
What is a Cold Frame?
A cold frame sometimes called a cold box, is a cleverly designed structure to safeguard plants from the detrimental effects of freezing temperatures. It is a box featuring a transparent lid and an open bottom. The versatility of cold frames allows for flexibility in their installation. They can either rest directly on the ground’s surface or be partially sunken into the soil, providing added insulation against the cold.
When constructing a cold frame, the beauty lies in its accessibility to virtually anyone, often with minimal to no cost involved. These structures can be crafted from recycled materials, making them eco-friendly. Commonly used building materials for the box include wood, cinder blocks, bricks, or straw bales. Meanwhile, the lid or cover can be fashioned from repurposed items like old shower or patio doors, windows, clear plastic sheets, or any durable and transparent material.
How to Make a Cold Frame From Plastic Bottles
Constructing a cold frame from plastic bottles or other materials can be a rewarding DIY project for gardeners. While timber and plastic are common choices, even concrete blocks or bricks can be the frame’s foundation. Alternatively, you can create a basic, bottomless wooden box and position it in a sunny garden. Building instructions can be found in instructional videos or guides.
For the frame itself, wood is often preferred due to its availability and ease of customization with basic hand tools. Hardwood, if available, is an excellent choice as it lasts longer than softwood. It’s important to avoid treated wood with substances like creosote, especially if the cold frame will sit directly on the soil. Non-toxic paint can be applied for a cleaner appearance.
To top the frame, consider using glass, like an old storm window, frame covered with clear plastic. Thicker materials provide better insulation. Hinged covers or sliding lids allow for ventilation on warmer days. Glass sheets can be added temporarily to create a makeshift cold frame for raised beds.
In case you missed it: DIY Hydroponic Farming at Home: A Comprehensive Beginners Guide
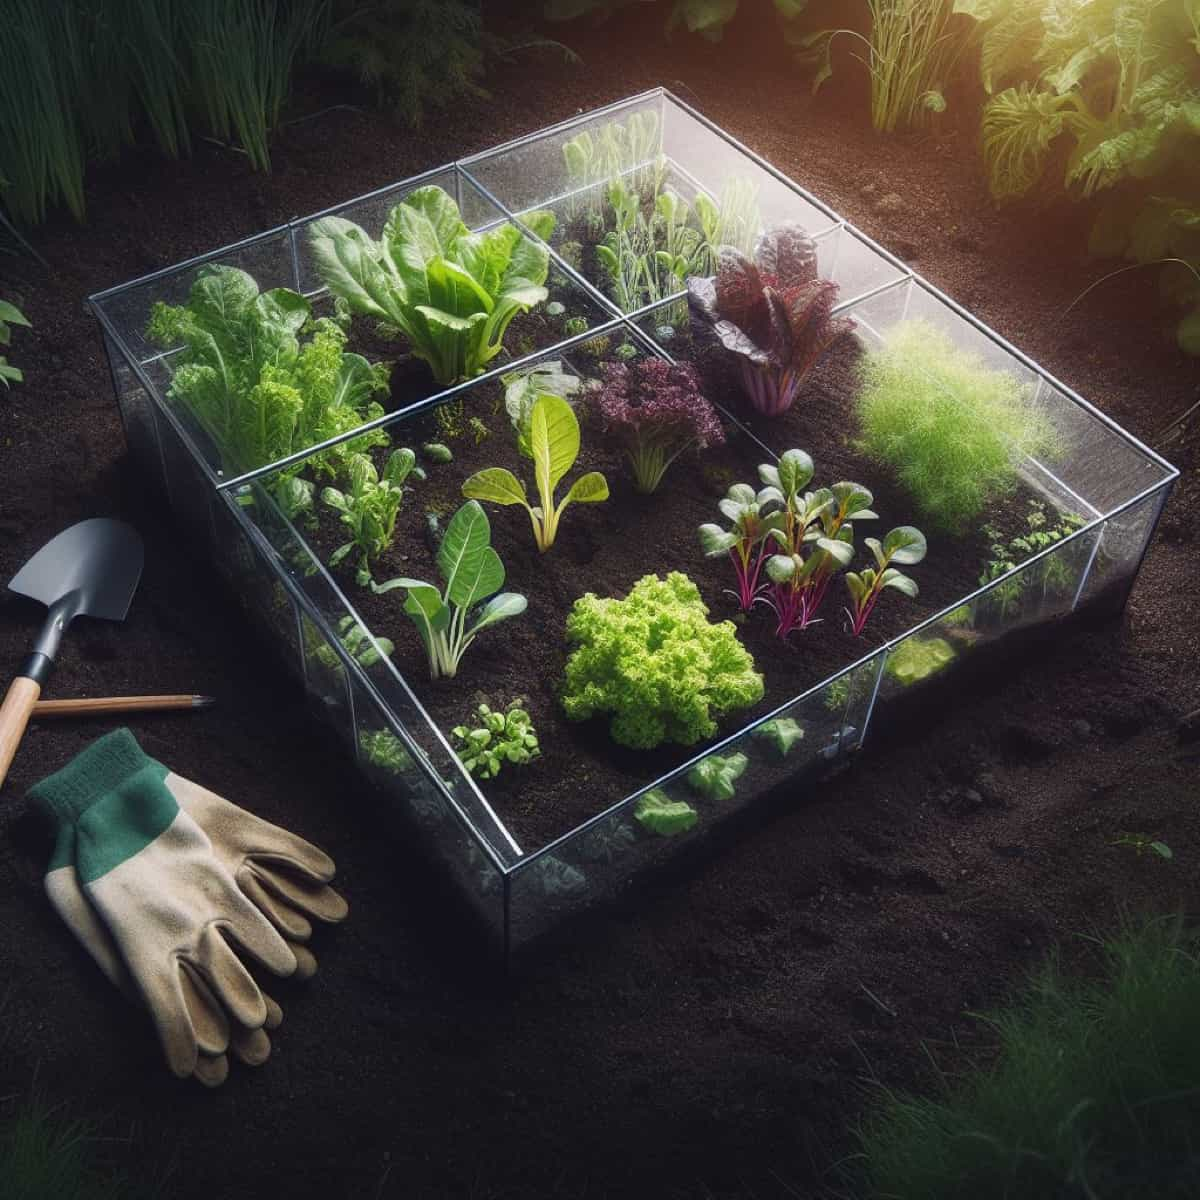
DIY Cold Frame From Pallets
Building a cold frame from pallets is a cost-effective and eco-friendly option. Start by disassembling a wooden pallet and using its planks to create a simple rectangular frame. Attach clear plastic or greenhouse film to the top, leaving one side open for access. Place this structure over your garden bed. The pallet cold frame protects from frost while allowing sunlight in, extending the growing season for your plants.
How to Make a Cold Frame From Pvc Pipe
Crafting a cold frame from PVC pipe is a versatile and affordable choice. Create a rectangular frame by connecting PVC pipes with corner connectors. Cover the frame with clear plastic sheeting or greenhouse plastic. PVC cold frames are lightweight and easy to assemble, providing plant insulation. They can be customized to fit your garden bed’s dimensions and are suitable for various plant sizes. PVC cold frames are an excellent option for beginners due to their simplicity and cost-effectiveness.
How to Make a Cold Frame From Old Windows
Repurposing old windows for a cold frame is a charming and sustainable approach. Arrange the windows to form a rectangular or square frame, hinging one side for easy access. Place this frame over your garden bed. The glass provides excellent insulation and allows sunlight, creating a warm environment for your plants. Old window cold frames are a visually appealing addition to any garden and effectively use recycled materials.
How to Make a Cold Frame With Bricks
Constructing a cold frame with bricks results in a sturdy and long-lasting structure. Create a rectangular or square frame using bricks, leaving the top open. Cover the top with clear plastic or glass. Brick cold frames provide excellent insulation and stability, making them suitable for larger or more permanent setups. They retain heat effectively and offer protection against frost. While they may require more effort to build, brick cold frames are a durable option that can enhance your gardening experience for years.
DIY Cold Frame: How to Create Step-by-Step Guide
A cold frame for extending your growing season, allowing you to cultivate vegetables even in colder climates. While you can purchase ready-made cold frames, a simple DIY version can be constructed inexpensively.
Instructions
- Measure and Cut Boards: Mark the 8-inch width of the side walls on each of the 36-inch boards. Draw a diagonal line from one corner to the 8-inch mark and cut along these lines, creating two side walls.
- Arrange Frame: Assemble the four walls into a box shape, ensuring that the side walls rest outside the front and back walls. Use supports like wooden blocks.
- Pre-Drill and Assemble: Pre-drill 3 holes at the end of each side wall through to the front or back wall. Use exterior screws to complete the frame’s assembly at each corner.
- Prepare Window Frame: Attach two hinges to the repurposed window frame, ensuring the desired side of the window faces up when attached.
- Lay Window Frame on Base: Position the window frame on the cold frame base.
- Attach Hinges: Use screws to secure the hinges to the back wall.
- Position Cold Frame Base: Place the cold frame near a south-facing exterior wall to benefit from radiant heat and wind protection.
- Fill and Plant: Fill the cold frame with soil and plant seeds or seedlings.
In case you missed it: Expert Tips to Grow the Tastiest Tomatoes: DIY Guide
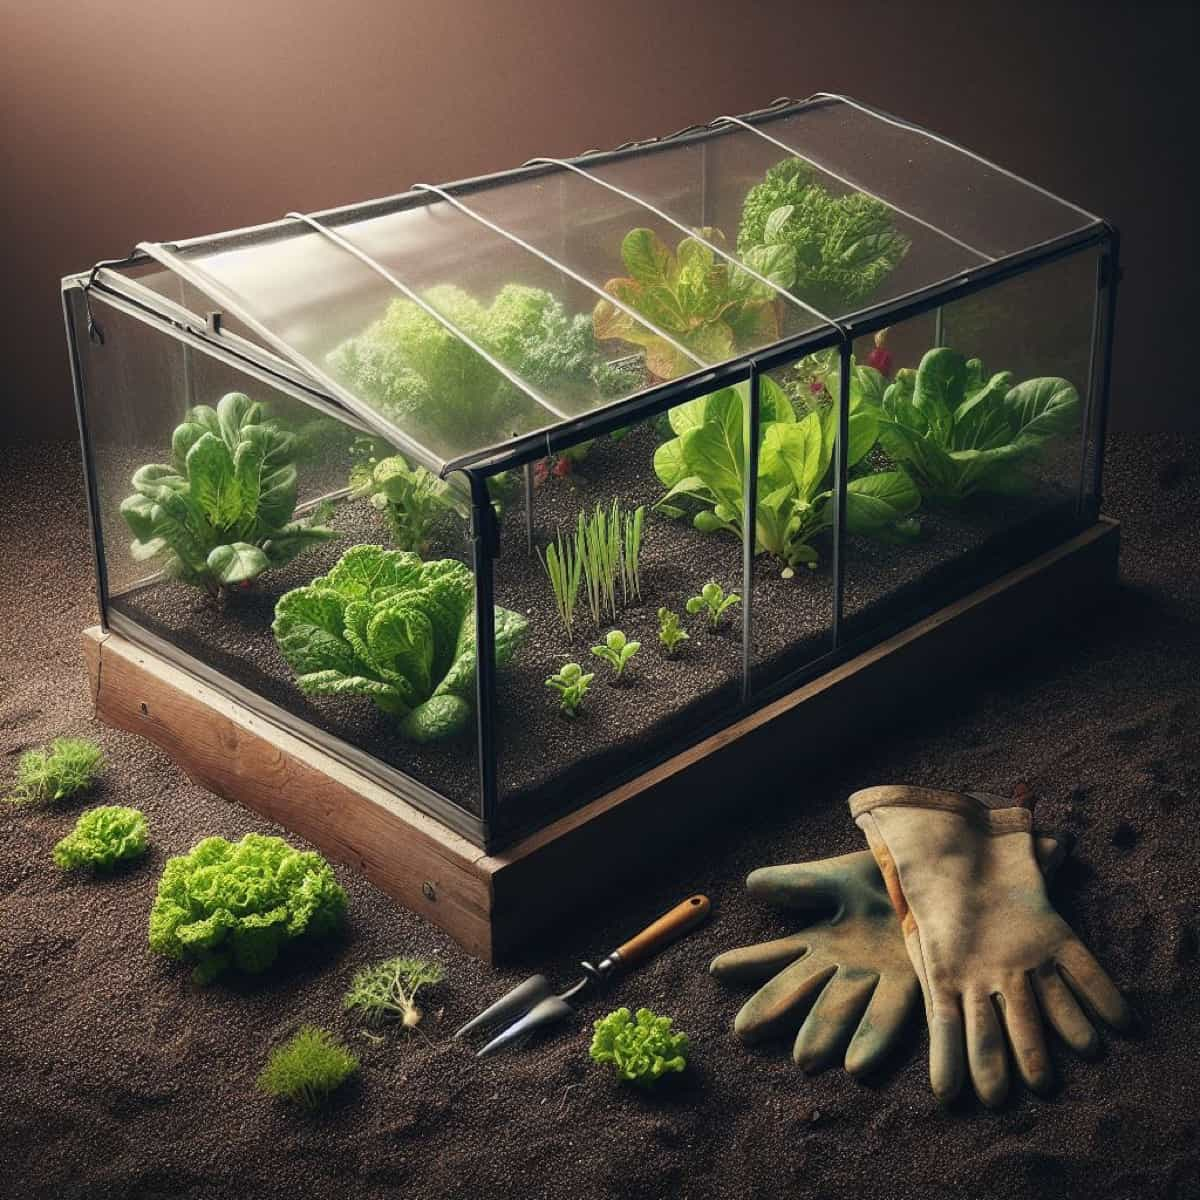
Materials Needed for a Homemade Cold Frame
Tools and materials to construct a homemade cold frame. Tools include a saw for cutting, a drill with bits for making holes, and fasteners such as 2-inch exterior screws (like deck screws) and two 3-inch corrosion-free hinges. Regarding lumber, you’ll require a 2-inch x 8-inch x 51-inch board for the front wall, a 2-inch x 12-inch x 51-inch board for the back wall, and two 2-inch x 12-inch x 36-inch boards for the side walls. Additionally, you’ll need a repurposed window frame with glass to serve as the cover.
Cold Frame Planting Dates
Cold frame planting dates depend on your climate zone. In colder regions, you can start planting cold-hardy crops like spinach, lettuce, and kale in late winter, typically in February or March. In milder climates, you can plant even earlier, in January. As the weather warms, you can transition to warmer-season crops. In the fall, you can plant cool-season vegetables in late summer for extended harvests.
Using Cold Frames to Start Seedlings
Cold frames are excellent tools for starting seedlings. They provide a controlled environment warmer than the outside air, promoting germination and early growth. The transparent lids allow sunlight in, ensuring that seedlings receive adequate light. This protected space helps harden off seedlings gradually, preparing them for transplanting outdoors. Gardeners can kickstart their gardening season using cold frames and extend their growing window.
How to Keep a Cold Frame Warm at Night
Consider covering it with a blanket to maintain warmth in your cold frame during exceptionally cold nights. This added layer acts as insulation, trapping heat and protecting your plants. Another effective method is to use snow as a natural insulator by piling it on top of the cold frame. However, removing the snow from the lid in the morning is crucial to allow sunlight to penetrate and warm the interior. These techniques help safeguard your plants from harsh winter temperatures, ensuring their well-being throughout the night.
Watering Tips for Cold Frame Gardening
Since cold frames have limited rainfall access, providing consistent moisture to your plants is essential. Watering in the morning allows excess moisture to evaporate during the day, reducing the cause of fungal diseases. Avoid overwatering, lead to root rot. A drip irrigation system can help maintain optimal soil moisture levels.
Protecting Plants From Frost With a Cold Frame
Cold frames are effective frost protection tools. By creating a microclimate, they shield plants from frost damage. The clear lid traps heat from the sun during the day, providing warmth. Ensure the cold frame is properly closed and sealed at night to enhance frost protection. Additionally, you can cover sensitive plants with a blanket or fabric within the cold frame for extra insulation during exceptionally cold nights.
Ventilation in Cold Frames
Proper ventilation is essential for regulating temperature and humidity within a cold frame. Ventilation prevents overheating on sunny days and maintains adequate airflow to prevent fungal diseases. Cold frames can be equipped with adjustable vents or open the lid during warm periods. Ensure the cold frame is not airtight to exchange oxygen and carbon dioxide.
Best Plants to Grow in a Cold Frame
In spring, it’s ideal for starting seeds, hardening seedlings, or transplanting early. Additionally, you can maximize your gardening season in the fall by planting cold-weather vegetables, extending your harvest.
In case you missed it: DIY Mosquito Traps for Garden
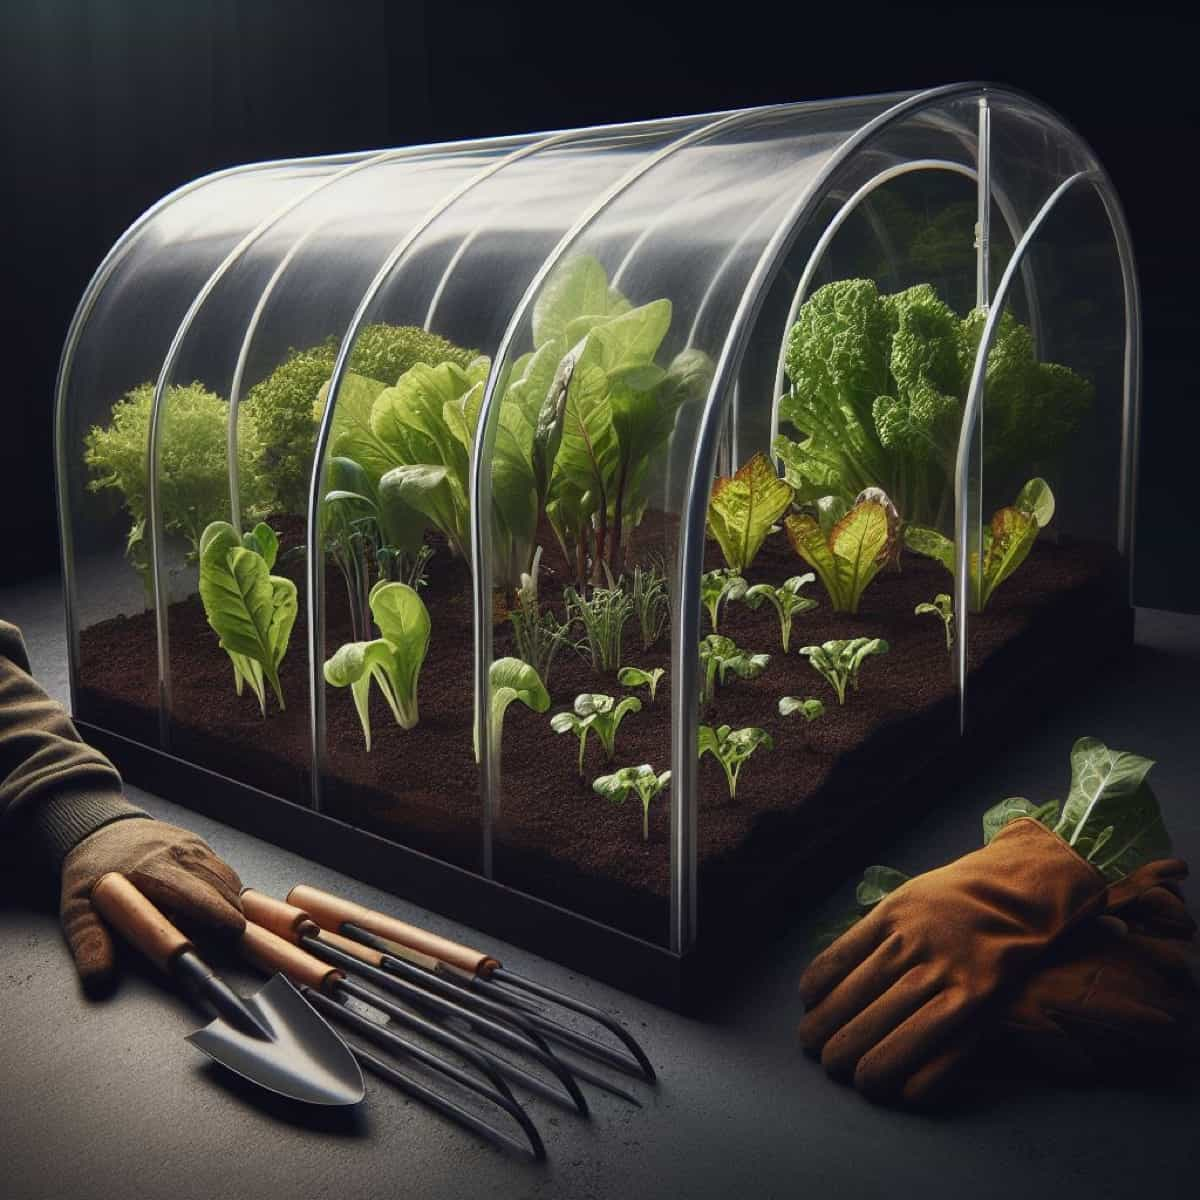
Cold Frame Gardening in Winter
Cold frame gardening in winter involves using a transparent cover to shield plants from freezing temperatures and harsh winter conditions. It creates a microclimate that traps heat from the sun, allowing plants to thrive despite the cold. This method extends the growing season, enabling the cultivation of cold-tolerant vegetables and herbs even in winter’s chill.
Cold Frame Garden Advantages and Disadvantages
Cold frames operate as miniature greenhouses, harnessing solar energy while providing shelter from the elements, including cold temperatures, wind, snow, ice, and rain. By day, they accumulate sun warmth, retained throughout the night. This consistent heat preservation safeguards plants from freezing, facilitating their growth even in less favorable weather conditions.
The merits of cold-frame gardening are substantial. It enables you to commence gardening weeks ahead of the usual outdoor planting season for annuals and vegetables. Furthermore, many gardeners employ cold frames to stretch their growing season by several months or year-round. Their temporary nature allows easy removal and storage during summer, making them cost-effective and ideal for experimenting with season extensions without a significant investment.
Growing Plants in a Cold Frame Indoors
Growing plants in a cold frame indoors is a practical method for maintaining a controlled environment. It involves placing the cold frame within a greenhouse, sunroom, or any indoor space with ample sunlight. This approach allows for year-round cultivation, protecting plants from extreme outdoor conditions.
Proper temperature, humidity, and light levels can be maintained for optimal growth. Cold frames are typically used for hardening off or starting seedlings, ensuring they receive adequate light while benefiting from the temperature regulation offered by the indoor setting.
Cold Frame vs. Greenhouse
Cold frames and greenhouses are tools for extending the growing season but differ in design and functionality. Cold frames are typically low, unheated structures with transparent lids that trap heat from the sun, providing some protection against frost. On the other hand, greenhouses are fully enclosed, heated structures with precise climate control, allowing year-round cultivation. Greenhouses offer greater temperature and humidity control, making them suitable for a wider range of plants. Cold frames are more cost-effective and serve well for season extension in milder climates or for hardening off seedlings.
In case you missed it: Best DIY Homemade Rooting Hormone Ideas
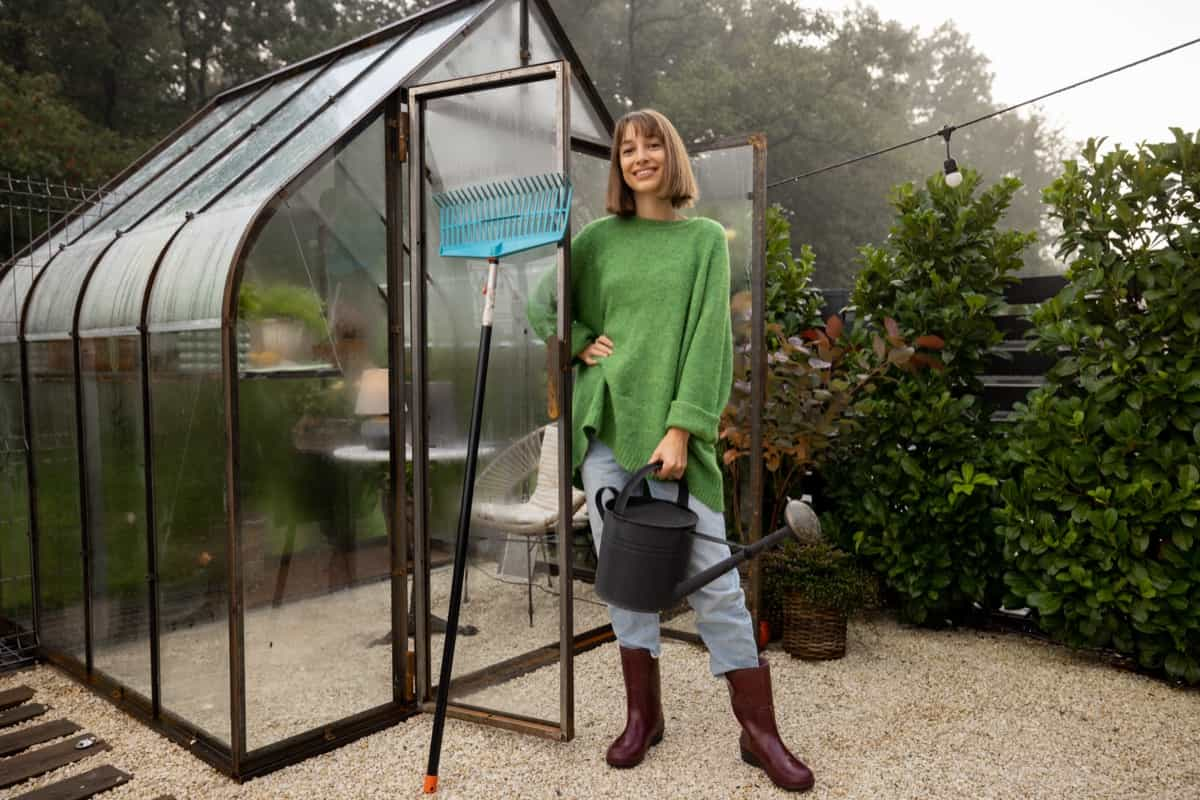
Tips for Using a Cold Frame
- Ideal Crops: Cold frames are best suited for cold-season crops such as spinach, collards, lettuce, arugula, kale, radishes, carrots, turnips, and allium family members like onions, chives, leeks, shallots, and garlic. Russian kale thrives in the coldest climates (Zone 3).
- Temperature Control: Cold frames can raise temperatures by up to 20°F compared to the outside. To prevent overheating, provide ventilation by lifting the window or using 1-inch-thick objects to create gaps.
- Planting Time: Plant seeds or seedlings in late summer or early fall. Growth slows as days shorten in winter.
- Watering: Water regularly during the fall growing season, but refrain from watering until spring.
- Low Maintenance: Cold frames require minimal maintenance in winter since the growing season, weeds, and pests all recede.
- Early Spring Use: Extend the growing season further using the cold frame in late winter or early spring.
In case you missed it: Growing Potatoes in Containers/Pots: DIY Guide for Beginners
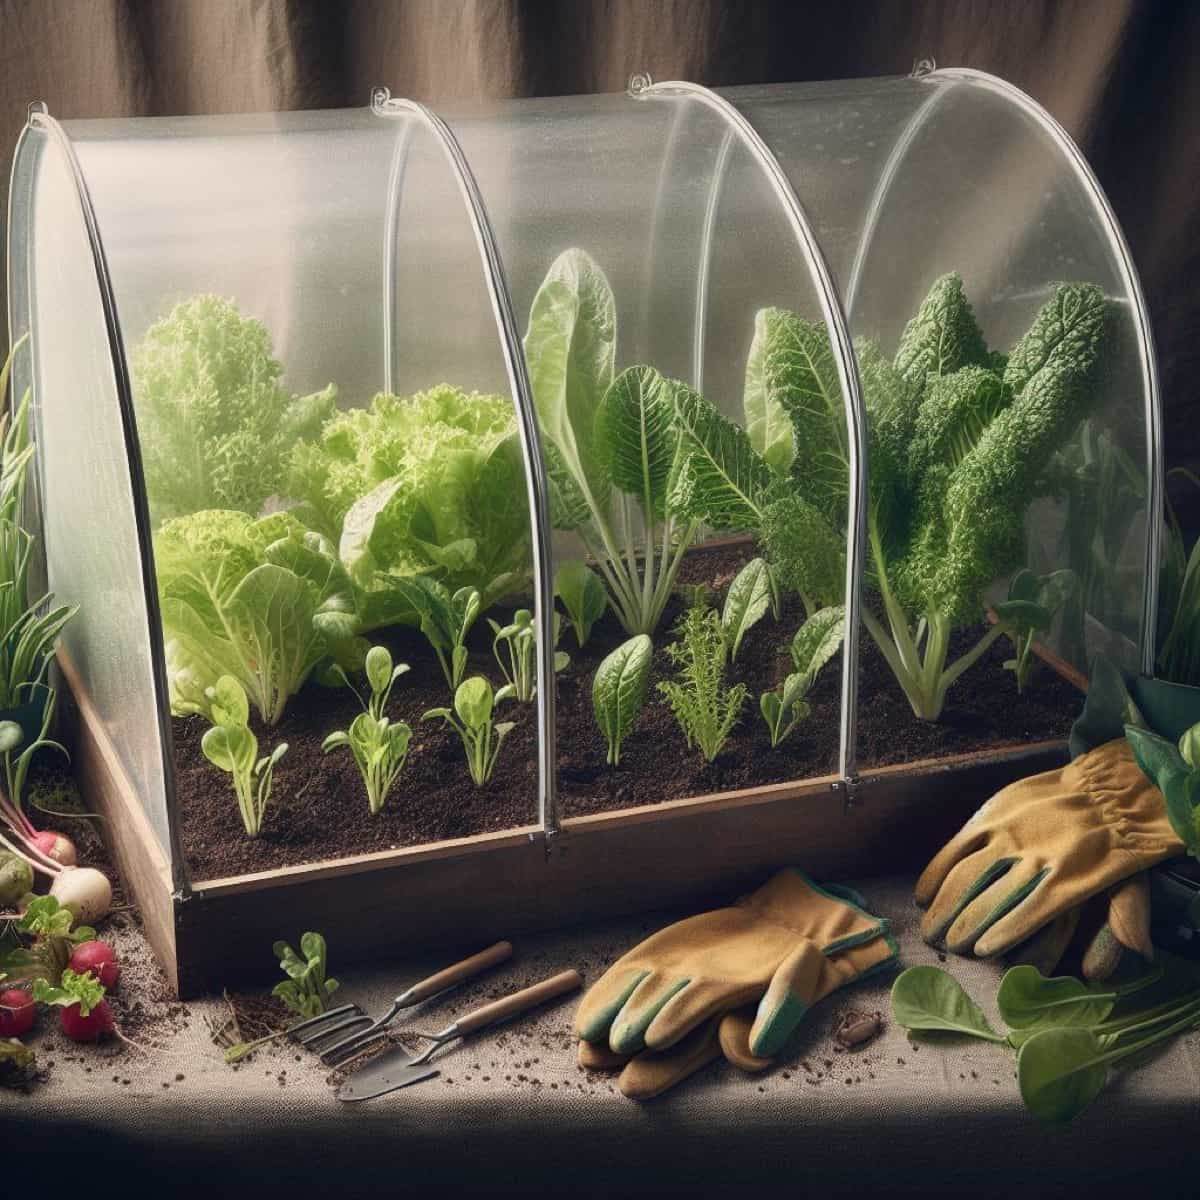
Conclusion
Cold frame gardening is a cost-effective and sustainable method for extending the growing season. Simple DIY construction offers advantages like early planting and crop protection. However, proper management is key to avoid overheating and other challenges. Embracing cold frames empowers gardeners to enjoy fresh produce year-round.
- Flower Garden Designs and Layouts for Beginners
- Planting and Spacing Techniques in Papaya: A Beginner’s Guide
- Growing Gold: Essential Techniques for Planting Pineapples
- How to Make Kalanchoe Plant Bushy: Home Remedies and Solutions
- 11 Reasons Why Your Gardenia is Not Blooming: Home Remedies and Solutions
- Eco Elegance: The Guide to Designing a Drought-Tolerant Landscape
- Gardening on a Slope: Strategies for Hillside Landscaping
- Nourish and Flourish: Top Organic Mulches for Thriving House Plants
- Everything You Want to Know about Indian Mogra Flower: Discover Uses and Growing
- Green Thumb Success: Expert Tips for Cultivating Greenhouse Pumpkins All Year Round
- Maximize Growth & Flavor: The Ultimate Guide to Companion Planting in Herb Gardens
- How to Control Rhododendron Problems Naturally: Home Remedies and Organic Ways to Fix Them
- Natural Magic: The Remarkable Benefits of Cinnamon for Plants
- Best Steps to Revive Dying Tulip with Natural and Organic Treatment
- 10 Reasons Why Your Angel Trumpet is Not Blooming: Remedies and Treatment
- How to Fix Periwinkle Leaf and Flower-Related Problems: Natural Remedies and Solutions
- How to Fix Zinnias Leaf and Flower Problems: Discover Natural and Home Remedies
- Organic Steps to Induce Lemon Tree Flowers: A Comprehensive Guide
- Bloom Booster: Crafting the Perfect Homemade Bougainvillea Fertilizer
- Optimizing Growth: A Guide to Applying NPK Fertilizer for Potted Plants
- 10 Best Homemade Fertilizers for Rubber Plant: DIY Recipes and Application Method
- How to Boost Female Pumpkin Flowers: Effective Steps for More Flowers and High Yields
- Transform Your Indoor Garden: Top Benefits of Pink Salt for Houseplants
- 10 Best Homemade Fertilizers for Peacock Plants (Calathea): Easy DIY Guide
- Unlock Blooms: 9 Reasons Why Your Potted Chrysanthemum is Not Blooming
- 8 Reasons Why Your Potted Hibiscus is Not Blooming: Fix it with Simple Solutions
- Unlock Blooms: 9 Key Reasons Your Potted Frangipani Won’t Flower
- 10 Reasons Why Is My Ice Plant Not Blooming: Remedies and Treatment
- 10 Reasons Why My Potted Hydrangea Not Blooming: Treatment and Remedies
- 10 Reasons Why is My Wisteria Not Blooming: Remedies and Treatment
- 10 Reasons Why is My Goldfish Plant Not Blooming: Remedies and Treatment
- Maximize Your Space: Ultimate Guide to Balcony Gardening with Grow Bags
- 10 Reasons Why Your Iris is Not Blooming: Remedies and Treatment
- 10 Reasons Why Your Anthurium Plant is Not Blooming: Treatment and Remedies
- 10 Reasons Why Your Aquaponic Plants Are Not Flowering: Remedies and Treatment
- 10 Reasons Why Your Agapanthus is Not Flowering: Remedies and Treatment
Iam interested in greenhouse farming. My 1 acre farm is at madampatti coimbatore with eb line and borewell. I had leased it a couple of times but now I want to do it myself.