Hibiscus does not grow well in wet, water-logged conditions. Loam and sandy loam soil are excellent for growing Hibiscus. Some Hibiscus plants have lived for more than 40 years, meaning you can deal with a huge bush. Make sure you get a permanent location for your Hibiscus to start. Try to find a location with good drainage; collecting water will drown your Hibiscus. On the other hand, avoid a place that is sand.
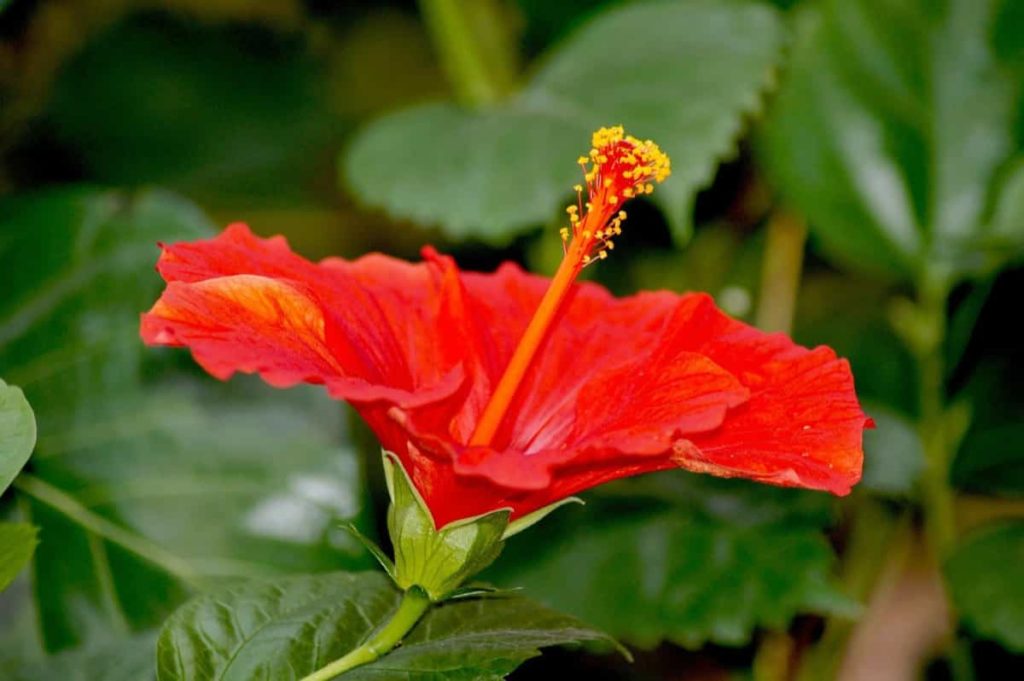
Hibiscus are sun-loving plants. In your garden, choose a location that receives 4 to 6 hours of direct sunlight daily. Usually, it will be on your garden’s west or south side. If necessary, Hibiscus can be shaded by large trees, but it will need space to spread, as they can eventually take two or three times more than their original size.
Ensure soil drainage and permeability testing before planting. You should dig a hole, pour a gallon of water into it, and modify the soil to deal with excess soil if the water does not disappear within an hour. Consider adding clay if the water drains too quickly when you pour it.
How to prepare the soil for Hibiscus plants
Soil pH for Hibiscus
Soil pH below 7.0 indicates acidic soil, while a pH above 7.0 means your soil is alkaline. If necessary, you can reduce your soil pH by mixing it with a sulfur mixture like sulfur or aluminum sulfate. Lime is commonly used to increase pH, and common liming materials include dolomite and ground agricultural limestone.
Hibiscus prefers soil with pH levels between 6.5 and 6.8, i.e., slightly acidic to neutral. When you plant the Hibiscus in your selected soil, check the pH before planting it. Otherwise, the wrong pH level can raise problems in the plant. For the Hibiscus plant, if the acidity level is not up to the mark, the color of the flowers will be affected. To increase the level of pH, you can use lime.
Preparation of soil for growing Hibiscus on grounds
If you live in an area where you don’t experience frost and your temperature is consistently above freezing, you can happily plant Hibiscus in the ground. In addition to normally mild weather, there are few other requirements for planting in the ground. Proper soil preparation before planting will help ensure vigorous, healthy plants and reduce the problem of soil maintenance besides the regular addition of organic material.
Where the plants are to be planted should be prepared sometime before planting. Most soils have low organic matter, and Hibiscus plants benefit from adding this material. Mark the area where plants are to be set, spread a good thick layer of manure, leaf mold or well-decomposed manure, well-rotted chicken litter, etc., and fork well into the soil. You should use a light application of dolomite and balanced manure.
Soil should be rested for 2 or 3 weeks after fertilizing, during which Hibiscus plants can be selected and purchased. When planting, always remember you don’t plant too deeply. You should dig a hole slightly larger and deeper than your container and plant at about the same level as the current pot or only a little deeper. You should strengthen the soil around the plant with mild pressure by the feet. You should apply a proper mulch after planting Hibiscus.
Preparation of soil for growing Hibiscus in containers
Hibiscus is usually grown indoors in containers, especially in cold climates. If you grow Hibiscus in containers rather than directly in the ground, many potting mixes will yield better results than pure garden soil. The right potting soil selection, which protects and nurtures the root system, gives your plant the best chance to thrive.
In case you missed it: Growth Stages of Flowering Plants: Rose, Marigold, Hibiscus, Dahlia, Gerbera Daisy, and Jasmine
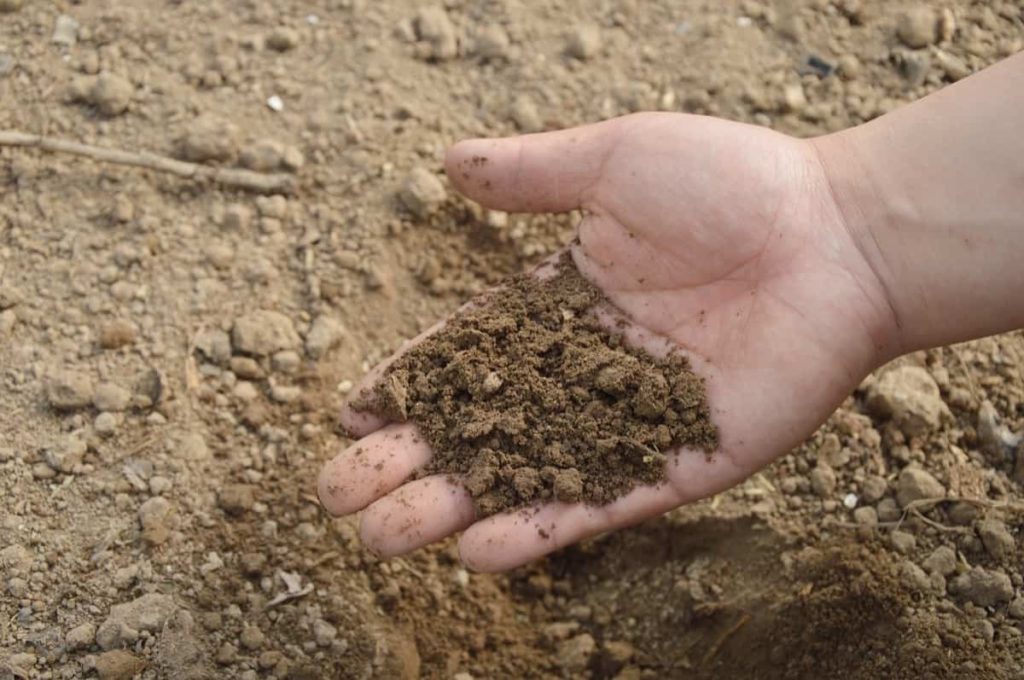
Many farmers use a standard commercial potting mix, and some prefer to mix their soil mixture. Make sure your soil mixture is specifically designed for potted plants products intended for garden beds, compost mixtures, or mulch can maintain a lot of moisture for Hibiscus. You’d need to choose a soil mix that allows the best drainage because Hibiscus doesn’t like to be overly wet.
They also prefer soil to be slightly acidic; if necessary, adding peat moss to their container can lower pH levels. While some farmers use equal parts composted bark, composted manure, and coarse peat with a bit of vermiculite mixed, a typical mix consists of 50% peat, 45% composted bark, and 5% perlite, leading to excellent drainage and air circulation around the roots. Others replace some or all peat content with coco coir; it stays twice as long as the peat before breaking and is also less likely to pack due to excessive water.
How to grow Hibiscus in poor soil
You’ll probably have problems growing Hibiscus if your soil is very sandy. Sandy soil does not absorb water or keep fertilizer. Most of the water applied to the sand flows down the roots of the plants, and the water that is absorbed evaporates quickly. If you have too much sandy soil, either grow your Hibiscus in pots or be prepared to water often and use timely release fertilizers on the soil’s surface.
If your soil has too much sand, you can improve its structure by adding mulch or other organic matter. You should avoid clay soil, but, if necessary, you can improve heavy clay by mixing it with sand or gypsum. Planting raised beds can also help prevent drainage problems in clay soil areas.
Soil composting for Hibiscus
Soil for Hibiscus must be rich in nutrients as they are heavy feeders. Nutrition helps Hibiscus to bloom in abundance. If you have nutritious soil, you will not need to compost the plant often. To increase soil fertility, you can add compost or other organic matter to the ground. Use fertilizers high in nitrogen and potassium but low in phosphorus to feed the plant. Consider checking the fertility and pH levels of the ground using soil test kits before planting.
The test results will tell you which amendments are needed. Other organic options for these tropical plants include banana peels and putting them on the soil under the Hibiscus dripline; you can also mix the peel in the soil or add them to your compost bin. Wood ash is a good source of natural potassium for Hibiscus, and you can also sprinkle it in compost.
In case you missed it: Best Fertilizer for Hibiscus: Homemade, Organic, Liquid, NPK, and Compost Manure
Land preparation for Hibiscus
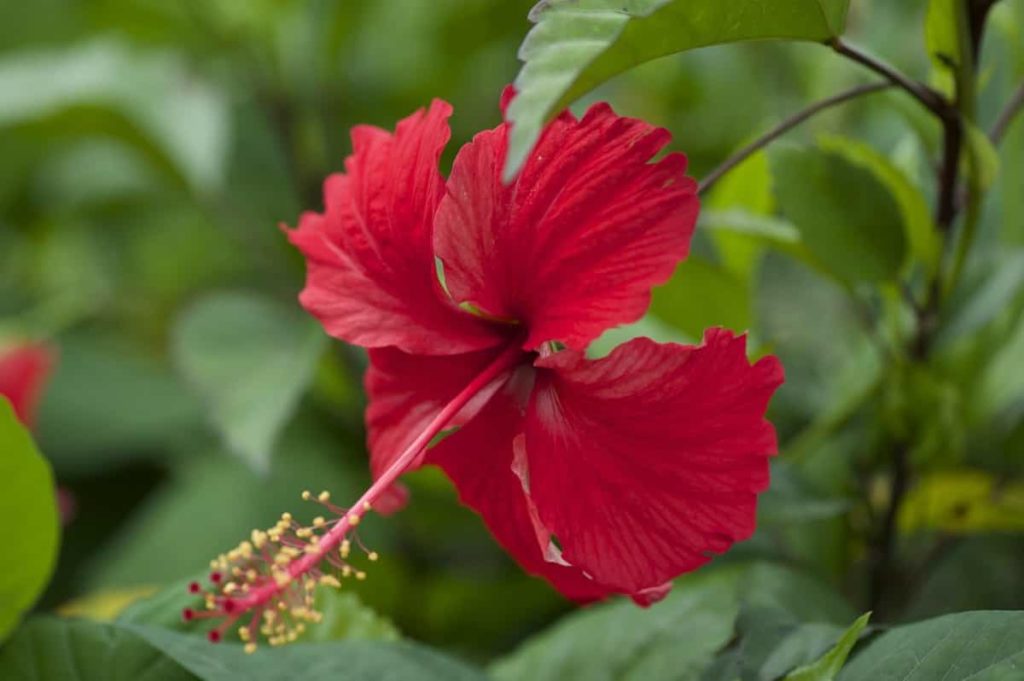
You should always build garden beds to ensure your Hibiscus has proper drainage for its root system. Attractive stones or cement edges can be used in construction, thus allowing you to make your soil behind them. If it is a new area, chip any existing grass from the surface without breaking subsoil. The soil must be neutral to acid in nature, including good compost or organic matter during preparation.
If your soil is good, the hole you dig for your Hibiscus must be a few inches wider than the plant pot. If you have a soggy place, dig a shallower hole to place the crown and cover the roots with soil around the hole. The more you break and work on the ground around the hole, the easier your Hibiscus can grow and the deeper the roots.
Best soil mix for Hibiscus
Although Hibiscus will grow in various soils, they do the best in soil mixing with high levels of organic matter like peat. A good Hibiscus potting mix should never be heavy but light and porous so that the water moves quickly through the pot and out from the bottom. The mix should have a structure allowing water and air to pass smoothly and maintain moisture.
Hibiscus appears to perform well in a mixture of peat, fine pine bark, medium-coarse sand, and two parts of soil, but other mixes containing peat, perlite, and coarse sand are equally good but not so substantial.
Soil recipe for Hibiscus
Recipe 1– Mix 2 parts of soil, two parts of peat moss, and 1 part vermiculite or perlite.
Recipe 2 – Mix 1/3 of potting soil, 1/3 of compost or worm castings, and 1/3 of peat moss or coco coir.
Recipe 3 – Mix equal parts of composted bark, manure, and coarse peat. Mix these ingredients with small vermiculite.
Recipe 4 – Mix 50% peat, 45% bark, and 5% per perlite.
Recipe 5 – Mix 2 parts of soil, 1 part of compost, and 1 part of sand.
Recipe 6 – Mix 30% soil, 30% compost, 20% sand, 10% rice husk (optional) or coco peat, and 10% stone dust or bone meal. A small neem cake to prevent fungal growth.
Recipe 7 – Mix 60% soil, 30% vermicompost or cow manure, and 10% river sand. You can also add 30 grams of mustard cake powder, 10 grams of super-phosphate, 30 grams of bone dust, 30 grams of neem cake powder, and 10 grams of potash. This mixture will help in abundant blooming throughout the year.
In case you missed it: Hibiscus Gardening For Beginners – How To Start, FAQs
Natural soil amendments for Hibiscus
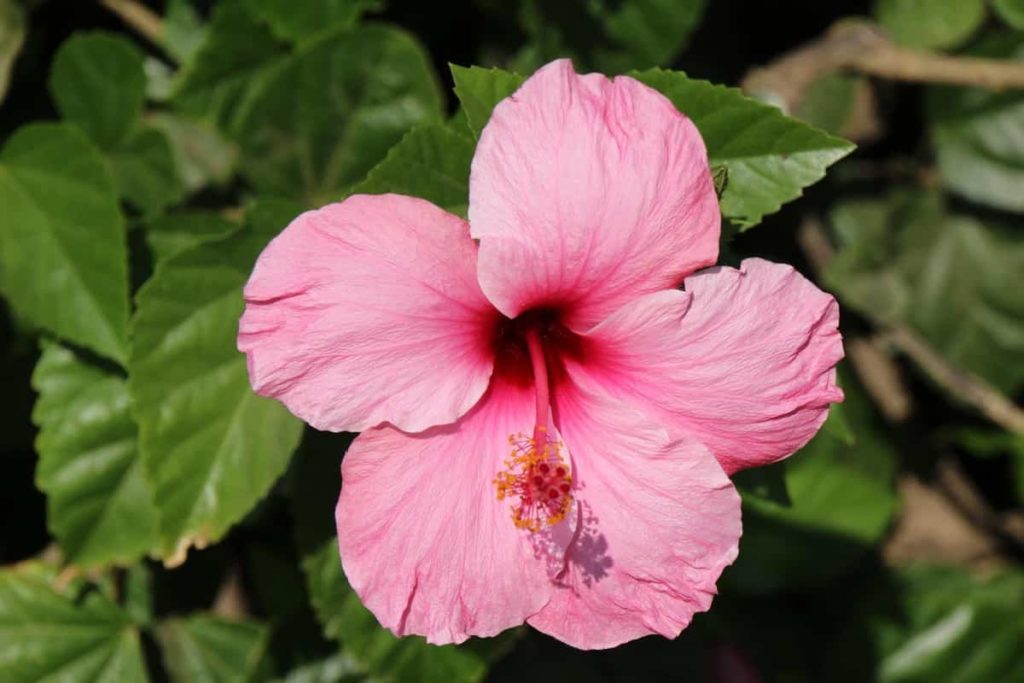
Hibiscus should always be planted in soil modified with much organic matter. If you plant Hibiscus in garden soil, the planting area should be made from compost, leaf moil, or rotten manure to ensure that the soil has the right moisture balance to prevent the Hibiscus from wilting. Give full water to your Hibiscus and add a 2-inch layer of mulch to the soil around your Hibiscus (made from manure, leaf mold, or well-rotted manure) that helps preserve soil moisture and maintain the right conditions for the Hibiscus to thrive.
Hibiscus should be planted in good potting soil which maintains moisture or good multipurpose compost. Compost retains moisture, yet its structure is a porous, aerated structure, allowing good drainage, which replicates the soil conditions of the normal Hibiscus environment. Mulch effectively suppresses weeds and helps to keep soil moisture constant, which is essential for happy Hibiscus.
For hardy Hibiscus winter care, mulch is the key to protecting roots from harsh elements. The layer of pink bark mulch or leaf mold around your Hibiscus plants ranges from 2 to 3 inches, whether planted in the ground or in containers.
What to do with soil when growing Hibiscus
Using companion plants is an excellent idea to grow your Hibiscus in the garden but make it more attractive. Also, it’s important to know which plants go well with Hibiscus, be careful when choosing companions, won’t choose a plant that will fight with it for space and resources. Suppose you are looking for effective Hibiscus companion plants that provide ground cover.
In that case, the decorative Sweet Potato vine is a plant many people choose for their hanging baskets, but it surprisingly works as a ground cover. The plant will fill up the place around the Hibiscus, creating a very effective view. It will also help prevent weeds from attacking your Hibiscus. Visually, it contrasts dramatically with the deep purple Hibiscus species, although you can use it for other types of Hibiscuses. Both plants are heat tolerant, so they go well together.
In case you missed it: Growing Hibiscus Plants in Pots from Cuttings, Seeds
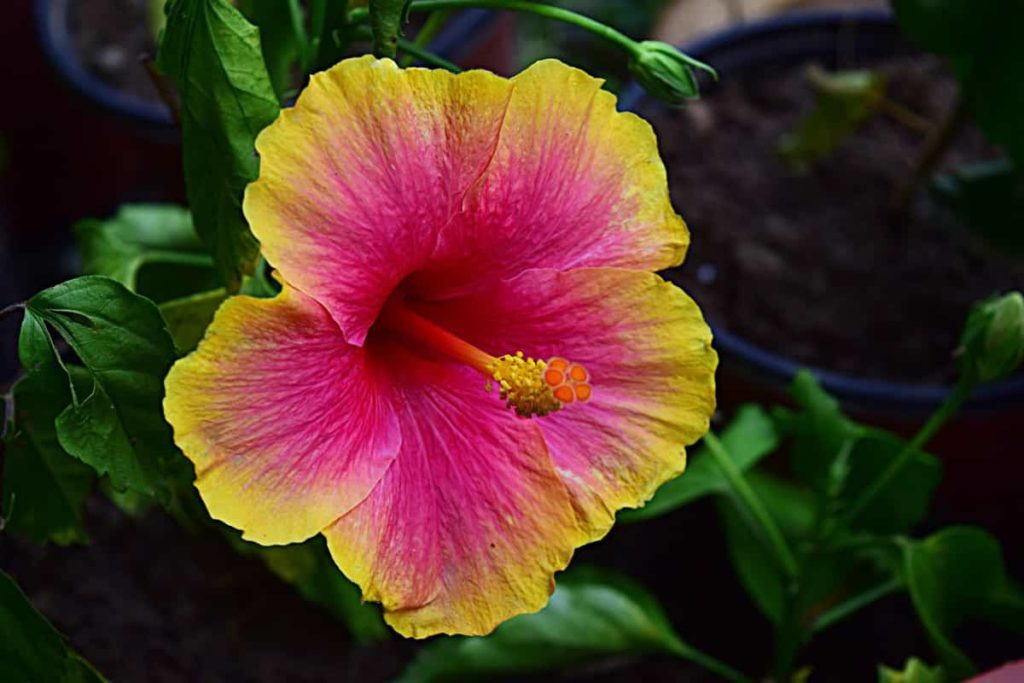
Sweet Alyssum is another great ground cover option you can use as your Hibiscus partner. It has a sweet fragrance that is great for the garden’s hot summer days. Sweet Alyssum spreads around 2 to 4 inches, so you won’t need to do much to build ground covers around your Hibiscus plants. These plants go well with Hibiscus as both prefer too much sun and moist soil.
Also, sweet Alyssum will still be at its peak when Hibiscus plants start to bloom at the end of summer. It will create a very beautiful view of your garden. The Caladium plants have tropical air, like Hibiscus, so they go well together. They are a great pair if you want to create a rainforest atmosphere in their garden.
Some caladium species can grow in both the sun and the shadow, which means they are great for the surrounding parts of the Hibiscus that do not get the light as Hibiscus require. The Caladium plants can act as an excellent ground cover around the Hibiscus. If you want to enhance the tropical environment, The Caladium is an ideal companion plant for Hibiscus.
In case you missed it: 18 Common Rose Plant Problems: How to Fix Them, Solutions, and Treatment
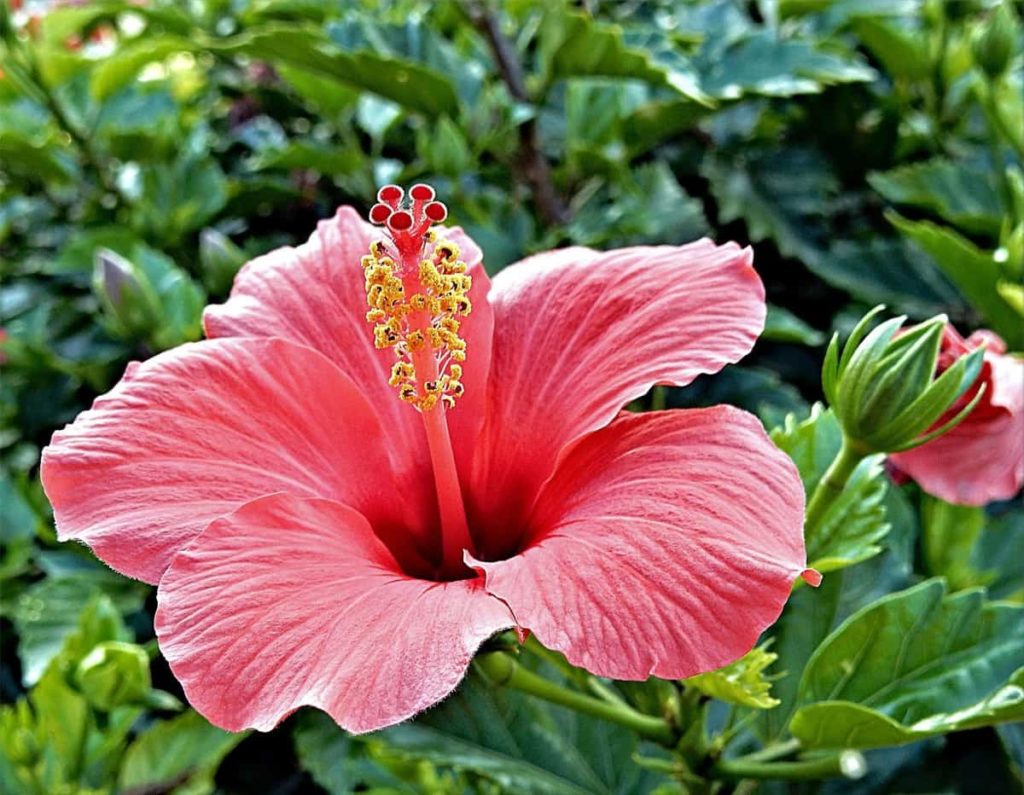
Bee Balm also acts as a ground cover for Hibiscus plants. Hibiscus and Bee Balm like full sun and moist soil, so they can easily grow together. However, choose a type of Bee Balm that is not an aggressive spreader so that it won’t compete with the space of your Hibiscus plants. Japanese Anemone is a long perennial plant that gets into its prime around the same time as Hibiscus in the fall after summer. It has bright flowers growing on the stems, about 2 inches high.
Because of this, it is essential to place the Japanese Anemone next to your Hibiscus. Japanese Anemone is also a good choice as it prefers moisture content like Hibiscus, so it’s easy to keep them together. The Daylily is a versatile perennial plant that thrives in climate conditions like Hibiscus. They won’t even fight for space, so it’s a great choice to enhance your Hibiscus and create a beautiful effect in your garden.
Conclusion
Hibiscus care can sometimes be a labor of love, but the blooming flowers reappearing for months are fully worth it. Hibiscus is considered a perfect flower because of its well-defined structure. Petals are separated from each other without touching each other. Growing a Hibiscus that illuminates your garden with flowers is a rewarding experience. This article will help you prepare the soil for Hibiscus and maintenance tips. You can enjoy abundant, colorful flowers and healthy, vigorous Hibiscus plants all summer.
- How to Grow Hibiscus from Flower
- Plantation Ideas for Home Decoration: A Beginners Guide
- Flower Garden Designs and Layouts for Beginners
- Planting and Spacing Techniques in Papaya: A Beginner’s Guide
- Growing Gold: Essential Techniques for Planting Pineapples
- How to Make Kalanchoe Plant Bushy: Home Remedies and Solutions
- 11 Reasons Why Your Gardenia is Not Blooming: Home Remedies and Solutions
- Eco Elegance: The Guide to Designing a Drought-Tolerant Landscape
- Gardening on a Slope: Strategies for Hillside Landscaping
- Nourish and Flourish: Top Organic Mulches for Thriving House Plants
- Everything You Want to Know about Indian Mogra Flower: Discover Uses and Growing
- Green Thumb Success: Expert Tips for Cultivating Greenhouse Pumpkins All Year Round
- Maximize Growth & Flavor: The Ultimate Guide to Companion Planting in Herb Gardens
- How to Control Rhododendron Problems Naturally: Home Remedies and Organic Ways to Fix Them
- Natural Magic: The Remarkable Benefits of Cinnamon for Plants
- Best Steps to Revive Dying Tulip with Natural and Organic Treatment
- 10 Reasons Why Your Angel Trumpet is Not Blooming: Remedies and Treatment
- How to Fix Periwinkle Leaf and Flower-Related Problems: Natural Remedies and Solutions
- How to Fix Zinnias Leaf and Flower Problems: Discover Natural and Home Remedies
- Organic Steps to Induce Lemon Tree Flowers: A Comprehensive Guide
- Bloom Booster: Crafting the Perfect Homemade Bougainvillea Fertilizer
- Optimizing Growth: A Guide to Applying NPK Fertilizer for Potted Plants
- 10 Best Homemade Fertilizers for Rubber Plant: DIY Recipes and Application Method
- How to Boost Female Pumpkin Flowers: Effective Steps for More Flowers and High Yields
- Transform Your Indoor Garden: Top Benefits of Pink Salt for Houseplants
- 10 Best Homemade Fertilizers for Peacock Plants (Calathea): Easy DIY Guide
- Unlock Blooms: 9 Reasons Why Your Potted Chrysanthemum is Not Blooming
- 8 Reasons Why Your Potted Hibiscus is Not Blooming: Fix it with Simple Solutions
- Unlock Blooms: 9 Key Reasons Your Potted Frangipani Won’t Flower
- 10 Reasons Why Is My Ice Plant Not Blooming: Remedies and Treatment
- 10 Reasons Why My Potted Hydrangea Not Blooming: Treatment and Remedies
- 10 Reasons Why is My Wisteria Not Blooming: Remedies and Treatment
- 10 Reasons Why is My Goldfish Plant Not Blooming: Remedies and Treatment
- Maximize Your Space: Ultimate Guide to Balcony Gardening with Grow Bags
- 10 Reasons Why Your Iris is Not Blooming: Remedies and Treatment
- 10 Reasons Why Your Anthurium Plant is Not Blooming: Treatment and Remedies