Flowers go through different growth stages; each stage is as important as the next. The cycle of plant life begins when the seed falls to the ground. Flowers are more than beautiful objects to see or decorate; they serve an essential purpose in plant reproduction. The growth stages of the flower life cycle are seed, germination, growth, reproduction, pollination, and seed spread.
The growth and development of flowers occur from germinating seeds planted in the ground or container to flowers. Although flower varieties have different blooming periods, the normal growth and development process is the same for all flowers. The time of certain stages may differ from flower type.
Growth stages of flowering plants
Growth stages of Rose
Seed
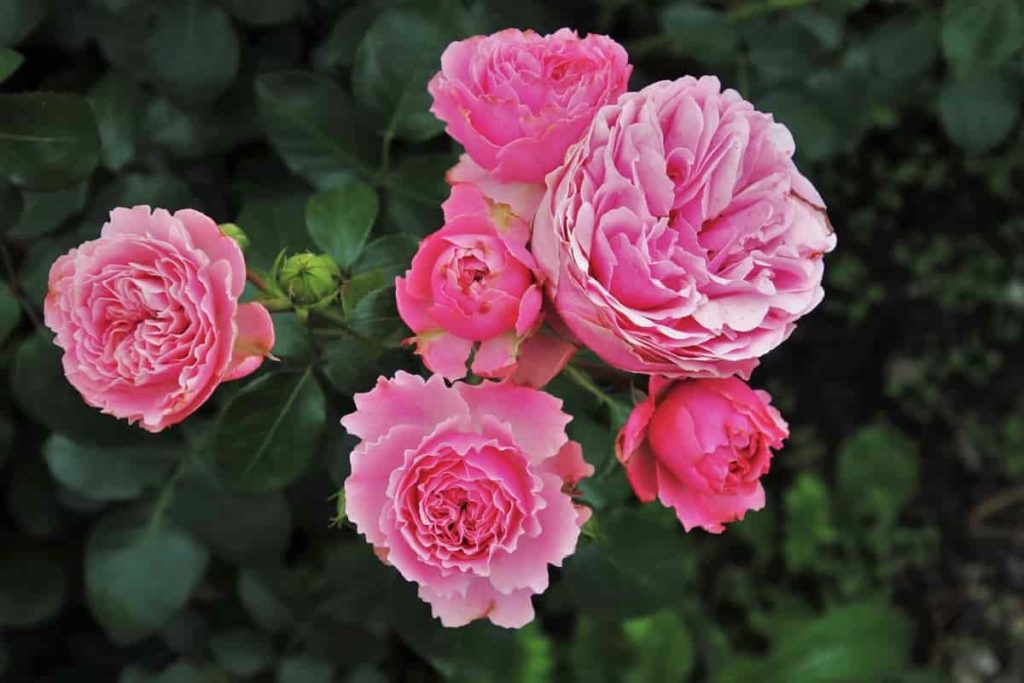
Rose seeds germinate inside Rose hip found in Rose brush fruit. Rose hips are formed from under the flower. During summer, the hips turn red, yellow, or orange and are full of seeds. Rose seeds are creamy-white and take 8 to 12 weeks to grow.
In case you missed it: Growing Roses Organically – In Containers, And Pots
Propagation
Roses are grown from seeds that lack the traits of the original plant. The most reliable approach to duplicating a certain Rose plant is through grafting or root cutting. To boost growth, root cutting is grown in the perlite with the addition of the rooting hormone. The cultivar is selected for its strong growth patterns, disease resistance, flowers, fragrances, and other features. Rose cutting can also be grafted on strong rootstocks to boost strong growth.
Growing season
Naked root Roses perform well in a garden with at least six hours of direct sunlight daily and well-drained soil. Organic compost should be added to the soil to improve drainage and nutrition. Plants, buds, and flowers start sprouting as the weather heats up in the late spring. During the summer, they continue to grow and flower.
Flower production
At this growth stage of blooming, it will form small buds surrounded by sepals. These are the simple green leaves you usually see at the base of the flower. These buds will bloom in the Rose flower we all know and love.
Pollination and seed production
Once the flower is fully bloomed, it will produce nectar attracting pollinators like bees and birds. As a pollinator reaches for nectar, pollen will cling to the hair on its body and legs. Pollen makes its way to the female pistil when it revolves around the plant.
Dormancy
Even when the weather is mild, the Roses become dormant in winter. Their leaves turn yellow, brown, and red as winter approaches, and their stalks become spindly. To boost rapid growth next year, you must prune within 2 to 3 feet of land. Pruning after blooming is also beneficial. The average lifespan of a Rose bush is 15 years. If your old Rose is not doing well, it may be time to change it.
Growth stages of Marigold
Planting
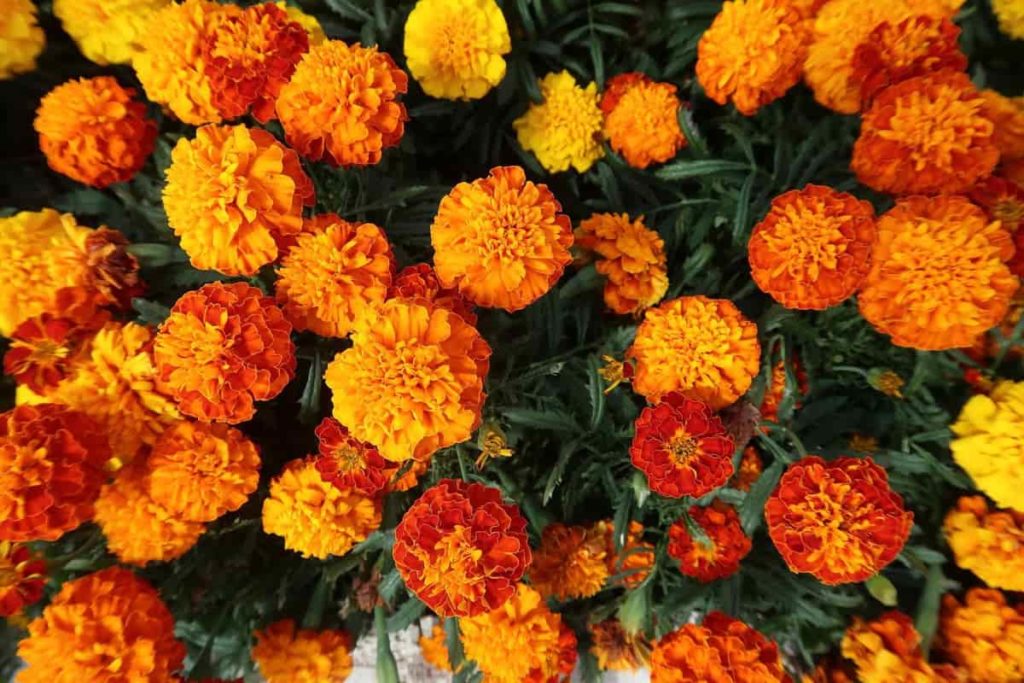
Marigold seed packets are easily available from most garden centers. The Marigold seedlings will be 12 to 18 inches long and produce single or double-flowered blooms in yellow, orange, red, or white. If you have a hot climate, start your Marigold seeds indoors about two weeks before your last frost date.
In case you missed it: Best Fertilizer for Marigold: Organic, Homemade, Natural, NPK, and Compost Manure
Seed germination
Apply Marigold seeds to a container or tray filled with free-draining soil mix or seed starting medium. Moisten the soil until it is equally moist but not soggy. Place 2 or 3 seeds gently over the soil and cover with 1/4 inches of soil. Sprouting the root tip through a seed coat is the first germination stage.
It usually occurs four to seven days after planting, depending on soil temperature and humidity. It is important not to give or disturb the soil much while the roots grow from their seeds, so water gently during this time. Keep an eye on any weeds that sprout around your Marigold during this phase, as they can compete with nutrients in your flowers.
Sprouting
The first two leaves in this stage come out of seeds. These are not true leaves but embryonic leaves, also called cotyledons.
First true leaves develop
In this stage, the cotyledon leaves have fallen, leaving the plants in their comfortable little pots.
Forms a strong root system
Once start growing its first true leaves, the Marigold quickly enters the next stage of development: forming a strong root system. The root system extract nutrients from the soil depths. The roots anchor the plant to prevent it from blowing by wind or hitting heavy rain.
Vegetative growth
Once the root system is ready, and the plant gets nutrients from the soil, it starts growing its vines vigorously. The Marigold starts making leaves during its vegetative phase, which lasts for about three weeks for most types of Marigolds. During this time, their stems become stronger, and their roots deepen in the soil, which can help them grow above the ground.
Flowering stage
Marigolds usually start blooming between two and three months. Growing Flowers is one of the most noticeable stages in a plant’s life cycle; they are now ready to produce colorful flowers. They will go through a flowering phase that leads to fruit and seed formation. You can pinch the heads of flowers as soon as they are finished to encourage more blooming over the remainder of the season. Feed your Marigold with high phosphorus fertilizer at this time.
Pollination stage
Pollination is the process of pollen from male flowers transferred to female flowers. To pollinate the Marigold by hand, use a small paintbrush to transfer pollen from male flowers to female flowers. If there are flies around the garden, you don’t have to worry about being a hand pollinator because they will do it for you. Once the female flowers are pollinated, the plant enters the fruiting stage.
Fruiting stage
Marigold flowers produce seeds when bees and butterflies pollinate them. When they reach their peak color, Marigold flowers begin to wilt and must be removed from the plant; otherwise, the flowers will drop their seeds to the ground.
Senescence
Senescence is the last stage of the life cycle of the plant. In this stage, the plant stops growing and starts to break down.
Growth stages of Gerbera Daisy
Seed
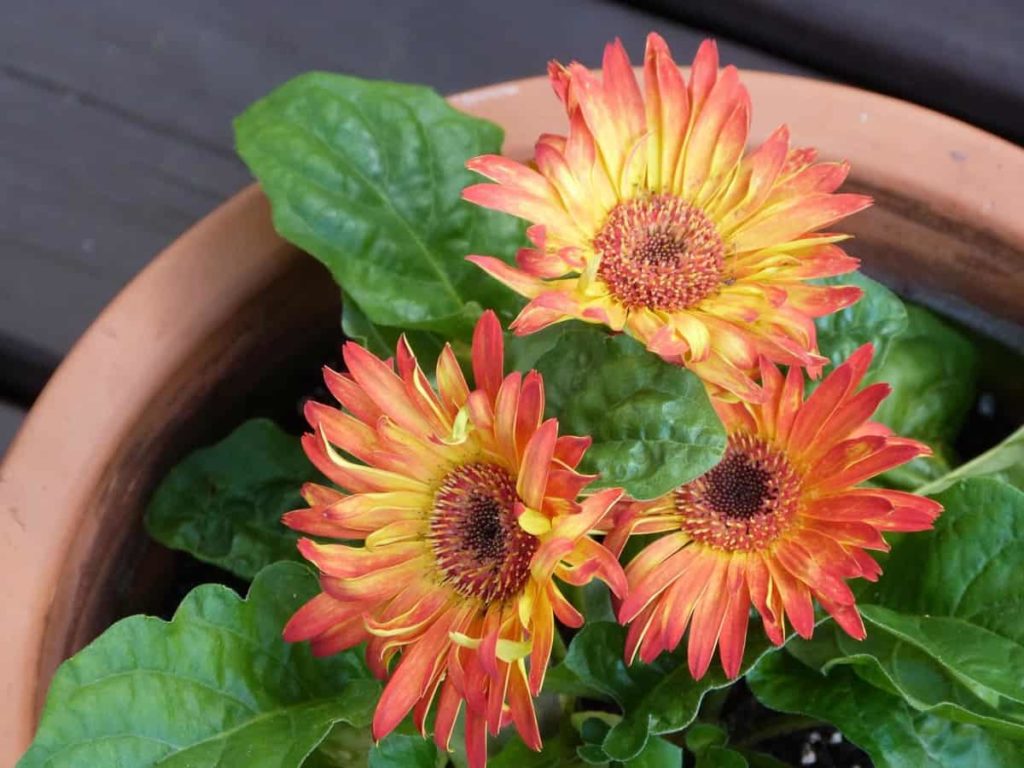
When Gerbera Daisy starts fading and loses its color, clip it from the plant. Set the flower head on a paper towel in the warm area of the house. Collect the seeds when the flower head is completely dry, and the seeds fall on the paper towel.
In case you missed it: Growing Gerbera Daisy in Pots – a Full Guide
Germinating seeds
The first step is to fill the seed tray with a seed-starting mix ideal for seed growing. Once the tray is full, mist water with a spray bottle to moisten each part of the tray, and place a seed in each hole facing below the pointed end and below the soil line above the seed. Place a little soil to cover the top of the seed. Finally, cover the tray with plastic wrap and keep the tray somewhere bright for eight hours. Then set it to an indirect sunny place. Leave the plastic wrap until the seeds sprout in two to three weeks.
Propagation
Take 6 to 8 inches of cutting from a healthy Gerbera Daisy plant. Make sure not to make deep cuts as they can cause severe damage to the donor plant. Dip the cut end of the Gerbera into a rooting hormone and plant it in a pot full of standard potting mix.
Rooting
Lift the cutting gently from the pot after 10 to 14 days. If it resists, it is an indication that it has built roots, and you can now put it in an individual container or garden.
First true leaves
The first step is to ensure that the Daisies sprout with two sets of leaves, which can take 15 to 30 days. Once this happens, make sure any potential frost threat has passed. Pick a place for baby Gerberas with bright morning sunshine and afternoon shadows. Place the baby Gerberas in the soil by gently removing the seedlings from the tray and placing them in the holes. Cover the root balls with soil and pack firmly. Finally, water the soil deeply and avoid wetting the leaves.
Flowering stage
After initially appearing, flowers will continue to bloom for several weeks. Keep them safe, bright, and attractive in a temperature range of 5 to 20°C. Summer heat will often quickly end Gerbera’s blooming; some gardeners move them indoors after blooming to enjoy the flowers for longer.
Re-blooming
Even in the best conditions, Gerbera flowers will not last until winter. After they die of blooming, cut them off from the plant with sharp garden shears. When the weather and planting conditions are right, the flowers will re-bloom so you can enjoy more Gerberas. Plants are unlikely to bloom more than twice in the same season, but it is common for Gerbera to flower twice during spring and summer.
Growth stages of Jasmine
Seed
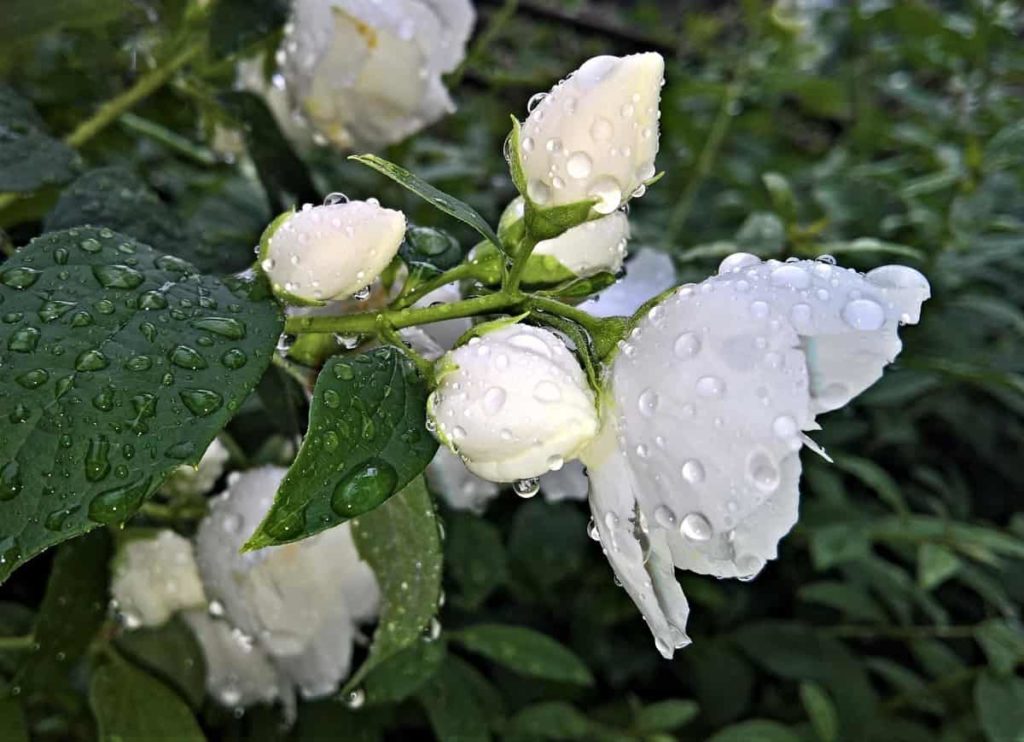
If you want to start Jasmine plants directly with seeds, you’ll need to start about three months before summer. To propagate Jasmine like this, you must soak the seeds for 24 hours before planting. You should plant only one seed in each cell. Cover six-pack cells with plastic once they are applied.
In case you missed it: Jasmine Gardening For Beginners – How to Start, FAQs
First true leaves
Make sure to keep them directly in sunlight. Wait for the seedlings to sprout. In the meantime, you need to keep the soil moist. Once two pairs of seedlings are true leaves, moving them to a larger container is time. Alternatively, keep your new Jasmine plants indoors for a year. This can strengthen new plants and grow proper roots before transplanting them into the garden.
Propagation
Starting with cutting is a more common way of propagating, and it gives rapid results. You should start by cutting from a healthy Jasmine plant. Cut the stem tips and cut directly down the lead. This cutting should be about 6 inches long. Remove the leaves from the bottom of your cuttings when you get them.
Then, dip under each cutting in rooting hormone powder. Once the cuttings are planted, place a plastic bag on the planting container. You need to keep the planting container in a hot room. The temperature should not be less than 21°C.
Growing season
During the growing season, fertilizing Jasmine monthly will keep it blooming. Sprinkle balanced fertilizer that is soluble in the water around the base of the Jasmine, or use a diluted liquid fertilizer. Alternatively, you can side-dress the Jasmine with an inch of compost around the base of the Jasmine plant. Top dressing also works; when you give water, it takes nutrients down from fertilizer into the soil.
Flowering stage
Lightly trim fast-growing vines and shrubs to shape them, but save the main pruning until soon after the flowers fade. Otherwise, you risk removing buds for next spring’s flowers. When blooming, flowers may last for several days or fade after 24 hours by species. Do not prune during blooming, as it can prevent blooming. So, you should wait until the plant has finished blooming for the season.
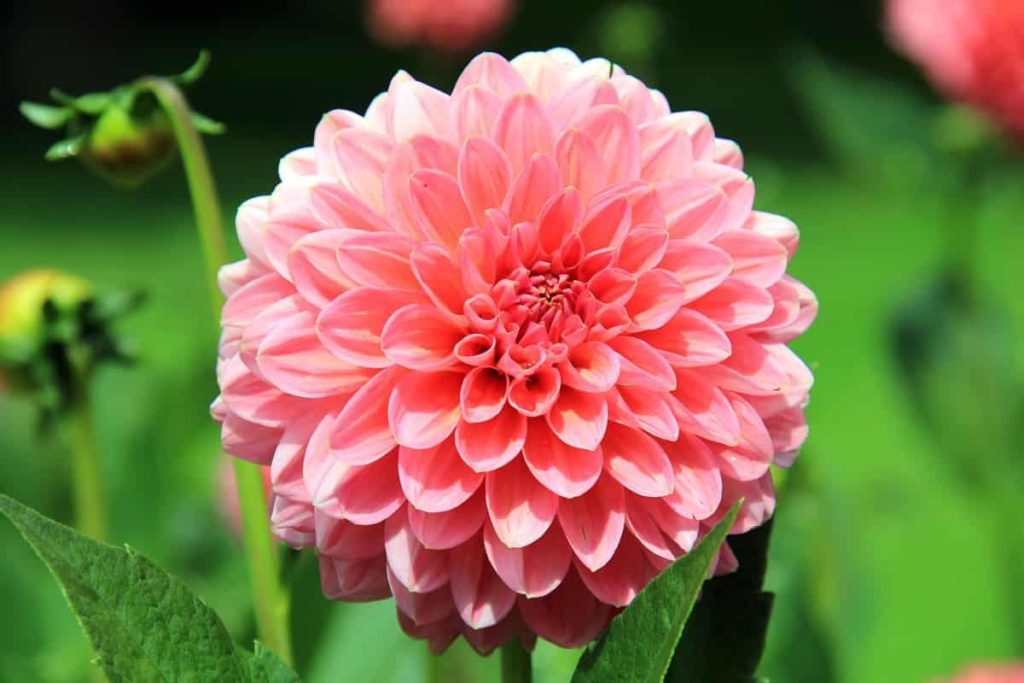
Growing stages of Dahlia
Planting
Dahlia’s first growth stage begins when the seeds are planted in a warm environment. This involves the process of growing, which involves developing an embryonic root system inside the seed shell and can take between 10 and 21 days. During this period, water and nutrients should be supplied regularly, and access to sunlight should be limited to shock the plant to produce a strong taproot.
In case you missed it: Growing Dahlia Flowers – From Tubers In Pots At Home
Vegetative growth
The next growth stage of the Dahlia occurs during the vegetative growth before the flowers or buds appear. During this stage, the plant takes its distinctive vertical form and creates a wide root system; it also occurs when the leaves start growing and maturing. This period can last anywhere from 3 to 8 weeks, depending on environmental factors (such as temperature) and genetic factors (such as different species).
However, for the best flowers, many growers will choose to limit the vegetative stage by preventing their plants from growing beyond 10 inches long until most species start flowering. Normal Dahlia will grow 1 to 2 inches per week during the vegetative phase, but some flowering species will double that rate.
Reproductive stage
The third stage of the growth of Dahlia is the reproductive stage, shortly before the plant begins to produce its flowers. During this period, the plant changes its energy source from leaf production to buds and blooming’s. You should note that pale green petals are not considered flowers because they do not contain pollen or pistols required for reproduction.
Harvesting
Once your Dahlia flowers are finished, the stage mentioned above gradually shifts into harvest after all the petals fall. Both roots and leaves can be used for their purposes at this time.
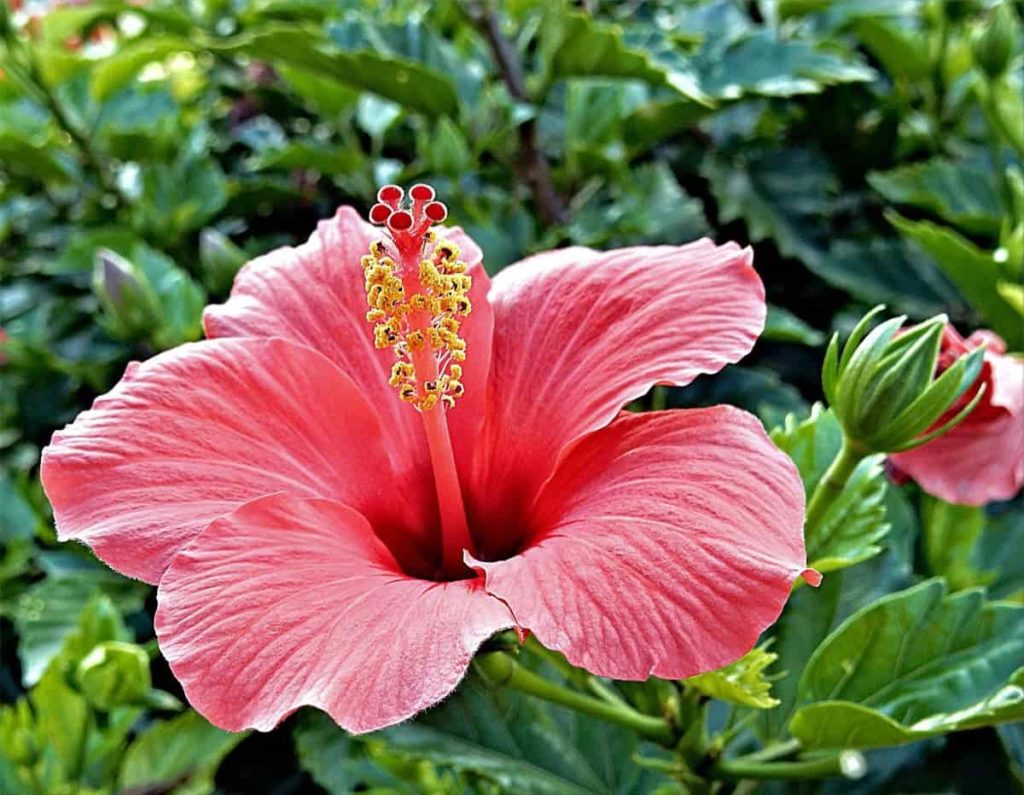
Growth stages of Hibiscus flower
Seed
Plant the Hibiscus seeds indoors about 12 weeks before the last frost of spring. Soak the seeds in hot water before sowing. If you are planting outside, it is possible to sow Hibiscus seeds in the fall or after the last predicted frost date. Some Hibiscus enthusiasts enjoy creating new varieties by combining different types of pollen. Within 6 to 24 months after planting, the seedlings will bloom.
In case you missed it: Hibiscus Gardening For Beginners – How To Start, FAQs
Propagation
The most common way to promote Hibiscus is by root cuttings from new shoots in spring, cutting from stem heads, and rooting in well-watered soil with a temperature of at least 21°C. Hibiscus seeds can also be grown; seeds will germinate in 1 to 4 weeks if you place them in a humid environment with a constant temperature of 23°C. Young plants need plenty of water and regular fertilization. Mature plants can be distributed in spring to produce new plants.
Flowering stage
Seed-grown plants will produce large flowers within 10 to 14 months, with a diameter of 4 to 6 inches. Mature plants flower on new growth, and mature plants bloom throughout the summer. During the hot summer, the plant needs enough light to thrive, either full sun or partial shadow, moist soil, and wind protection. If you plan to promote new plants from the seed, collect the new seeds before they mature and remove the seeds from the seed capsule.
Pruning
If you prune it well in spring, Hibiscus grows the most vigorously, removing up to a third of the plant’s old growth. Remember that the plant blooms on new growth, so be careful not to Prune too late in the season, so you are removing new growth with no bloom buds. However, withdrawing new growth tips in the middle of spring and summer will encourage new branches to grow further, and this growing new growth will result in more blooms.
Conclusion
The common person may know little about the life cycle of flowering plants, although flowers have been used as symbols, medicines, ceremonial aids, and even decorations worldwide. If you’re starting a garden or curious about where your flowers come from, this information will be helpful and interesting.
- How to Grow Hibiscus from Flower
- Plantation Ideas for Home Decoration: A Beginners Guide
- Flower Garden Designs and Layouts for Beginners
- Planting and Spacing Techniques in Papaya: A Beginner’s Guide
- Growing Gold: Essential Techniques for Planting Pineapples
- How to Make Kalanchoe Plant Bushy: Home Remedies and Solutions
- 11 Reasons Why Your Gardenia is Not Blooming: Home Remedies and Solutions
- Eco Elegance: The Guide to Designing a Drought-Tolerant Landscape
- Gardening on a Slope: Strategies for Hillside Landscaping
- Nourish and Flourish: Top Organic Mulches for Thriving House Plants
- Everything You Want to Know about Indian Mogra Flower: Discover Uses and Growing
- Green Thumb Success: Expert Tips for Cultivating Greenhouse Pumpkins All Year Round
- Maximize Growth & Flavor: The Ultimate Guide to Companion Planting in Herb Gardens
- How to Control Rhododendron Problems Naturally: Home Remedies and Organic Ways to Fix Them
- Natural Magic: The Remarkable Benefits of Cinnamon for Plants
- Best Steps to Revive Dying Tulip with Natural and Organic Treatment
- 10 Reasons Why Your Angel Trumpet is Not Blooming: Remedies and Treatment
- How to Fix Periwinkle Leaf and Flower-Related Problems: Natural Remedies and Solutions
- How to Fix Zinnias Leaf and Flower Problems: Discover Natural and Home Remedies
- Organic Steps to Induce Lemon Tree Flowers: A Comprehensive Guide
- Bloom Booster: Crafting the Perfect Homemade Bougainvillea Fertilizer
- Optimizing Growth: A Guide to Applying NPK Fertilizer for Potted Plants
- 10 Best Homemade Fertilizers for Rubber Plant: DIY Recipes and Application Method
- How to Boost Female Pumpkin Flowers: Effective Steps for More Flowers and High Yields
- Transform Your Indoor Garden: Top Benefits of Pink Salt for Houseplants
- 10 Best Homemade Fertilizers for Peacock Plants (Calathea): Easy DIY Guide
- Unlock Blooms: 9 Reasons Why Your Potted Chrysanthemum is Not Blooming
- 8 Reasons Why Your Potted Hibiscus is Not Blooming: Fix it with Simple Solutions
- Unlock Blooms: 9 Key Reasons Your Potted Frangipani Won’t Flower
- 10 Reasons Why Is My Ice Plant Not Blooming: Remedies and Treatment
- 10 Reasons Why My Potted Hydrangea Not Blooming: Treatment and Remedies
- 10 Reasons Why is My Wisteria Not Blooming: Remedies and Treatment
- 10 Reasons Why is My Goldfish Plant Not Blooming: Remedies and Treatment
- Maximize Your Space: Ultimate Guide to Balcony Gardening with Grow Bags
- 10 Reasons Why Your Iris is Not Blooming: Remedies and Treatment
- 10 Reasons Why Your Anthurium Plant is Not Blooming: Treatment and Remedies