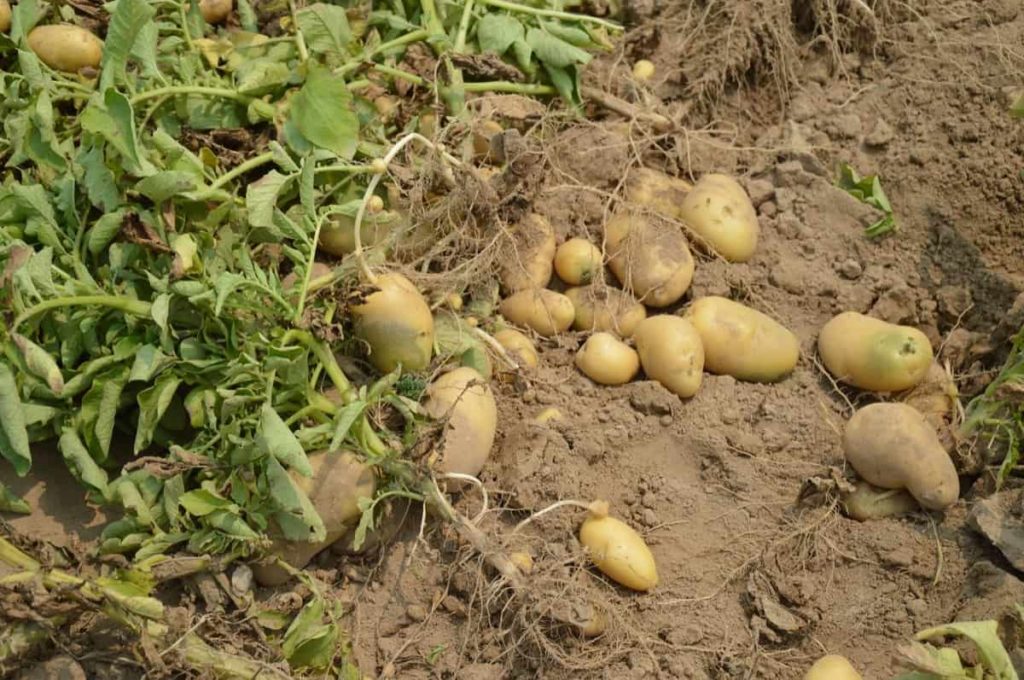
Potatoes are the 4th largest consumed product, behind grain, rice, and corn. Potatoes are produced as a primary crop in nations with a variety of different climatic zones, such as temperate zones, subtropical regions of the world, and tropical regions, as well as under a variety of agribusiness circumstances, such as valleys and mountains, and in a variety of economic contexts. One of the simple kitchen gardening techniques you can learn is how to grow potatoes on your own. Let’s check out how to grow potatoes in 20 steps.
How to grow Potatoes in 20 steps
Step 1: Choosing an appropriate location
Even though potatoes prefer cool temperatures, they still prefer full daylight and they grow in an area with several hours of sunlight every day. Potatoes can be planted in a variety of places either directly in the soil or even in garden beds.
Step 2: Choosing the best season to grow
Initial spring is the best period to grow potatoes. Potatoes should be planted 2 – 3 weeks from your last winter date for the best results.
Step 3: Soil selection
Except for salty and alkaline soils, the potato may be produced practically anywhere. Inherently soft soils, provide the easiest path to tuber expansion and are desirable. Potatoes grow best on loam soils and sandy loam soils that are rich in organic matter and have adequate soil aeration. The pH level of 5.2-6.4 is generally considered acceptable for soil.
Step 4: Choosing the best potatoes to grow
There are several varieties, but some of the best include russets, sweet potatoes, glossy potatoes, fingerling potatoes, and colorful potatoes.
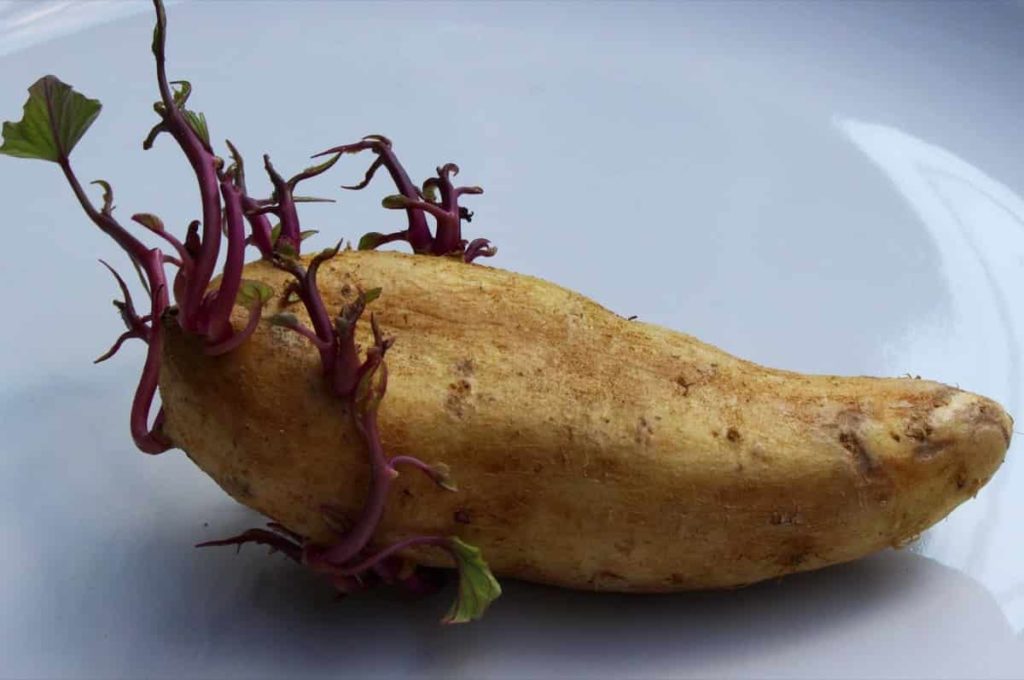
Step 5: Preparing potato sprouts
To initiate the sprouting process, place your seed potatoes in a location that exposes them to sunlight and temperatures between 60 and 70degree Fahrenheit a week or two before you want to plant them. Then chop them into slices the day or two ahead of planting. Ensure that each part has at least two openings or sprouts.
In case you miss this: Sweet Potato Gardening – How To Start, Tips, and Ideas
Step 6: Remove all unwanted plants and vegetation where you are going to plant
Before you sow your potato sprouts, take the time to clean. Unwanted plants will compete with your seedlings for nutrients, reducing their chances of success. Remove all unwanted plants from their bases, as even a little portion of a plant root system can recover.
Step 7: Dig straight rows in the soil
Make a V-shaped trench with a depth of at least four to six inches. Create many trenches approximately 2 feet apart if you have a bunch of sprouts to plant. Dig trenches in the plot from north to south to take advantage of the sun.
Step 8: Planting the potato sprouts
Place each sprouted potato, sprout face up, in the bottom of a trench, carefully pressing soil below longer sprouts for stability so they don’t bend and break. Plant them carefully in the trench, as they need sufficient energy and moisture from their surroundings to gain nutrients.
Step 9: Cover the trenches back with the soil
Allow approximately 1 foot between plants and bury the potatoes and sprouts with two or three inches of dirt. Make sure no soil changes take place while filling the trenches.
Step 10: Watering process
While the potatoes are growing, make sure they get enough water and don’t let the soil dry up. Potatoes require around One inch of water each week on average, but if your ground is excessively dry, you might have to double that amount. So, water them frequently without making them dry and make sure that we should not exceed the supply of water to them than the required amount, which causes the plants to fall and stem to become out.
Step 11: Earthing or Hilling process
Add extra soil at the base of each potato plant when it attains a height of six inches. This is known as earthing or hilling because it protects the potatoes from radiation while also supporting their growth. When the plant reaches a height of 6 inches, repeat the process.
Step 12: Plant care
Don’t forget to safeguard your plants from insects. Remove any unwanted plants that have sprung in the gaps between the plants. In certain cases, diseases such as potato blight, frequent scabs, and blackleg can kill the plant. You may buy a disease-resistant potato to reduce the odds of your potatoes contracting a disease. Continue to water and fertilize if necessary.
Step 13: Harvesting process of baby potatoes
Stop hilling whenever the plants start to blossom and dig the baby potatoes, which should be consumed within a few days after being harvested. Your plants will begin to blossom when they are around 10 weeks old. Baby potatoes are smaller than mature potatoes and have more sensitive skin. People frequently pick newborn potatoes to provide room for the remainder of the crop to grow.
In case you miss this: Potato Growing Tips, Ideas, Secrets, and Techniques
Step 14: Curing the baby potatoes
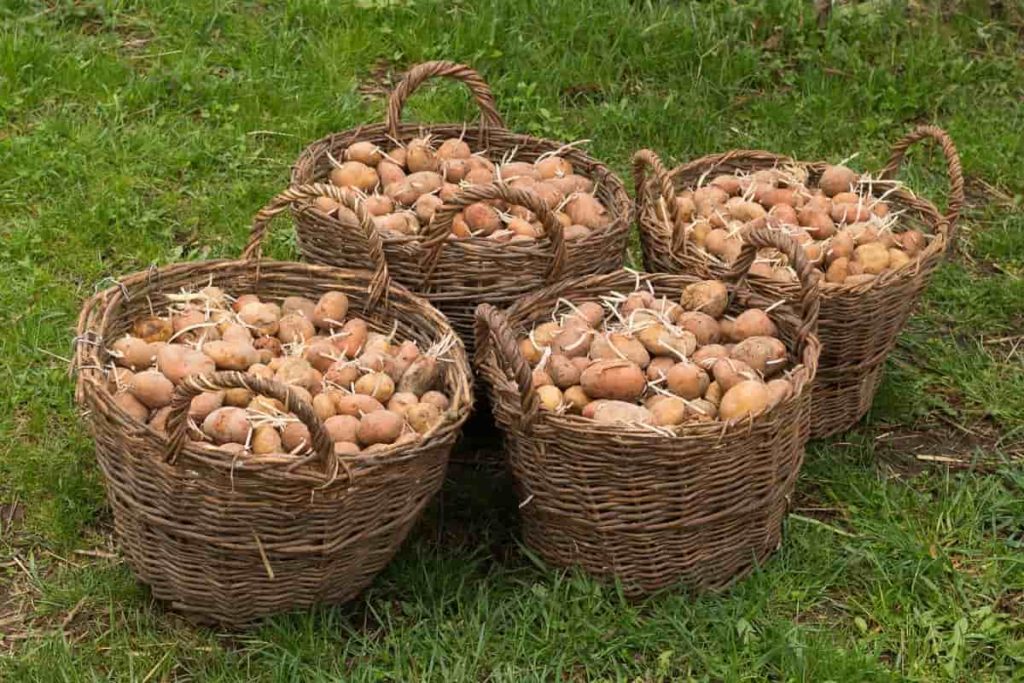
Instead of washing the baby potatoes, gently brush them off and preserve them in a cool, cool dry place. Baby potatoes should be eaten within seven to fifteen.
Step 15: Trim the yellow or brown leaves of the plant
The leaves begin to turn yellow as the maturity cycle begins, and the plant near the conclusion of its life cycle. Scissors can be used to trim the yellow or brown leaves. Whenever the moment arises for the potato plants to blossom, you may let them do so undisturbed. Blooming is a natural stage of the potato plant. It signifies that the plant has absorbed energy, carbohydrates, and moisture from its surroundings. Either you can trim them with leaves or you can let them leave.
Step 16: Harvesting the mature potatoes
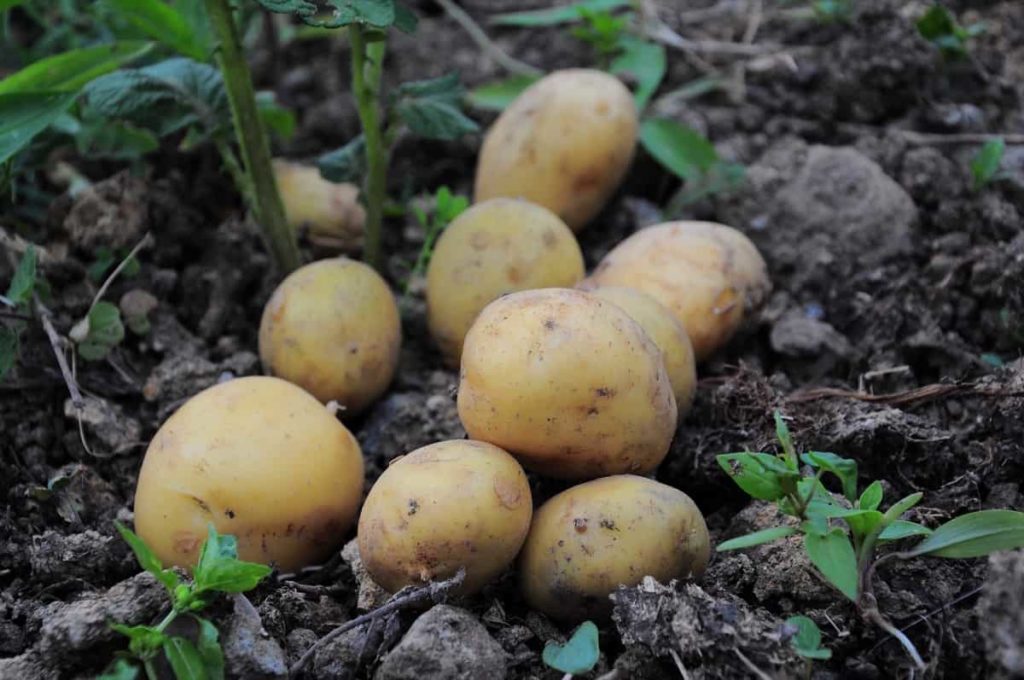
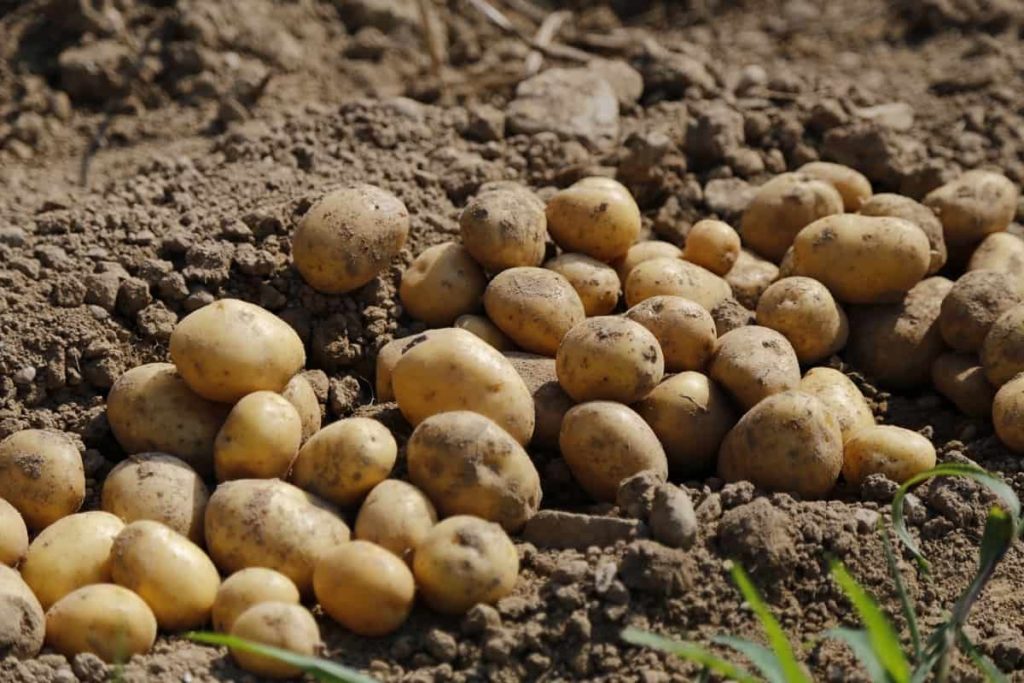
Harvesting mature potatoes should start two or three weeks after the plants have died. To minimize damaging the potatoes, gently dig deep next to the plant using a blade or shovel. Turn the entire plant out into the space in between rows and hand-pick the potatoes. Since mature potatoes which we take from the ground are completely covered with clay or wet soil. These potatoes undergo some cleaning and brushing processes before coming into markets.
Step17: Laying the mature potatoes in a dry place
Allow the potatoes to cure for 2 or 3 days after digging them. If you expose them to bright sunlight for longer than a few minutes, they will acquire unpleasant green patches. If it’s going to rain at that period, put them in a safe place for a few days, such as the farm, a storage space, or under the cottage or patio. Potatoes should be treated at a temperature of 7 to 15 degrees Celsius.
In case you miss this: Growing Baby Potatoes In Pots – Indoors At Home
Step 18: Brushing or cleaning process
Cleaning is one of the most important steps in the harvesting primary processing of potatoes. According to distinct operational modes, automated potato washing technology is now subdivided into dry and wet cleaning. The dry-cleaning process is accomplished without the use of water, which successfully avoids the hazardous problems due to water absorption of potatoes after washing and may be utilized for fresh potato sales.
Wet cleaning is mostly used in the field of potatoes edible processing and intense processing to finish the impurity cleaning operation using particular equipment and high-pressure water. Brushing is done to remove the extra dirt on the potatoes which potatoes are obtained in thick wet soil.
Step 19: Storing process of mature potatoes
A cold, dark, and dry environment with proper ventilation would be excellent after the drying and brushing procedure. For keeping developed potatoes, an underground root basement with a temperature of 35 to 40 ℉ would be ideal.
Step 20: Precautions to be taken while storing
Make sure your potatoes are maintained in a dark place since bright sun or fluorescent light may cause them to produce green spots, which will make them bitter.
In case you miss this: Growing Potatoes In Balcony – A Beginners Guide
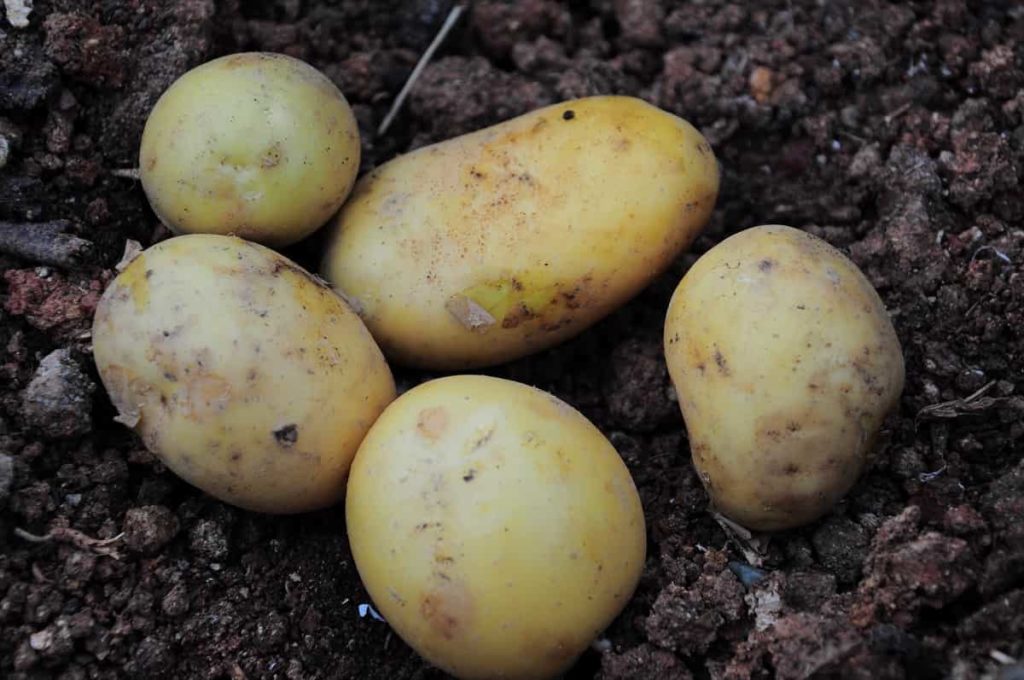
Benefits of potatoes:
- Potatoes are high in protein, calcium, and vitamin C, as well as have an excellent amino acid balance.
- It is the most abundant source of carbohydrates.
- Fries, finger chips, cubes, flour, and other goods made from potatoes are used in India.
- Potatoes are high in fibre, which can assist prevent heart attacks and strokes by maintaining healthy insulin and serum glucose.
- Potatoes are also highly nutritious, which assist to prevent illnesses, and also vitamins, which aid in good biological function.
Tips for storing potatoes in home
- A brown bag, the container is great for keeping a bunch of potatoes.
- Tubers should not be kept alongside peppers, bananas, or apples.
- In the winter, store potatoes in an old wardrobe in a cool environment or cellar. Partially open the cabinets for air flow.
- Fill the container halfway with tissue paper or fresh straw. Close the lid with a safety line and, if necessary, shade with an old blanket.
- Potatoes which haven’t been boiled should never be refrigerated.
In case you miss this: Growing Organic Potatoes In Backyard, Containers
Final thought
Even though potatoes are relatively easy to cultivate, the key is to prepare the soil to provide a favorable environment for them to develop in, as well as to ensure that the growing plants get enough water at the appropriate times.
- Broccoli Seed Germination and Selection
- Asparagus Seed Germination and Variety Selection
- Seasonal Flower Gardening: Best Practices for Spring, Summer, Fall, and Winter
- How to Grow Hibiscus from Flower
- Plantation Ideas for Home Decoration: A Beginners Guide
- Flower Garden Designs and Layouts for Beginners
- Planting and Spacing Techniques in Papaya: A Beginner’s Guide
- Growing Gold: Essential Techniques for Planting Pineapples
- How to Make Kalanchoe Plant Bushy: Home Remedies and Solutions
- 11 Reasons Why Your Gardenia is Not Blooming: Home Remedies and Solutions
- Eco Elegance: The Guide to Designing a Drought-Tolerant Landscape
- Gardening on a Slope: Strategies for Hillside Landscaping
- Nourish and Flourish: Top Organic Mulches for Thriving House Plants
- Everything You Want to Know about Indian Mogra Flower: Discover Uses and Growing
- Green Thumb Success: Expert Tips for Cultivating Greenhouse Pumpkins All Year Round
- Maximize Growth & Flavor: The Ultimate Guide to Companion Planting in Herb Gardens
- How to Control Rhododendron Problems Naturally: Home Remedies and Organic Ways to Fix Them
- Natural Magic: The Remarkable Benefits of Cinnamon for Plants
- Best Steps to Revive Dying Tulip with Natural and Organic Treatment
- 10 Reasons Why Your Angel Trumpet is Not Blooming: Remedies and Treatment
- How to Fix Periwinkle Leaf and Flower-Related Problems: Natural Remedies and Solutions
- How to Fix Zinnias Leaf and Flower Problems: Discover Natural and Home Remedies
- Organic Steps to Induce Lemon Tree Flowers: A Comprehensive Guide
- Bloom Booster: Crafting the Perfect Homemade Bougainvillea Fertilizer
- Optimizing Growth: A Guide to Applying NPK Fertilizer for Potted Plants
- 10 Best Homemade Fertilizers for Rubber Plant: DIY Recipes and Application Method
- How to Boost Female Pumpkin Flowers: Effective Steps for More Flowers and High Yields
- Transform Your Indoor Garden: Top Benefits of Pink Salt for Houseplants
- 10 Best Homemade Fertilizers for Peacock Plants (Calathea): Easy DIY Guide
- Unlock Blooms: 9 Reasons Why Your Potted Chrysanthemum is Not Blooming
- 8 Reasons Why Your Potted Hibiscus is Not Blooming: Fix it with Simple Solutions
- Unlock Blooms: 9 Key Reasons Your Potted Frangipani Won’t Flower
- 10 Reasons Why Is My Ice Plant Not Blooming: Remedies and Treatment
- 10 Reasons Why My Potted Hydrangea Not Blooming: Treatment and Remedies
- 10 Reasons Why is My Wisteria Not Blooming: Remedies and Treatment
- 10 Reasons Why is My Goldfish Plant Not Blooming: Remedies and Treatment