Calandiva plants, scientifically known as Kalanchoe blossfeldiana, are a type of succulent that originated from the arid regions of Madagascar. These charming little plants belong to the Crassulaceae family and are characterized by their thick, fleshy leaves and vibrant clusters of flowers. With proper watering and sunlight, these plants can thrive without much effort on your part.
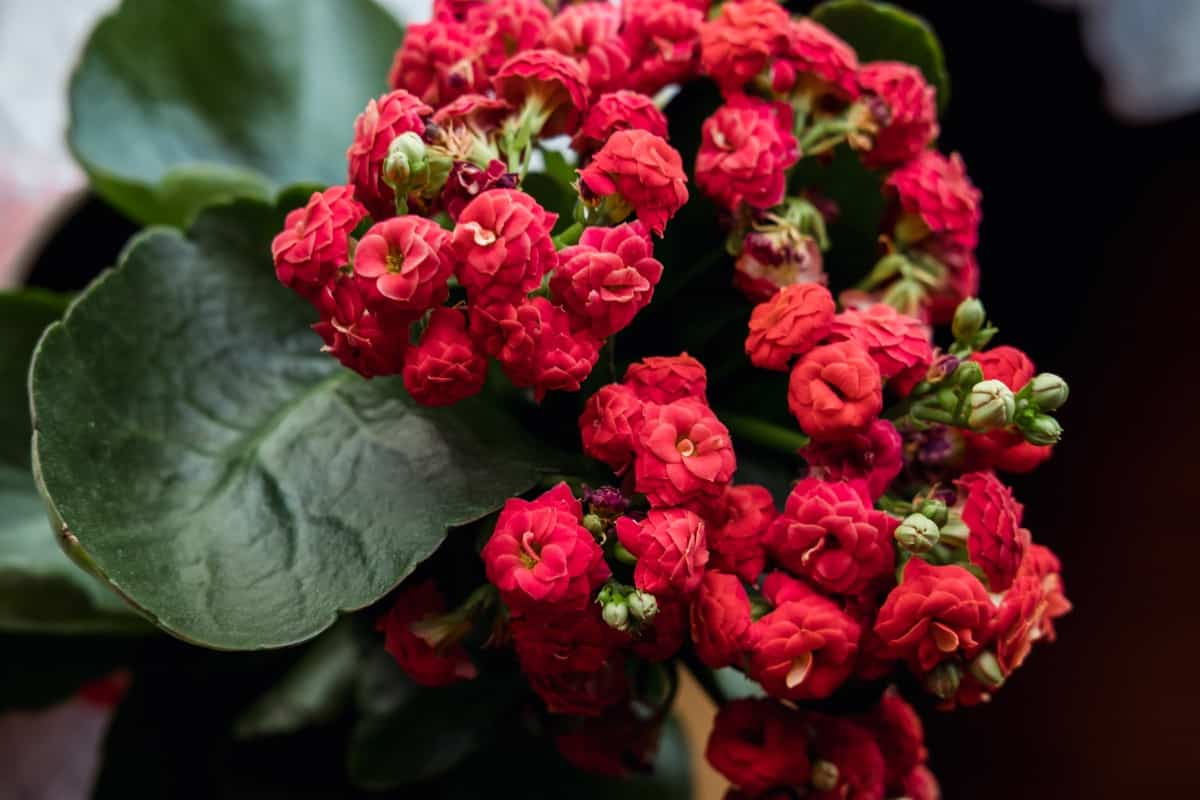
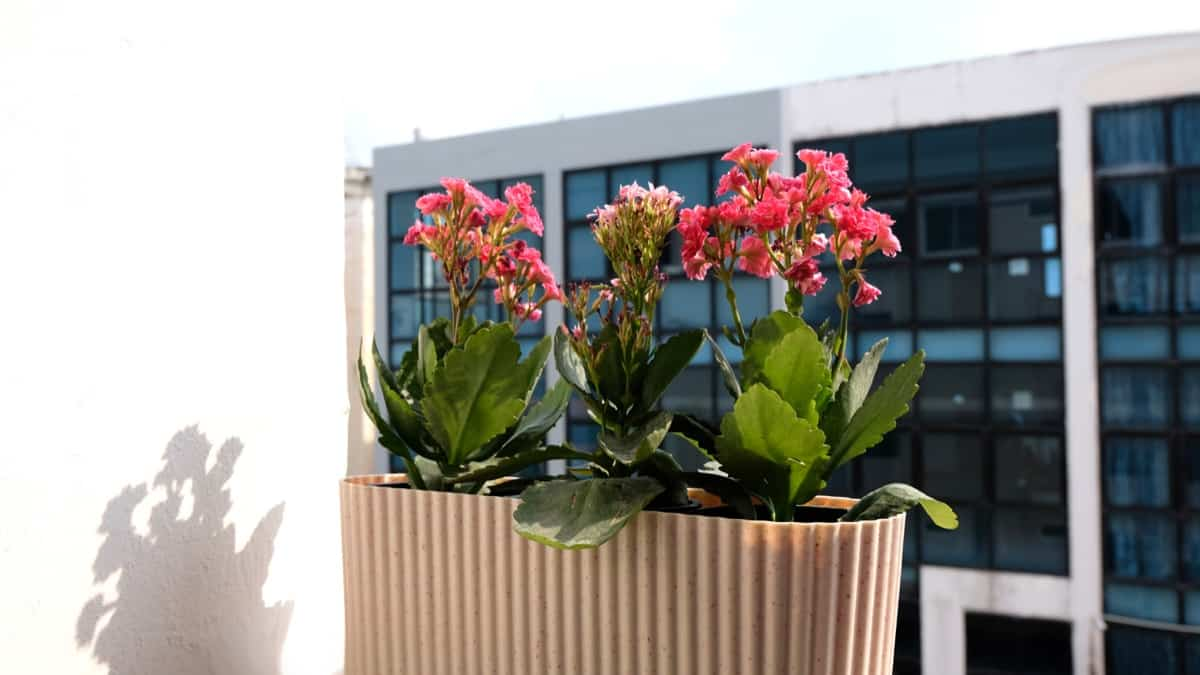
Is Calandiva an indoor or outdoor plant? Calandiva plants are a delightful addition to any indoor or outdoor space. With their vibrant colors and compact size, they bring a touch of cheerfulness wherever they are placed. These plants belong to the succulent family known for their long-lasting blooms. Calandiva plants require care and attention to ensure their optimal growth. It’s important to provide them with ideal growing conditions, such as well-draining soil that allows water to pass through easily.
Ideal Growing Conditions for Calandiva Plants
Calandiva plants thrive in bright and indirect sunlight, perfect for indoor spaces. These plants prefer temperatures between 18-24°C, so keeping them away from drafts or extreme temperature fluctuations is important. Calandiva requires a well-draining potting mix that is rich in organic matter. Watering is an important aspect of caring for your Calandiva plant.
In case you missed it: Pinstripe Plant Care: Best Fertilizer, Pruning, and Propagation
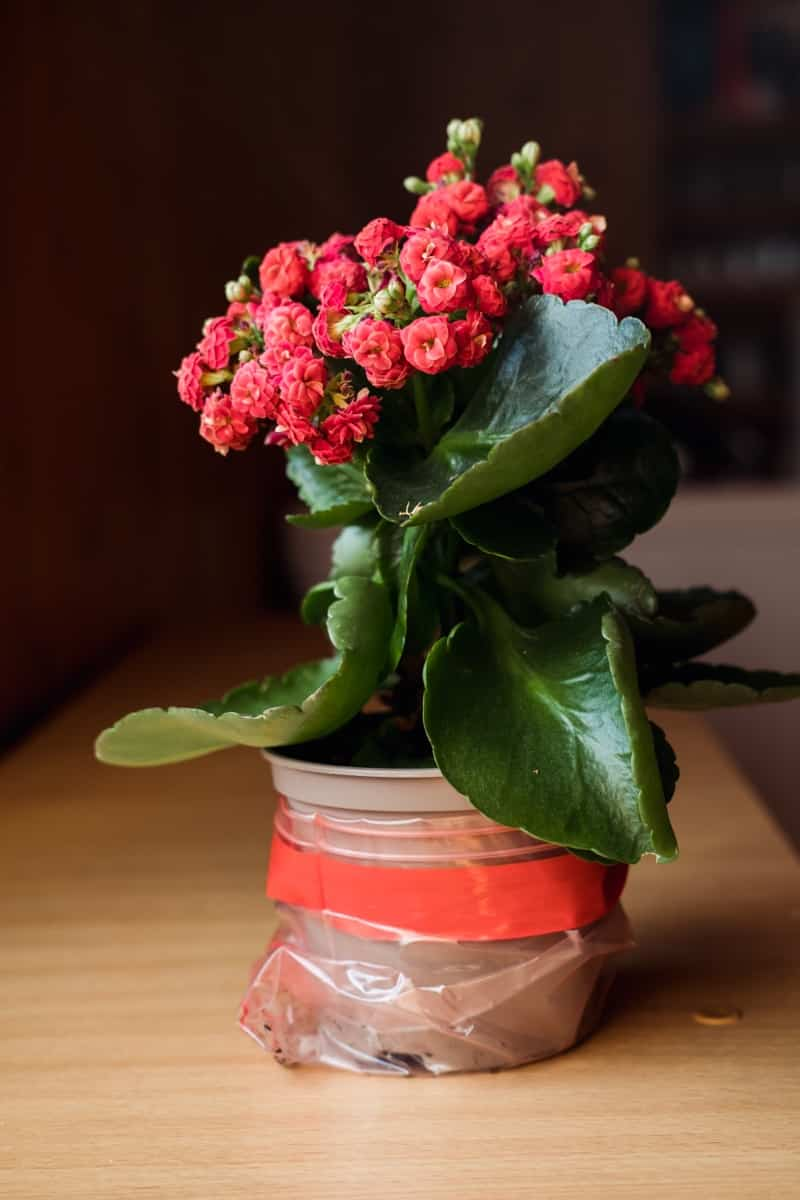
It’s important not to overwater them as they are susceptible to root rot. Always check the moisture level by inserting your finger into the soil. In terms of humidity, these succulents do well in average household humidity levels but appreciate a boost during dry winter months. While fertilizing is unnecessary for Calandivas, applying a balanced fertilizer once every two months during their active growing season can promote healthy growth and bloom.
Choosing the Right Soil for Calandiva Plant Care
Choosing the right soil is crucial for ensuring the optimal growth and health of Calandiva plants. These beautiful succulents thrive in well-draining soil, allowing excess water to escape easily and preventing root rot. Potting soil provides essential nutrients, while perlite improves drainage by creating air pockets.
Coarse sand further enhances drainage and prevents waterlogged roots. It’s important to avoid using heavy or compacted soils that can retain too much moisture. When selecting potting mix for your Calandiva plant, look for one specifically formulated for succulents or cacti. These mixes are designed to provide excellent drainage and allow air circulation around the roots.
In case you missed it: How to Grow Tomatoes in Grow Bags: Planting from Seed, Growing, and Care
Providing Adequate Sunlight for Calandiva Growth
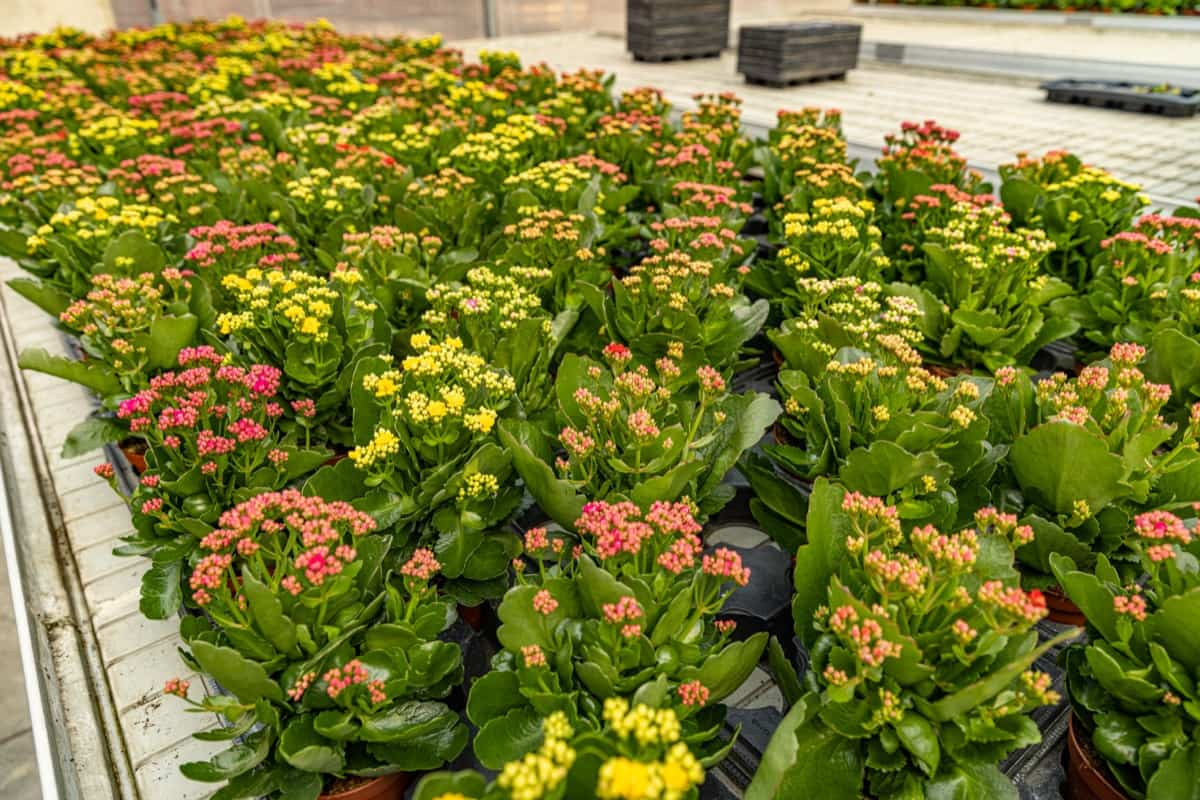
Sunlight is an important factor in the growth and development of Calandiva plants. These vibrant succulents thrive when they receive the right amount of sunlight. However, striking a balance is important, as too much direct sunlight can scorch their delicate leaves. How much sun does a Calandiva plant need?
When providing adequate sunlight for Calandivas, placing them in a bright location with indirect sunlight is best. A location near a window that receives filtered light throughout the day is ideal. This allows the plant to soak up enough light without exposure to harsh rays. Remember that each plant may have slightly different light requirements, so observe your Calandivas closely and adjust accordingly.
In case you missed it: Growing Peppers in Grow Bags: Planting from Seed and Care
Propagation Methods for Expanding Your Calandiva Collection
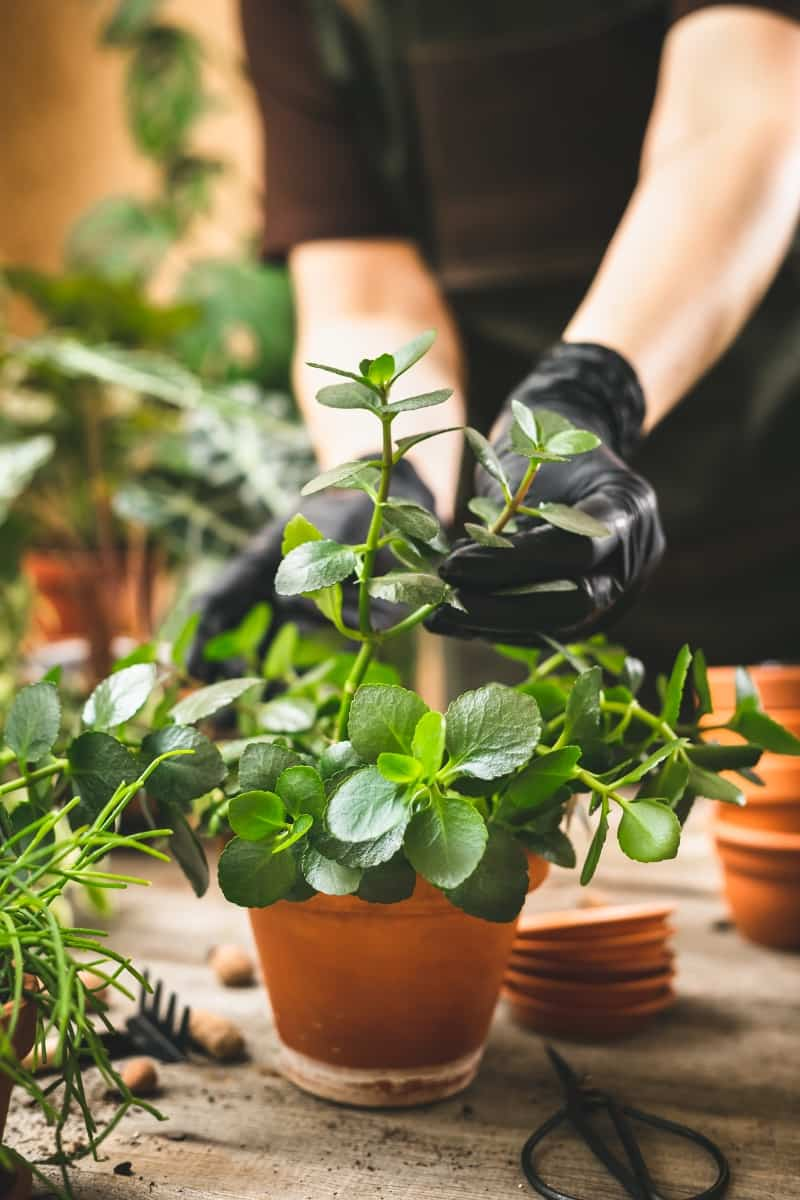
One common method of propagating Calandiva is stem cuttings. Take a healthy stem from your existing Calandiva plant and remove plant leaves from the lower part of the cutting. Dip the cut end into hormone powder to encourage faster root growth, then plant it in a well-draining potting mix.
Keep the soil lightly moist and place the cutting warmly with indirect sunlight. In just a few weeks, you should start seeing new roots forming. Another method that can be used for propagating Calandivas is leaf cuttings. Gently twist off a healthy leaf from an established plant, keeping its base intact. Allow this leaf to dry for about two days before placing it on top of well-draining soil or seed-starting mix.
Mist the leaf occasionally to maintain humidity levels and avoid direct sunlight until new roots begin to grow. Division can also be employed as another propagation technique for Calandiva plants with multiple stems growing closely together at their base. Carefully separate these stems using clean scissors or gardening shears and repot them individually in suitable containers filled with well-draining soil.
Watering Techniques for Calandiva Plants: Dos and Don’ts
Water your Calandiva plant thoroughly when the top inch of the soil feels dry. This allows for proper hydration without overwatering. Don’t leave standing water in the saucer or pot, as it can lead to root rot. Always empty out any excess water after watering. Do use room temperature water when irrigating your Calandiva plants.
In case you missed it: How to Grow and Care for Organic Komatsuna: Planting Instructions
Cold water can shock their sensitive roots, while hot water may scorch them. Don’t rely on a fixed schedule for watering. Instead, adjust based on temperature, humidity levels, and seasonality. Your plant’s needs may vary throughout the year. Consider using a well-draining soil mix that efficiently allows excess moisture to flow away from the roots. This prevents soggy conditions that could harm your Calandiva plant.
Best Fertilizer for Calandiva Plants
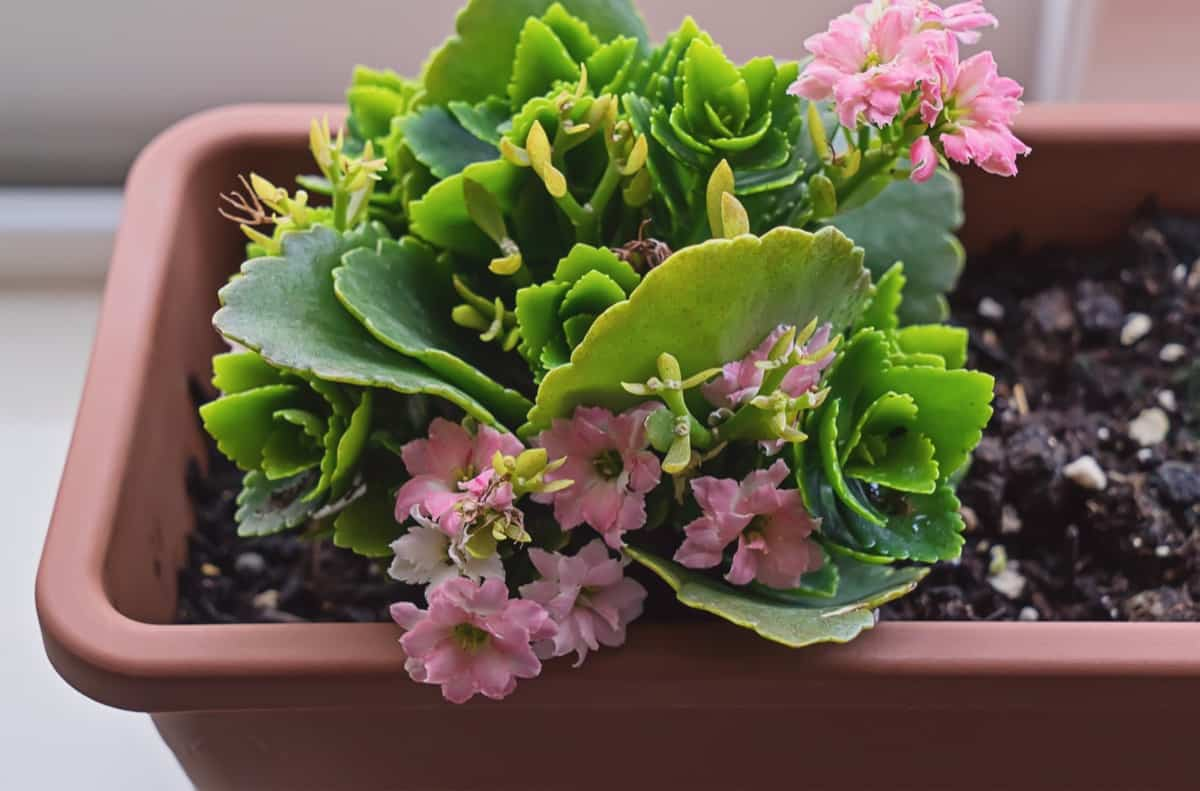
One of the best fertilizers for Calandiva plants is a balanced, water-soluble fertilizer with a low nitrogen content. This helps prevent excessive leaf growth while promoting flower production. Look for a fertilizer formulated specifically for succulents or cacti, as they often contain the ideal balance of nutrients. To ensure proper application, dilute the fertilizer based on package instructions before applying it to your Calandiva plants.
In case you missed it: How to Grow and Care for Organic Horehound: Planting Instructions
Over-fertilizing can lead to burnt roots and other detrimental effects, so it’s important not to exceed recommended dosage. During the active growing season (usually spring and summer), you can feed your Calandiva plants every two weeks. Reduce frequency during dormant periods in fall and winter. Adjusting their feeding schedule or switching up fertilizers may be necessary based on their needs. By providing your Calandivas with regular doses of appropriate fertilizer, you’ll help them achieve vibrant blooms and overall health.
Pruning and Trimming Calandiva Plants for Optimal Shape and Size
Pruning and trimming your Calandiva plants is essential for maintaining their optimal shape and size. Regular pruning helps to promote healthy growth, encourage bushiness, and prevent the plant from becoming leggy or straggly. When it comes to pruning Calandivas, it’s best to do so in early spring or after the blooming period.
Start by removing dead or damaged leaves, stems, or flowers using clean and sharp pruning shears. This will improve the plant’s overall appearance and prevent potential disease issues. Don’t forget that regular pinching is another effective technique for shaping your Calandiva plants.
Calandiva Plant Indoor Care: Tips and Ideas
How do you care for Calandiva indoors? Calandiva plants are beautiful additions to your indoor space and require proper care to thrive and maintain their vibrant blooms. Calandivas prefer bright indirect light. They don’t do well in direct sunlight, which can scorch their delicate leaves. Find a spot near a window where they can receive filtered sunlight throughout the day.
In case you missed it: How to Grow and Care for Organic Fennel: Planting Instructions
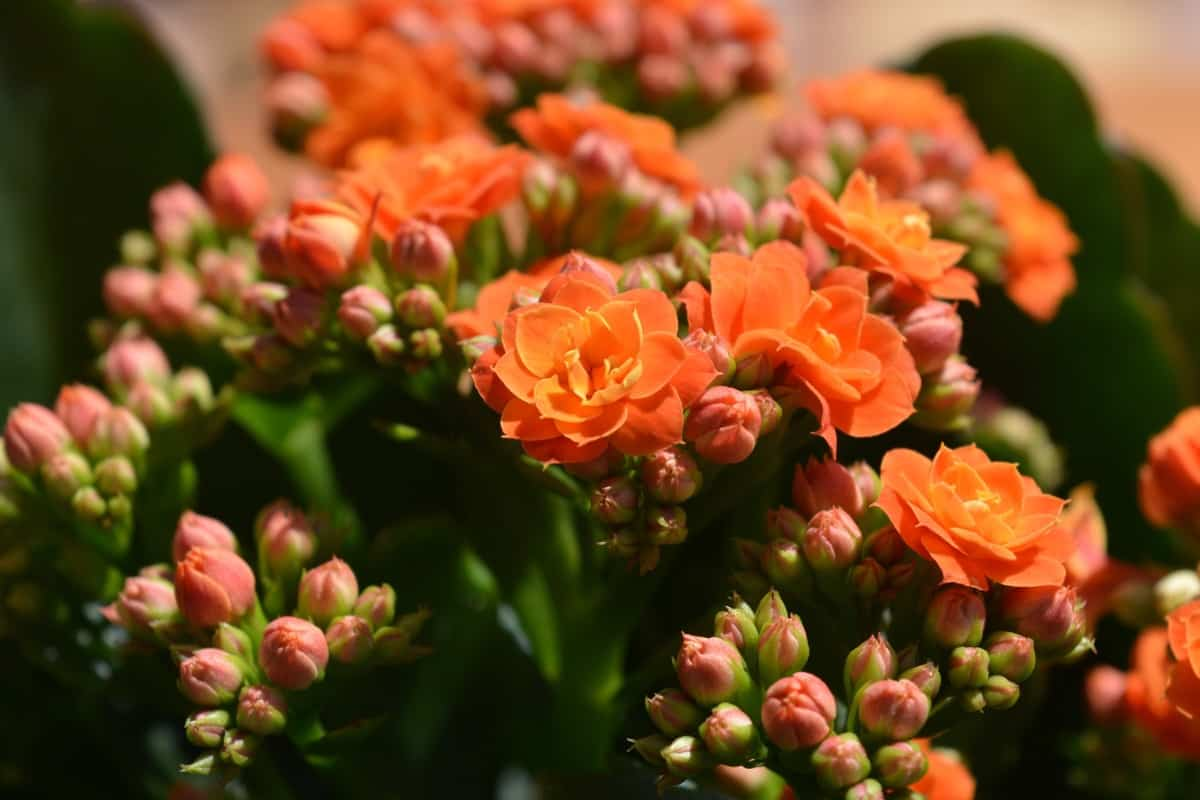
Fertilizing your Calandiva plant once every two weeks during its active growing season will help promote healthy growth and abundant blooms. To keep your Calandiva looking neat and tidy, regular pruning is necessary. Remove dead or damaged leaves by pinching them off with your fingers or using clean shears if needed. If you notice signs of pest infestation, treat them immediately with organic insecticidal soap or neem oil spray.
Preventing Common Pests and Diseases in Calandiva Plants
One of the most common pests that can affect Calandiva plants is aphids. These small insects feed on plant sap, causing stunted growth and distorted leaves. To prevent an infestation, regularly inspect your plants for signs of aphids, such as sticky residue or curled leaves. If you spot them, use a neem oil spray to eliminate them. Another potential issue for Calandivas is powdery mildew. This disease appears as a white powdery coating on the leaves, inhibiting photosynthesis and weakening the plant overall.
To prevent this problem, provide adequate air circulation around your plants by spacing them apart properly. Spider mites are another pest to watch out for with Calandivas. These tiny creatures spin webs on the undersides of leaves and suck out their sap, leading to yellowed foliage and leaf drop. Regularly misting your plants with water can help deter spider mites. By implementing these preventive measures and promptly addressing any issues, you can keep your Calandiva plants healthy and thriving.
In case you missed it: How to Grow and Care for Organic Fenugreek: Planting Instructions
Conclusion
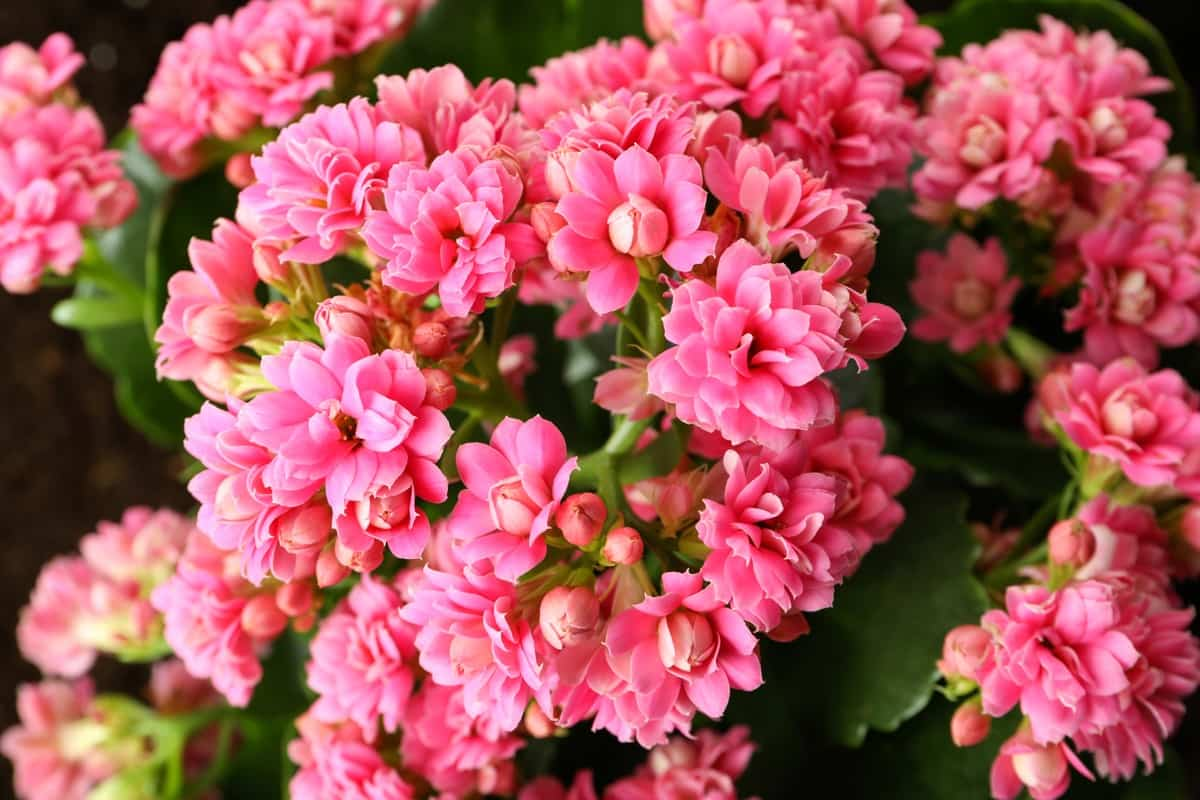
These hardy succulents have gained popularity not only for their attractive appearance but also for their resilience. The plants can thrive in both indoor and outdoor settings with proper care. Calandiva plants tend to stay compact compared to other types of succulents. Calandiva plants have become a popular choice for both indoor and outdoor gardens.
- How to Grow Hibiscus from Flower
- Plantation Ideas for Home Decoration: A Beginners Guide
- Flower Garden Designs and Layouts for Beginners
- Planting and Spacing Techniques in Papaya: A Beginner’s Guide
- Growing Gold: Essential Techniques for Planting Pineapples
- How to Make Kalanchoe Plant Bushy: Home Remedies and Solutions
- 11 Reasons Why Your Gardenia is Not Blooming: Home Remedies and Solutions
- Eco Elegance: The Guide to Designing a Drought-Tolerant Landscape
- Gardening on a Slope: Strategies for Hillside Landscaping
- Nourish and Flourish: Top Organic Mulches for Thriving House Plants
- Everything You Want to Know about Indian Mogra Flower: Discover Uses and Growing
- Green Thumb Success: Expert Tips for Cultivating Greenhouse Pumpkins All Year Round
- Maximize Growth & Flavor: The Ultimate Guide to Companion Planting in Herb Gardens
- How to Control Rhododendron Problems Naturally: Home Remedies and Organic Ways to Fix Them
- Natural Magic: The Remarkable Benefits of Cinnamon for Plants
- Best Steps to Revive Dying Tulip with Natural and Organic Treatment
- 10 Reasons Why Your Angel Trumpet is Not Blooming: Remedies and Treatment
- How to Fix Periwinkle Leaf and Flower-Related Problems: Natural Remedies and Solutions
- How to Fix Zinnias Leaf and Flower Problems: Discover Natural and Home Remedies
- Organic Steps to Induce Lemon Tree Flowers: A Comprehensive Guide
- Bloom Booster: Crafting the Perfect Homemade Bougainvillea Fertilizer
- Optimizing Growth: A Guide to Applying NPK Fertilizer for Potted Plants
- 10 Best Homemade Fertilizers for Rubber Plant: DIY Recipes and Application Method
- How to Boost Female Pumpkin Flowers: Effective Steps for More Flowers and High Yields
- Transform Your Indoor Garden: Top Benefits of Pink Salt for Houseplants
- 10 Best Homemade Fertilizers for Peacock Plants (Calathea): Easy DIY Guide
- Unlock Blooms: 9 Reasons Why Your Potted Chrysanthemum is Not Blooming
- 8 Reasons Why Your Potted Hibiscus is Not Blooming: Fix it with Simple Solutions
- Unlock Blooms: 9 Key Reasons Your Potted Frangipani Won’t Flower
- 10 Reasons Why Is My Ice Plant Not Blooming: Remedies and Treatment
- 10 Reasons Why My Potted Hydrangea Not Blooming: Treatment and Remedies
- 10 Reasons Why is My Wisteria Not Blooming: Remedies and Treatment
- 10 Reasons Why is My Goldfish Plant Not Blooming: Remedies and Treatment
- Maximize Your Space: Ultimate Guide to Balcony Gardening with Grow Bags
- 10 Reasons Why Your Iris is Not Blooming: Remedies and Treatment
- 10 Reasons Why Your Anthurium Plant is Not Blooming: Treatment and Remedies