Growing Peppers in bags can be a rewarding and convenient way to enjoy fresh, homegrown Peppers. You can successfully nurture your Pepper plants from seed to harvest with the right preparation and care. You can ensure Pepper plants thrive in their grow bags by providing a suitable growing environment, proper watering and fertilization, and regular monitoring for pests and diseases.
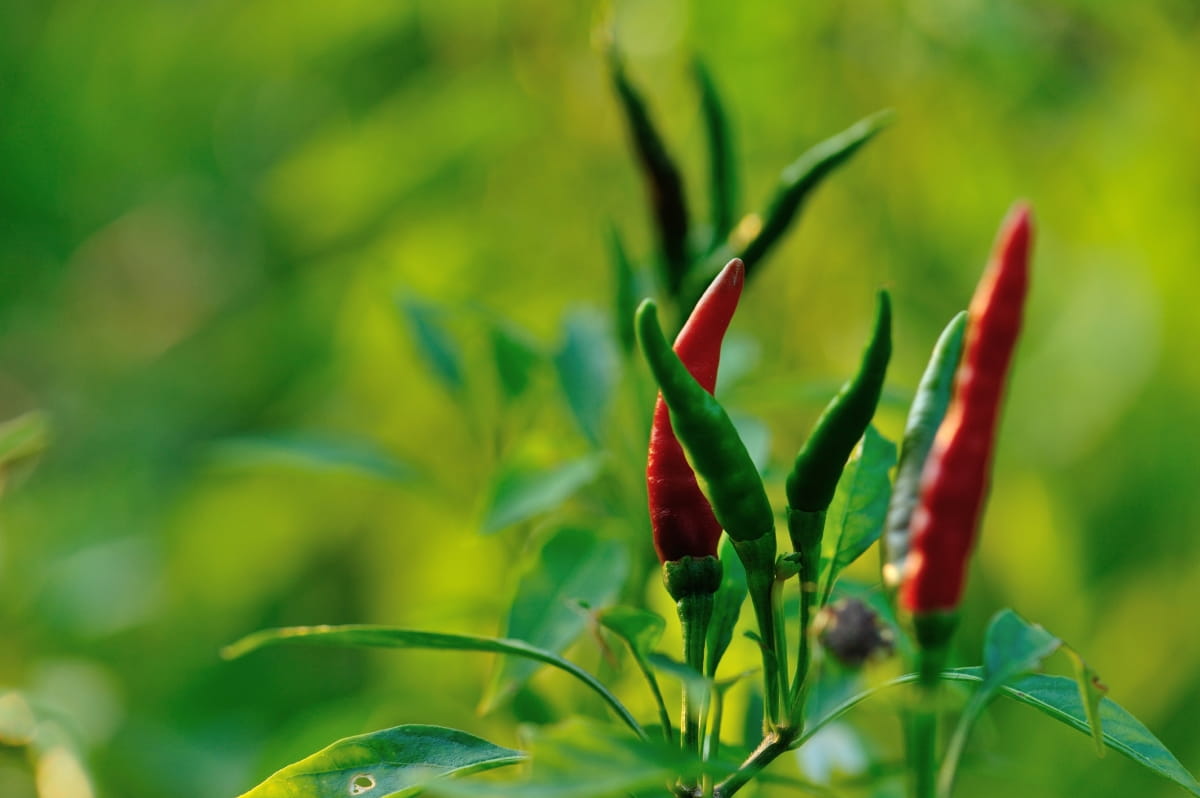
Choose the appropriate Pepper varieties based on your heat levels and flavor preferences. Many options suit every taste bud, whether you prefer mild bell or spicy chili Peppers. With patience and dedication, you will soon be rewarded with bountiful harvests of vibrant and flavorful Peppers.
Growing Peppers in Grow Bags
Choosing the Right Grow Bags for Peppers
Choosing the right grow bags for Peppers ensures a successful harvest. There are several factors to consider when selecting the perfect grow bag for Pepper plants. Peppers have extensive root systems and require ample growing and spreading space. Opt for larger grow bags, such as five or 10-gallon bags, to accommodate the root development of your Pepper plants.
When it comes to growing hot Peppers in grow bags, one common question is how many plants can be accommodated in a 5-gallon grow bag. It is generally recommended to plant only one Pepper plant per 5-gallon grow bag. This gives each plant enough space for root development and ensures adequate access to nutrients and water. Planting multiple plants in a small grow bag can result in overcrowding and resource competition, hindering their overall growth and productivity.
Next, consider the material of the grow bag. Fabric pots are popular as they provide excellent drainage and allow air to circulate the roots. This promotes healthier root growth and helps prevent issues like root rot. Additionally, look for grow bags with sturdy handles or straps. This will make it easier to move your Pepper plants if needed, especially if you plan on growing them outdoors during warmer months but bringing them indoors during colder weather.
Preparing to Grow Bags for Pepper Planting
Choose the right size to grow bag for your Pepper plants. The size will depend on the variety of Peppers you are planting and how many plants you want to grow per bag. Generally, a 5-gallon or 10-gallon grow bag works well for most Pepper varieties. Next, ensure your grow bags have proper drainage holes at the bottom. This allows excess water to escape and prevents root rot. You can purchase pre-drilled grow bags or use a sharp knife or scissors to create evenly spaced holes.
In case you missed it: Unleash Your Green Thumb: Top Expert Tips for Growing the Tastiest Bell Peppers
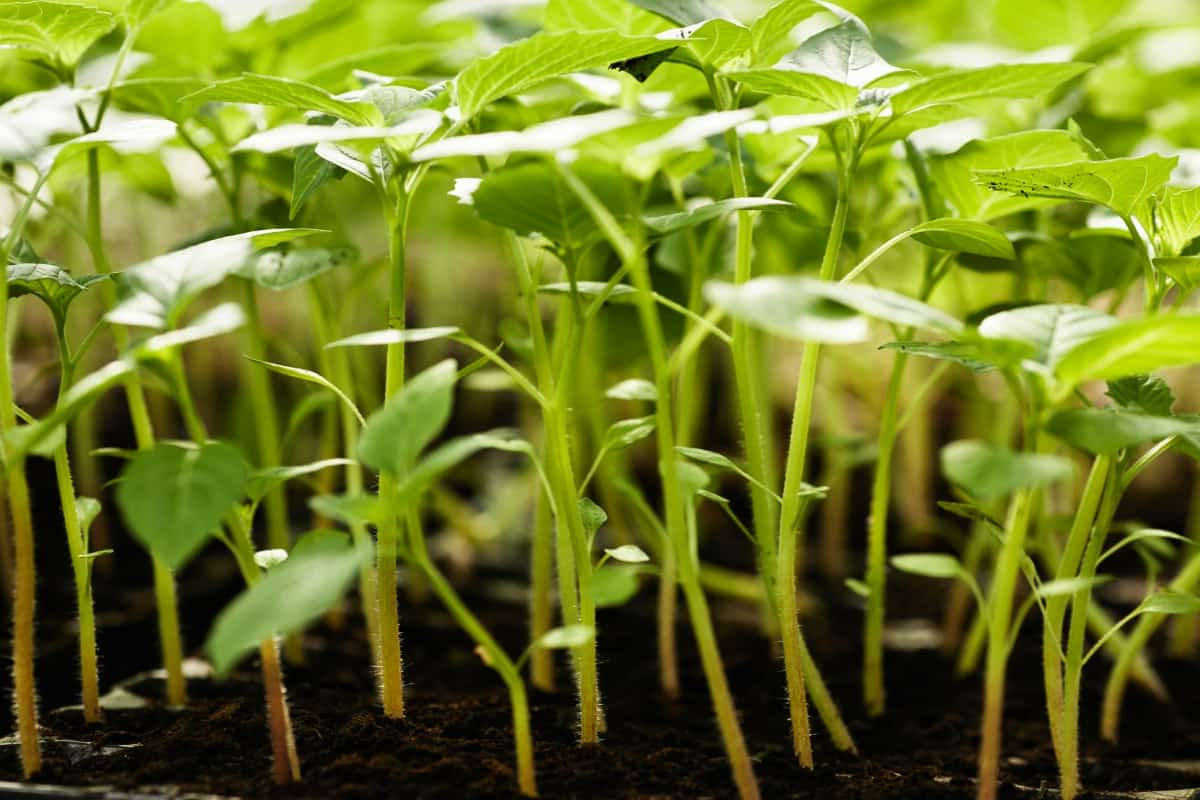
Before filling the bags with potting soil, it’s beneficial to line them with a layer of landscape fabric or burlap. This helps prevent soil erosion while still allowing water drainage. Once lined, fill each bag with a high-quality potting mix enriched with organic matter such as compost or aged manure.
Leave about an inch of space from the top so that when watering, it doesn’t overflow. Place your prepared grow bags in a suitable location where they receive ample sunlight throughout the day – ideally around six hours or more. Avoid areas prone to strong winds as they can damage delicate Pepper plants.
Planting Pepper Seeds in Grow Bags
Planting Pepper seeds in grow bags is an exciting and rewarding experience. To start, choose high-quality grow bags that are specifically designed for gardening. Look for ones that have good drainage holes to prevent waterlogging. Next, fill the grow bags with a well-draining potting mix enriched with organic matter.
Planting Peppers in grow bags is best to make small indentations about ¼ inch deep in the soil and space them according to the recommended seed packet instructions. Place one or two seeds in each hole and cover them lightly with soil. After planting, ensure the soil remains consistently moist but not overly wet. Keep the grow bag in a sunny place where your Peppers receive at least six hours of direct sunlight daily.
As your Pepper plants start sprouting, thin out any weaker seedlings to give more room for healthier ones to thrive. Provide support such as stakes or trellises if needed as they grow taller. Remember to regularly monitor and adjust watering based on weather conditions – hot days may require more frequent watering, while cooler periods may need less. With patience and proper care, your Pepper seedlings will soon develop into strong plants ready for transplanting into their permanent home – larger grow bags.
Transplanting Pepper Seedlings into Grow Bags
Transplanting Pepper seedlings into grow bags is a crucial step in growing Peppers. Once your Pepper seeds have sprouted and developed into healthy seedlings, it’s time to give them a new home in the grow bags. This process ensures they have enough space to grow their roots and thrive. Before transplanting, choose an appropriate size of grow bag for your Pepper plants.
In case you missed it: How to Grow Anaheim Peppers from Seed: The Complete Planting to Harvest Guide

The size will depend on the variety of Peppers you are growing and how many plants you plan to place in each bag. Generally, a 5-gallon or 10-gallon grow bag should be sufficient for one or two Pepper plants. To begin transplanting, gently remove the seedlings from their original containers or trays. Be careful not to harm their delicate roots during this process. Then, create a small hole in the center of the prepared soil inside the grow bag using your finger or a gardening tool.
Place each seedling carefully into its designated hole, ensuring the root system is covered with soil up to its base. Press down around the plant to secure and eliminate air pockets around its roots. After transplanting all your seedlings into their respective holes, water them thoroughly but avoid overwatering as it can lead to root rot. Provide adequate sunlight and regular watering after that as per your specific Pepper variety’s requirements.
Transplant shock is common after moving young plants from one container to another; however, with proper care and attention, they will quickly adapt to their new environment within a few days. Remember that when transplanting Pepper seedlings into grow bags, consistently monitoring moisture levels is crucial throughout their growth cycle. Adjust watering to weather conditions and ensure good drainage within the grow bags.
Watering Peppers in Grow Bags
Watering is a crucial aspect of growing Peppers in grow bags. Proper watering ensures your Pepper plants stay healthy and productive throughout the growing season. Peppers prefer moist soil but don’t like constantly sitting in water. Overwatering causes root rot and other problems, so finding the right balance is important.
In case you missed it: How to Grow Habanero Peppers from Seed: A Step-by-Step Planting Guide for Beginners
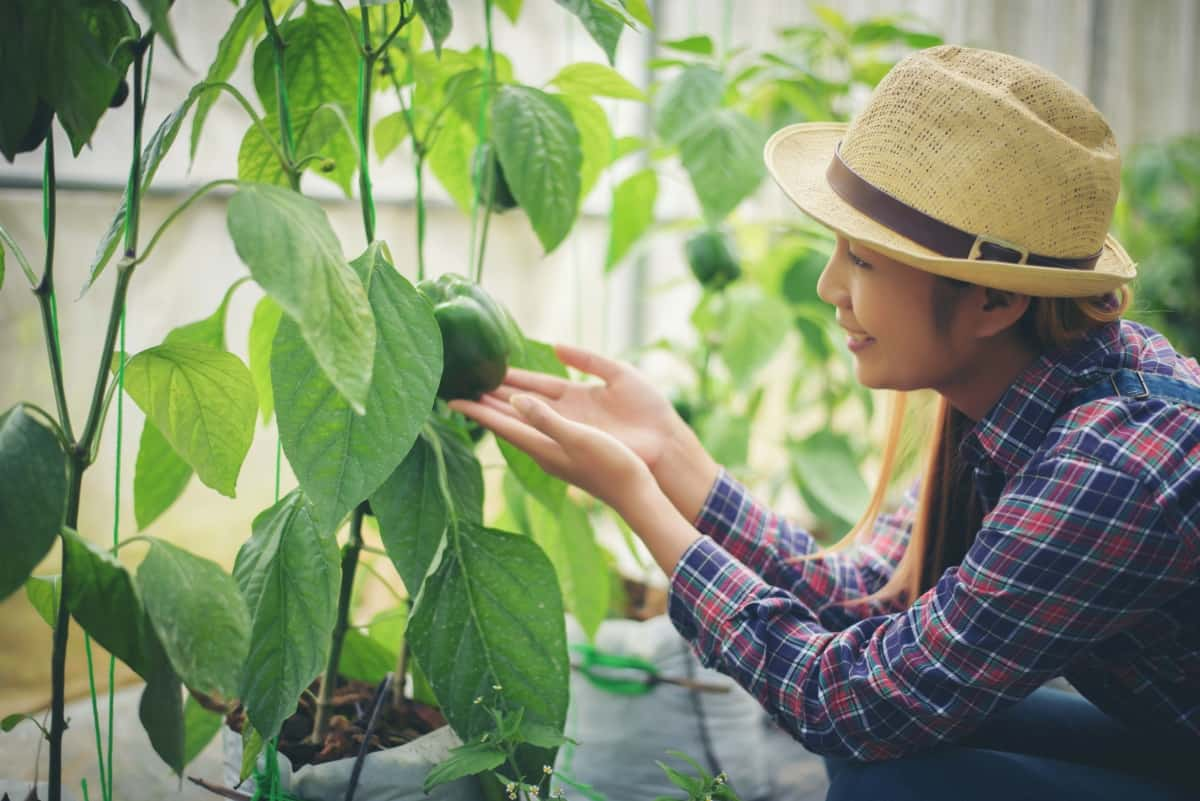
Start by checking the moisture level of the soil regularly. Stick your finger about an inch into the soil—if it feels dry at this depth, it’s time to water. Aim for deep watering rather than frequent shallow watering. This encourages strong root growth as the roots will search deeper for water. When watering, make sure to saturate the entire grow bag evenly. Use a gentle stream of water or a drip irrigation system to avoid disturbing the plants or causing erosion in the grow bag.
Avoid wetting the leaves as much as possible, especially during hot weather or high temperatures. Wet leaves can increase humidity levels and create favorable conditions for diseases such as leaf spot or powdery mildew. Remember that environmental factors such as temperature, sunlight exposure, and airflow can influence evaporation rates and affect how quickly your grow bag dries out. So, monitor these factors and adjust your watering schedule accordingly.
Fertilizing Peppers in Grow Bags
Fertilizing your Peppers in grow bags is essential to ensure healthy and vigorous growth. Since plants are confined to limited space, providing them with the necessary nutrients is important. Choose a balanced organic fertilizer that is specifically formulated for vegetables or tomatoes. This will provide nutrients like nitrogen, phosphorus, potassium, and trace elements essential for plant growth.
Next, apply the fertilizer according to the instructions on the package. Generally, you’ll want to mix it into the soil before planting your Pepper seedlings or sprinkle it around established plants. You should not over-fertilize, as this can lead to nutrient burn and damage your plants.
It’s also important to regularly water your Peppers after fertilization. This helps distribute the nutrients throughout the grow bag and prevents any potential salt build-up from excessive fertilization.
In addition to regular fertilization, consider using natural compost or organic matter as a top dressing around your Pepper plants. Remember that every grow bag system is unique, so monitor your plants closely for any signs of nutrient deficiencies or excesses. Adjusting your fertilization schedule can help maintain optimal growth and productivity throughout the growing season.
Managing Pests and Diseases in Peppers Grown in Grow Bags
First and foremost, prevention is key. Start by selecting disease-resistant Pepper varieties less susceptible to common ailments like fungal infections or viruses. This will give your plants an added layer of protection from the get-go. Regularly checking your plants for signs of pests or diseases is essential.
Look for yellowing leaves, spots, wilting, or unusual growth patterns. Catching issues early allows for more effective treatment. To control pests naturally, consider introducing beneficial insects like ladybugs or lacewings into your garden. These natural predators feed on aphids and other harmful bugs that can damage Peppers.
In case you missed it: Best Tips for Making Pepper Plants Hotter: Great Ideas for Beginners
Another organic pest control method is using companion planting techniques. Planting marigolds nearby repels certain pests while attracting pollinators to help with fruit development. If chemical intervention becomes necessary, use insecticidal soaps or botanical-based sprays as a last resort. Proper sanitation practices are crucial in preventing the spread of diseases between plants. Remove any infected leaves promptly and dispose of them from your growing area.
Pruning and Training Peppers in Grow Bags
Pruning and training Peppers in grow bags are essential to ensure healthy plant growth and maximum fruit production. Removing unnecessary foliage and guiding the plant’s growth can optimize sunlight exposure, airflow, and overall plant vigor. Start by pruning any yellow or damaged leaves regularly. This helps prevent diseases from spreading and maintains a clean growing environment.
Additionally, remove suckers that emerge from the leaf axils to direct energy toward fruit production rather than vegetative growth. As your Pepper plants grow taller, provide support with stakes or cages to prevent them from toppling under the weight of their fruits. Gently tie branches to the support structure using soft twine or plant clips. This will keep the plants upright and allow for better air circulation. To encourage bushier growth, pinch off the tips of young Pepper plants when they reach about 6-8 inches in height.
This stimulates lateral branching and produces more compact plants with multiple flower clusters. Regularly check for pest infestations on leaves and stems, such as aphids or mites. These pests can be removed manually or treated with organic insecticides if detected early. Remember that each Pepper variety may have specific pruning needs based on its natural growth habit. So, it’s important to research individual varieties before implementing pruning techniques.
Harvesting Peppers Grown in Grow Bags
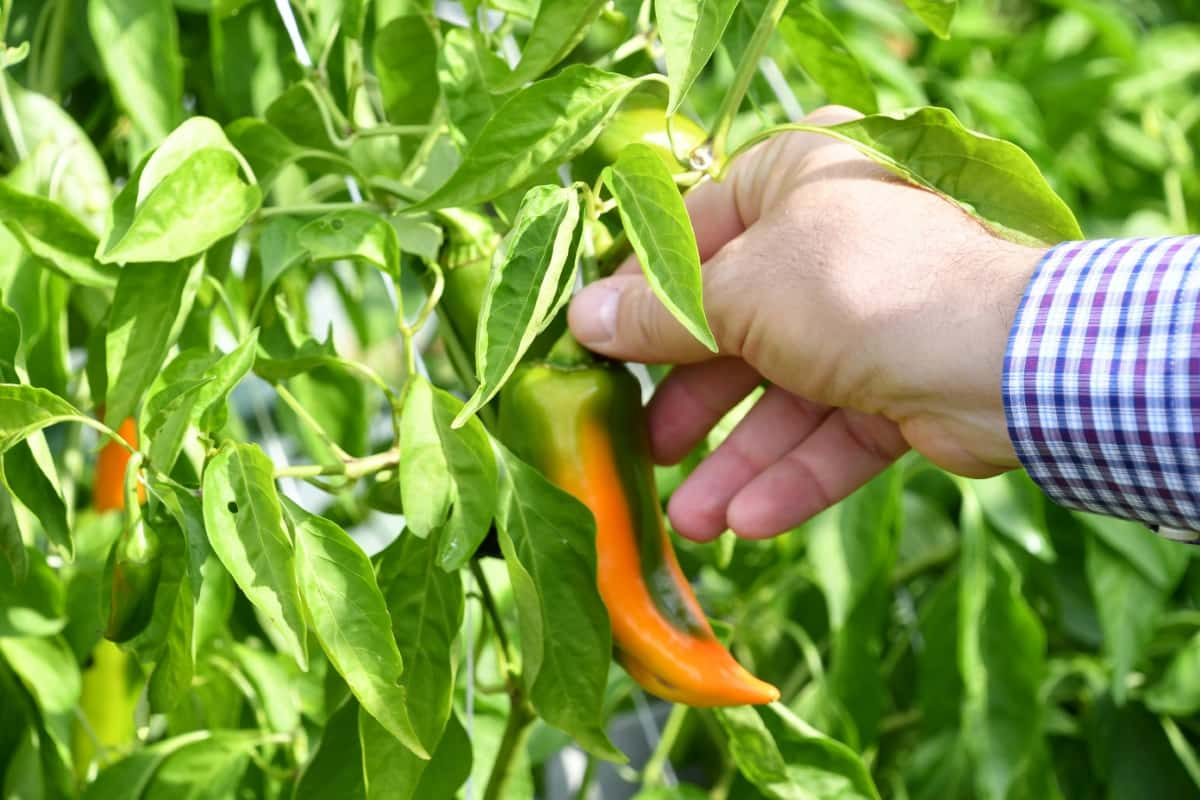
Harvesting Peppers grown in grow bags is a satisfying experience that allows you to enjoy the fruits of your labor. When it comes to harvesting Peppers, timing is crucial. You want to wait before picking the Peppers that have reached their desired size and color. Depending on the type, most varieties are ready for harvest when they have turned fully red or yellow.
To harvest the Peppers, grasp the stem firmly with one hand and gently twist or cut it off using pruning shears or scissors. You should not damage any nearby stems or leaves during this process. One advantage of growing Peppers in grow bags is that you can easily move them around to find ripe fruit hidden beneath the foliage.
In case you missed it: How to Grow Tabasco Peppers from Seeds: At Home, In Pots, Raised Beds, Terraces, and Backyard
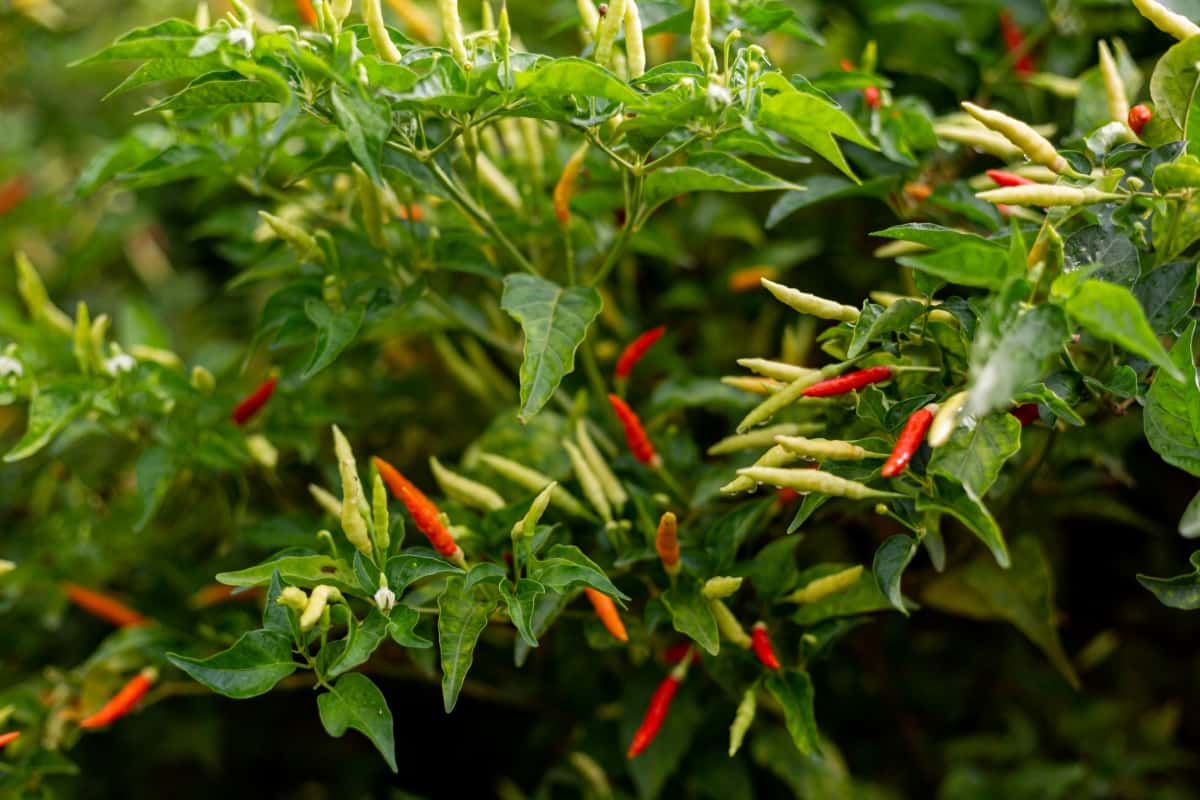
Take a closer look at each plant and carefully search for mature Peppers ready for picking. Remember that not all Peppers ripen simultaneously, so you may need multiple trips through your garden as different fruits mature. This staggered harvest ensures a continuous supply of fresh, flavorful Peppers throughout the season.
Conclusion
Growing Peppers in grow bags are a convenient and efficient way to cultivate these delicious vegetables. With their numerous advantages, such as portability, improved drainage, and better temperature control, it’s no wonder many gardeners are opting for this method. It’s important to provide the right conditions for germination and growth starting from seed. From providing warmth and moisture to transplanting carefully into larger grow bags as they mature, caring for your young plants will set them up for a productive season.
- Gardening Techniques in Planting Vegetables
- Where to Place Indoor Plants in Your Home
- How to Grow Tomatoes Organically at Home: A Comprehensive Guide
- Organic Gardening on a Budget: Low-Cost Methods and Materials
- Gongura Seed Germination and Planting Methods
- Cabbage Seed Germination and Selection
- Broccoli Seed Germination and Selection
- Asparagus Seed Germination and Variety Selection
- Seasonal Flower Gardening: Best Practices for Spring, Summer, Fall, and Winter
- How to Grow Hibiscus from Flower
- Plantation Ideas for Home Decoration: A Beginners Guide
- Flower Garden Designs and Layouts for Beginners
- Planting and Spacing Techniques in Papaya: A Beginner’s Guide
- Growing Gold: Essential Techniques for Planting Pineapples
- How to Make Kalanchoe Plant Bushy: Home Remedies and Solutions
- 11 Reasons Why Your Gardenia is Not Blooming: Home Remedies and Solutions
- Eco Elegance: The Guide to Designing a Drought-Tolerant Landscape
- Gardening on a Slope: Strategies for Hillside Landscaping
- Nourish and Flourish: Top Organic Mulches for Thriving House Plants
- Everything You Want to Know about Indian Mogra Flower: Discover Uses and Growing
- Green Thumb Success: Expert Tips for Cultivating Greenhouse Pumpkins All Year Round
- Maximize Growth & Flavor: The Ultimate Guide to Companion Planting in Herb Gardens
- How to Control Rhododendron Problems Naturally: Home Remedies and Organic Ways to Fix Them
- Natural Magic: The Remarkable Benefits of Cinnamon for Plants
- Best Steps to Revive Dying Tulip with Natural and Organic Treatment
- 10 Reasons Why Your Angel Trumpet is Not Blooming: Remedies and Treatment
- How to Fix Periwinkle Leaf and Flower-Related Problems: Natural Remedies and Solutions
- How to Fix Zinnias Leaf and Flower Problems: Discover Natural and Home Remedies
- Organic Steps to Induce Lemon Tree Flowers: A Comprehensive Guide
- Bloom Booster: Crafting the Perfect Homemade Bougainvillea Fertilizer
- Optimizing Growth: A Guide to Applying NPK Fertilizer for Potted Plants
- 10 Best Homemade Fertilizers for Rubber Plant: DIY Recipes and Application Method
- How to Boost Female Pumpkin Flowers: Effective Steps for More Flowers and High Yields
- Transform Your Indoor Garden: Top Benefits of Pink Salt for Houseplants
- 10 Best Homemade Fertilizers for Peacock Plants (Calathea): Easy DIY Guide
- Unlock Blooms: 9 Reasons Why Your Potted Chrysanthemum is Not Blooming