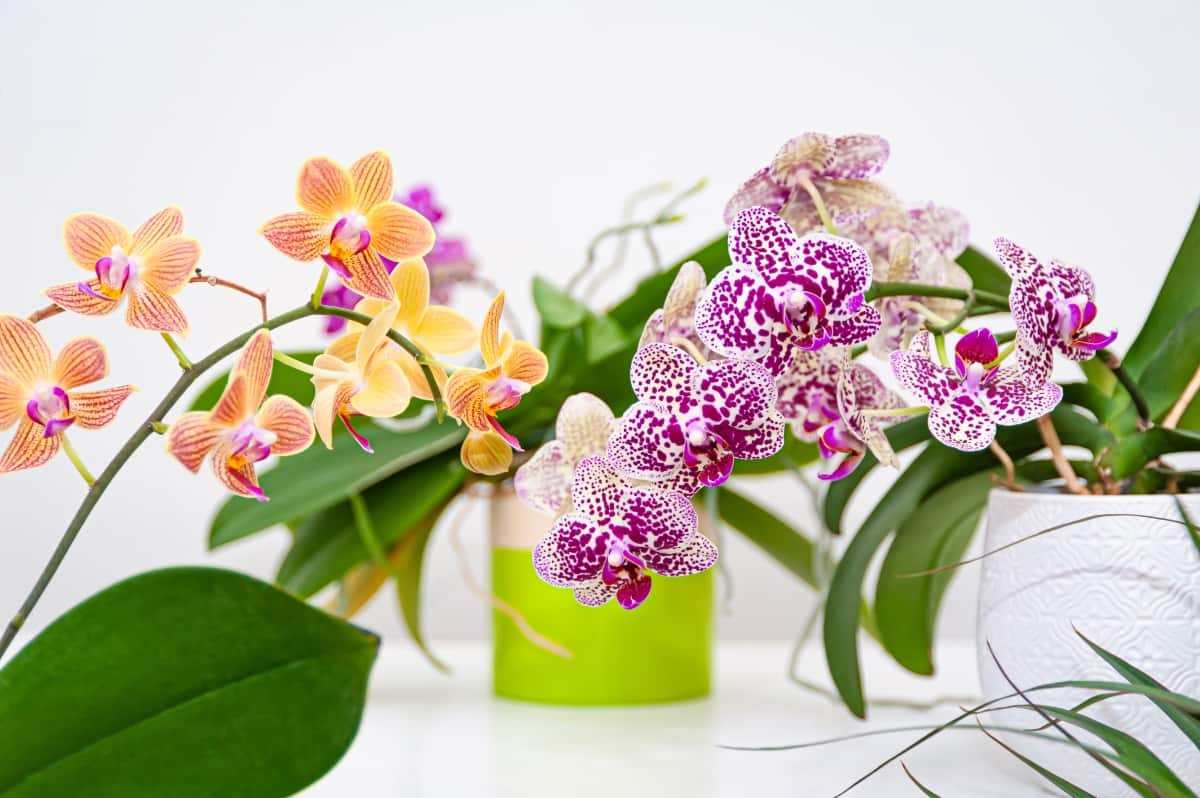
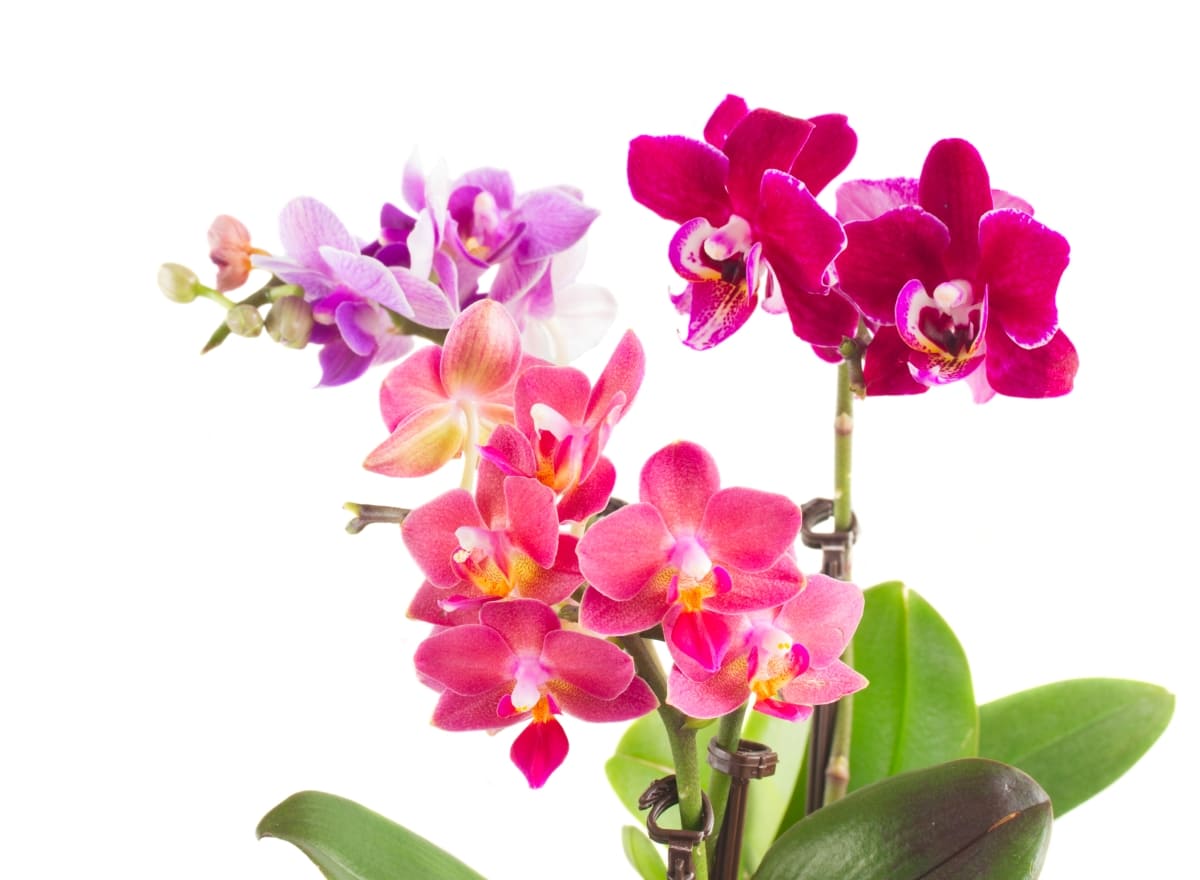
Caring for Orchid aerial roots is an essential aspect of maintaining the overall health and vitality of your plant. By understanding how to identify common issues and implementing prevention and treatment strategies, you can ensure that your Orchid’s aerial roots thrive.

Orchid Aerial Roots Care
The Role of Aerial Roots
Orchid roots play a key role in the overall health and well-being of these stunning plants. While most people are familiar with the underground roots that absorb water and nutrients from the potting medium, Orchids also possess aerial roots that serve important functions. When it comes to the Importance of aerial roots, Aerial roots have a unique ability to absorb moisture from the air, making them essential for Orchids growing in their natural environments.
Identifying Healthy vs. Unhealthy Roots
Identifying and encouraging healthy aerial roots is relatively easy if you know what to look for. Healthy ones tend to be plump firm, and have a bright green coloration. In contrast, unhealthy aerial roots may appear shriveled, mushy, or discolored.
Proper Watering Techniques
Watering Frequency and Amount
Proper watering is crucial for the healthy growth of Orchid’s aerial roots. The frequency and amount of water largely depend on the needs of your Orchid species. Generally, it’s recommended to water Orchids once every 7-10 days during active growth periods, allowing the potting medium to dry out slightly between each watering.
Signs of Overwatering and Underwatering
To determine if you’ve provided enough water, pay attention to the weight of the pot. If it feels light when lifted, it may be a sign that your Orchid needs watering. On the other hand, if it feels heavy or saturated even after several days since its last watering, this could indicate overwatering. Similarly, observing the condition of your aerial roots can give clues about hydration levels. Healthy roots are typically greenish-gray and plump with a silvery sheen when wet but turn grayish-white when they’re thirsty.
Maintaining Ideal Humidity Levels
Creating a Humid Environment
One of the key factors in Aerial roots in indoor Orchid care is maintaining ideal humidity levels. Orchids thrive in humid environments, as they closely resemble their natural habitat. To create a humid environment for your Orchids, you can use various methods, such as misting the leaves and aerial roots regularly or placing a tray filled with water. Monitoring humidity levels is crucial to ensure that your Orchids are getting the right amount of moisture. Aim for a range between 50-70% humidity, which is considered optimal for most Orchid species.
Monitoring and Adjusting Humidity
If you find that humidity levels are too low, there are several ways to adjust them accordingly. One easy method is using a humidifier to increase moisture in the air around your plants. Alternatively, grouping Orchids can help create microclimates with higher humidity levels. On the other hand, if you notice excessive condensation on glass surfaces or mold growth around your plants, it may indicate high humidity levels. In such cases, providing better airflow by using fans or opening windows slightly can help reduce excess moisture.
Light and Temperature Requirements
Optimal Light Conditions
When it comes to Aerial root propagation, choose healthy roots, and Orchids generally prefer bright, indirect sunlight. Placing them near a window with sheer curtains or in a well-lit room is usually sufficient. However, direct sunlight can scorch their leaves, so it’s important to provide some shade during the hottest part of the day.
Ideal Temperature Range
As for temperature, most Orchids enjoy a moderate range between 18°C and 24°C. Nighttime temperatures can dip slightly lower without causing harm. Keep in mind that different types of Orchids may have slightly different preferences when it comes to lighting and temperature. Some varieties may require more intense light or cooler temperatures than others. Consulting specific care instructions for your particular species will ensure you meet their unique needs.
In case you missed it: Growing Orchids Hydroponically – a Full Guide

Fertilization and Nutrition
Selecting the Right Fertilizer
Selecting the right fertilizer for your Orchids is crucial for their overall health and growth. There are various types of fertilizers available in the market, so it’s essential to choose one that suits the specific needs of your Orchid species. Generally, a balanced fertilizer with nitrogen (N), phosphorus (P), and potassium (K) is recommended.
Fertilizing Schedule and Dosage
When it comes to Fertilizing Orchid aerial roots, consistency is key. Orchids typically require regular feeding during their active growing season, which is usually spring through early fall. Dosage is another important factor to consider when fertilizing your Orchids. Over-fertilization can cause root burn and other nutrient imbalances, while under-fertilization can result in stunted growth or yellowed leaves.
Enhancing Air Circulation
Importance of Airflow
When it comes to Managing aerial roots in Orchids, one aspect that is often overlooked but crucial to their overall health is air circulation. Adequate airflow around your plants plays a vital role in preventing the buildup of moisture and stagnant air, which can cause fungal diseases and root rot. Good air circulation regulates temperature and humidity levels as well. Orchids thrive in environments with moderate humidity, so proper airflow can help prevent excessive moisture from settling on leaves or in the potting medium.
Improving Air Circulation Around Orchids
To improve air circulation around your Orchids, there are several simple steps you can take. First, make sure that your plants are not crowded together; give them enough space so that each plant has room for its foliage and roots to grow freely. Placing fans strategically near your Orchid collection can also help promote better airflow.
Repotting and Potting Medium
When and How to Repot
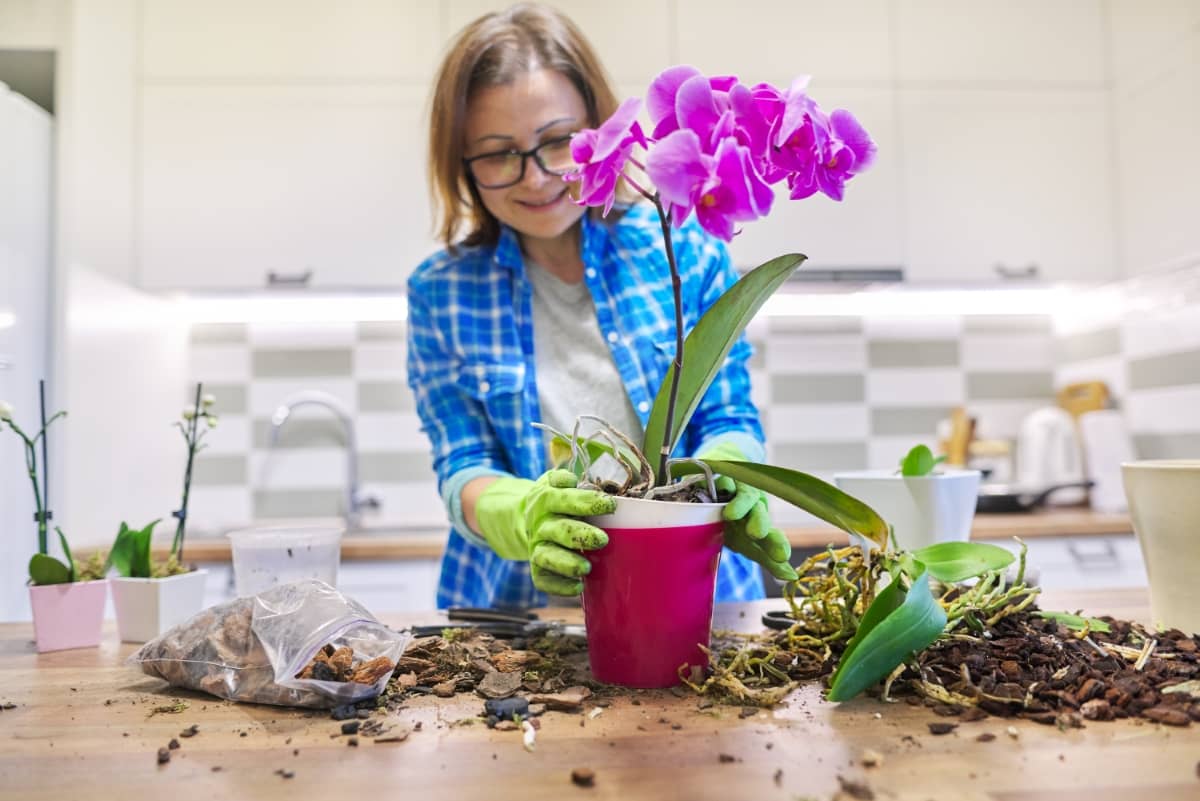
When it comes to Orchid care, repotting is an essential task that should not be overlooked. One sign is when the pot becomes too crowded with roots or when the potting medium breaks down and no longer provides adequate drainage. Additionally, if you notice that your Orchid has stopped growing or blooming, it may be a good indication that it needs a new home. But before you grab a new pot and start digging up your Orchid, there are a few things to consider.
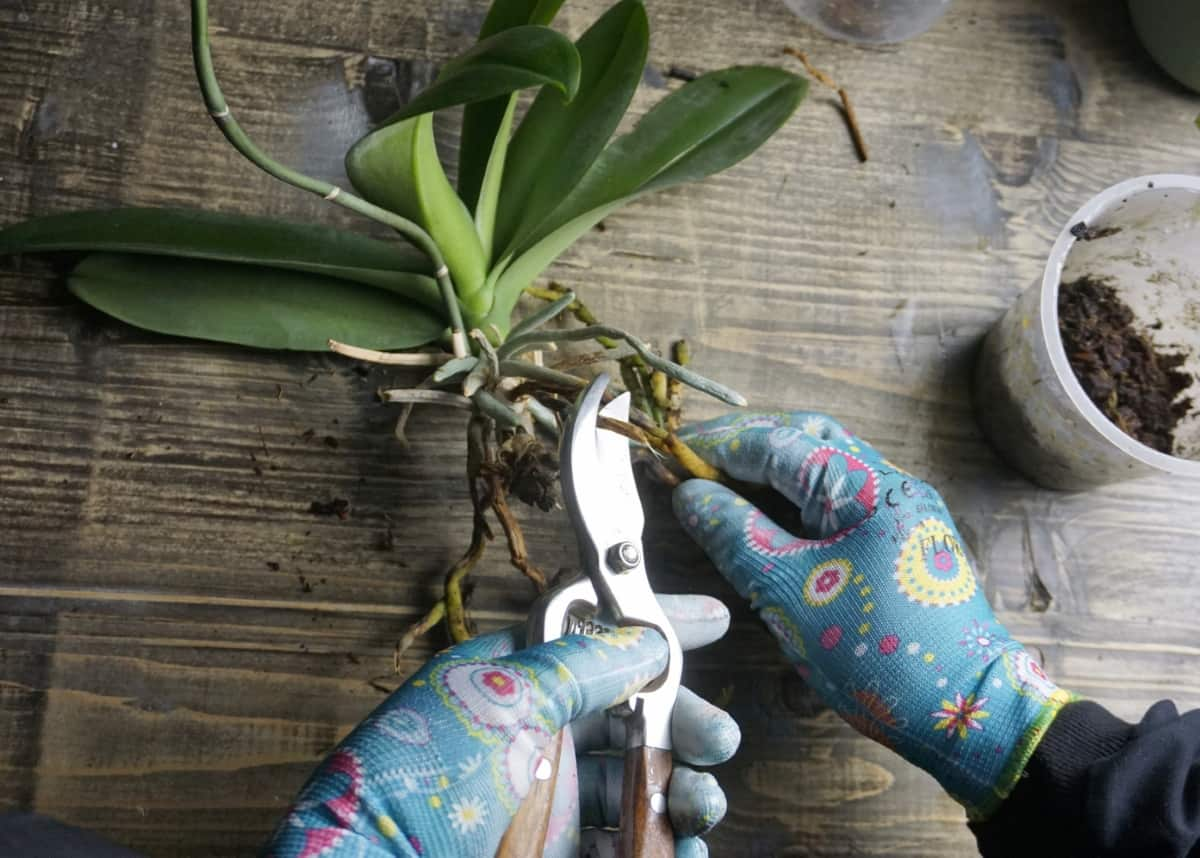
First, choose the right pot size for your plant. Orchids prefer snug pots, so opt for one that allows for about 1-2 inches of space around the roots. Now, let’s talk about how actually to repot your Orchid. Pruning aerial roots if you observe any damaged roots when repotting. Gently loosen the remaining healthy roots from their current container and place them into the new pot filled with fresh potting medium. Give your newly potted Orchid some time to adjust to its new environment before watering again – typically, about a week or two should suffice.
Choosing the Right Potting Mix
There are various options available on the market, such as bark chips, sphagnum moss, perlite mixtures, etc. It’s important to choose a well-draining mix that allows air circulation around the roots.
Pest and Disease Management
Identifying Common Issues
Pest and disease management is a key aspect of caring for Orchid aerial roots. By understanding common issues, identifying them early on, and implementing prevention strategies, you can ensure the health and vitality of your plants. One of the most common pests that affect Orchids is aphids. These tiny insects cause damage to leaves and stems. To prevent infestations, regularly inspect your Orchids for signs of aphids, such as curled or distorted leaves.
If you spot these pesky critters, treat them with a mild soap solution or an insecticidal spray specifically formulated for Orchids. Another frequent problem is fungal infections like root rot. Overwatering or poor drainage can create the perfect conditions for fungi to thrive in the potting medium. To prevent this issue, make sure to water your Orchids appropriately and choose well-draining potting mixes.
Prevention and Treatment Strategies
One important strategy is providing proper watering techniques. Overwatering can cause root rot, allow the medium to dry out slightly between waterings. On the other hand, underwatering can cause dehydration and stress on the roots, so finding a balance is crucial. Protecting aerial roots from pests involves maintaining suitable humidity levels. Orchids thrive in humid environments, but excessive moisture can encourage fungal or bacterial infections. Use a humidifier or place your Orchid on a tray with water-filled pebbles to create an ideal level of humidity.
In case you missed it: Orchid Growing For Beginners – Tips, Ideas, Techniques

Seasonal Care Adjustments
Care Changes Through Seasons
During warmer months, such as spring and summer, Orchids thrive in bright light conditions with temperatures ranging between 18°C to 24°C. The increased sunlight intensity during this time promotes strong root development and vibrant blooms. However, it’s important to protect your Orchids from direct sunlight that can scorch their leaves.
In contrast, as fall approaches and winter sets in, you need to make certain changes in caring for your Orchids. Lower temperatures require adjusting the lighting conditions accordingly. Providing adequate warmth becomes essential while avoiding exposure to cold drafts or sudden temperature fluctuations that can harm delicate roots.
Preparing for Dormancy
Preparing your Orchid for dormancy is another crucial step during colder months. This period allows the plant to rest and recharge before entering a new growth phase when temperatures rise again. Reduce watering frequency but maintain hydration levels by misting aerial roots occasionally. Be mindful not to overwater, as excessive moisture can lead to root rot.
Remember that each season brings unique challenges and opportunities for proper Orchid care. Stay attuned to these adjustments by monitoring temperature variations closely and providing appropriate light levels throughout the year.
Monitoring and Maintenance
Regular Inspection of Roots
Monitoring and maintaining the health of your Orchid’s roots is essential for ensuring its overall well-being. Regularly inspecting the roots allows you to catch any potential problems early on and take appropriate action. During your inspections, pay attention to the color, texture, and smell of the roots. Healthy Orchid roots should be firm with a light green or silver-gray color. They should also have a slightly velvety texture. If you notice any mushy or discolored roots, it may indicate root rot or other issues.
Addressing Root Problems
Addressing root problems promptly is crucial for preventing further damage to your Orchid. If you spot any unhealthy or damaged roots during inspection, carefully trim them using sterilized tools. Be sure to remove only the affected portions while leaving healthy segments intact. After trimming, apply an antifungal treatment to prevent infections from spreading. It’s important not to exceed recommended dosages, as excessive use can harm your plant.
In addition to regular inspections, proper maintenance practices are vital for keeping your Orchid’s aerial roots healthy. Avoid overwatering by allowing the potting medium to dry out between waterings, but don’t let it completely dry out, either. Proper airflow around the roots is equally important in preventing fungal growth and promoting oxygen exchange. Consider placing fans near your Orchids or providing gentle air circulation through open windows or vents.
In case you missed it: Easy to Grow Orchid Plants for Beginners: Soil, Propagation, Planting, and Care

Conclusion
In the world of Orchid care, proper maintenance of aerial roots is crucial for the overall health and vitality of these exquisite plants. By understanding their role and implementing effective care strategies, you can ensure that your Orchids thrive and continue to grace your space with their beauty.
- How to Grow Hibiscus from Flower
- Plantation Ideas for Home Decoration: A Beginners Guide
- Flower Garden Designs and Layouts for Beginners
- Planting and Spacing Techniques in Papaya: A Beginner’s Guide
- Growing Gold: Essential Techniques for Planting Pineapples
- How to Make Kalanchoe Plant Bushy: Home Remedies and Solutions
- 11 Reasons Why Your Gardenia is Not Blooming: Home Remedies and Solutions
- Eco Elegance: The Guide to Designing a Drought-Tolerant Landscape
- Gardening on a Slope: Strategies for Hillside Landscaping