Germinating seeds is an essential step in gardening that shouldn’t be overlooked. It’s the first stage of a plant’s growth and sets the foundation for its entire life cycle. Without proper germination, your plants may not grow at all. Germinating seeds also allows you to control the growing conditions from day one, giving your plants a better chance of thriving. Furthermore, seed germination helps ensure genetic diversity within your garden by allowing you to choose specific varieties and hybrids of plants to grow from seed.
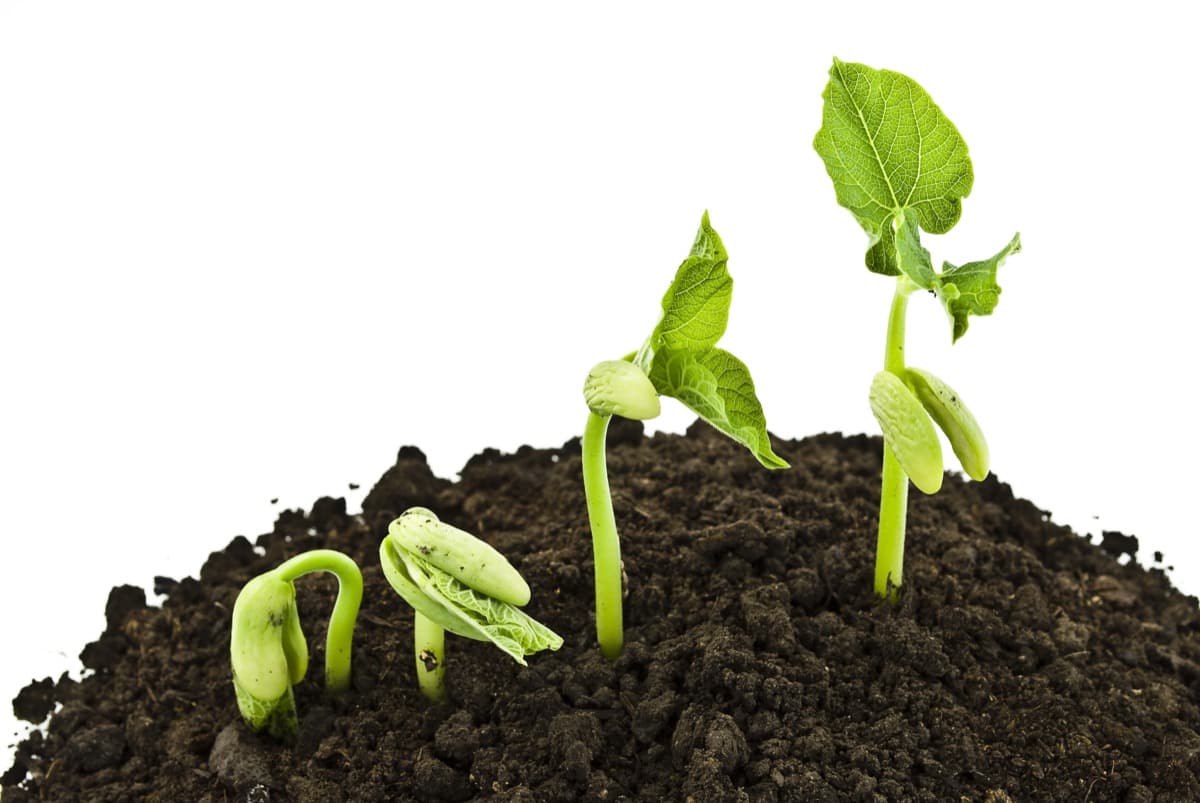
This gives you more options when choosing which crops or flowers will thrive best in your local environment. In addition, germinating seeds enable gardeners to save money on buying expensive pre-grown plants while also providing a sense of satisfaction in seeing their hard work pay off as they watch their little sprouts grow into mature plants over time. Taking the time to germinate your seeds properly is an investment worth making for any gardener looking for healthy and bountiful yields.
Techniques for Speeding Up Seed Germination
Seed Germination Time
When it comes to seed germination, the time it takes for them to sprout varies depending on the type of plant. Some seeds may take just a few days, while others take several weeks or months. Knowing how long the germination process will take is essential so you can plan accordingly. It’s also worth noting that other factors, such as temperature, moisture, and soil conditions, can affect germination time. Optimal growth conditions are key to ensuring successful germination.
Different seeds have different germination times based on various factors such as temperature, moisture levels, and soil conditions. Knowing when your seeds will likely sprout allows proper planning and care throughout their growth cycle. Proper timing ensures that you don’t miss critical stages of planting, such as transplanting or thinning out seedlings. Cool and cold crops are plants that thrive in lower temperatures.
These crops are best planted in spring and fall when the weather is still cool. These plants do not tolerate high heat and will bolt or go to seed quickly if they get too warm. They also tend to have shorter growing seasons compared to their warmer counterparts. These plants grow best in warmer temperatures when it comes to warm crops. These crops are perfect for planting during the summer or in areas where the climate is consistently warm.
In case you missed it: How to Grow Cardamom (Elaichi) from Seeds at Home: Soil, Germination, Planting, Pests, Diseases, and Care
Nick the Seeds
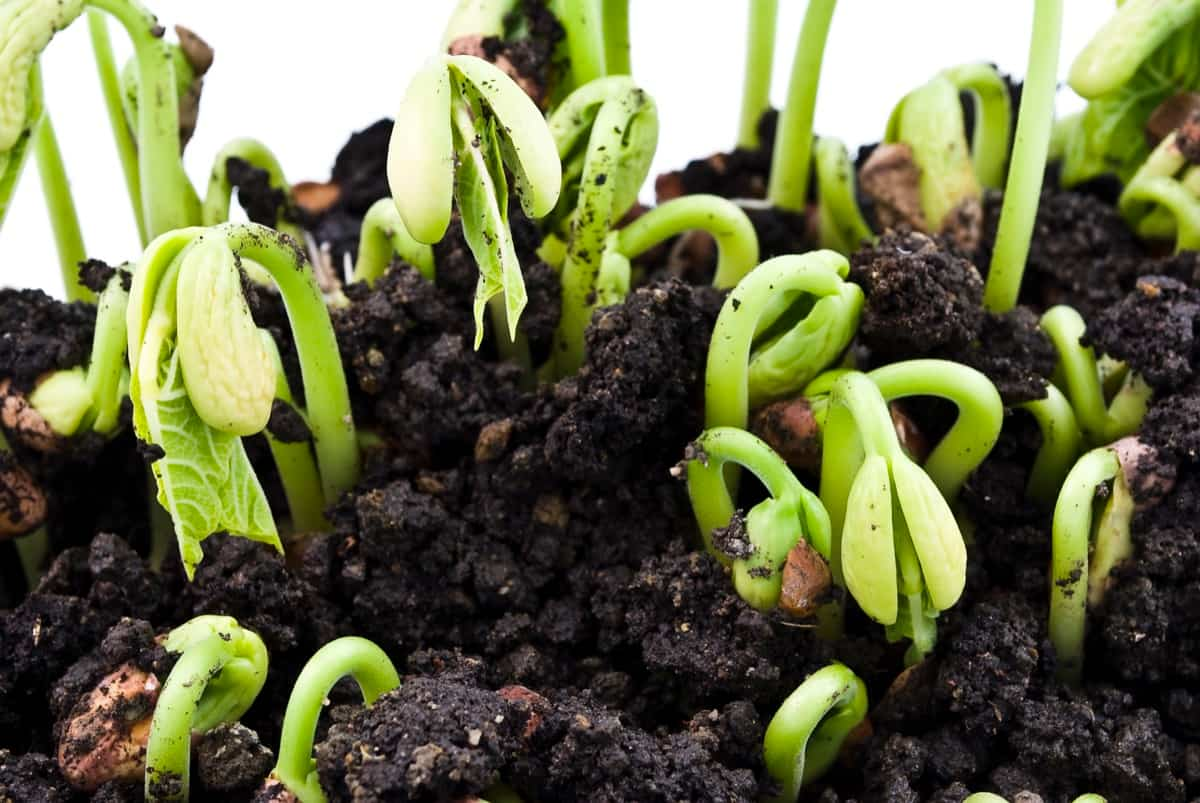
One of the expert tricks to germinate seeds faster is nicking them before planting. This process involves making small cuts or scratches on the seed coat without damaging the embryo. By nicking the seeds, you create small openings that allow water to penetrate more easily and reach the embryo inside. Water is necessary for seed germination, and when it can penetrate quicker, it triggers a response in the embryo that initiates growth.
To do this technique properly, use a sharp knife or sandpaper to make shallow cuts on one side of each seed. Be careful not to cut too deep, as this might damage the inner part of the seed. Once done, proceed with your regular planting method. Nicking works best for larger seeds like Beans, Peas, and corn with thicker coats than smaller ones such as Lettuce or Tomato seeds.
Germinate on Damp Paper Towels
Another effective way to germinate seeds faster is by using damp paper towels. This method works great for smaller seeds that require a lot of moisture to sprout. First, moisten a few sheets of paper towel with water until thoroughly wet but not dripping. Spread the damp paper towel out flat on a plate or tray. Next, place your seeds evenly spaced on half the damp paper towel. Fold the other half over the top of the seeds to cover them completely.
Ensure the surrounding environment stays humid while your seeds germinate on the damp paper towel. You can use plastic wrap or a plastic bag to help keep moisture in. Check your seeds daily and keep them moist if necessary by lightly misting them with water or adding more drops directly onto the paper towel. Once you see signs of sprouting, carefully transfer each seedling into its pot filled with seed-starting mix and continue caring for it as usual.
Pre-Soak the Seeds
Pre-soaking seeds is a technique that can speed up the germination process. Soaking certain seeds can help soften their hard-outer coating, allowing water to penetrate more easily and jumpstart germination. Place your seeds in a bowl or cup of room-temperature water to pre-soak them. You can also add a pinch of sea salt to the water to help prevent disease and encourage growth.
In case you missed it: How to Grow Ferns from Spores: Germination, Planting Care, and Guide for Beginners
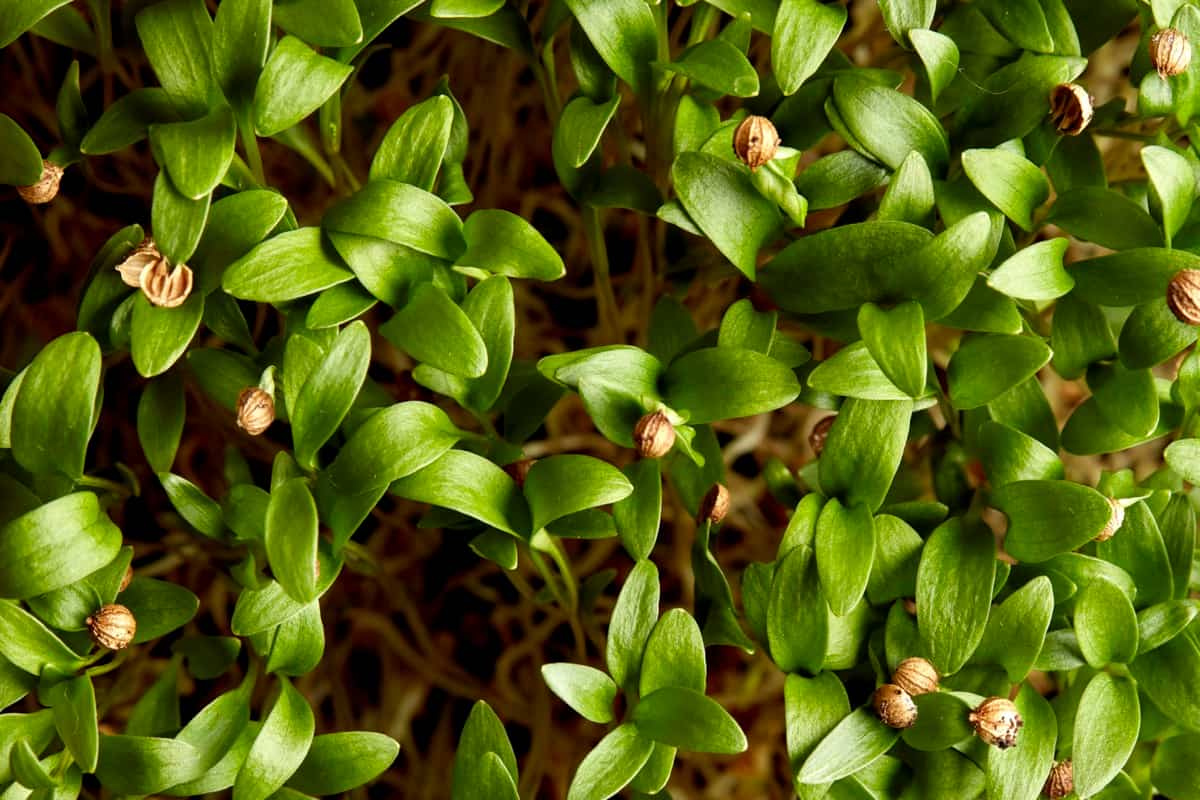
Ensure you only soak your seeds for a few hours overnight; soaking may lead to overhydration and rotting of the seed. Once you’re done soaking your seeds, drain off any excess water and plant them immediately in soil or another growing medium. Pre-soaking is particularly effective for larger seeds like Beans, Peas, or Sunflowers. However, not all types of seeds will benefit from this method. Some could be damaged by soaking. It’s always best to research each type before attempting this method.
Plant Seeds in A Seed-Starting Mix
Using the correct type of soil is crucial for germinating seeds. A seed-starting mix is an excellent choice for planting your seeds as it contains all the nutrients your plants need to grow strong. Seed-starting mixes are made from finely ground materials such as peat, perlite, vermiculite, and coconut coir. These ingredients allow good drainage while retaining moisture and providing adequate air circulation for the roots to grow.
When planting seeds in a seed-starting mix, moisten them before filling your container or tray. Fill each cell with enough mixture leaving about ¼ inch of space at the top. Next, plant two or three seeds per cell, then cover them lightly with some more mixture. The sowing depth depends on the size of your seed, but usually, twice its diameter is ideal. After planting your seeds, water them gently using a spray bottle or watering can, making sure not to disturb their position. Placing plastic wrap over your container/tray until you see sprouts emerge will help retain humidity levels.
Use Heat Mat
Placing your seed tray on a heat mat can significantly speed up germination. Heat mats provide a stable and warm environment for seeds to grow, which is ideal for many plant varieties that require warmth to sprout. When using a heat mat, keeping an eye on the temperature levels is crucial.
A temperature range of 21-29°C is optimal for most plants. It’s also important not to rely solely on the heat mat but use it with proper lighting and watering techniques. Placing your seed tray on a heat mat can help promote successful seed germination by providing consistent warmth and creating an ideal growing environment for your plant’s needs.
Use Grow Lights
One of the tricks to germinating seeds faster is using grow lights for extra warmth. This method is beneficial if you live in a cold climate or during winter when temperatures are low. Grow lights provide artificial light that mimics natural sunlight, which helps seeds germinate faster and healthier. They also emit heat which keeps the soil warm, providing an excellent environment for your seedlings to thrive. Before purchasing grow lights, consider the type of plants you want to grow and their light requirements.
In case you missed it: How to Grow Bermuda Grass from Seeds: Germination Process
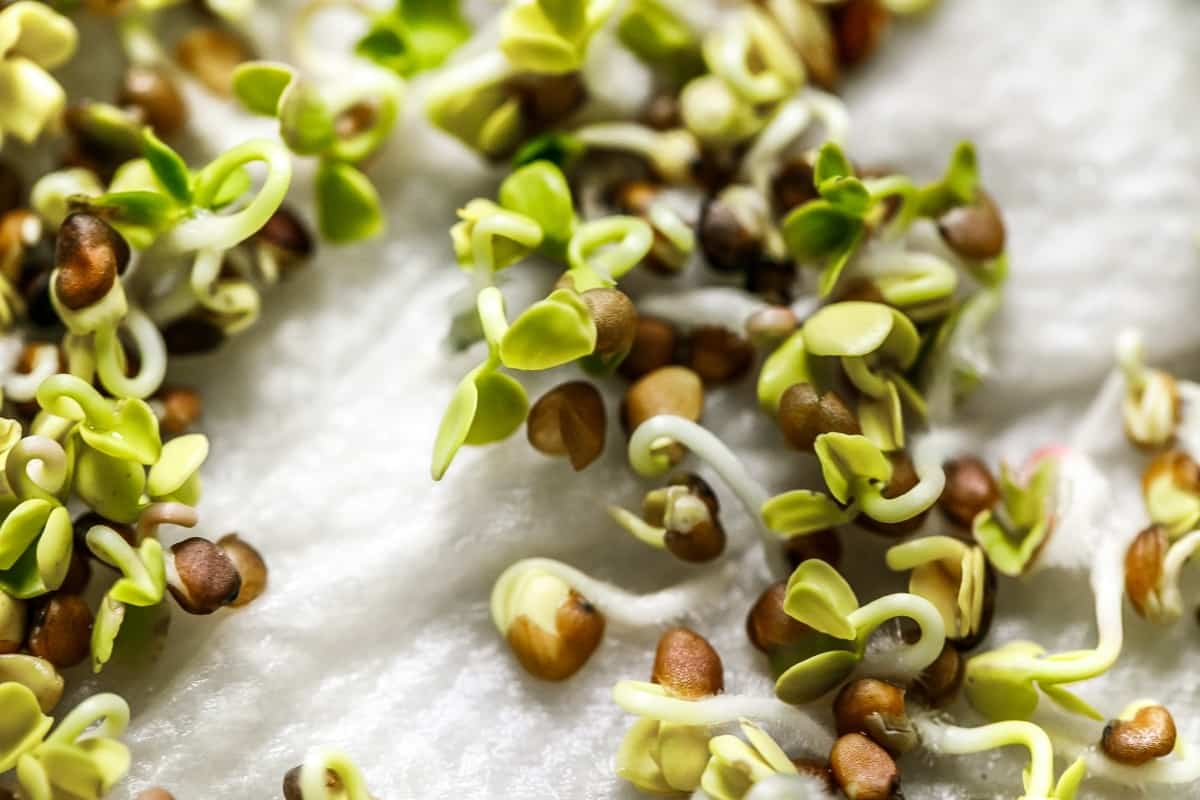
Position the grow lights about 2-3 inches above your seedlings as they emerge from the soil. Keep them on for 12-16 hours per day but make sure they’re not too close as this can damage your plants. Using grow lights will give you better control over your plant’s growth rate and ensure healthy development throughout its life cycle. It’s an easy way to speed up the seed germination process while also ensuring longevity in terms of plant health and vitality.
Use Hydrogen Peroxide Solution
One effective trick to germinate seeds faster is using a hydrogen peroxide solution. Hydrogen peroxide can help prevent seed rot and promote healthy root growth, which leads to faster germination. To use this method, mix four parts of water and one part of hydrogen peroxide in a spray bottle. Spray the solution on your soil or seed starting mix until it’s slightly damp but not soaking wet. Then plant your seeds as usual.
Hydrogen peroxide helps kill any harmful bacteria or fungi that may be present in the soil or on the seeds, preventing them from inhibiting seed germination. Additionally, it provides extra oxygen to the roots of the growing plants, promoting healthy growth. It’s important not to overuse this method, as too much hydrogen peroxide can damage delicate new roots. If needed, stick to spraying once at planting time and then again every few days.
Cover the Seedlings with A Humidity Dome
The humidity dome creates a mini greenhouse environment that traps moisture, heat, and gases necessary for seedling growth. First, select a plastic lid that fits snugly over your seed tray. You can use any clear plastic material like cling wrap or even cut-up plastic bottles as long as they are transparent. Before placing the humidity dome on top of your seed tray, water the soil thoroughly so it’s damp but not soaking wet.
Then carefully place the lid over the top of your tray, ensuring enough space between the plants and dome so air can circulate. During this stage, monitoring the humidity dome’s temperature and moisture levels is essential. If you notice too much condensation building up inside or if temperatures rise above 26°C, lift one edge of your cover slightly to allow fresh air circulation.
In case you missed it: Improving Seed Germination – Speed Up Germination, Methods, Tips, Techniques For Vegetables, Flowers, Fruits, Herbs
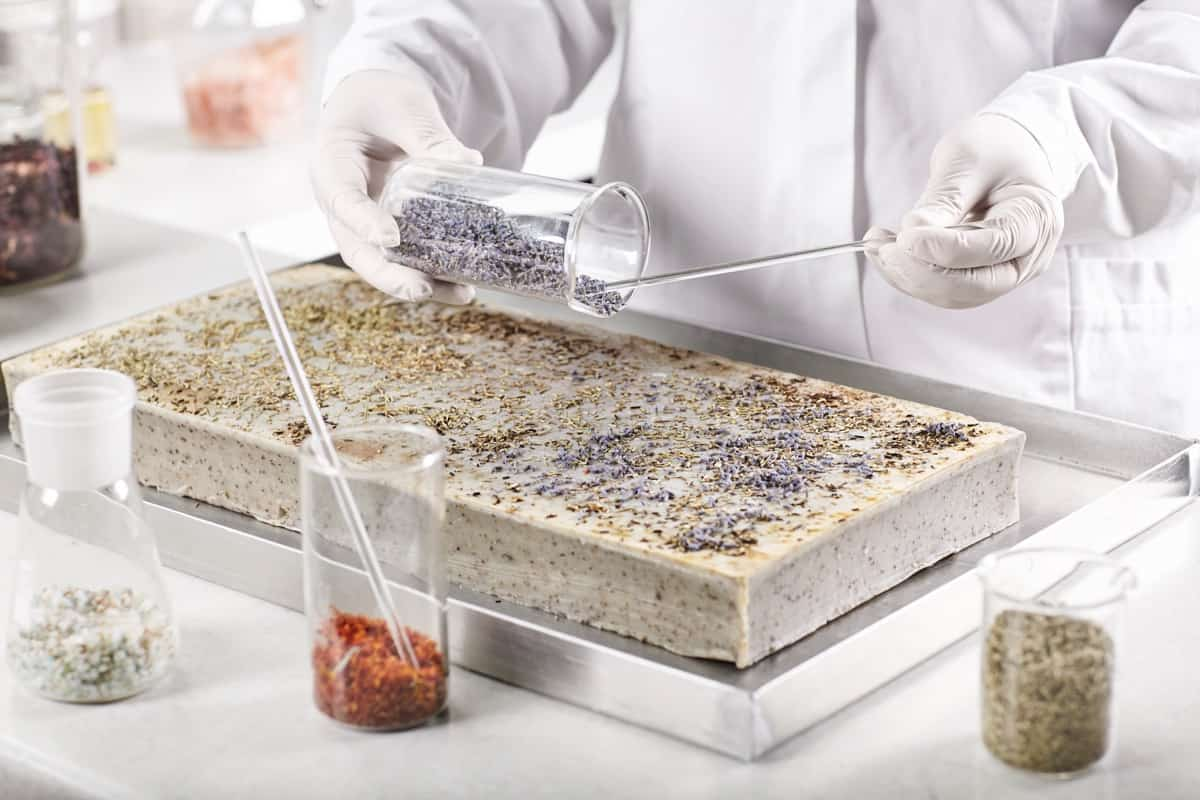
Using a humidity dome when germinating seeds is an excellent method for creating optimal growing conditions by maintaining constant moisture levels and controlling temperature fluctuations. It helps speed up seed germination while protecting fragile young sprouts from environmental stressors such as wind drafts or sudden temperature changes.
Biodegradable Pots
One of the latest trends in gardening is using biodegradable pots for seed germination. These pots are made from organic materials such as coconut coir, plant fibers, and peat moss. These types of pots offer several advantages over traditional plastic or ceramic ones. For one thing, they are eco-friendly and break down naturally without harming the environment.
They also help to reduce transplant shock since you can place them directly into the ground with your young plants still inside. Another benefit is that they maintain moisture levels better than other types of containers. This is especially important during germination when seeds need consistent moisture to sprout properly.
Use Vodka
The alcohol content in the vodka helps break down the seed’s outer coating, making it easier for moisture to penetrate and kickstart the germination process. It also helps to kill any bacteria or fungi that may be present in the seed. To try this hack, mix one part of vodka with three parts water and soak your seeds in this solution for 24 hours. After soaking, rinse off the seeds thoroughly before planting them as usual. While some gardeners swear by this method, others caution against using too much alcohol as it can damage delicate young plants once they grow.
Use Vinegar
To use this, mix one white vinegar with three parts water and soak your seeds in the solution for about 12-24 hours. After soaking, rinse the seeds thoroughly with clean water before planting them in soil or another growing medium. While this trick may not work for all seeds, it is particularly effective for Beans and other legumes.
In case you missed it: Reasons Why Your Seeds Are Not Germinating
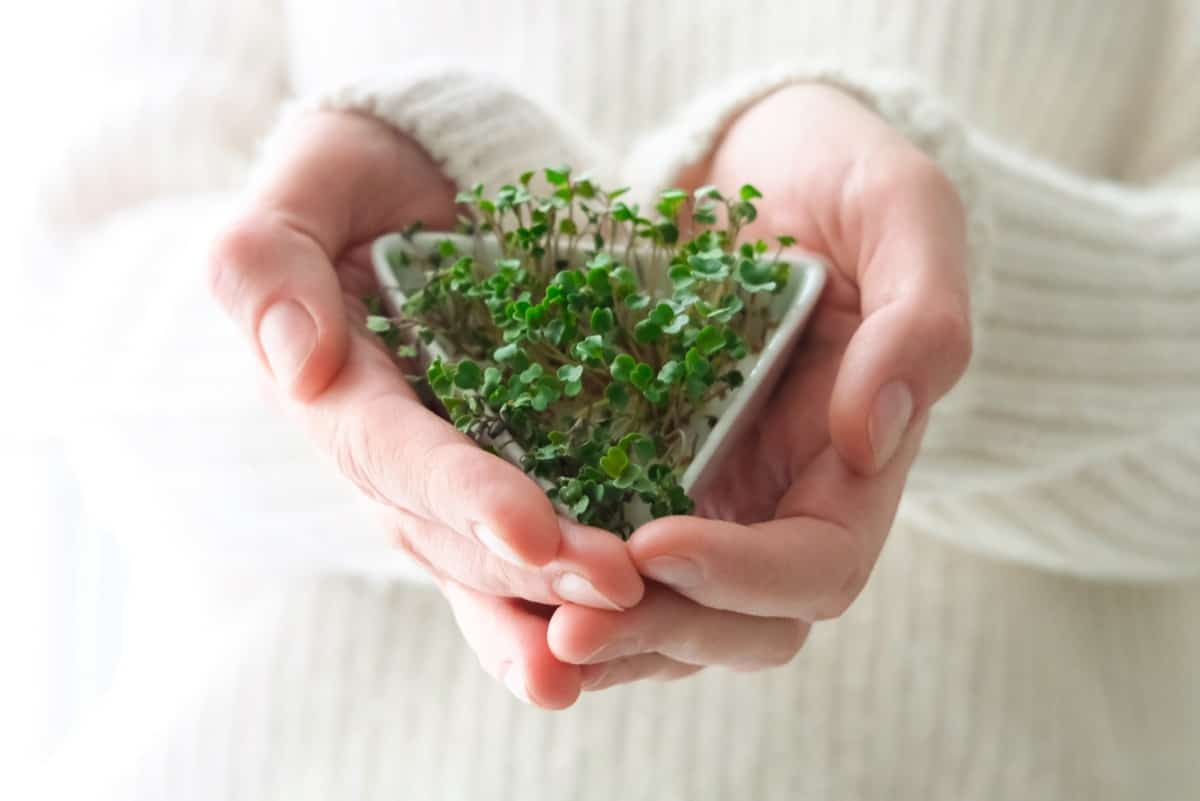
The acid content in the vinegar helps break down any barriers that might prevent water from penetrating the seed coat, allowing for quicker sprouting. However, it’s important to note that using too much vinegar or leaving your seeds in the solution for too long can harm their chances of successful germination.
Conclusion
Germinating seeds can be a delicate and challenging process. Choosing the correct type of seed for your garden is crucial to ensure a successful harvest. Understanding the types of seeds available and their specific needs can help you plan your planting schedule and provide optimal growing conditions.
Remember that germination time, temperature requirements, and sunlight exposure play significant roles in determining which seeds best suit your garden. Considering these considerations when planning your planting schedule, you can maximize plant health and productivity while enjoying a bountiful harvest.
- How to Grow Hibiscus from Flower
- Plantation Ideas for Home Decoration: A Beginners Guide
- Flower Garden Designs and Layouts for Beginners
- Planting and Spacing Techniques in Papaya: A Beginner’s Guide
- Growing Gold: Essential Techniques for Planting Pineapples
- How to Make Kalanchoe Plant Bushy: Home Remedies and Solutions
- 11 Reasons Why Your Gardenia is Not Blooming: Home Remedies and Solutions
- Eco Elegance: The Guide to Designing a Drought-Tolerant Landscape
- Gardening on a Slope: Strategies for Hillside Landscaping
- Nourish and Flourish: Top Organic Mulches for Thriving House Plants
- Everything You Want to Know about Indian Mogra Flower: Discover Uses and Growing
- Green Thumb Success: Expert Tips for Cultivating Greenhouse Pumpkins All Year Round
- Maximize Growth & Flavor: The Ultimate Guide to Companion Planting in Herb Gardens
- How to Control Rhododendron Problems Naturally: Home Remedies and Organic Ways to Fix Them
- Natural Magic: The Remarkable Benefits of Cinnamon for Plants
- Best Steps to Revive Dying Tulip with Natural and Organic Treatment
- 10 Reasons Why Your Angel Trumpet is Not Blooming: Remedies and Treatment
- How to Fix Periwinkle Leaf and Flower-Related Problems: Natural Remedies and Solutions
- How to Fix Zinnias Leaf and Flower Problems: Discover Natural and Home Remedies
- Organic Steps to Induce Lemon Tree Flowers: A Comprehensive Guide
- Bloom Booster: Crafting the Perfect Homemade Bougainvillea Fertilizer
- Optimizing Growth: A Guide to Applying NPK Fertilizer for Potted Plants
- 10 Best Homemade Fertilizers for Rubber Plant: DIY Recipes and Application Method
- How to Boost Female Pumpkin Flowers: Effective Steps for More Flowers and High Yields
- Transform Your Indoor Garden: Top Benefits of Pink Salt for Houseplants
- 10 Best Homemade Fertilizers for Peacock Plants (Calathea): Easy DIY Guide
- Unlock Blooms: 9 Reasons Why Your Potted Chrysanthemum is Not Blooming
- 8 Reasons Why Your Potted Hibiscus is Not Blooming: Fix it with Simple Solutions
- Unlock Blooms: 9 Key Reasons Your Potted Frangipani Won’t Flower
- 10 Reasons Why Is My Ice Plant Not Blooming: Remedies and Treatment
- 10 Reasons Why My Potted Hydrangea Not Blooming: Treatment and Remedies
- 10 Reasons Why is My Wisteria Not Blooming: Remedies and Treatment
- 10 Reasons Why is My Goldfish Plant Not Blooming: Remedies and Treatment
- Maximize Your Space: Ultimate Guide to Balcony Gardening with Grow Bags
- 10 Reasons Why Your Iris is Not Blooming: Remedies and Treatment
- 10 Reasons Why Your Anthurium Plant is Not Blooming: Treatment and Remedies