The way you plant the seeds determines the growth of crops you grow. Some may be seeded directly where they will grow, while others must be placed in a seedbed and then moved to their ultimate growth location, and still, others must be sown inside in heated compost pots. Let’s check out seed planting techniques for Vegetables.
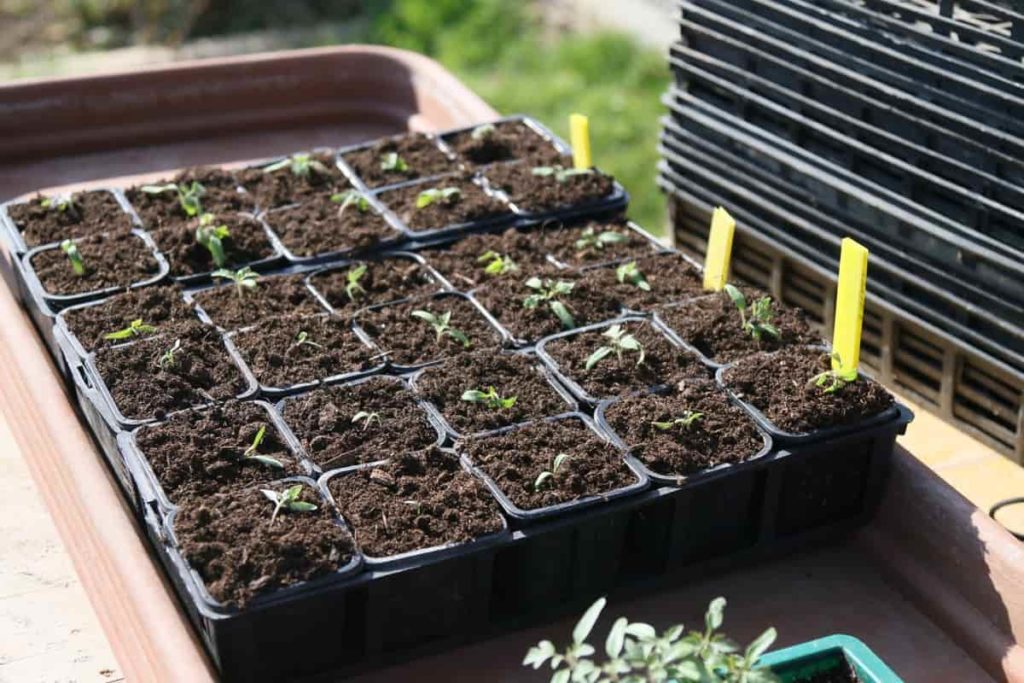
To avoid the glut/famine cycle that happens when extensive rows are seeded in one go, fast-maturing crops should be sown sparingly and often. You may harvest only the quantity you need over a much longer period by seeding shorter rows at 10- to 14-day intervals.
Things to consider before planting seeds
Choosing the right location
Choose a site for your garden that gets lots of light, has plenty of room, and is convenient to your water supply. Select a level location to assist you from preventing soil erosion.
Planing the garden
Make a plan for each vegetable’s placement. Consider which crops require shade and which plants are tall enough not to shadow shorter plants. Also, plant in such a way that you can quickly access the middle of the row or bed to weed, water, and harvest. Plant perennial vegetables like rhubarb, asparagus, and other herbs in permanent beds. Remember that, depending on the vegetable’s days to maturity, you can plant crops of cool-season at the same spot as warm-season crops later in the season.
Check planting dates
Because growing circumstances and ripening cycles vary based on the plant and season, you should not sow all of the seeds at the same time. Planting dates are printed on seed packs. Before making a gardening calendar, consider the optimal circumstances for each vegetable you intend to grow.
Preparing the soil
To prepare the soil for your plants, including compost and natural fertilizers into your garden. Garden supply shops can check your soil Ph and suggest additives or just buy a good potting mix in stores.
Removing the weeds
Before planting the seeds make sure the space is weed-free! Weeds, on the other hand, compete for nutrients and water.
In case you miss this: Guide to Growing African Violets from Seeds: Problems, Plant Care
Select quality seeds
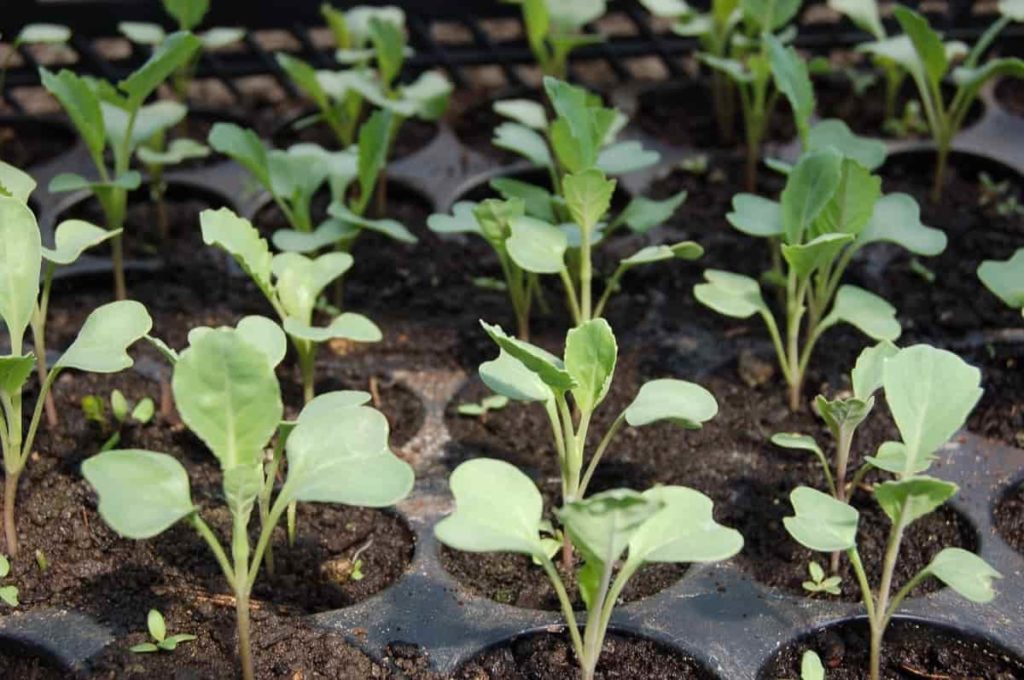
Seeds have a life span, and while you may usually get away with using older seeds, expect reduced germination rates. For the greatest results, use new seeds from a reliable provider. Also, if you are going to preserve your own seeds, avoid saving seeds from hybrid plants. Because most hybrid plants are not “true” to their parent kind, you may wind up with an entirely different, most likely disappointing fruit.
Types of seed planting
Protected sowing for outdoors
Most seeds will not germinate unless the soil temperature is at least 45°F, therefore you must postpone early sowings until the soil temperature reaches this level. Warming the soil using cloches, transparent plastic sheeting, or even empty plastic bottles a few weeks before sowing is one approach to speed this process. Keep the cover on the seeds and seedlings for a few days, until the weather gets warmer, as the unexpected shock of colder temperatures might harm their growth.
Indoor sowing
To supply plants for earlier crops or sensitive crops that cannot withstand early spring temperatures, sow seed inside with heat – ideally in a thermostatically controlled propagator. You can also germinate seeds on a warm windowsill or in a warm conservatory. Once the seeds germinate, the seedlings will have to be kept at a colder temperature, but a cold greenhouse will usually become too cold – particularly at night – for the seeds to grow without being stunted. The seedlings are then individually transplanted into tiny 7.5-9cm pots to grow.
Seed planting techniques for vegetables
Planting vegetables in rows method
Sowing seeds in rows is a wonderful way to create a well-organized garden. You’ll be able to conveniently care for a large number of plants. Tomatoes and zucchini flourish in settings that allow for sufficient air circulation, so growing them in rows is a smart alternative. Plants such as peas, that need string support or trellises flourish in rows as well.
Simply arrange the seeds in rows. Provide enough room for the seeds, push them in, and gently cover with sand or compost. Water your seedlings regularly to keep them wet. After the seeds have germinated, place them by following the spacing directions on the seed packet.
Planting vegetables using drill method
Another kind of direct seeding is the drilling method, in which seeds are dropped constantly while moving forward in a row at a constant speed. The discharge of seeds is similar to pouring water from a little opening in a container until the water is drained. Fill the bottle again and repeat the process. Manual drilling is used for tiny seeds such as rice, sorghum, millet, and mungbean and is often done by hand.
In case you miss this: How to Grow Bermuda Grass from Seeds: Germination Process
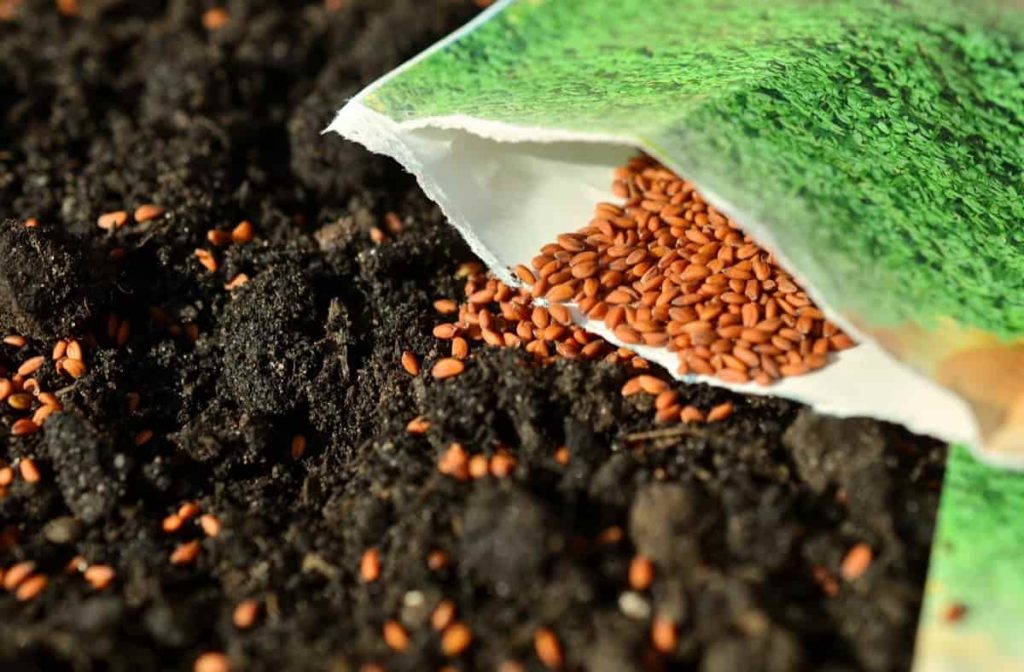
The seeds are released by gently shaking the bottle, causing the seeds to fall one by one or in a cascade out the opening and into the ground. You can do this with or without furrows. Drilling in wet soil in a single direction for rice is a variation of the seed broadcasting techniques (explained below). By raking or walking over the seeds, they are quickly covered with soil and softly pressed into the soil.
Planting vegetables using the hills method
Plant your vegetables in circular hills of 6-8 inches in diameter, spaced several feet apart, using the hill technique. It is important to note that the hill approach is a misnomer: it merely refers to liberally spreading out your crops in circular groupings. Use this approach for large, sprawling vine crops like winter squash, melons, and cucumbers because it gives the plants plenty of room to develop their roots.
Plant a total of five seeds in each circle. Spray with water to keep the soil constantly moist, and after your plants are established, thin them to three per circle. After your plants have established themselves, feed them some organic plant food.
Planting vegetables using the broadcast method
Broadcasting is a simple and efficient method for sowing seeds in larger vegetable gardens. It’s great for little seeds like carrots, radishes, and leafy vegetables such as lettuce. Softly sprinkle them over the soil, to broadcast the seeds. To assist your seeds to establish excellent contact with the soil, softly press them with a plank, then sprinkle some sand or compost over them.
Hydrate your new plants regularly with water. Watering seeds and young plants frequently and lightly is best for them. When set, watering deeply once a week will enough for the majority of your crops. Starting approximately a month after planting, feed your new veggies every two weeks with plant food.
Seed planting techniques for fruit
Refrigerator method to plant fruit seeds
Extract the seeds from the fruit that you want to propagate. Remove any clinging fruit and let seeds air-dry. Next, put them in a jar of glass or another appropriate container with a loosely fitting lid. Place the seeds in a cool place till mid-January. After-ripening is required for seeds. The duration of this phase varies depending on the type of fruit. Germination efficiency is also influenced by the temperature of the container.
In case you miss this: Fast Blooming Flowers to Grow from Seeds: Indoors, Pots, Backyard, and Raised Bed
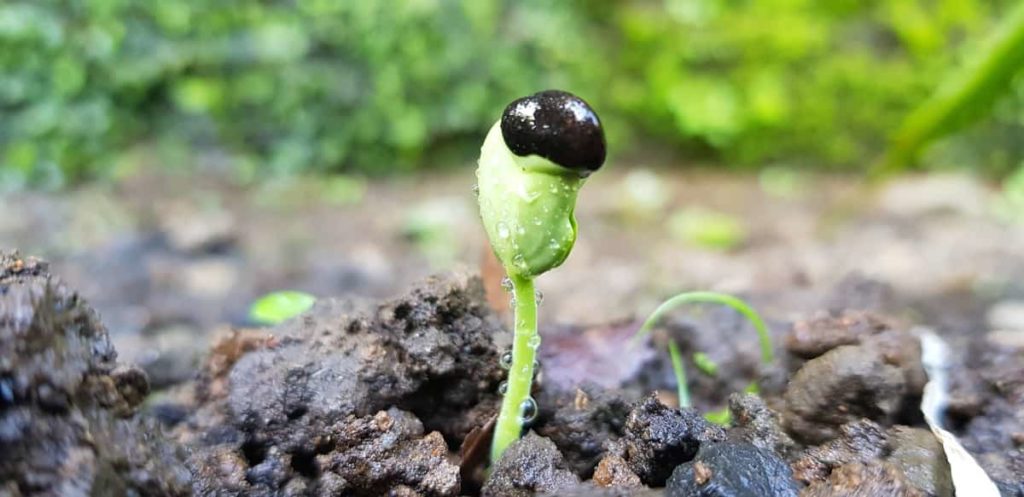
Most seeds can also be stored in sealed containers for up to a year if kept at a regulated temperature. Make sure you’re using an airtight container. If you use a home refrigerator, avoid exposing the seeds to any climacteric fruit that produces ethylene gas. In mid-January, if the seeds have not already been cold treated, mix them with damp peat moss, sand, or shredded paper towels. Replace the lid on the container and return the mixture to it.
Refrigerate the container and seeds until the final severe spring frosts have passed. The seeds should be kept in the fridge for a minimum of 60 days. Create a soil bed in your garden with furrows in early April and sow the seeds. Maintain moist but not wet soil. Fertilizer should not be used.
Outdoor method to plant fruit seeds
Prepare a soil bed in your garden in the fall, just like you would for any other variety of seed. Create a furrow the same size as the seed’s longest dimension. Cover the seeds lightly with soil and then add one or two inches of sand to the row. The sand will keep the soil from crusting, which will prevent germination.
Next, lay a wire screen or hardware cloth over the row, making sure that all edges are pressed a few inches into the soil and the ends are sealed. This keeps chipmunks and squirrels away from the seeds. In April, keep an eye out for freshly germinated seedlings in the sown area. Remove the wire screen as the seedlings develop to avoid confining the young plants.
Handling while in the nursery
When plants attain a height of 6 to 8 inches high, apply 1 to 2 teaspoons of urea in a band along every 12 inches of the row on one side of the seedlings. Keep the fertiliser at least 3 inches away from the seedlings. Every 10 to 12 days, thoroughly water. The fresh seedling comes with a taproot. To make transplanting easier, cut the taproot by putting a shovel beneath each plant. Cut the taproot approximately 5 to 6 inches underneath the surface using the blade.
Seed planting techniques for flowers
Growing annual flowers from seeds
Billowy cottage gardens rely heavily on annual flowers. Many annuals will self-seed, at the end of the season, leaving the flower heads on the plants. They will ultimately dropseed, as well as the seeds will wind their way around the garden with the assistance of the wind. There may be occasions when you have many seedlings in one place, and they should be easy to pluck or transfer.
In case you miss this: Garden Vegetable Seeds for Rainy Season
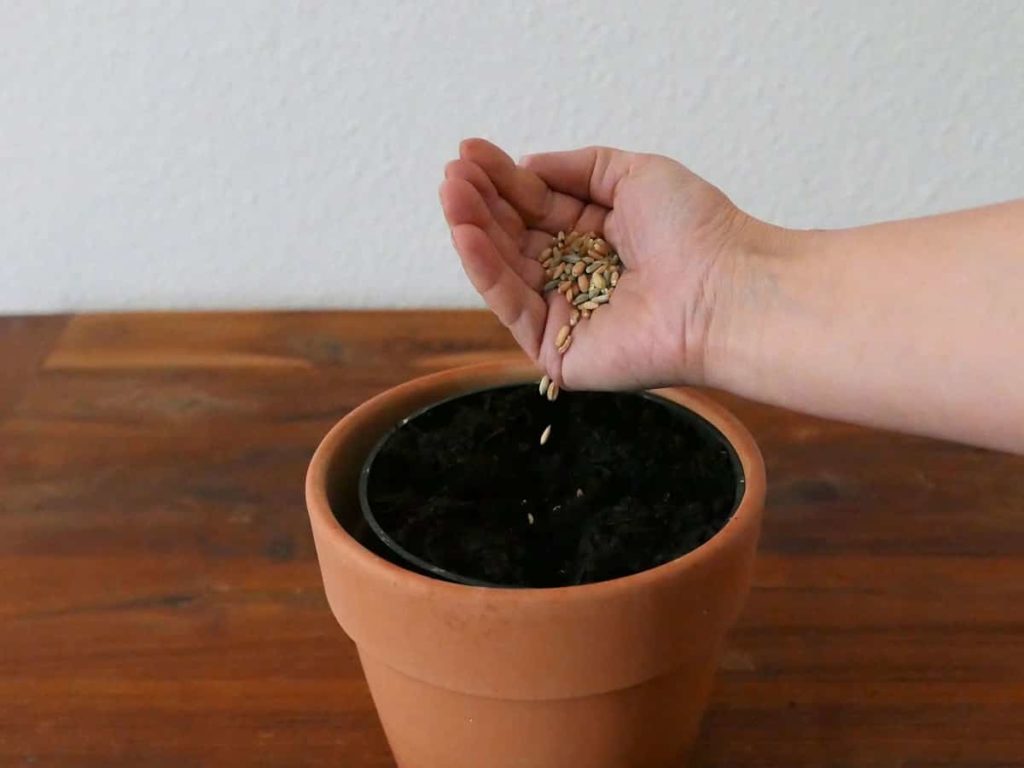
Note that annual flowers grow fast, so even those you straight plant outside in the spring will blossom at their normal bloom period or very shortly after. Almost any self-sowing annual is a suitable choice for beginning from seed, either inside or directly planted.
Growing perennial flowers from seeds
Most perennial plants do not flower until their second year, after spending their first season developing a robust root system and producing a large number of leaves for photosynthesis. You may occasionally avoid this wait by sowing the seeds in the fall and tricking the plants into believing that “year two” begins the next spring, but most of the time, you’ll just have to wait.
Once your perennial flowers have established themselves, they will continue to bloom and grow larger each year. You’ll be able to create even more plants in a few years by splitting the ones you already have.
Planting seeds indoors
If your growing season is short or is simply eager to see the late-blooming flowers, planting seeds inside can assist. To do so correctly, you must know your last frost date, since seed packs will indicate which varietals may be successfully started inside and the appropriate time range. You should have a good potting mix to sow your seeds in, and a means to keep them moist if you’re starting them inside. Paper cups, paper egg cartons, and transparent plastic bags are all acceptable as supplies, as are small pots, peat pots, or seed-starting trays with a clear top.
Frequently asked questions about seed planting (FAQ)
How to grow flowers from seeds faster?
Not all seeds realize it’s time to sprout simply because they’ve been put in the soil. Some require a signal to germinate, such as temperature change or change in moisture levels and the light it receives.
- Winter sowing: To start seeds in winter, sow them outside while the temps are still cold. Although not all seeds can withstand cold conditions, some do require the freezing and thawing cycle to break dormancy or to break their hard coverings.
- Scarification: Seeds with extremely hard or thick coverings might take an eternity to germinate. Scarification which means scratching them using sandpaper can help them get a head start and speed up the process.
- Stratification: Stratification is a method of simulating the warming and chilling conditions that seeds would experience if they were left in their native habitat during the winter. It’s especially handy for those who live in areas where the winter isn’t long enough for their preferred plant, as well as any gardener trying to harvest fragile perennials that will sprout more seeds if they go through the procedure.
In case you miss this: Garden Vegetable Seeds for Summer
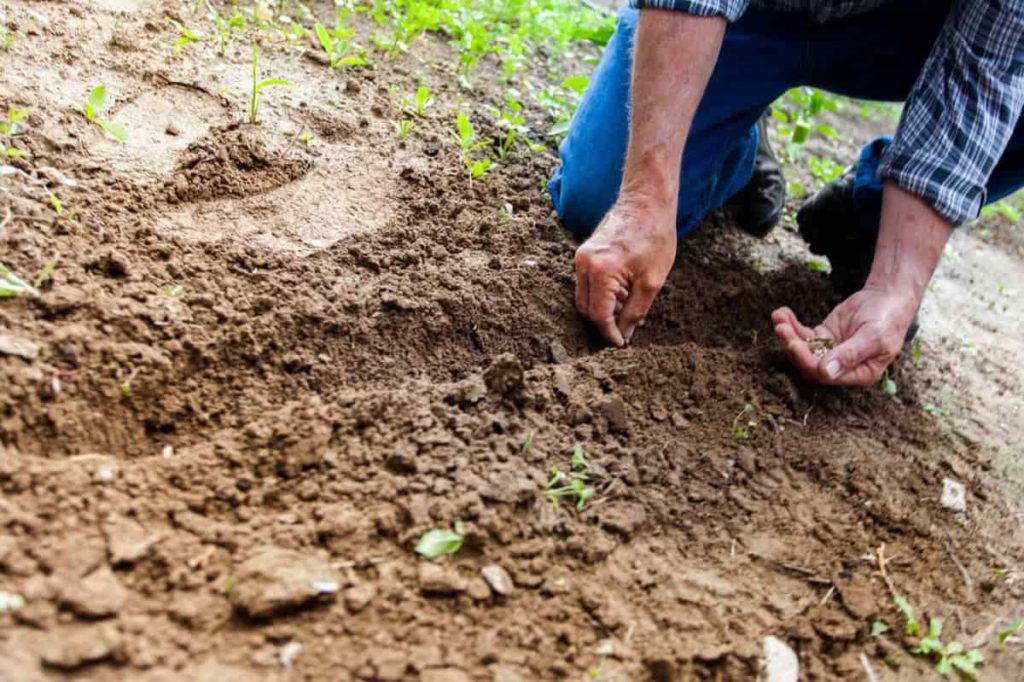
How to grow flowers from seeds in a better way?
Put seeds on top of a layer of 1/2- ¾ inches of the potting soil, peat moss, or fine sawdust. Wildflower seeds just need to be planted as deep as they are long. Water the seeds into the fresh soil and keep the place moist till the flowers emerge and after the flowers emerge, they don’t require as much watering.
What are the three planting methods for vegetable crops?
Direct seeding may be accomplished in three ways: broadcast, hill, and drill. Planting can be done manually or using a mechanical planter. Hill planting is another technique known as dibbling.
- How to Grow Hibiscus from Flower
- Plantation Ideas for Home Decoration: A Beginners Guide
- Flower Garden Designs and Layouts for Beginners
- Planting and Spacing Techniques in Papaya: A Beginner’s Guide
- Growing Gold: Essential Techniques for Planting Pineapples
- How to Make Kalanchoe Plant Bushy: Home Remedies and Solutions
- 11 Reasons Why Your Gardenia is Not Blooming: Home Remedies and Solutions
- Eco Elegance: The Guide to Designing a Drought-Tolerant Landscape
- Gardening on a Slope: Strategies for Hillside Landscaping
- Nourish and Flourish: Top Organic Mulches for Thriving House Plants
- Everything You Want to Know about Indian Mogra Flower: Discover Uses and Growing
- Green Thumb Success: Expert Tips for Cultivating Greenhouse Pumpkins All Year Round
- Maximize Growth & Flavor: The Ultimate Guide to Companion Planting in Herb Gardens
- How to Control Rhododendron Problems Naturally: Home Remedies and Organic Ways to Fix Them
- Natural Magic: The Remarkable Benefits of Cinnamon for Plants
- Best Steps to Revive Dying Tulip with Natural and Organic Treatment
- 10 Reasons Why Your Angel Trumpet is Not Blooming: Remedies and Treatment
- How to Fix Periwinkle Leaf and Flower-Related Problems: Natural Remedies and Solutions
- How to Fix Zinnias Leaf and Flower Problems: Discover Natural and Home Remedies
- Organic Steps to Induce Lemon Tree Flowers: A Comprehensive Guide
- Bloom Booster: Crafting the Perfect Homemade Bougainvillea Fertilizer
- Optimizing Growth: A Guide to Applying NPK Fertilizer for Potted Plants
- 10 Best Homemade Fertilizers for Rubber Plant: DIY Recipes and Application Method
- How to Boost Female Pumpkin Flowers: Effective Steps for More Flowers and High Yields
- Transform Your Indoor Garden: Top Benefits of Pink Salt for Houseplants
- 10 Best Homemade Fertilizers for Peacock Plants (Calathea): Easy DIY Guide
- Unlock Blooms: 9 Reasons Why Your Potted Chrysanthemum is Not Blooming
- 8 Reasons Why Your Potted Hibiscus is Not Blooming: Fix it with Simple Solutions
- Unlock Blooms: 9 Key Reasons Your Potted Frangipani Won’t Flower
- 10 Reasons Why Is My Ice Plant Not Blooming: Remedies and Treatment
- 10 Reasons Why My Potted Hydrangea Not Blooming: Treatment and Remedies
- 10 Reasons Why is My Wisteria Not Blooming: Remedies and Treatment
- 10 Reasons Why is My Goldfish Plant Not Blooming: Remedies and Treatment
- Maximize Your Space: Ultimate Guide to Balcony Gardening with Grow Bags
- 10 Reasons Why Your Iris is Not Blooming: Remedies and Treatment
- 10 Reasons Why Your Anthurium Plant is Not Blooming: Treatment and Remedies