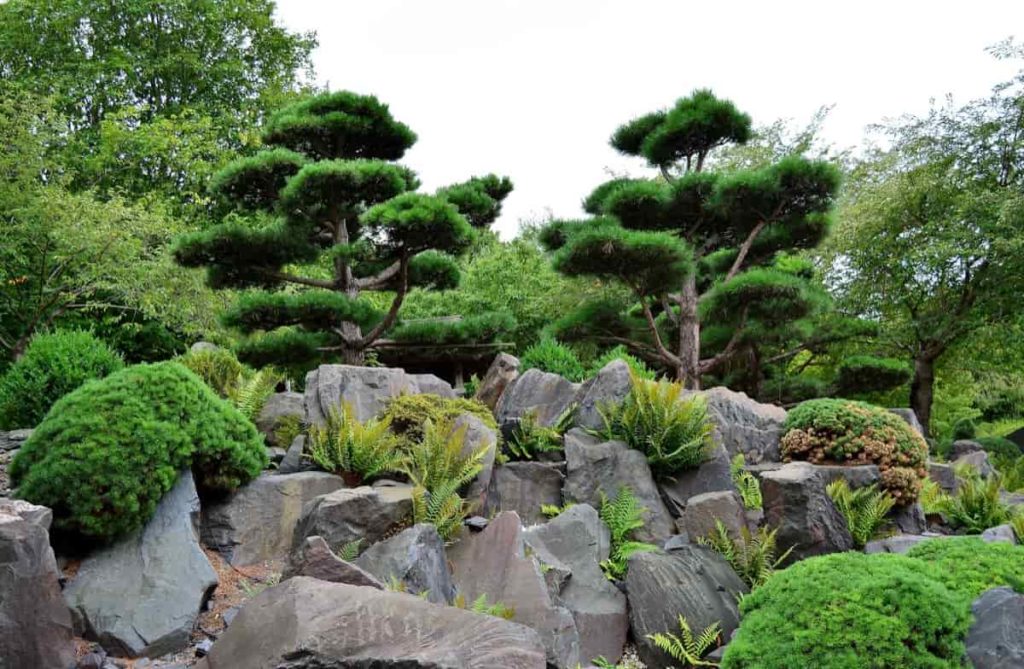
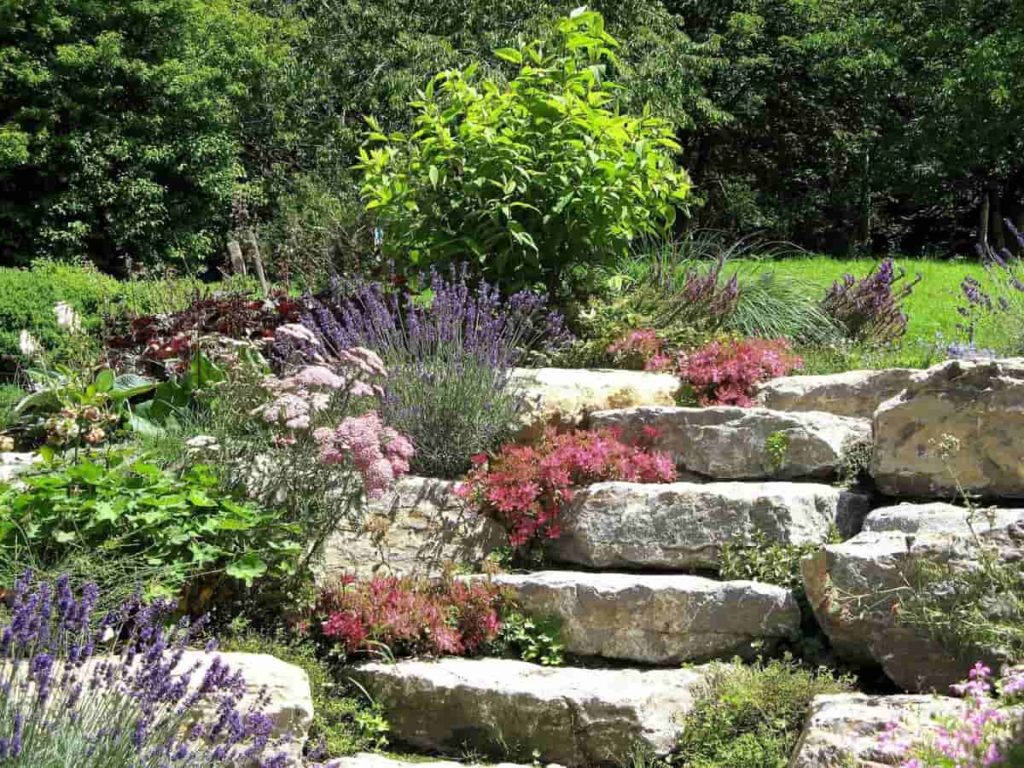
Including a rock garden in your yard is a unique approach to bringing dimension and depth to a flat or uninteresting environment and a surprise element. The rough look of rock lends an earthy quality to a man-made environment, linking it to the natural environment. Rocks can be utilized to define a slope, function as a replacement for a lawn, or provide a solution for a barren region.

Different portions of the yard, such as walks and beds, can be defined or divided using a visually appealing arrangement of rocks, pebbles, or gravel. A rock garden may vary in complexity from a large-scale effort with several features and levels to something as basic as a gravel and river stone-encrusted area. Even the smallest space can be transformed into a bit of rock landscape.
Low-maintenance rock gardens provide year-round beauty to the garden. However, your project must be well-thought and planned to have a cohesive completed product. To help you start, here are some fundamental concepts and a list of suggested plants.
How to start rock garden from scratch
Choose the appropriate land
The amount of light your rock garden will get is the most crucial factor when deciding where to set it up. Mountainous locations with little or no tree cover are ideal for many alpine species. Instead, find an area in your garden with the least amount of trees and shrubs to maximize the amount of light.
Clear the selected land
Creating an area for your stone garden in your yard or lawn is the first step. Rock gardens are often elevated above the surrounding land. If you want to build your own raised bed, you’ll need to start laying down a foundation of pebbles and soil. If you’re going to develop a rock garden on land that is already covered with grass, you must first decide what to do with the grass before beginning the activity.
In case you missed it: Rock Gardening Ideas, Tips, And Techniques

After a while, you don’t want your rock garden to become overrun by grass. The next step might be skipped if the area has previously been cleaned up. This can be solved by digging up the grass first and then laying down the rocks. Alternatively, you may just spread a newspaper on top of the grass and then cover it with soil to keep it in place.
Eventually, the newspaper covering will suffocate the grass, preventing it from receiving essential nutrients like sunshine and water. However, the paper will disintegrate over time without causing any harm to the soil, making it an excellent option. Although the breakdown of the grass may take a while, you’ll have already cleared off some room for your rock garden.
Select or create a design for your rock garden
It’s OK to skip the stage of spreading newspaper if you’ve already cleaned up the area and moved on to arranging your placement. Having a notion of what you want to accomplish with your property and region is fantastic. This should be done before you begin your workday so that you don’t have to raise as much weight. Inverted marking paint can be used to layout the design.
You’ll get a better sense of how the rock garden could appear by doing this. First, add some items to the top of the cleared area, such as newspapers or other materials, to boost soil drainage. If weeds are a problem in that area, you could also put down a layer of weed-resistant fabric.
Selection of rocks
It is best to use stones from the local region since they will blend in better with their nature. To prevent uniformity, use stones of varied sizes instead of a single large one. Most significantly, the rock garden should be constructed entirely from the same sort of stone. Start your search at nearby quarries and recycling yards.
Build the first layer
A four ft-diameter circle of rocks should surround your base. This serves as the foundation for your garden, elevating it above the surrounding earth. The bottom layer may take up most of your biggest, least appealing rocks, but it doesn’t need stones bigger than 12 inches. It’s best to use sandy soil for drainage in the initial construction course. The addition of sand and compost to clayey soil can help it to drain more effectively. To compact the earth, walk on it.
In case you missed it: Hydroponic Training Courses in India: Online, Offline, Workshop, and Fee

Build the second layer
You’ll need to create a smaller one inside the larger one for the rock garden’s second raised bed layer. To create a circle inside a circle, all that’s required is to build another circle of rocks with a smaller diameter. Be careful while constructing this smaller rock garden circle to provide enough space between its perimeter and the previous one. Plants should fit comfortably in the distance between the two rings. In addition, the space inside the second circle should be large enough to accommodate the planting of a tiny plant within its spaces.
Having already utilized the largest stones for the first layer, you will have the smaller stones left over for the second level of the rock garden. For the second layer, you will be able to lift and move these stones more easily. It’s OK, however, to keep a few of the heaviest stones or pebbles for the second layer if you think they’re beautiful. Because the second layer is closer to the viewer’s sight, it will be more noticeable and capture their attention.
Selection of plants for your rock garden
Begin by picking a color pattern that matches your stonework. For example, a red sandstone foundation necessitates plants with a tint of red and plants with white, yellow, silver, or other complementing colors, so keep this in mind while selecting plants for your garden. Additionally, consider plants that can flourish in well-drained soil and those that can.
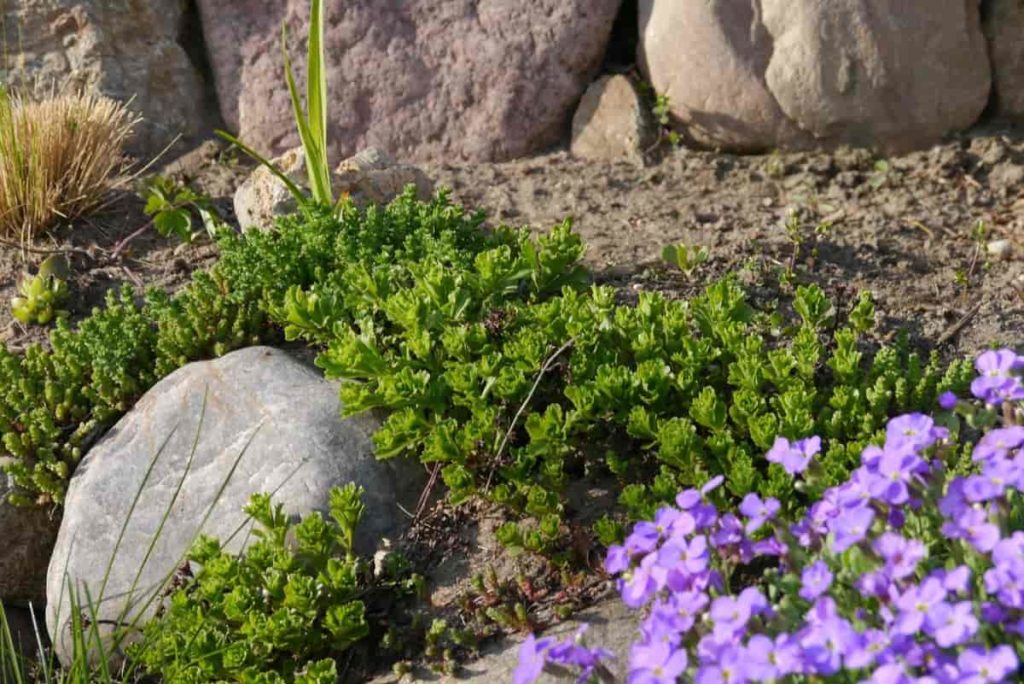
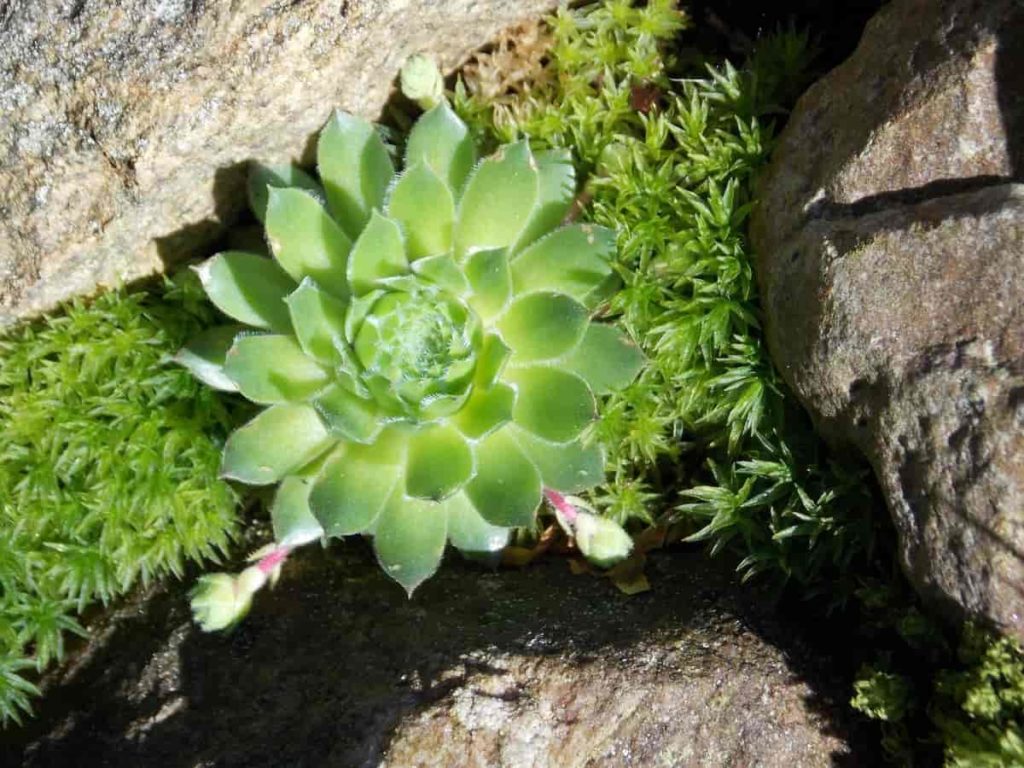
Also, make sure that the plants have comparable watering needs and are appropriate for the garden’s quantity of sunshine. A good rule of thumb is to choose drought-resistant plants, although there are certain exceptions. Finally, for the most visual impact and intrigue, look for variety in leaf texture.
Plant the selected plants for your rock garden
Arrange your rock garden plants while the plants are still in containers to make the most of your available space. Planting in threes is usually the ideal strategy, either by grouping 3 of the same plant species with each other or strategically arranging them. You should consider that you’ll be planting pebbles in between the plants. A layout has been established, and you may continue planting with extra dirt and rocks if necessary. You may use little stones of the same sort as the main stones to cover small parts of the soil with rock mulch.
DIY rock garden ideas
DIY Rock water garden
It’s possible to combine the two concepts of a rock garden and a small stream in the yard into a beautiful DIY rock water garden. First, plan where you want your water feature to go, and then simply add rocks to it. This simple project would go well with a homemade water feature or fountain. Water gardens that you make yourself are a great way to personalize your outdoor space.
In case you missed it: Top Miracle Grow Tips for Your Garden Plants: Vegetables, Fruits, Flowers, and Herbs.

DIY landscaped rock garden
If you have enough space, you can transform a section of your yard into a beautifully landscaped rock garden, and it doesn’t cost much to accomplish it. It’s as simple as drawing a line and removing the sod. The pebbles and plants may be added once the grass has been removed. This is a beautiful idea for the border of your front yard. It’s a terrific way to highlight your front yard and bring attention to your garden.
DIY small outdoor rock garden
Rock gardens are ideal for those with a modest front or rear yard. Rather than obstructing the landscape, a rock garden should enhance it rather than detract from it. Rock gardens may be used in many creative ways to enhance even the smallest of yards. You merely need a set area, to begin with and then grow from that. Rock gardens may be incorporated into an existing flowerbed or built directly next to the home for even more area if you choose.
DIY spiral rock garden
Like this one you can make at home, a spiral rock garden is ideal for those with little outdoor space. It makes your yard seem beautiful and is a joy to build. Once the boulders are in place, adding plants to your rock garden can give it some color. Alternatively, they may be used to cultivate veggies or strawberry gardens. You’ll need a lot of rocks and a few days to put them in position for this one.
In case you missed it: Apartment Balcony Gardening in Small Area: How to Start for Vegetables, Fruits, and Flowers.

DIY painted stepping stones garden
Maybe you want to use beautiful rock pieces to create a pathway from your yard to your natural garden. Perhaps you’re not ready for a complete rock garden, but you’d want to integrate rocks and stones into your design. Both of those issues can be solved with painted stepping stones.
How to make a rock garden without weeds?
Using weed barriers
Weed seeds can’t get to the soil if there are any layers between the rocks and the soil. Rake away any existing pebbles to make room for the underlayments as they are being placed. Underlayments might be landscape cloth or black plastic. Due to the landscape fabric beneath your rocks, only holes big enough to go around your shrubs’ trunks should be cut into them. The cloth closest to the trunk holes should have lines cut out of it so that it can be wrapped around them.
In addition to adding landscaping staples every two feet or so along each side of the cloth, covering the fabric with pebbles helps keep it in place. But water can’t get into the roots of the shrubs because of the barrier of plastic. Using plastic and poking huge holes in it around the shrubs is one possibility. You can use landscaping fabric around the shrubs and then thick plastic to encase your rock garden as a third option. The landscaping fabric prevents weeds from growing in the holes you leave for the shrubs.
In case you missed it: Importance of Mulch in Your Garden: Ideas, Tips, and Techniques.

Organic weed control
Hand-pulling weed is a classic organic method, but others are less stressful on the back. Both hot water and vinegar will burn the weeds’ leaves and destroy the plants. If you want to get rid of weeds in your rock garden, avoid using salt. Salt alters the soil’s salinity, which might destroy your current bushes and prevent future ones from sprouting.
- How to Grow Tomatoes Organically at Home: A Comprehensive Guide
- Organic Gardening on a Budget: Low-Cost Methods and Materials
- Gongura Seed Germination and Planting Methods
- Cabbage Seed Germination and Selection
- Broccoli Seed Germination and Selection
- Asparagus Seed Germination and Variety Selection
- Seasonal Flower Gardening: Best Practices for Spring, Summer, Fall, and Winter
- How to Grow Hibiscus from Flower
- Plantation Ideas for Home Decoration: A Beginners Guide
- Flower Garden Designs and Layouts for Beginners
- Planting and Spacing Techniques in Papaya: A Beginner’s Guide
- Growing Gold: Essential Techniques for Planting Pineapples
- How to Make Kalanchoe Plant Bushy: Home Remedies and Solutions
- 11 Reasons Why Your Gardenia is Not Blooming: Home Remedies and Solutions
- Eco Elegance: The Guide to Designing a Drought-Tolerant Landscape
- Gardening on a Slope: Strategies for Hillside Landscaping
- Nourish and Flourish: Top Organic Mulches for Thriving House Plants
- Everything You Want to Know about Indian Mogra Flower: Discover Uses and Growing
- Green Thumb Success: Expert Tips for Cultivating Greenhouse Pumpkins All Year Round
- Maximize Growth & Flavor: The Ultimate Guide to Companion Planting in Herb Gardens
- How to Control Rhododendron Problems Naturally: Home Remedies and Organic Ways to Fix Them
- Natural Magic: The Remarkable Benefits of Cinnamon for Plants
- Best Steps to Revive Dying Tulip with Natural and Organic Treatment
- 10 Reasons Why Your Angel Trumpet is Not Blooming: Remedies and Treatment
- How to Fix Periwinkle Leaf and Flower-Related Problems: Natural Remedies and Solutions
- How to Fix Zinnias Leaf and Flower Problems: Discover Natural and Home Remedies
- Organic Steps to Induce Lemon Tree Flowers: A Comprehensive Guide
- Bloom Booster: Crafting the Perfect Homemade Bougainvillea Fertilizer
- Optimizing Growth: A Guide to Applying NPK Fertilizer for Potted Plants
- 10 Best Homemade Fertilizers for Rubber Plant: DIY Recipes and Application Method
- How to Boost Female Pumpkin Flowers: Effective Steps for More Flowers and High Yields
- Transform Your Indoor Garden: Top Benefits of Pink Salt for Houseplants
- 10 Best Homemade Fertilizers for Peacock Plants (Calathea): Easy DIY Guide
- Unlock Blooms: 9 Reasons Why Your Potted Chrysanthemum is Not Blooming
- 8 Reasons Why Your Potted Hibiscus is Not Blooming: Fix it with Simple Solutions
- Unlock Blooms: 9 Key Reasons Your Potted Frangipani Won’t Flower