Those that place a premium on having a meaningful connection to the natural world may find that gardening at home is a rewarding hobby. Whether they’re houseplants, a garden, or a potted plant in a window, they need much attention to flourish and become beneficial to humans and the environment. Both inexperienced and experienced gardeners in Rhode Island can benefit from the below home gardening information.
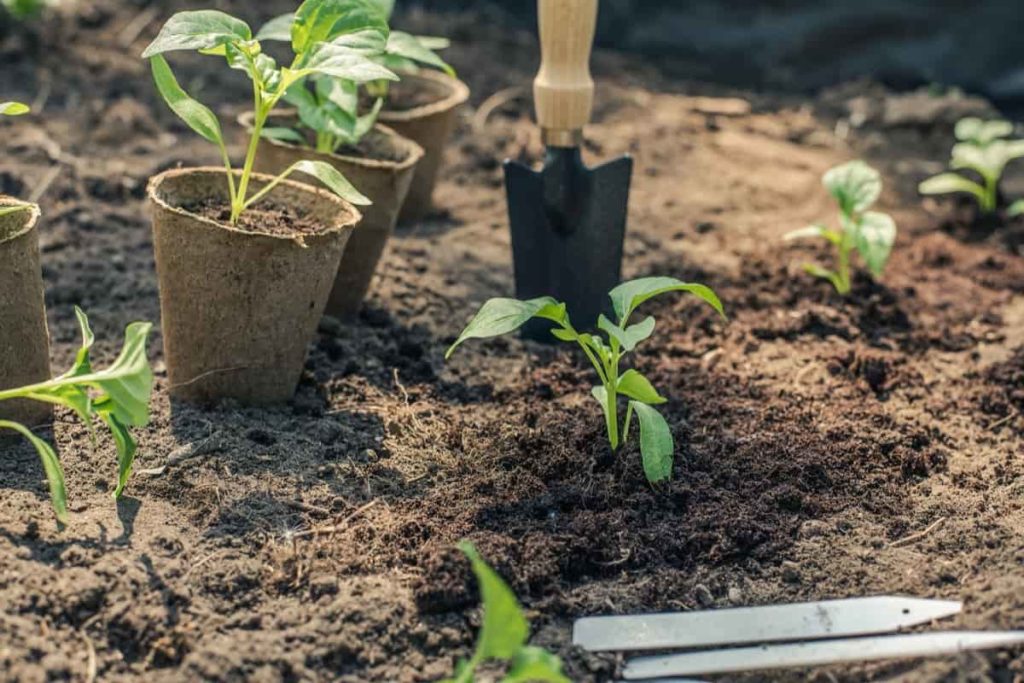
Below we learn home gardening in RI, different home gardens for RI, how to set up a backyard home garden in RI, how to set up an indoor home garden in RI, how to start a container home garden in RI, and about the hardiness zones of RI and different fruits and vegetables suitable for Rhode Island home gardens.
How to start home gardening in Rhode Island (RI) for beginners
What grows well in Rhode Island?
In Rhode Island, tomatoes, broccoli, spinach, cauliflower, lettuce, potatoes, onions, radishes, corn, carrots, eggplant, asparagus, cucumbers, beans (pinto, snap, and baby lima), peas, kohlrabi, and pumpkins can be grown well.
When can you plant vegetables in Rhode Island?
The last date for frost in Rhode Island is May 10. Before planting tomatoes, squashes, melons, beans, and basil, the soil must be above 50 degrees Fahrenheit.
What zone is RI for planting?
Cold winters and mild, brief summers characterize Rhode Island’s predominant humid continental climate. The south coast has a subtropical climate, with mild winters that sometimes see snow and rain and scorching summers. Rhode Island is in a particularly precarious position concerning hurricanes and tropical storms because of its exposed and susceptible geographical position.
Across the state, temperatures are averaging about 50 degrees. The average high during the summer is in the upper 80s, while the winter lows are in the low 30s. The earliest and latest frost dates and typical weather patterns in a given area determine the hardiness zone, also known as the growing zone or planting zone, in the United States. An interactive planting zone map will help you determine where you are. Gardeners consult planting zones to learn what will thrive in their gardens and when to sow those seeds.
Planting zones in Rhode Island range from 5b to 7a, with only the state’s far northwest corner being in the cooler 5b zone. Learning about the various growth zones in Rhode Island can help you choose plants that will thrive in the state. Almost any plant given a hardiness zone rating of that or below can be planted safely. Plants recommended for harder climates than those found in Rhode Island should be avoided since they won’t survive the harsh winters.
The Rhode Island climate is ideal for growing many plants, vegetables, and flowers. Vegetables that thrive in the Rhode Island climate include beans, peas, tomatoes, beets, onions, and peppers. Several indigenous flowering plants to Rhode Island thrive there, including daylilies, red columbine, butterfly milkweed, wild yellow indigo, white wood aster, and Carolina roses.
What fruits can grow in Rhode Island?
Pumpkins, peaches, apples, strawberries, raspberries, and blackberries are the fruits that do the best to grow in Rhode Island.
When can I plant tomatoes in Rhode Island?
The last date for frost in Rhode Island is May 10. Because the soil needs some time to warm up before you can directly sow heat-loving plants like tomatoes, squashes, melons, beans, and basil, you should wait until after this date to start your seeds in the ground.
When should I plant flowers in Rhode Island?
Generally speaking, late autumn through early spring in RI is the ideal period to grow just about everything. It’s OK to plant during other times of the year, but you’ll need to put in more effort to care for your plants by providing them with enough water, fertilizer, etc. The hot, dry summer is fine for planting, but the autumn is ideal for larger shrubs and trees because their roots expand throughout the colder months.
In case you missed it: How to Start a Home Garden in Pennsylvania (PA) from Scratch: For Indoors, Raised Beds, Outdoors, Backyards, and Containers
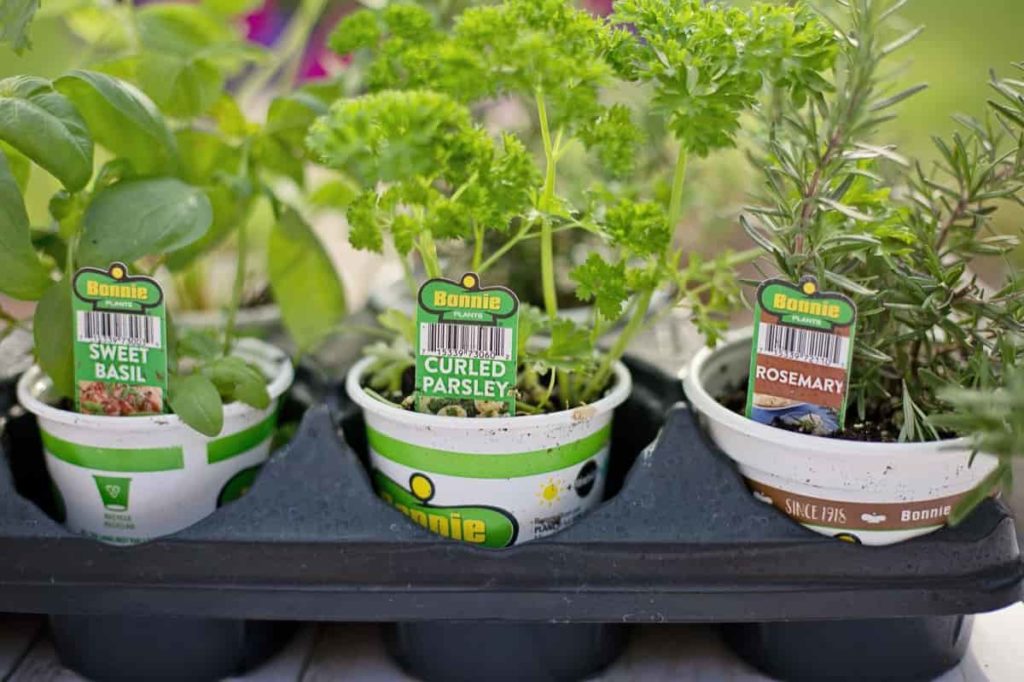
Fall is a great season to plant since it’s colder than spring, requires fewer resources, and assists in pollinating insects at a time of year when they may otherwise go hungry. Planting in the autumn will save you time and energy unless you like working in the heat and humidity. Planting seeds in the autumn gives them time to “settle” during the winter, resulting in two weeks of early flowering for certain wildflowers.
Even though most plants become dormant in the autumn and winter, container-grown ones from nurseries have a significant advantage since they are already well-established and can easily out-compete newcomers. Remember that perennials and other plants that enter their dormant period won’t normally exhibit noticeable foliage until after they’ve ‘wintered over. Compared to the typical hard spring season, gardening in the autumn gives a longer period with more “excellent” days.
In addition, if you plant in the autumn, you won’t have to hurry to complete everything before winter arrives. Planting perennials with your autumn bulbs is a smart move. Unlike in the spring, when the weeds in your soil are fully awake and ready to wreak havoc on your garden, weed management in the autumn is much simpler. In the autumn, you can clear your grow site in a single weekend and start planting the next week, thanks to this fortunate circumstance.
However, in the spring, you must remove and sow on the same day, or the weeds will overwhelm your crop. Temperature dips in the autumn and winter cause most plants to enter a dormant phase, stopping actively developing new roots. They are reserving resources in the sources for use during the subsequent growing season. These plants benefit from having their root systems established in the autumn so they can grow stronger during the winter. Also, you probably won’t have to do as much upkeep in the autumn because of the increased rainfall.
This is an excellent season to plant native trees, shrubs, and perennials since the soil will be warm enough for the plants to get their roots established for many weeks before the temperatures drop. There may not be much visible growth at the surface, but be assured that the roots are thriving and will fare better than plants just beginning to get their roots out in the spring.
What climate is Rhode Island?
Rhode Island’s climate is humid continental, with hot summers and cold winters. Climates in the southern coastal regions of the state are a vast transition zone into subtropical climates, with warm summers and chilly winters that often include a combination of rain and snow. Oceanic weather prevails on Block Island. The average monthly temperatures are between 83 and 20 degrees Fahrenheit (28 and -7 degrees Celsius). Rhode Island is particularly susceptible to hurricanes and tropical storms because of its New England position, which puts it in the path of destructive winds.
How do I start a backyard home garden in Rhode Island?
Choosing an appropriate site
Vegetables can only flourish in areas with at least six hours of sunshine daily and have a flat, well-drained soil surface (eight to ten hours is ideal). Don’t plant your garden at the foot of a steep incline surrounded by a wall or fence. These regions are more prone to see frost in the spring because they take longer to warm up after the winter months. A windbreak is recommended if you have to plant in an exposed area.
Pick a spot that’s close to water if you can. Put your garden somewhere you can easily access it from your house and tend to it whenever you have spare time. You shouldn’t put in new plants near existing trees or bushes because of the intense shadow they provide and the fact that they will compete for water and nutrients. Locations too near to a building can prevent plants from receiving enough lighting. Observe the shadows cast by the sun at various times of day in your garden. Using shade-tolerant plants allows you to make the most of shady spots.
Crop rotation is essential; never plant the same vegetable twice in the same area. Regular catch rotation is necessary for preventing the spread of harmful fishing methods. You should rotate your crops every few years using the same old patterns. Avoid establishing a garden where a house painted with lead formerly stood since the soil may still contain harmful compounds. If the status of the environment has you worried, get some soil samples analyzed for lead levels or have some green tissue checked.
Preparing the soil for your garden in the backyard
Vegetables thrive in deep, loose, well-drained soil and are rich in organic matter. Garden vegetables need a particularly rich soil environment to germinate and develop. Soil supplements benefit plants in a garden by improving the soil’s quality and providing a favorable setting for plant roots to flourish. To determine the soil’s fertility and pH level, you must conduct a test every three years. Use a pH meter to determine how acidic or alkaline the soil is.
A soil pH between 6.2 and 6.8 is ideal for growing vegetables. That’s slightly acidic, considering it’s below neutral (sour). The availability of nutrients is altered by large changes in soil pH, which can slow crop development. Tests can be performed to get a rough idea of the soil’s nutrient content. You may get home soil testing kits online. Visit your county’s Cooperative Extension office with a soil sample for analysis. When Ext’s investigation is complete, you’ll get a report summarising the results and making suggestions.
Take the soil sample the right way to get reliable results. Soil amendment with fertilizers and lime may fix nutritional deficiencies and raise pH. To create room for a new garden bed, you’ll need to dig up the sod and toss it in the compost bin. Before planting, the soil can be worked using a plow, spade, or rotary tiller. We can’t start digging until the soil is precisely correct in terms of moisture. Squeezing a handful of soil is a quick and easy way to check. To the extent that you attempt to flatten it and it breaks, it is because it is too damp.
An excellent indicator of texture is crumbliness. The soil becomes powdery and clumpy when it dries out too much, making it tough to deal with. The soil is still too damp if digging with a shovel makes it stick or if turning it with a spade leaves a smooth, shining surface. Plowing on wet soil is especially damaging because of the soil compaction it generates. Greater structural complexity is a common characteristic of soils with adequate humus levels, which translates to more leeway.
In case you missed it: How to Grow Berries in USA: At Home in Pots, Containers, Indoors, and Tips
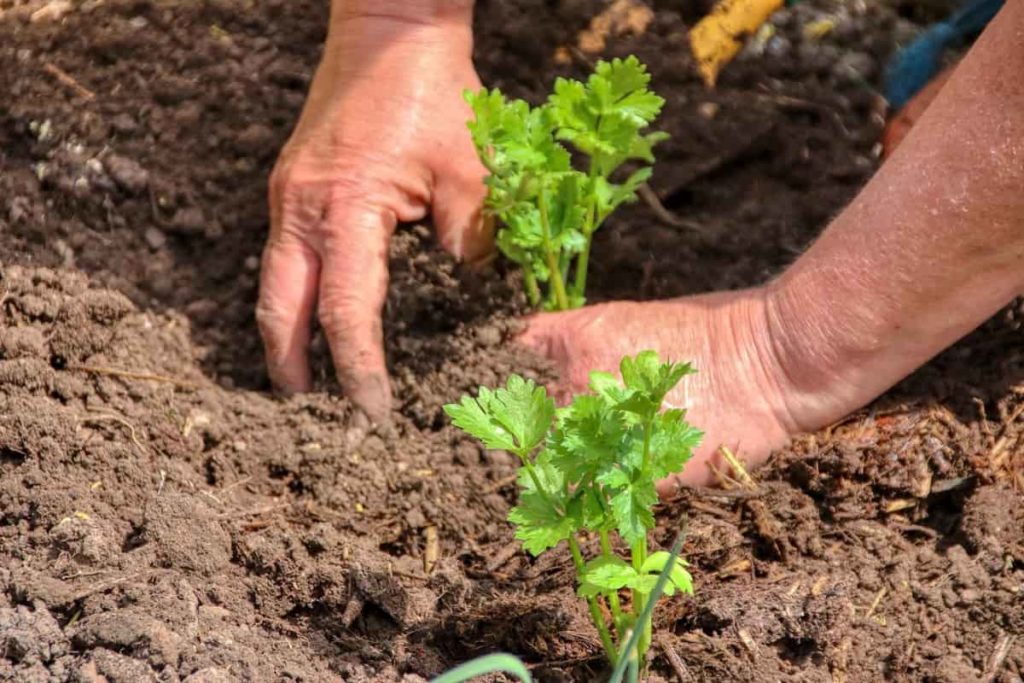
Before planting, level low spots and break up clumps of soil; fine-textured soil is ideal for vegetable gardening’s tiny seeds. Preparing a seedbed properly can prevent soil erosion. The increased likelihood of crusting and erosion increases the risk of structural damage. A moldboard plow can be used to turn gardens once a year, mostly to reduce the number of weeds and pests. As long as plant waste does not accumulate unbearably, roto-tilling is adequate for most home gardens.
Unlike conventional tilling, which turns the soil over, rotational tilling just combines the surface layers. Compacted soil is inaccessible, making rototilling dangerous. Repeatedly plowing with a moldboard at the same depth produces the same result. Double-digging or planting deep-rooted cover crops can help mitigate this issue. Even if you have tiny yard space, you can still grow your food by building and maintaining a raised bed garden. You’ve probably debated whether to plow or till.
In contrast to the more common springtime plowing, soil work in the autumn has various benefits. Planting in the spring can begin sooner if the soil has been prepared. The best time to bury much organic stuff is in the fall when the temperature is cooler, and you have more time on your hands. Burying or enduring harsh winter temperatures can effectively reduce the population of insects, disease organisms, and perennial weeds. Repetitive freezing and thawing can enhance particle aggregation in dense clay soils.
Water is conserved more effectively than on level land because snow accumulates in the valleys created by the coarsely plowed soil. Rock fertilizers, such as limestone, are most effective when worked into the soil in the autumn for use the following spring. If soil is exposed all winter after being plowed in the fall, it might be washed away by storms in the spring. Therefore, this method is unsuitable for steep slopes or hills garden plots.
The soil is improved, and erosion is reduced by planting a winter cover crop, which is done by tilling the field in the autumn and then fertilizing it with manure in the spring. Soils that are sandy or need to be tilled a little bit benefit from plowing in the spring. By disking or rototilling your garden in the spring, you can get it ready for planting.
Don’t forget to water that garden!
The success of a garden may depend on its proximity to a water source. Garden irrigation gadgets are a good investment if they are well-suited to the garden’s plumbing, climate, water supply, and watering schedule. If you don’t live in a very dry area or use much water for your garden, you probably don’t need an outside faucet. In rainy places, watering can be done once or twice a summer using a rain bucket or garden hose with a fan-type sprinkler. Having a barrier that prevents water from getting in is great for seedlings.
However, in regions experiencing a prolonged drought, access to safe drinking water can be restricted. Drip watering systems may be more efficient than traditional sprinkler systems in specific scenarios. As a result of soaking the soil and the roots but not the foliage, plants irrigated using a drip watering system are less likely to develop fungal infections. Drip irrigation and other systems can water automatically with timers.
Some gardeners may not want to deal with the extra work and money that comes with installing and maintaining such a system. Determine whether mulching, tight plant spacing, shade, or planting in a raised bed can provide most of the supplemental water required. After that, you can get the irrigation equipment you need.
Fertilize your backyard garden carefully
Several factors, such as the kind of crop planted, the quantity of organic matter in the soil, the type of fertilizer used, and the soil’s inherent fertility, affect the amount of fertilizer required in a garden. A soil test is a gold standard for determining how much fertilizer should be applied. Soil testing can be done by a professional or using a do-it-yourself kit sold at garden centers and online. Depending on the crops you intend to plant, break your garden beds into zones with varied fertilizer needs.
Assuming you have access to mulch, you may forego weeding and instead utilize it to keep your garden looking neat. Most annual weeds can be kept at bay by applying a thick layer of organic mulch, and the ones that emerge can be easily dug out. Runner-spreading weeds are notoriously difficult to eliminate. Thus black plastic barriers can be the best option for containment in certain situations. Effective weed control along sidewalks can be achieved using sawdust-coated old carpets, newspapers, or other items.
How do I start a container home garden in RI?
Choose your containers
Growing vegetables in pots is a fun and simple approach to maximize yield from a small footprint. Plants grown in pots can be placed almost anywhere. Plants in containers are adaptable since they can be kept inside in strong light or placed on a deck, balcony, or even in an entryway to get direct sunlight. As long as the plants have access to water and at least 6 to 8 hours of sunshine every day, the location doesn’t matter. Many viable options for container vegetable growing exist.
Please ensure that enough drainage is put in place. Please don’t use plastic or treated wood buckets that may have previously stored chemicals or other harmful substances. Other container alternatives include nursery pots made of plastic or fiber, wood bushel baskets, plastic, metal, or wood buckets, milk cartons, plastic bags, and recycled cardboard boxes. To guarantee adequate drainage, drill holes in the container’s bottom sides and fill the base with coarse gravel no more than 1/2 inch thick.
In case you missed it: How to Start Home Gardening in New Mexico (NM) for Beginners: From Scratch for Indoors, Outdoors, Backyards, Raised Beds, and Containers
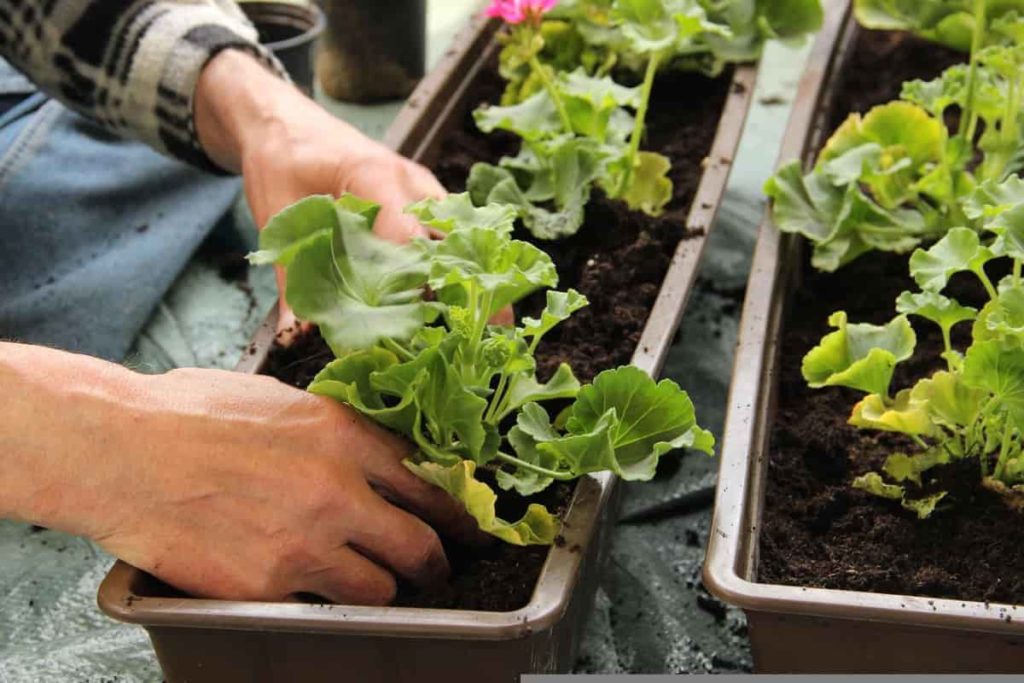
How to pick the right potting soil
Soil that can retain water and nutrients is crucial, and it must be rather light in texture to do this. Too much weight will be placed on the containers if the garden soil is used. The best soil substitutes are a combination of sand, perlite, peat moss, or vermiculite that has been treated with lime and fertilizer. This mixture contains peat moss, vermiculite, dolomitic lime, 20% superphosphate, 5-10-5 fertilizer, and peat moss in the following proportions: 1:1:0.5:1.
Peat moss, vermiculite, and premium compost can be combined in equal proportions to provide a high-quality substitute. Put in 0.6 ounces of blood meal, 0.4 ounces of greensand, and 0.4 ounces of rock phosphate per gallon of potting soil. Because of their lack of moisture, soilless composites can be challenging to hydrate. If you soak the mixture for a day in the water, it will absorb enough moisture to use.
Plant your container garden
When starting seeds indoors or transferring plants, it’s essential to visualize the final form of the plant in its container. Practically any vegetable can be grown effectively in containers, but your best bets are “miniature” or “bush” varieties of that crop. If you want consistent harvests over a lengthy period, choosing plant species that develop their yield slowly is essential.
Most gardens grown in containers are “kitchen gardens,” whose yields are intended for immediate consumption. Freshly consumed plant species should thus be selected. Plants in containers need at least 2 inches of space around all edges. Rapidly reproducing plants, such as greens and herbs, need to have new seedlings planted every three to four weeks to maintain a steady yield.
Care for your container garden
Veggies need at least six hours of sunshine every day to thrive. Lettuce, spinach, swiss chard, and cabbage are just a few examples of plants and herbs that need far less sunshine to flourish than citrus trees. The soil in a container dries up rapidly, so you’ll need to water it often. The soil has to be watered thoroughly when the top half an inch dries up. Watering consistently helps maintain a moderate soil temperature and flushes out harmful salts, protecting the plant’s roots from excess stress.
Potting soil can be amended with up to 50% compost to improve nutrient retention and growth potential. The plants need a weekly dosage of diluted liquid or water-soluble fertilizer after three to four weeks of growth. Fertilizers with a slow release rate can be added to the soil or the growing medium at any time without negatively impacting the crop’s yield. A single application, however, is all that is required if the dosage is followed.
Crops that mature or produce quickly have a higher risk of becoming asymmetrical. Stabling is essential to prevent the stalks from being broken. Vining plants need trellises or other types of support structures. When grown in containers and sheltered from frost by bringing the plants inside or covering them with a blanket, the harvest season for many fragile vegetables can be prolonged by several weeks. If given adequate artificial light, certain plants can even be grown inside over the winter.
How do you group indoor plants together?
To avoid making a place appear too formal, designers often advise staying away from clusters of three or more. Groups of three are traditional, but any odd number of plants in a group will look good. When deciding how to arrange a group of plants, consider the following:
Try to avoid planting in groups of the same height since this might cause the plants to lose their identities. Include one plant in each cluster that stands out in height from the others. Group plants in your collection according to their main color, leaf shape, density, or other characteristics. All cluster plants will seem to grow together naturally if they have at least one characteristic in common.
Adding a variety of textures to your house is essential for making it visually interesting, and this isn’t simply limited to the furnishings and accessories you choose. Adding plants into a design is a great way to add variety to a room because of the many different leaf textures that can be achieved. When experimenting with texture, it’s helpful to consider contrastive pairs like rough and smooth or minimal and detailed.
Remember to experiment with heights beyond the level of your gaze when arranging your plants. Whereas larger plants are limited to being exhibited at ground level, smaller plants allow you to be creative with placement. The leading lines created by a plant’s leaves can be used to bring the eye to a certain spot in the room. Therefore it’s essential to consider which way the plants’ foliage naturally grows. When doing so, it is easiest to use plants whose leaves arch or cascade.
While choosing a plant stand that matches your coffee table in color is tempting, variety is the spice of life. By sticking to the aforementioned “Rule of Three,” you can experiment with color without risking a chaotic appearance. Typically, you’ll want to decide on a major, secondary, and accent color.
How do I start an indoor home garden in RI?
A daytime high of 75 degrees Fahrenheit and a nighttime low of 65 degrees Fahrenheit is optimal for your indoor garden. Keep your distance from the windows, doors, and other outside openings. The plants have their heating and drying needs met by air pumped via the ductwork. Cracked or open windows and doors may let cold air in, harming the plants. If you have a lot of foot activity in your house, keeping plants out of the hallways and lobbies is best. The garden and its contents are an eyesore and a safety hazard if put in a high-traffic area.
An indoor garden can be placed anywhere yet get enough lighting for its plants and the surrounding space. There’s a chance that this supplementary light can be helpful. When lit, the light from even a single candle might be too much for some individuals, and the sight of a thousand-foot candle can make them feel sick. Less glare is produced due to the lights being hidden by vegetation. It’s possible to shield yourself from some of the sun’s rays by strategically blocking them. Inverted clay pots support tall plants.
Around upturned containers, scatter 3 to 4 inches of coarse gravel. Fill the rest with pea-sized gravel, unmilled sphagnum moss, or marble chips. Fill your plants’ containers with sphagnum moss, pea gravel, or marble. Although the garden’s fluorescent lights won’t become quite as hot as an incandescent bulb, they’ll still cause damage to any plants that go too near. Keep the plant 6 inches from the light source. You’re in charge of the rest of the growing method after you’ve decided on a group of hardy houseplants. Plants need fertilizer, precise but infrequent watering, and consistent sunlight.
In case you missed it: How to Start Home Gardening in North Dakota for Beginners: From Scratch for Indoors, Outdoors, Backyards, and Containers
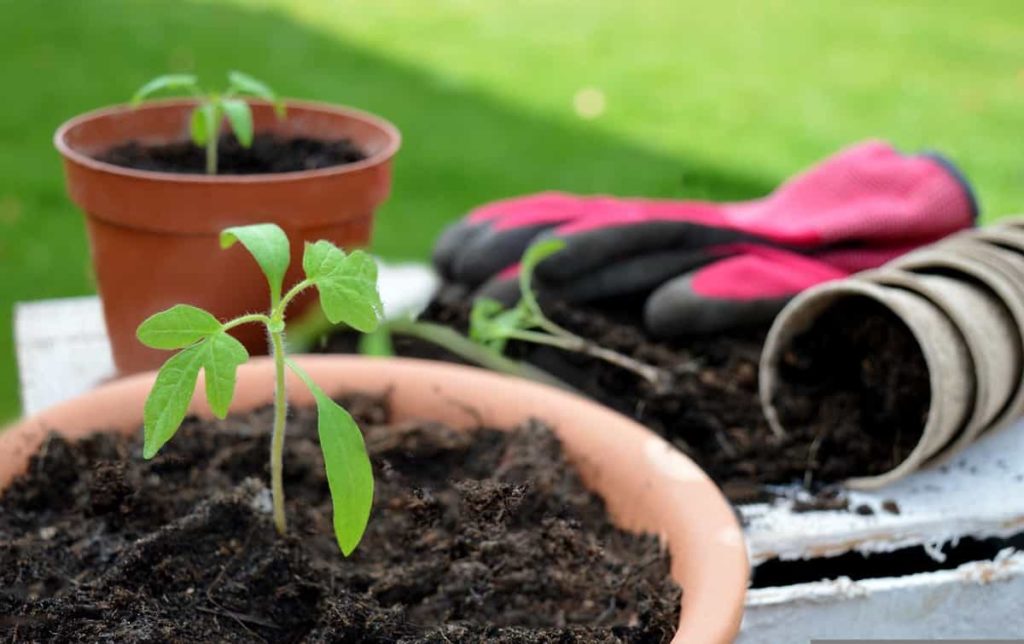
You must use a full fertilizer for a plant’s development and health. The whole complement of nutrients must be provided, including potassium, phosphorus, nitrogen, and all trace elements. Some green thumbs prefer liquid fertilizer because of its adaptability. The plant doesn’t need to receive good fertilizer gradually. It’s best to apply fertilizer gradually than all at once. Overfertilizing might lead to slow and deficient growth, so be careful.
After providing appropriate light, a dry environment, and fertilizer, you must know how often to water the soil, container, and roots. Knowing how much water the plant medium needs in cups or ounces is crucial. Since there are no obvious pores in the soil or the roots, it is more effective to soak the whole mass rather than just a small area. There should be no standing water. Include a warning notice stating how quickly it will be consumed.
This procedure can be followed to determine how much water the plant needs. To do this, you will need to get a big funnel (preferably made of metal or plastic) and split it in two. Put some water into the ground by injecting it via a funnel. If you like, you can leave the funnel on all night. Soak the medium in water until all of it is lost. Because of its low specific gravity, the soil medium will retain water but be trapped because of the lack of drainage.
Don’t forget to tally up the contents of each storage unit. After that, the system will automatically do the math to determine how much water is required. Consistently watering a houseplant’s soil is essential. Plants cannot survive in dry conditions. As a result, vegetation needs a substantial quantity of water. They drown or rot to death in the utter gloom of a monsoon. To prevent plants from withering, water them well occasionally.
After bringing your plants inside, the next step is to help them adjust to their new surroundings. Watering the soil, the clay pot, and the surrounding area is a good idea. Care must be taken to avoid flooding the flowerpot. Let all of the plants in the garden dry out until they are almost dead. Symptoms of leaf withering include downward curling of the leaf and a color shift from green to greyish green.
If any of your plants are withering, give them another deep watering. Older leaves may begin to yellow as houseplants adjust to their new environment. Eliminate them if this is the case. The leftover leaves should be washed in warm, soapy water, rinsed, and staked. They’re mature and can continue thriving in the greenhouse. Plants need regular watering. If you have a variety of plants that need different amounts of watering, tag each one with a little plastic tag. Those plants that need much water can be labeled green; those that require moderate water would be yellow, and so on.
Every 10 to 14 days in arid regions, watering plants is advised. Their thick, fibrous root systems can thrive in dim light and dry soil. By training it to withstand extended periods of reduced growth, you can delay the pace at which new leaves are produced, extend the life of existing leaves, and keep the plant at a constant size. If you water your plant more regularly, new leaves will sprout quickly, but you’ll lose one older leaf to make room for it. Leaves will fall off in large numbers if they aren’t watered as often.
Plants that need much moisture should be watered often. The roots of such plants are often shallow; as a result, they quickly wither and die in dry conditions. Results from “wet” plants are the same whether over- or under-watered. Plants that are always soggy need to be watered every day. They must maintain a consistent moisture level in the medium to promote growth. Dehydration, even for a short time, may cause severe damage to a plant’s leaves and perhaps even death. Leave no saucers of water out for your plants to evaporate.
Water vaporizes from damp moss on the container’s surface, creating an environment where plant life flourishes. Don’t try to give the plants more moisture than they naturally get by spraying them with a sprayer. A rise in humidity after spraying often disappears within a few minutes. The room’s furnishings are also more likely to be damaged by the water. Be mindful of the planter, the lights, and any other decorative items in the area before watering.
To ensure that nutrients are distributed uniformly throughout the growth media, fertilizing and watering the plants simultaneously is ideal. Most plants only need to be fertilized every other or every three months (every 2 to 4 weeks). Follow the directions for using the water-soluble fertilizer. Don’t add fertilizer until you see fresh growth. The soil can get crusted with a white substance after being treated with water-soluble fertilizers. Soil from elsewhere should be used to replace the top few inches of soil and this layer.
Do raised beds need to be perfectly level?
A level surface is not required for a raised bed. Vegetation prefers to thrive on steeper terrain. However, a raised bed that is leveled might serve several purposes. It’s simpler to water plants on a level garden bed. The top will dry out before the base when water is applied to a slope. A flat bed is ideal because it allows the soil to retain and release moisture uniformly. The same is true of dissolved nutrients in the water, which always go toward the lowest point. When you have level beds, your soil amendments will be distributed uniformly.
Your growth media can become unevenly distributed when rain falls on a raised bed that is not level. If you don’t take the time to level out your beds, you can have some severe erosion problems. Working on a flat surface is much more comfortable. Gardening on a slope is difficult even under ideal conditions, so if you have the chance to level your raised bed. Do it.
In case you missed it: How to Grow Brussels Sprouts from Seed to Harvest: Check How this Guide Helps Beginners
Conclusion
Home vegetable gardening has become more common. Many factors might affect how well a vegetable garden does in the backyard. However, the most prevalent causes of failure are a lack of effort, a refusal to follow directions, and an unwillingness to learn new methods for successfully growing vegetables.
- Organic Gardening on a Budget: Low-Cost Methods and Materials
- Gongura Seed Germination and Planting Methods
- Cabbage Seed Germination and Selection
- Broccoli Seed Germination and Selection
- Asparagus Seed Germination and Variety Selection
- Seasonal Flower Gardening: Best Practices for Spring, Summer, Fall, and Winter
- How to Grow Hibiscus from Flower
- Plantation Ideas for Home Decoration: A Beginners Guide
- Flower Garden Designs and Layouts for Beginners
- Planting and Spacing Techniques in Papaya: A Beginner’s Guide
- Growing Gold: Essential Techniques for Planting Pineapples
- How to Make Kalanchoe Plant Bushy: Home Remedies and Solutions
- 11 Reasons Why Your Gardenia is Not Blooming: Home Remedies and Solutions
- Eco Elegance: The Guide to Designing a Drought-Tolerant Landscape
- Gardening on a Slope: Strategies for Hillside Landscaping
- Nourish and Flourish: Top Organic Mulches for Thriving House Plants
- Everything You Want to Know about Indian Mogra Flower: Discover Uses and Growing
- Green Thumb Success: Expert Tips for Cultivating Greenhouse Pumpkins All Year Round
- Maximize Growth & Flavor: The Ultimate Guide to Companion Planting in Herb Gardens
- How to Control Rhododendron Problems Naturally: Home Remedies and Organic Ways to Fix Them
- Natural Magic: The Remarkable Benefits of Cinnamon for Plants
- Best Steps to Revive Dying Tulip with Natural and Organic Treatment
- 10 Reasons Why Your Angel Trumpet is Not Blooming: Remedies and Treatment
- How to Fix Periwinkle Leaf and Flower-Related Problems: Natural Remedies and Solutions
- How to Fix Zinnias Leaf and Flower Problems: Discover Natural and Home Remedies
- Organic Steps to Induce Lemon Tree Flowers: A Comprehensive Guide
- Bloom Booster: Crafting the Perfect Homemade Bougainvillea Fertilizer
- Optimizing Growth: A Guide to Applying NPK Fertilizer for Potted Plants
- 10 Best Homemade Fertilizers for Rubber Plant: DIY Recipes and Application Method
- How to Boost Female Pumpkin Flowers: Effective Steps for More Flowers and High Yields
- Transform Your Indoor Garden: Top Benefits of Pink Salt for Houseplants
- 10 Best Homemade Fertilizers for Peacock Plants (Calathea): Easy DIY Guide
- Unlock Blooms: 9 Reasons Why Your Potted Chrysanthemum is Not Blooming
- 8 Reasons Why Your Potted Hibiscus is Not Blooming: Fix it with Simple Solutions
- Unlock Blooms: 9 Key Reasons Your Potted Frangipani Won’t Flower
- 10 Reasons Why Is My Ice Plant Not Blooming: Remedies and Treatment