The mental health benefits of plants extend well beyond those connected with exposure to light and food. No one grows a garden without Mother Nature’s support, which always provides the ideal conditions of soil, weather, and sunlight. With so many advantages, why wait any longer to plant your garden in Oregon?
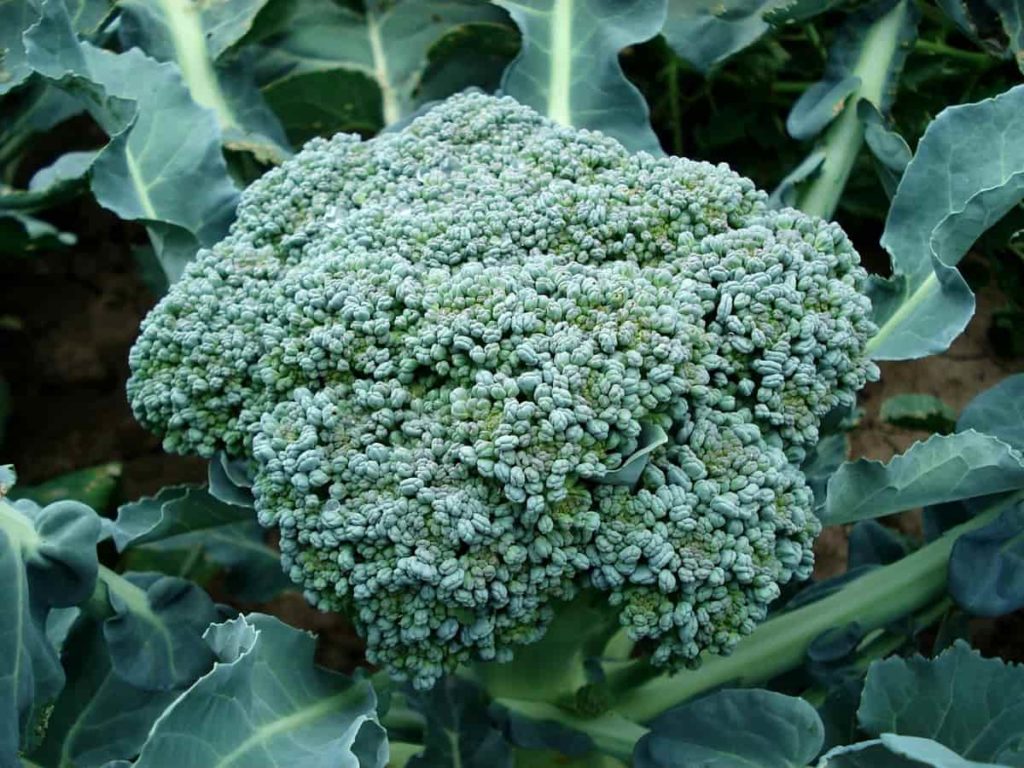
Below we learn home gardening in Oregon, different kinds of home gardens for Oregon, how to set up an indoor home garden in Oregon, how to set up a container home garden in Oregon, and how to set up a backyard home garden in Oregon, and about the planting zones of Oregon state, and different fruits and vegetables that can be grown in Oregon home gardens.
How to start home gardening in Oregon (OR) for beginners
Is Oregon a good state for gardening?
Oregon has four distinct agricultural zones: the coast, central and eastern Oregon, the western valleys, and the Columbia and Snake River valleys.
Zone 1: Oregon Coast has a long, cool season (190-250 days). Wind, fog, and low temperatures make gardening a challenge along the Oregon coast. Nonetheless, gardening by the shore can be enjoyable if you adapt your plant selections and layout to the local climate.
Zone 2: In the western valleys, the growing season typically lasts between 150 and 250 days, with mild daytime temperatures and cooler overnight lows. There is a broad range of rich soils in the Rogue and Willamette valleys, and the temperature is perfect for gardening. Late spring, summer, and early fall are pest- and disease-free times for garden plants. Due to moderate winters when temperatures rarely dip below 20 degrees, gardening can be done all year round.
Zone 3: In the highlands of central and eastern Oregon, where temperatures tend to be low and the growing season lasts just 90 to 120 days, frost may occur at any time of year. Central and eastern Oregon is more than just a vast stretch of the high desert, but they may not be a gardener’s paradise. However, considering the unique and widely changing climatic and soil features of the region east of the Cascades, you can successfully grow your vegetables and fruits.
Zone 4: In the valleys of the Columbia and Snake rivers, the growing season lasts anything from 120 to 200 days. In the Columbia River basin, planting can start as early as May 1 because of the long growing season. Heat and constant winds make it difficult for gardeners in lower-elevation places along the Columbia to cultivate fruit trees and vegetables. Watering them often but lightly is the only way to prevent seedlings from drying out.
When should you start a garden in Oregon?
Late April is the ideal time to sow seeds for cool-season vegetables like beets, scallions, chives, carrots, parsley, and cutting greens, or to plant kale transplants, leeks, head lettuce, chard, and onions. A low-priced soil thermometer is invaluable for keeping things in perspective while planning a planting. For cool-season plants, 50 degrees is a decent average temperature.
Plants that thrive in warmer temperatures, such as tomatoes, peppers, and basil, need soil with a temperature of 60 degrees or higher. Indeed, the optimal range for tomatoes is between 65 and 70 degrees. Soil temperatures won’t reach 60 degrees until late May or June. If you can’t resist growing warm-season crops, use floating row covers, glass or plastic cloches, or milk jugs or coke bottles with the head cut off to protect them from frost.
What are the best vegetables to grow in Oregon?
Lettuce, onions, peas, potatoes, sweet and hot peppers, pumpkins, artichokes, asparagus, beans, beets, broccoli, cabbage, cauliflower, corn, eggplants, garlic, greens, winter and summer squash, and tomatoes are some of the best vegetables to grow in Oregon state.
Can you garden year-round in Oregon?
If you reside in Oregon, you do not have to stop gardening just because summer has arrived. Vegetables can be grown and harvested year-round with forethought, common sense, and information about what to plant.
What growing zone is Oregon in?
Most of western Oregon has a mild maritime environment, whereas a chilly desert climate characterizes the eastern part of the state. Arctic cold waves may sometimes make this part of the state exceedingly frigid. The weather stays mild even in the summer. In contrast, the high desert area in eastern Oregon has far less rain, hotter summers, more snow, and harsher winters than the rest of the state.
The quantity of wet weather an area receives varies and depends on the planting zone. Some regions get up to 200 inches of precipitation each year, while others, like the Alvord Desert, receive as little as 5 inches. It snows a lot, although it might be any kind of snow. Depending on where along the coast you live, you may get 0–3 inches of snow every year, while those living farther inland may get 5–10 inches. The yearly snowfall averages between 15 and 75 inches east of the Cascades.
In case you missed it: How to Grow Cantaloupe/Muskmelon from Seed to Harvest: Check How this Guide Helps Beginners
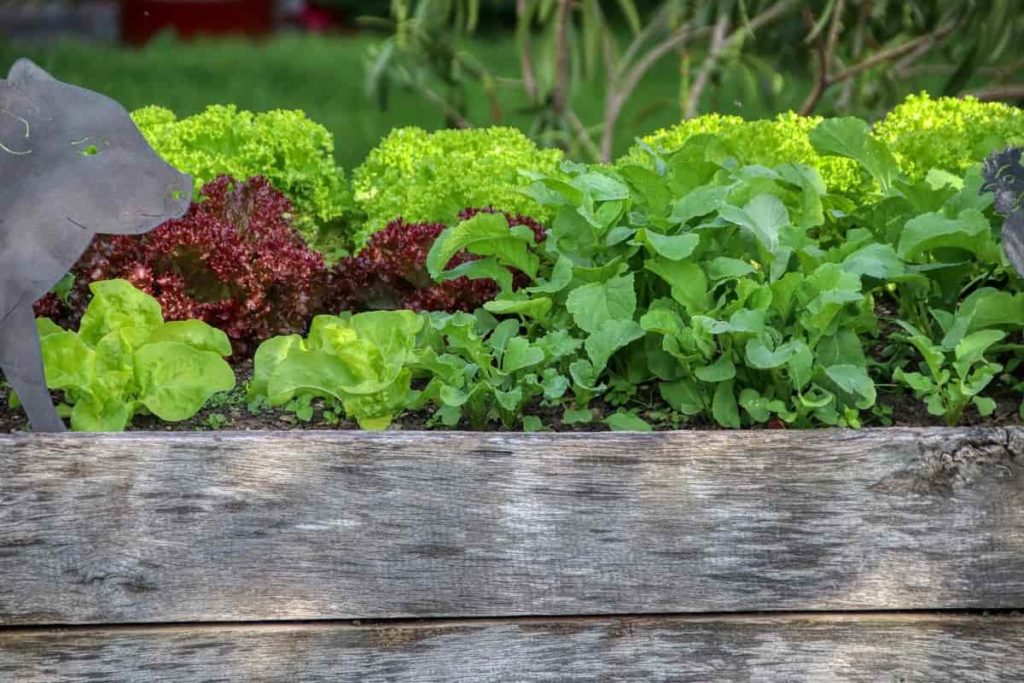
Low summer temperatures typically hover around 60 degrees, with average winter lows in the middle 30s. The climate of Oregon covers growth zones 4b through 9b. Sometimes called “planting zones,” “growing zones” relate to ideal climate conditions for various types of crops. They were made to assist gardeners in determining which plants, flowers, and foods would thrive in a given climate. Hardiness zones help determine whether plants can withstand a severe winter.
But their value extends beyond only guiding gardening decisions. Planting times can be influenced by zone. In Oregon, planting zones are determined by both the average first frost and the average latest frost dates. Remember that you should only plant those hardy species in the Oregon planting zone that you are in or lower. If you reside in USDA hardiness zone 4b, you can choose hardy plants only in zones 1 through 4. Plant nothing that requires a warmer climate zone, even 8a.
Plants designated for a much higher zone will not be able to withstand the winter conditions of the zone you are planting in, which is why it is OK to move to a lower zone but not a higher one. Vegetables, fruits, and flowers abound in Oregon. Plants such as popcorn flower, Hupa gooseberry, baby blue eyes, azaleas, lady fern, awned melic, marsh violet, and many more are indigenous to the region and will thrive there. Artichokes, asparagus, potatoes, tomatoes, cauliflower, peas, and summer squash are among the vegetables that grow well there.
When should I plant tomatoes in Oregon?
You can get a head start on your tomato harvest by using techniques like keeping your tomatoes inside (in full sunshine), pre-warming your soil, and employing tunnel row coverings. Tomatoes should be planted outside the ground at the beginning of May when the soil has warmed up enough to facilitate planting. However, there is a range of items to assist you in getting an early start.
What grows in Oregon in summer?
You should have most of your warm-season fruiting crops planted at this time. That includes melons, cucumbers, squash, and tomatoes. Short-season crops like cherry tomatoes and chili peppers can be planted from starting seedlings if you haven’t already. The early part of July is a good time to plant corn. Root crops with a short growing season, such as turnips, radishes, and carrots, can be planted now.
It may soon be time to harvest several long-season root crops, such as onions and garlic. Maintain a consistent watering schedule for your maturing summer crops. It’s important to remember that this does not imply constantly watering your plants but instead watering them before they get dry. Other issues, such as fungal assaults and blossom end rot, are mostly attributable to over- or under-watering. In addition, pests and diseases can diminish yield if not treated quickly.
What fruits and vegetables grow in Oregon?
Although potatoes, pears, and onions are Oregon’s most valued produce crops, followed by cherries, blueberries, and apples, the state also leads the country in smaller-category commodities such as boysenberries, blackberries, and rhubarb. Blueberries, cherries, and apples are Oregon’s most valuable fruit crops. Other noteworthy crops include raspberries, strawberries, cranberries, and snap beans, most of which are grown for processing purposes.
What part of Oregon has the longest growing season?
Winters in Zone 3b are similar to those in Zone 3a but warmer, with typical lows of 19 to 29 degrees Fahrenheit (-7 to -2 degrees Celsius) and highs of -2 to 15 degrees Fahrenheit (-19 to -26 degrees Celsius). The growing season in Zone 3b is very extended compared to other intermountain regions.
This area typically has between 180 and 210 days without frost and a high average temperature, making it ideal for gardeners. One of the tiniest zones, however. Most of it can be found in the warmer regions of eastern Washington’s Columbia Basin; however, smaller portions can be found in Lewiston, Idaho, and the southwestern United States. A wide variety of annual vegetables, flowers, perennials, trees, shrubs, and vines thrive in this area.
How long is Oregon growing season?
The success of your vegetable garden relies on your ability to time the planting of seeds and transplants. Knowing when your first and last frosts occur, you can plant vegetable seeds. Zones 5–9 of the USDA plant hardiness map include Oregon. The average days in Oregon between the last and first frost is 125.
When can you start planting indoors in Oregon?
Planting time for cool-season vegetables in western Oregon is ideal in late February or early March. Plant tomatoes and peppers in late March or early April. Before transplanting tomatoes, they must be “stepped up” from seedlings to a four-inch pot and then maybe to a gallon-size pot.
It is advised for gardeners in eastern Oregon to delay seed-starting even further since the region’s final frost often does not occur until May or even June. Plan your seed-starting and transplanting dates in reverse. Consequently, if you want to plant cool-season crops in the middle of April, you should begin doing so in the middle of March.
How do I start a backyard home garden in Oregon?
Choosing the location
Your garden layout should reflect the available space and your family’s dietary requirements. Find a flat or gently inclined spot with at least six hours of sunlight daily. The area needs to have enough drainage. It’s best to keep your vegetable garden away from huge trees or bushes that can steal water from your plants. There must be a water supply close by for convenience in routine upkeep.
In case you missed it: How to Start Home Gardening in North Dakota for Beginners: From Scratch for Indoors, Outdoors, Backyards, and Containers
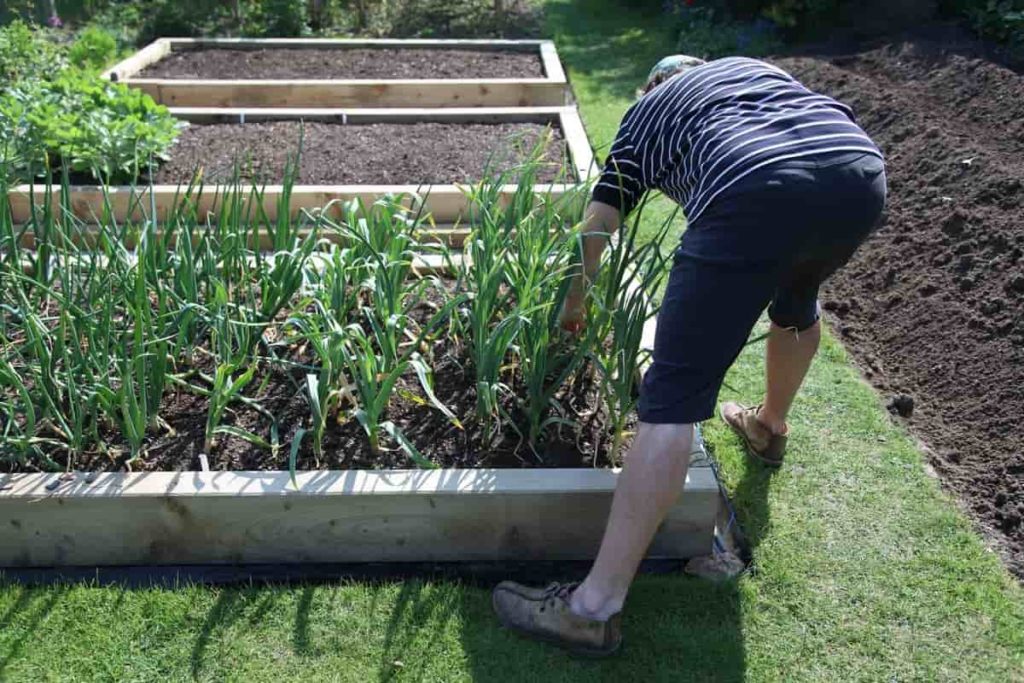
Soil preparation for backyard gardening
Check the soil’s tilth before proceeding. When the soil has excellent tilth, it is simple to dig in, retains and distributes water well, drains well, and can be used as a seed bed. Add organic matter, either new or composted, annually to keep soil healthy or enhance it. For advice on selecting and applying manures, composts, and other organic materials to your garden soil, Soil tilth can be improved by using winter cover crops.
Vegetables should be grown on raised beds, and the soil in those beds should be protected from foot traffic. The soil in raised beds can warm up faster in the spring, drain better, and have fewer issues with soil-borne diseases. One application per year of a balanced fertilizer (such as 20-20-10) at a rate that provides roughly 3 lb of nitrogen (N) per 1,000 square feet is usually sufficient for vegetable crops.
The labels on bags of fertilizer will tell you what proportion of nitrogen, phosphate, and potassium it contains. For example, a fertilizer with a 20-20-10 ratio has 20% nitrogen, 20% phosphate, and 10% potash. This fertilizer includes around 2 pounds of nitrogen, 2 pounds of phosphate, and 1 pound of potash for every 10 pounds.
Because they are less mobile than N, phosphorus, and potassium can already be in enough supply in the soil if you have applied a balanced fertilizer at the appropriate rates for many years. Excessive watering or precipitation can cause nitrogen to be washed out of the soil. Check the soil every three to five years to determine if more nutrients are needed besides nitrogen.
Fast vegetative development in vegetables is accompanied by optimal nitrogen usage by the plant. Consider adding some nitrogen 3–6 weeks after sowing or transplanting, just before strong vegetative development, in established vegetable gardens that do not need yearly P and K addition. Peppers, sweet corn, and celery are among the vegetables that would benefit most from a split application of N. Put to good use a solid or liquid fertilizer with a high N ratio (3-1-1, 30-10-10, or 21-0-0, for instance).
Use around 2 pounds of nitrogen per 1,000 square feet. The acidity of the soil is measured by its pH. Most vegetable crops thrive on soil with a pH of 6.0 to 7.5. Most soils in western Oregon are lower, making them more acidic. Soil pH can be raised using lime, making it ideal for growing vegetables. Lime has poor soil mobility and takes a while to start working.
Adding lime into the soil in the early or late seasons. When first planted, Western Oregon vegetable gardens need 10 pounds of agricultural lime per 100 square feet. Numerous naturally alkaline soils east of the Cascades do not respond well to adding lime. Whether you want to know if your soil needs lime, phosphorus, potassium, or any other nutrients, you may get it tested at a specialized agricultural lab.
Plant your backyard garden
The instructions on the seed packaging should be followed exactly. Until seedlings are firmly established, water them softly but regularly (as much as once or twice a day for small-seeded vegetables like onions, celery, carrots, spinach, chard, and parsley). Many western Oregon soils crust over after being irrigated or rained. The formation of this crust can stifle the growth of even the tiniest seeds. Cover seed furrows with a light potting mix rather than soil to avoid crusting, and crusting can be avoided by placing floating row covers over the seed row.
Mulch your backyard garden
Growers can increase the germination rate, harvest, and quality of heat-loving crops, including melons, peppers, tomatoes, cucumbers, sweet corn, and pole beans, by using black, red, green, or silver plastic; a variety of organic mulches; and row coverings. Plastic mulches have several uses, including warming the soil, retaining moisture, preventing weed growth, and protecting fruits and vegetables from spoilage by keeping them clean and off the ground. Water can’t collect on the plastic if holes are punched into it.
Additionally, organic mulches can be used. Straw, hay, leaves, or mint hay can be spread to 1–2 inches. Mulches like this help maintain soil moisture and insect populations while enhancing the soil’s composition and health over time. Unfortunately, the soil won’t become hot under organic mulch. Only once soil temperatures have increased should heat-loving plants like peppers and eggplants are planted. Keep an eye on mulched areas as the rainy season approaches since organic mulches can attract slugs.
Plants under row covers are protected from insects and early spring frosts, stimulating their development. Seed businesses, local nurseries, and online retailers all stock polyethylene, polyester, and polypropylene covers. These can often be placed straight on the crop without any further preparation. Spread them out in a way that will give the plants many weeks to flourish. Place heavy objects, such as pebbles or wood planks, around the edges to keep them in place.
Hoops or other supports may be needed for plants like peppers that have growth points at the top of the plant to protect the point from being damaged. Cover the rows for the last 4–6 weeks before flowering. As bees are necessary for pollinating melons, squash, and cucumbers, their coverings must be removed while the plants are in flower.
Take care of your backyard garden
Just enough cultivation to get rid of weeds is all that’s needed. Remove any weeds during the first 30 days after planting. When compared to weeds, most vegetable seedlings have a hard time competing. Veggies that have been transplanted are more strong. However, not all vegetables can be successfully transplanted. The majority of gardening issues can be traced back to improper watering practices. Each time you irrigate, use between 1 and 1.5 inches of water.
Set up a series of cans around your garden and use a water gauge to determine how much water was used. To prevent soil erosion and surface runoff, it is important to irrigate gently. We recommend watering your plants once per week during dry periods. Soaker hoses and drip watering systems are an alternative to traditional sprinklers. These setups allow you to water only your crops, rather than the space between them, where weeds can flourish. Moreover, they aid in warding off leaf rot.
In case you missed it: How to Grow Berries in USA: At Home in Pots, Containers, Indoors, and Tips
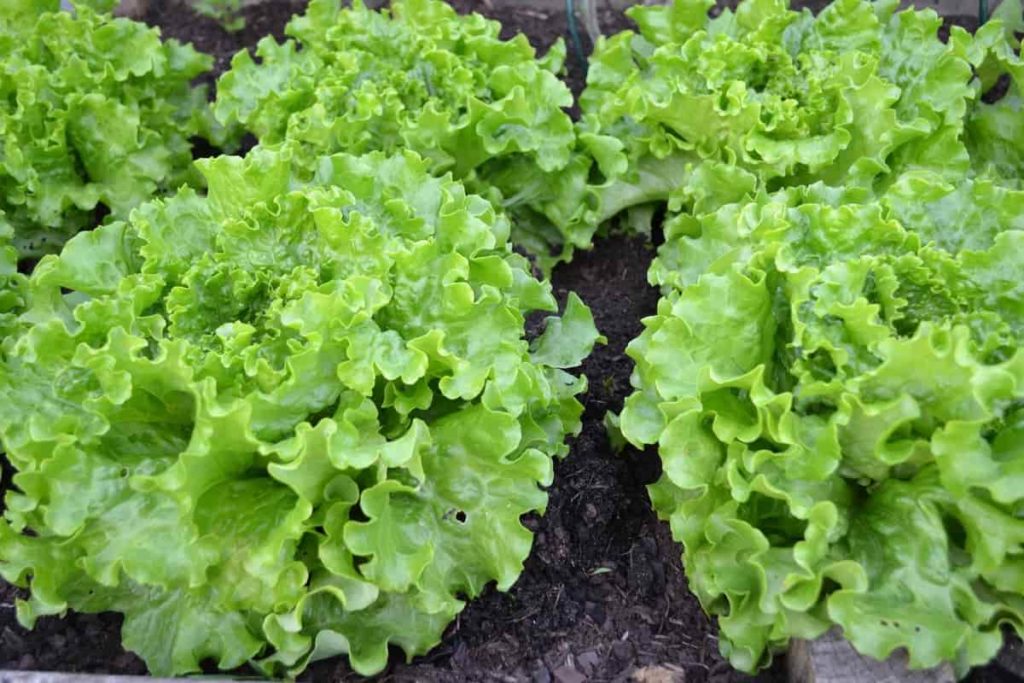
Low-pressure systems, when appropriately utilized, can save water compared to sprinklers. Adjust your fertilization and watering schedules if you can use only water in a thin channel along the row. Finally, keep in mind that different crops have different thinning needs. Check the information on the back of seed packs. For a plant’s top and root development to be supported, it requires room to expand its leaf area. Poor plant quality is one result of overcrowding.
Overcrowded corn plants don’t produce as many ears. To ensure healthy plant development, pests and diseases must be managed. Identify and observe issues closely before taking action, and prioritize the least harmful option. Insecticides and other chemicals can be useful in preventing the spread of diseases, but only if they are used correctly. Keep any substances of chemical nature out of the reach of kids. Empty containers should be rinsed and discarded as directed.
How do I start a container home garden in Oregon?
Choosing the containers
Containers may give an attractive color accent, year-round structure, and scent in select garden parts. Plants that can’t handle cold temperatures or live in unique environments (such as a rock garden or a water garden) benefit greatly from these structures. Plants in containers can be displayed at eye level for a more intimate experience. Planting in pots is an excellent option for apartment dwellers or anyone with limited outside space.
Containers are a great solution for gardeners who have more plants than space or are still undecided about where to put their new purchases. Always ensure your content includes drainage holes, no matter where you store things. The height of the container is used as a reference point for its size.
The average size for annual and perennial flower pots is 12 inches. Anything smaller will dry up very soon. Larger pots are a fantastic alternative for shrubs, small trees, and combination plantings. A half barrel can house a little garden full of colorful flowers, fragrant herbs for seasoning food and tea, nutritious veggies for quick bites on the go, or any combination thereof.
Choose a suitable potting mix
Potting or planter mix, which is supposed to be coarse textured to allow proper drainage, should be used to fill containers. To rephrase, quality potting soil will have a fluffy, airy texture. Before planting, amend the potting soil with a slow-release fertilizer. Do not ever use potting soil in pots and planters. Its fine texture prevents water from soaking through in a container with limited depth.
As the roots can’t get enough oxygen, your plants die. Diseases, insects, and weed seeds can be introduced via the soil in a garden. And avoid the common but mistaken step of placing coarse material at the bottom of the container to facilitate drainage. As water moves about within a container, the coarse material at the bottom will act as a barrier to water escaping the pot.
Choose your plants
Almost anything grown in the ground can be grown in containers. If the container is big enough, you can plant a tree, shrub, rose, vine, annual, or perennial. Consider plants of diverse heights, foliage textures, and blending or contrasting flower and leaf colors when putting together a container. Plant annuals densely for maximum aesthetic impact; allow veggies room to expand as they mature; ensure trees and shrubs have enough area for root development.
Long-lasting plants like trees and shrubs should be re-potted every two to three years. Two methods exist for achieving this goal. One option is to remove a portion of the rootball and replant the tree or shrub in its original container with new potting soil. You can also place the plant in a larger container and fill the additional space with potting soil.
Care for your container garden
In most cases, plant health improves with increased container size. Roots can’t spread as far in a container. Therefore, more frequent watering and fertilization are required for plants to survive in containers than for identical plants in the ground. During the warmer months, you may discover that you need to water your plants in their pots once or twice daily. Put the planter where it will get the light and water it needs. Keep the root ball from “cooking” in the container’s extreme heat by keeping it out of direct sunlight.
Container plants need special attention and regular maintenance during the growing season. You can stimulate bushy growth and more blooms by pruning (trimming) and deadheading (removing spent flowers) as required. It’s essential to be willing to switch out less successful plants with new ones as they mature to maintain a nice container’s aesthetic. Cold weather in the winter can cause pots to shatter because the water in the potting mix swells as it freezes.
By enclosing the container with insulating materials, you can shield the plant’s roots from the frigid temperatures of winter. You can also keep the containers out of the frost by keeping them in a shed or garage. Some of the fertilizer in a container will be washed away every time you water. Therefore, it’s crucial to use fertilizer whenever planting in a container. The potting soil should have a slow-release fertilizer that will work for three to four months. Next, use a water-soluble fertilizer every two to three weeks during the growing season to keep plants healthy and flourishing.
How many hours of light do vegetables need indoors?
To thrive, indoor plants need more light than their outside counterparts. Most food plants need between 14 and 18 hours of light each day when grown under artificial light. Don’t keep the lights on constantly; plants need at least six hours of darkness daily. The ideal distance from the plants to the light source varies with the kind of bulb and its wattage, so be sure to adjust the fixture height as necessary as the crops grow.
How far should LED lights be from seedlings?
Too many lights, too few lights, or lights that are too near or distant from the plants can cause overheating and poor illumination. LED lights should be positioned between 12 and 18 inches from the plants. However, this is not a hard and fast rule.
Since light initiates photosynthesis, it is one of the most crucial variables to consider while cultivating plants. Using standard incandescent bulbs will not produce robust vegetation. Therefore, broad-spectrum LED growth lights are suggested for optimal outcomes. They were developed for this purpose and could emit light over the precise spectrum required by the plant.
How do I start an indoor home garden in Oregon?
A weed-free, climate-controlled indoor space is ideal for growing a wide range of culinary plants. The winter months can still provide a bounty of vegetables with some forethought and ingenuity. Light is required for photosynthesis, the process through which plants use sunlight, oxygen, and water to create chemical energy. Every day, your plants need at least 12 hours of extra lighting. Growing a few plants in a south-facing window is possible, but for a productive indoor garden, you’ll need to supplement natural sunlight with artificial lighting.
Pick up a pot or container big enough to accommodate the plant’s eventual size and development that is also safe to use with meals. Although seedling flats help get your plants off to a good start, you’ll need to repot them into bigger pots as they grow. Most greens can be successfully grown in pots as shallow as 4 inches, but carrots and other root crops need pots at least 6 inches deep. You can use repurposed bakery or food containers as window boxes. Make sure containers have drain holes and drip trays.
If you want to grow plants inside, choose a potting mix that is both versatile and organic. Get new potting soil to begin. Soil from your outside garden should not be used in containers since it is too dense and can harbor pests and diseases. A high-quality growth medium for container plants is airy, bright, and permeable.
In case you missed it: Home Gardening in California: How to Start from Scratch for Indoors, Outdoors, Backyard, and Containers
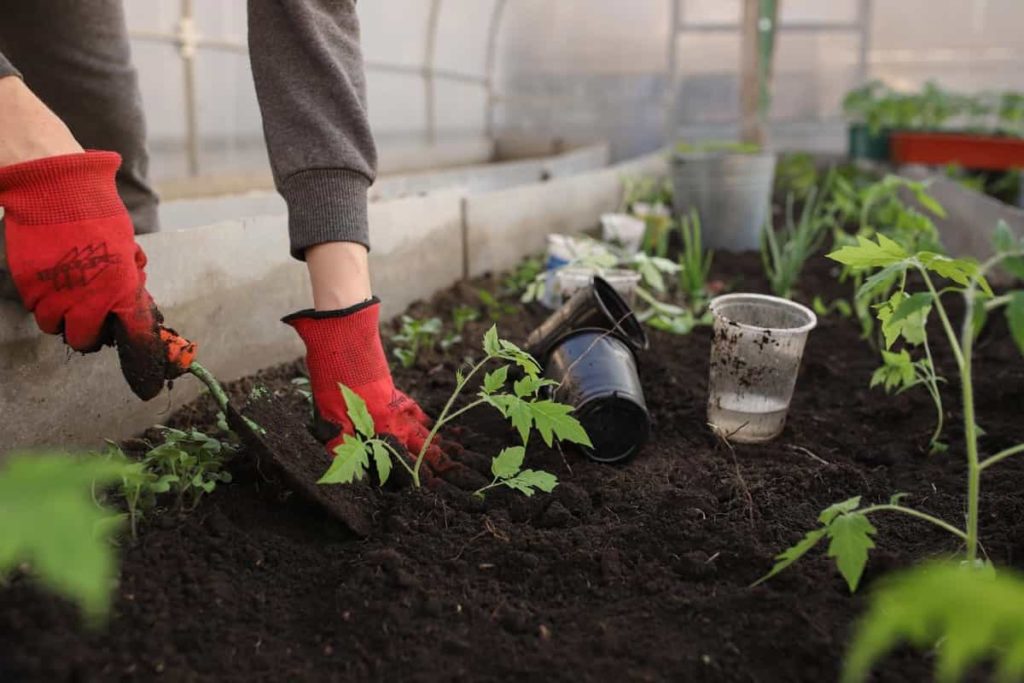
You should choose a soilless potting mix with peat moss (or coconut coir), vermiculite, and perlite. Here’s a quick and easy recipe for making your soilless potting mix: Combination of four parts sphagnum coconut coir or peat moss, 1 part completed compost, 1 part perlite, and 1 part vermiculite. Healthy indoor plant growth requires the use of supplementary fertilizer. Whether you buy potting soil or make it yourself, at some point, you will need to add nutrients to the soil so that your plants thrive.
Fertilizers won’t be needed as often if your potting mix already has them included. Fertilizer benefits plant growth but depletes over time as plants use it, and water washes away part of the fertilizer. Include a delayed release of organic granular fertiliser in your potting mix to provide sustained plant nutrition. For feeding directions, refer to the package label. Plants should be fed 1 1/2 teaspoons of fertilizer once a month after they are established.
Fertilize plants once every two weeks or whenever the leaves show symptoms of stress, using a diluted solution of fish emulsion or seaweed fertilizer if you prefer a liquid fertilizer. The first step in growing your fruits, veggies, or herbs is to choose a location. It is between 55 and 70 degrees Fahrenheit where most leafy greens, roots, and plants thrive. A basement or extra bedroom works well as long as it is cool.
Avoid placing plants near radiators, fireplaces, or other heat sources, since doing so will hasten the rate at which some of them go to seed and interrupt your harvest. Put your grow light shelf unit in its final resting place. Plug the device into an available electrical outlet, mount the lights, and use a timer to control their on/off cycles. The lights can be installed to come on for 16 hours a day and go out for 8 hours.
Prepare the shelves for the drip trays and group plants of comparable heights together beneath the grow lights. Put some distance between the containers if possible. Plants can’t thrive without enough light and airflow, particularly around the leaves. Lights should be placed around 2 inches above plant foliage. Plant seeds according to the seed packet’s instructions and keep the soil wet during the growing phase. As plants become bigger, transfer them to larger pots.
If the roots of newly acquired seedlings are poking out of the drainage holes, it may be time to repot them. Light, water, heat, airflow, nutrients, and a favorable environment are the five necessities for plant growth. Keeping things in check ensures that your seedlings will develop into strong plants that provide abundant harvests. Once your plants are well-established, they need just a little effort on your part to maintain.
Grow lights should be left on the plants for 16 hours a day. Don’t want to burn the leaves off your plants? Keep the lights at a distance of around 2 inches. Plants not getting enough light may seem feeble as they reach for the available light. Plants need moisture, so water them once a week or more often if the top inch of the soil dries up. The soil needs watering if your finger, inserted a few inches into it, comes out dry.
If the soil is dry, wait a day before watering. Instead of watering the leaves, water the soil. Seed germination occurs at 65 to 75 degrees Fahrenheit. A seedling mat can supply germination heat. Once planted, leafy greens, roots, and herbs thrive best between 55 and 70 degrees Fahrenheit. Because of increased airflow, plants can absorb more oxygen and emit more carbon dioxide as they expand.
Damping off and other fungal diseases can be prevented by keeping a small fan running in the growth area to provide a gentle breeze that helps to preserve ventilation. It will also result in healthier plants with stronger stems and a decrease in spores that drop on the leaves from the air. Vitamins and minerals are crucial to the growth and development of your indoor vegetable garden. Make sure your plants get the nutrients they need by fertilizing them consistently.
To ensure appropriate feeding, use only as directed by the manufacturer. You can harvest and feast on delicious, healthy food in winter. You can use scissors to harvest greens off the plant’s exterior. More leaves will continue to grow from the plants’ centers. Plants should be thinned as necessary to allow for adequate growth, and the trimmings can be used as a nutritious addition to salads and soups.
What direction should the raised beds face?
Plants that don’t need much space to thrive benefit from having the raised bed, oriented north to south so that sunshine can reach all parts of the garden. The east-west orientation is ideal for growing tomatoes, pole beans, and peas. Be sure to provide enough walking space between beds.
When arranging plants in a bed, it’s essential to consider the spacing between them. When mature, plants should cluster closely together, producing a canopy over the ground. Plants that grow on vines benefit from support structures. Included in this category are a wide range of vegetables and fruits. Maintain clean and healthy conditions in your garden by properly watering, fertilizing, rotating crops, composting, and sanitizing.
What is a good height for a raised garden bed?
When it comes to raised bed heights, 11 inches is the standard. (Two common “2 x 6″ boards measure only 1.5″ by 5.5” in real size. Hence this is their combined height.) Most crops benefit from a drainage height of this magnitude. The optimal depth of good soil beneath a bed is at least 12 inches. Your plants will have between 18 and 20 inches of soil. In most cases, the soil level in raised beds is only a few inches below the top. Soil compacts after being watered repeatedly, which causes this problem.
In case you missed it: How to Start Home Gardening in New Jersey (NJ) for Beginners: From Scratch for Indoors, Outdoors, Backyards, Raised Beds, and Containers
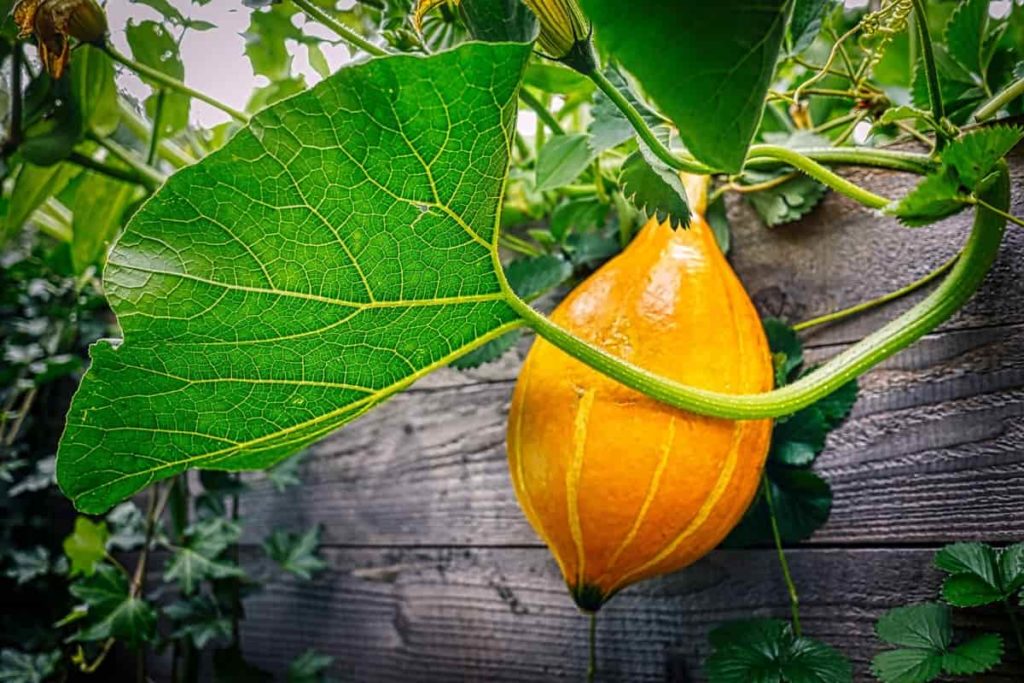
For this reason, it’s helpful to have the soil level lowered by a few inches before applying mulch. As it’s above ground and has greater drainage, raised bed soil warms up sooner in the spring. Because of this, gardeners can sow seedlings earlier and enjoy a longer growing season. For further protection from late frosts and high winds, a cold frame can be placed on top of the bed in the spring. Once the plants have been established, the cold frame can be removed from the bed and relocated to another bed to protect subsequent plantings.
- Organic Gardening on a Budget: Low-Cost Methods and Materials
- Gongura Seed Germination and Planting Methods
- Cabbage Seed Germination and Selection
- Broccoli Seed Germination and Selection
- Asparagus Seed Germination and Variety Selection
- Seasonal Flower Gardening: Best Practices for Spring, Summer, Fall, and Winter
- How to Grow Hibiscus from Flower
- Plantation Ideas for Home Decoration: A Beginners Guide
- Flower Garden Designs and Layouts for Beginners
- Planting and Spacing Techniques in Papaya: A Beginner’s Guide
- Growing Gold: Essential Techniques for Planting Pineapples
- How to Make Kalanchoe Plant Bushy: Home Remedies and Solutions
- 11 Reasons Why Your Gardenia is Not Blooming: Home Remedies and Solutions
- Eco Elegance: The Guide to Designing a Drought-Tolerant Landscape
- Gardening on a Slope: Strategies for Hillside Landscaping
- Nourish and Flourish: Top Organic Mulches for Thriving House Plants
- Everything You Want to Know about Indian Mogra Flower: Discover Uses and Growing
- Green Thumb Success: Expert Tips for Cultivating Greenhouse Pumpkins All Year Round
- Maximize Growth & Flavor: The Ultimate Guide to Companion Planting in Herb Gardens
- How to Control Rhododendron Problems Naturally: Home Remedies and Organic Ways to Fix Them
- Natural Magic: The Remarkable Benefits of Cinnamon for Plants
- Best Steps to Revive Dying Tulip with Natural and Organic Treatment
- 10 Reasons Why Your Angel Trumpet is Not Blooming: Remedies and Treatment
- How to Fix Periwinkle Leaf and Flower-Related Problems: Natural Remedies and Solutions
- How to Fix Zinnias Leaf and Flower Problems: Discover Natural and Home Remedies
- Organic Steps to Induce Lemon Tree Flowers: A Comprehensive Guide
- Bloom Booster: Crafting the Perfect Homemade Bougainvillea Fertilizer
- Optimizing Growth: A Guide to Applying NPK Fertilizer for Potted Plants
- 10 Best Homemade Fertilizers for Rubber Plant: DIY Recipes and Application Method
- How to Boost Female Pumpkin Flowers: Effective Steps for More Flowers and High Yields
- Transform Your Indoor Garden: Top Benefits of Pink Salt for Houseplants
- 10 Best Homemade Fertilizers for Peacock Plants (Calathea): Easy DIY Guide
- Unlock Blooms: 9 Reasons Why Your Potted Chrysanthemum is Not Blooming
- 8 Reasons Why Your Potted Hibiscus is Not Blooming: Fix it with Simple Solutions
- Unlock Blooms: 9 Key Reasons Your Potted Frangipani Won’t Flower
- 10 Reasons Why Is My Ice Plant Not Blooming: Remedies and Treatment