Home gardening is a wonderful pastime for those who value maintaining a close relationship with nature. Plants need much care to thrive and help us and the environment, whether indoor houseplants, a garden in the yard, or a potted plant in a window. In the following article, you’ll find a wealth of information that can help novice and seasoned gardeners of New York.
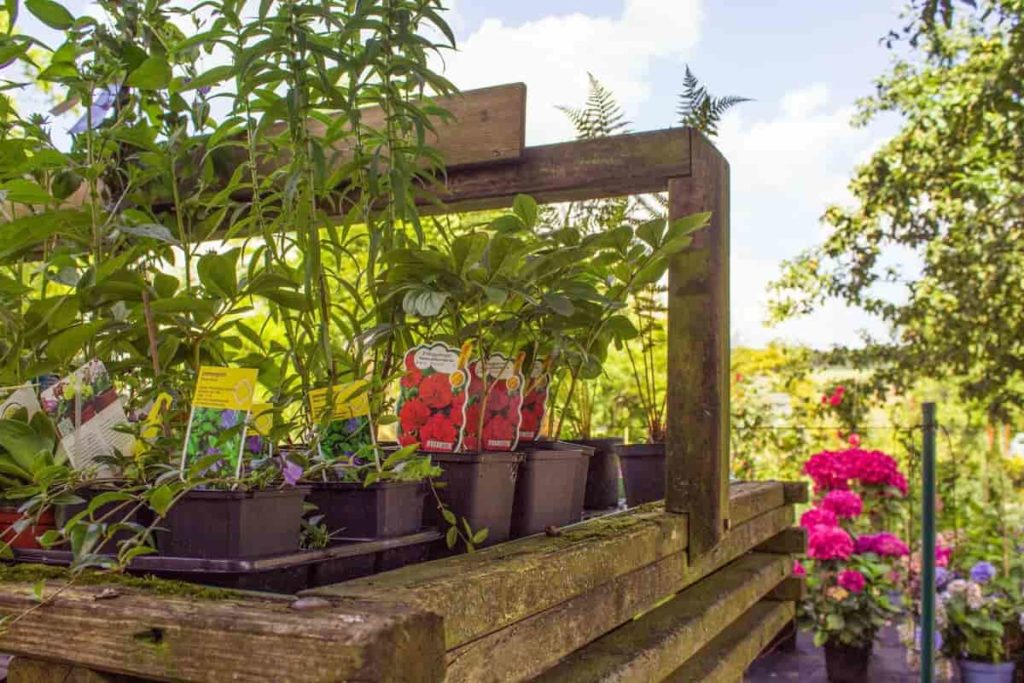
Below we learn home gardening in New York, different home gardens for New York, how to set up a backyard home garden in New York, how to set up a container home garden in New York, how to set up a home garden indoors in New York, about the planting zones of NY, and different plants for NY home gardens.
How to start home gardening in New York (NY) for beginners
When should you start planting your garden in New York?
As soon as the garden can be worked in the spring, around April 15, you can plant beets, cabbage, carrots, cauliflower, Brussels sprouts, celery, endive, kale, kohlrabi, onions, peas, radishes, parsley, leeks, lettuce, mustard, Swiss chard, spinach, turnips, and rutabagas. Rutabagas can also be planted around this time.
After the date of the last normal frost in the Ithaca region, several vegetables, including beans, eggplant, peppers, popcorn, potatoes, sweet corn, and tomatoes, can be planted (May 14). In addition, Basil, Muskmelon, Okra, Pumpkins, Cucumber, and summer and winter squash should be planted after the soil has warmed up in the spring (around the 1st of June); you can plant winter and watermelon squash.
What vegetables are easy to grow in NY?
Many vegetables are easy to grow, including lettuce, arugula, bok choy, radishes, microgreens, broccoli, cabbage, squash, carrots, beans, onions, peppers, kale, and tomatoes. Vegetables like eggplants, artichokes, cauliflower, maize, potatoes, melons, and pumpkins, on the other hand, can be challenging to grow.
What zone is NY for planting?
The United States Department of Agriculture (USDA) has been generating and refining plant hardiness maps since 1960. The previous map of hardiness zones, in use since 1990, was replaced with a new one issued not too long ago. Thirteen individual regions have been added to the new map. Above, you can see a map of New York’s planting regions, which includes information on the state’s various specialized planting zones.
Each planting zone varies by 10 degrees, and the sub-zones vary by another 5 degrees. Careful gardeners should consider the zone while choosing what to grow. Currently, a hardiness zone classification is included in the care instructions on the labels of most ornamental plants. A broad range of USDA hardiness zones is shown on a hardiness map, from 3a to 7b, covering the whole state of New York.
Several plant species can be grown successfully in USDA hardiness zone 7b but not in 3a, and vice versa. Factors such as height and proximity to large bodies of water influence the range of very cold temperatures seen throughout the winter. Even while the most current version of the USDA plant hardiness map is more sophisticated than the versions that came before it, there is still no assurance that utilizing it will provide the desired results.
A plant’s hardiness can be altered by its location and attention from a gardener. Always research before adding new trees, shrubs, or flowers to your yard, and use the hardiness map as a starting point for picking plants for your area. New York City has a humid subtropical climate that borders on humid continental. Because of this, the city has moderate, wet winters and hot, humid summers with frequent rains.
The city has a history of experiencing unusually severe weather. Although the city only sees snowfall on 12 average days per year, such storms can be severe when they do occur. Its closeness to the seaside and its exposure to strong gusts have earned the city the nickname “windy city.” Fall and winter can be the most opportune times to see this. As a result, the city’s climate has four distinct seasons and large annual temperature swings.
However, this area’s proximity to the ocean means seasonal temperature swings are not as extreme as they would be inland. As a result of the ocean’s moderating effect on temperatures, the city has a milder winter climate than inland areas and a more tolerable summer climate than coastal ones. Yet, because of our east coast location, the intensity of this effect is slightly tempered. It’s possible to reach Central Park from any of these subway stops.
What vegetables grow in NYC?
Tomatoes: Nothing beats the flavor of a tomato you grew yourself, especially if it’s a ripe one straight off the vine. Tomatoes need 12-18 hours of sunshine each day to flourish; thus, using grow lights may be necessary. Plants of the cherry and plum types thrive well in the house, and all you need is a basic pot about 6″ deep.
In case you missed it: How to Grow Papaya from Seed to Harvest: Check How this Guide Helps Beginners
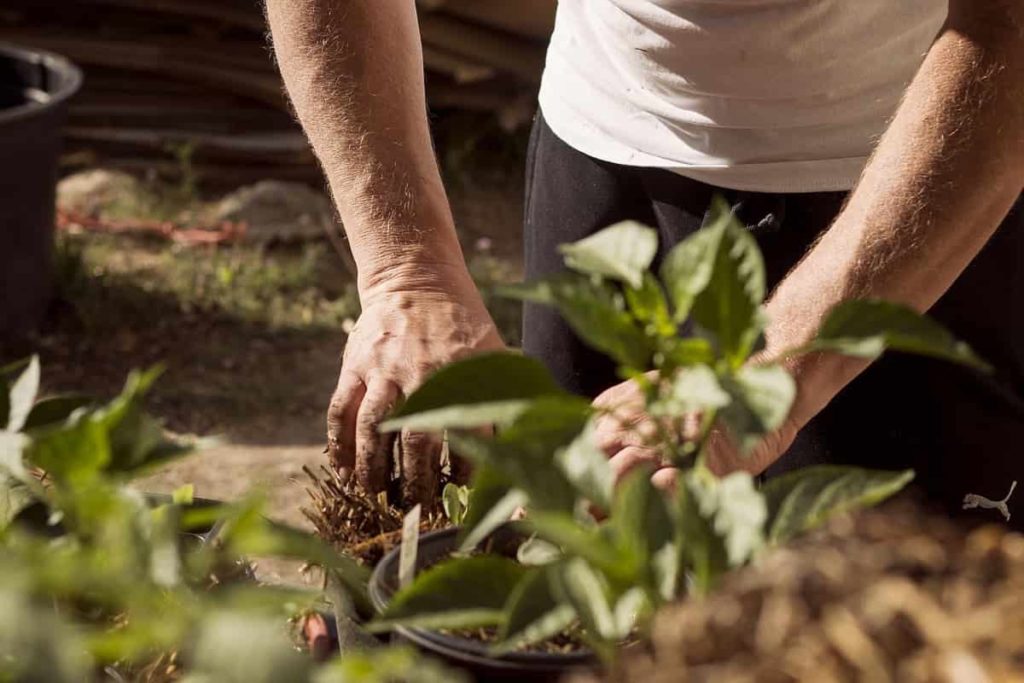
Green beans: Although you may have grown to dislike this vegetable as an adult, fresh green beans are nutritious and simple to grow. Plant the beans in a long, thin planter with sandy, fertile soil that will enable them to spread their roots and drain any excess water. It should thrive with little attention if you give it a spot in the sun for around six hours a day and keep the soil consistently wet.
Carrots: These radishes and carrots would thrive in a sunny New York City apartment. The soil plays a critical role in producing tasty carrots. Widen the planter by digging deeper, then put the seeds approximately 6 inches apart. The soil must be kept wet to facilitate carrot germination, as was said before.
Citrus fruits: A calamondin orange tree is an excellent option for those just starting with citrus trees as an indoor fruiting garden because of its hardiness. Buy a young dwarf tree from a gardening shop (plus points if it already has a pot), and make sure the new pot has drainage holes or sits on a big dish or pebbles to catch any excess water. In 6-12 months, if you give the tree what it needs, it should start producing fruit. Mandarin oranges, lemons, and limes are other good options.
Strawberries: Small kits like the one pictured make strawberries one of the simplest crops to grow indoors. Hydroponics is a popular alternative for many plants. The fruit plants get continuous nourishment and abundant artificial light (and you can enjoy strawberries right out of the box!). No other container is required since growth can occur in the kit.
When should I start seeds indoors in NY?
Knowing when the final spring frost typically occurs in your location is crucial before you start planting seeds inside or outdoors. This would be sometime around the 15th of May in New York City. Plant perennials ten to twelve weeks beforehand; most annuals 4 to 6 weeks before the last frost; and veggies four to ten weeks beforehand, depending on what you’re growing.
What can you plant in April in NY?
At this point in April, you can grow various veggies. The 15th of April is traditionally the first day when lettuce, beets, carrots, spinach, celery, cabbage, and radishes can be planted. Vegetables must wait until after the final frost to be planted. Tomatoes, beans, eggplant, potatoes, and sweet corn may all be planted safely after the last frost, which typically occurs in late May. These crops are grown in containers and easily blown away by wind and rain.
The summer is the best time to grow a variety of veggies. Plants like basil, cucumbers, pumpkins, and squash can’t be put into cold soil. Seeing the fruits of your labor will be well worth the wait, but time is the most critical factor. Your garden deserves the most excellent possible conditions to flourish during spring and summer.
When should you plant tomatoes in NY?
If you want to grow your own, you should start the seeds around six to eight weeks before the final frost date. Plant seeds in flats or pots no more than a quarter of an inch deep and water regularly. Germination can be enhanced by placing the pots on top of a refrigerator or using a propagation mat to provide bottom heat. Split up your seedlings and give them a week of hardening off inside before planting them outdoors. Tomatoes should be planted in the garden after the soil has warmed, about May 15 in the New York region.
Plant tomatoes deeply since they will send out roots from the stem. Remove the plant’s lowest leaves, then put it in a hole slightly larger than the container. It’s also possible to dig a short trench and lay the plant’s root ball and lower half horizontally in it, leaving just the tip of the stem above ground. To reach their full potential, tomato plants must be placed between 18 and 36 inches apart.
How do I start a backyard home garden in New York?
Choosing a suitable location
Vegetable growth requires a level, well-drained soil surface and at least six hours of sunlight every day (eight to ten hours is ideal). Keep the garden away from the base of a steep slope enclosed by a wall or fence. As the cold air falls, these areas are slower to warm up in the spring and are more likely to encounter frost. If you must plant somewhere exposed, build or set up a windbreak.
If possible, choose a location with easy access to water. Locate your garden near your home so you can care for it whenever you have some free time. Avoid planting near trees and shrubs due to competition for water and nutrients and significant shading. Plants may not get enough light if situated too close to a building. Pay attention to the sun’s shadows on your garden at different times of the day. You can take advantage of a shaded area by planting shade-tolerant plants there.
Always rotate your crops, and never grow the same vegetable again in the same plot. Catch rotation should be practiced routinely to keep pest practices at bay. Using old plans, rotate your crops every several years. Avoid planting a garden near the spot where a home coated with lead formerly stood in the soil; there may still be traces of the toxic chemicals. Get some soil samples tested for lead concentration, or get greens tissue tested if you’re concerned about the state of the environment.
Soil preparation for your backyard home garden
Soil that is deep, loose, well-drained, and full of organic matter is ideal for a vegetable garden. Vegetables grown in a garden need a fertile soil condition in which to sprout and flourish. Garden plants benefit significantly from using soil supplements since they enrich the soil and provide a healthy environment for root growth. Once every three years, get your soil tested to see how fertile it is and what pH level it is. Determine the soil’s acidity or alkalinity by doing a pH test.
In case you missed it: How to Grow Berries in USA: At Home in Pots, Containers, Indoors, and Tips
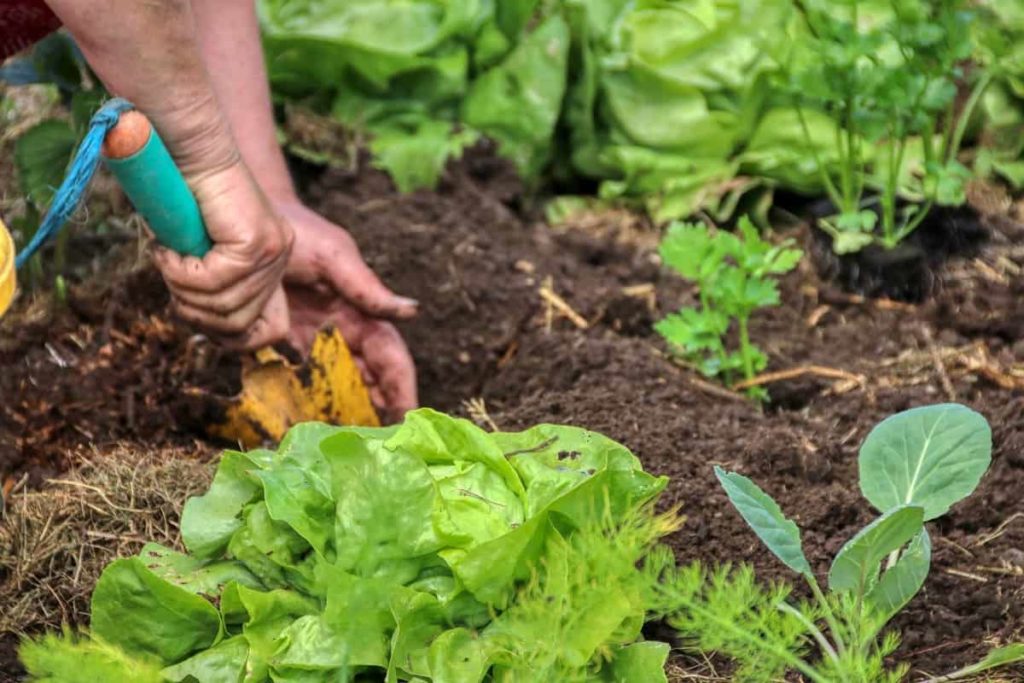
Vegetable gardening thrives on soil with a pH range of 6.2 to 6.8. Below neutral, this is moderately acidic (sour). Due to changes in the availability of nutrients, crop growth can be stunted by extremes in soil pH. Soil tests provide an approximation of the soil’s nutrient content. You can get soil testing kits for your house. To test your soil, you can visit the local Cooperative Extension office with a soil sample. When Ext has finished its investigation, it will give you a note detailing its findings and offering recommendations.
If you want accurate findings from your soil sample, be sure to take it as advised. Correct fundamental nutrient deficits and elevate pH by amending the soil with the appropriate fertilizers and lime. Dig up the sod and pitch it into the compost pile to make way for a new garden bed. A plow, spade, or rotary tiller can be used to prepare the soil for planting. Soil moisture levels must be just right before any work can begin. A fast and simple method of checking is to squeeze a handful of soil. It is too wet if you try to flatten it and it breaks.
If it crumbles readily, the consistency is good. Overly dry soil can be powdery and clumpy, making it difficult to work. If digging with a shovel causes the soil to stick, or if turning the soil with a spade leaves a smooth, shiny surface, the soil is still too wet. As a result of the compaction it causes, plowing on damp soil is particularly harmful. Soils with suitable humus levels generally give greater wriggle space due to their increased structural features.
Before planting, rake the planting area to level any low places and break up any clumps of soil. Fine-textured soil is perfect for sprouting the tiniest seeds, such as those used in vegetable gardening. To avoid damaging the soil, a seedbed should be prepared carefully. As a result, crusting and erosion are more likely to occur, in addition to the structural damage they cause. Traditionally, gardens were turned once a year using a moldboard plow, mostly for weed and bug control.
Although it is still often used, garden plowing has been shown to have unintended consequences, such as soil compaction, the disturbance of microbial balances, and the burial of layers of coarse organic material that insects and microorganisms would normally digest. When working with sandy or loamy soils, chisel plowing is preferable since it causes less compaction, although few gardeners own chisels. Also, it’s tough for city and suburb dwellers to find a person willing to plow and disc the garden at a reasonable price (or at all).
For most home gardens, roto-tilling is sufficient so long as plant debris is not allowed to collect to an intolerable degree. Instead of turning the soil over, which is usually intended, rotary tilling mixes the top layers. However, rototilling can be harmful because the soil is compacted beyond reach. Using a moldboard plow at about the same depth year after year has the same effect. To minimize or reduce the severity of this problem, utilize deep-rooted cover crops or double-dig.
A raised bed garden can be created and maintained even in a little yard with minimal mechanical assistance. As perennial as the topic of whether or not to plow or till is, it remains a key for gardeners. There are several advantages to doing soil work in the fall instead of the more typical springtime plowing. It’s possible to get an early start on spring planting if the soil has previously been prepped. When the weather is cooler and you have more time, autumn is the greatest time to turn beneath much organic material.
Insects, disease organisms, and perennial weeds may be reduced in number by burial or exposure to harsh winter cold. The aggregation of particles in heavy clay soils can be improved by repeated freezing and thawing. In addition, snow gathers in the valleys made by the coarsely plowed soil, resulting in greater water conservation than on flat terrain. The optimal time to add rock fertilizers like limestone into the soil is in the fall for use in the spring.
The soil is in danger of erosion during the spring rains if it has been exposed all winter from autumn plowing. As a result, sloped or hilly garden plots are not good candidates for this strategy. When a winter cover crop is grown to improve soil and prevent erosion, the field must be tilled in the fall to prepare it for seed and manured in the spring. Spring plowing benefits sandy and shallow-tilled soils. You can prepare your garden for planting in the spring by disking or rotating the tilling.
Water your backyard garden
Having access to water might be crucial to a garden’s success. When deciding whether to invest in garden irrigation tools, it’s essential to consider the garden’s existing plumbing, water supply, climate, and watering routines. An outside faucet may not be necessary unless you are in a very arid region or rely heavily on your garden’s produce. In locations where rain is plentiful, watering can be done as rarely as once or twice a summer with nothing more than a rain barrel or a garden hose equipped with a fan-type sprinkler.
Having a protective barrier against water intrusion is excellent for seedlings. However, access to potable water may be limited in areas hit by protracted drought. In certain cases, overhead sprinklers aren’t the best choice, and a drip watering system can be more efficient. Drip watering is a good choice for watering plants since it soaks the soil and the roots but spares the leaves, making them less susceptible to fungal infections.
Timers can be used to automate the watering of drip and other systems. Some gardeners can find the added expense and effort involved in setting up and maintaining such a system a nuisance. Find out whether you can meet most of your supplementary water needs through cultural practices like mulching, close plant spacing, shading, or planting in a wide bed. Then, you can go out and acquire the necessary watering supplies.
Fertilize your backyard home garden
The amount of fertilizer needed in a garden changes based on several variables, including the crop grown, the soil’s organic matter content, the type of fertilizer used, and the soil’s natural fertility. Soil testing is the best technique to assess fertilizer needs. An expert can do soil testing, or you can use a do-it-yourself kit available at garden retailers and online. Vegetables can be categorized as “heavy feeders,” “medium feeders,” or “light feeders,”. It might be advantageous to divide the garden beds into zones depending on the fertilizer demands of the plants you want to produce.
In case you missed it: New York Backyard Gardening: How to Start with Vegetables, Flowers, Herbs, and Fruits at Home
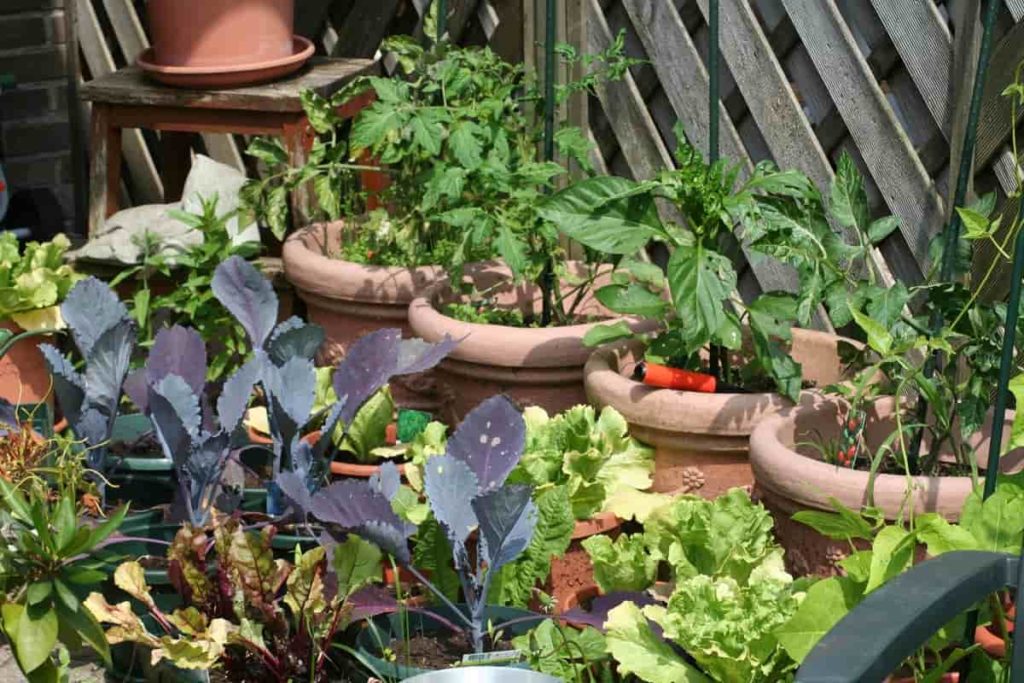
Mulch can be used in place of weeding if it is readily available. A substantial layer of organic mulch will be able to prevent the majority of annual weeds from emerging, and the few that do appear will be simple to pull out of the ground. Weeds that spread using runners are notoriously tough to eradicate; thus, it can be preferable to use black plastic to contain them in certain cases. Sawdust-coated newspapers, old carpets, or other similar items can be used to reduce weeds along sidewalks efficiently.
How do I start a container home garden in NY?
Choosing the containers
Vegetables grown in containers are a fun and easy way to increase food production in a limited space. Growing plants in containers allow you to grow practically any place. Containerized plants are versatile since they can be grown inside in bright light or outside on a balcony, patio, or even in a doorway. This can be done wherever the plants have sufficient water and at least six to eight hours of direct sunlight daily. There is a wide variety of feasible container alternatives for vegetable production. Be sure to install proper drainage.
Avoid using plastic or treated wood buckets that could have previously held chemicals or other potentially dangerous substances. Plants can be kept in a wide variety of containers, including plastic or fiber nursery pots, wooden bushel baskets, plastic, metal, or wooden buckets, milk cartons, plastic bags, and recycled cardboard boxes. To ensure sufficient drainage, drill holes at regular intervals into the bottom walls of the container and then fill the base with coarse gravel in an amount that is no more than half an inch thick.
Choosing the ideal potting mix
It is essential to have light soil that can hold onto nutrients and water while also draining well. Garden soil is far too heavy to be utilized in containers. Peat moss, sand, perlite, or vermiculite mixed and then treated with lime and fertilizer are the most effective soil replacements. The ratio of peat moss to vermiculite in this combination is 1:1, and the ratio of dolomitic lime to 20% superphosphate to 5-10-5 fertilizer to peat moss is 1:0.5:1.
This mixture can be used alone or with finished compost or high-quality garden loam. To create a healthy alternative, mix equal parts of vermiculite, peat moss, and compost of the highest quality. Add 0.4 ounces of rock phosphate, 0.6 ounces of blood meal, and 0.4 ounces of greensand per gallon of potting mix. Due to their dryness, soilless composites can prove difficult to hydrate. The mix can absorb enough moisture if you soak it in water for a day.
Plant your container garden
Planting seeds or transplanting vegetables into a container requires careful consideration of the plant’s future growth and shape. If you want the outer leaves of your mature plants to touch those of your neighbors, you’ll need to thin out your seedlings or allow plenty of space between your transplants. Although it is possible to grow almost any vegetable in containers successfully, the best possibilities are the “miniature” or “bush” variants of that crop.
Choosing plant species that grow their crop gradually is vital to offer continuous harvests throughout a long season. This is because most container gardens are “kitchen gardens,” whose harvests are designed for eating fresh (rather than freezing or storing). Because of this, it is essential to choose plant species that are meant for eating fresh. A container plant should have a distance of 2 inches between its contents and the sides. New seedlings should be introduced every three to four weeks to provide a consistent harvest of fast-reproducing plants like greens and herbs (such as cilantro and basil).
Care for your container home garden
Vegetables can only grow with at least six hours of everyday sunlight. Some vegetables and herbs, such as Swiss chard, lettuce, spinach, and cabbage, can thrive with far less sunlight than others, such as citrus trees. Regular watering is needed since container soil dries quickly. When the top 1/4 inch of soil dries up, give it a good soaking. Regular watering helps keep the soil cool and removes salts from the soil, reducing the risk of damage to the roots.
Up to fifty percent compost can be added to the potting mix before planting to enrich the soil with nutrients and give the plants a head start. After three to four weeks of growth, the plants should receive a weekly dose of diluted liquid or water-soluble fertilizer. Slow-release fertilizers can be provided at any time throughout the crop’s growth, whether as part of the potting mix or as a separate application. However, if given at the recommended rate, they need just a single application.
Rapidly maturing or producing crops are prone to becoming lopsided. As such, staking is necessary to protect the stalks from damage. Invest in some trellises or other supports for your vining plants. Many tender vegetables can have their harvest seasons extended by several weeks when grown in pots and protected from frost by either moving the plants inside or covering them with a blanket. Some plants can even be grown indoors in winter if they get enough light.
In case you missed it: New York Container Gardening: Guide for Vegetables, Herbs, Flowers, and Fruits at Home
How do I start an indoor garden in NY?
The ideal temperature range for your indoor garden is 75 degrees Fahrenheit during the day and 65 degrees Fahrenheit at night. Stay far away from the air conditioning and heating vents, as well as the doors leading outdoors. Air from the ducting is used to both heat and dry the plants. The plants may suffer if cold air is released via draughty windows or doors. Avoid placing plants in hallways, lobbies, and other high-traffic areas of your home.
When placed in a high-traffic location, the planter and its contents risk being run over by cars, and the garden itself is an eyesore. It is possible to situate an indoor garden anyplace and yet have enough light for the plants and the room. This additional illumination has the potential to be useful. Some people can’t stand the sight of even a thousand-foot candle inside and find that even a single candle’s brightness causes discomfort. As a result of the plants concealing the lights, there is less glare.
Some of the light can be blocked from specific directions. However, this can be done with shields and careful lighting design. If you have a plant that is too tall for its container, you can use an inverted clay pot to give it some support. The area around the upturned containers should be filled with coarse gravel to three to four inches. Place the plant containers in the middle of the box and fill the rest with unmilled sphagnum moss, pea-sized gravel, or marble chips.
You can just pour the sphagnum, pea gravel, or marble over the top of the plants in tiny containers. While the fluorescent lights in the garden won’t become as hot as an incandescent bulb, they still generate enough heat to harm any plants that go too close. Keep the plants at least 6 inches away from the lighting. After selecting a group of hardy houseplants, the remainder of the cultivation procedure is in your hands. Fertilizer, correct but infrequent watering and constant lighting are all essential for plant health.
Using a complete fertilizer is essential for a plant’s healthy growth. All nutrients, including nitrogen, potassium, phosphorus, and other trace elements, should be included. Certain gardeners favor liquid fertilizer because of its flexibility. Excellent fertilizer doesn’t need to be taken gradually by the plant. Applying fertilizer at a moderate rate regularly is preferable to applying a large quantity all at once. Be cautious not to overfertilize since this will result in weak, floppy development.
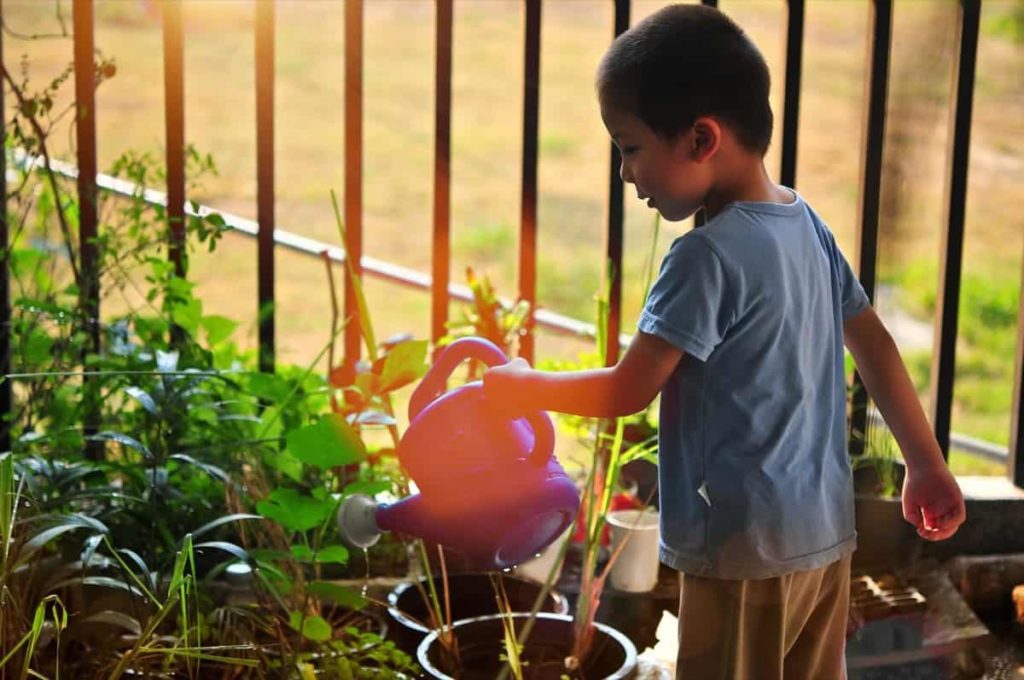
After ensuring the plant has enough light, a dry area to flourish, and fertilizer, you should know how frequently to water the soil, the container, and the roots. Knowing how much water the plant medium requires in cups or ounces is essential. Since the soil and the roots are essentially one solid mass with no visible pores, it’s best to saturate the whole thing rather than just a small section. No water should be allowed to pool. Put a label on it with the rate of consumption.
Follow this process if you’re curious about the plant’s water requirements. To do this, get a large funnel (ideally made of metal or plastic) and cut it in half (1 cup, 2 cups, 3 cups). Use the funnel to inject the soil with the appropriate amount of water. The funnel can stay up all night if you choose. Put in as much water as possible until it is wasted on the growth media. Gravity will hold water in the soil medium, but there is nowhere for it to go.
Keep track of how much stuff is placed in each container. Afterward, the system will calculate the precise amount of water needed automatically. Watering a houseplant’s garden is the most important component of caring for it. Dryness kills plants. Thus, plants need plenty of water. Extreme wetness leads to their demise by either drowning or rotting. Plants must be adequately watered, but only occasionally, to keep them from wilting. Once you’ve brought your plants inside, you should begin acclimating them to their new environment.
Watering the soil, your clay pot, and anything else in the area is a good idea. Don’t get the flowerpot too wet, however. Allow the whole garden to dry out to the point where the plants are almost dead. Early signs of leaf withering include a change in color from green to a greyish green and downward curling of the leaf. Give them another good soaking if you see any wilting in your plants. As houseplants become used to their new surroundings, the oldest leaves may begin to turn yellow.
In such a case, you should get rid of them. The remaining leaves should be washed in warm, soapy water, rinsed in clean water, and then staked. They’re now fully grown and may spend many more years flourishing in the greenhouse. The plants need consistent watering. Label each with a little plastic tag if you have a mixture of plants with varying watering requirements. Plants that want much water could be marked with green tags, those that prefer some water with yellow tags, and so on.
In case you missed it: How to Start Home Gardening in New Mexico (NM) for Beginners: From Scratch for Indoors, Outdoors, Backyards, Raised Beds, and Containers
It is recommended to water plants every 10 to 14 days in dry climates. They are characterized by strong, fibrous root systems and a tolerance for low light and arid conditions. The rate of leaf production can be slowed, the lifespan of older leaves preserved, and the plant’s overall size maintained by conditioning it to endure prolonged periods of decreased development. Watering your plant more frequently will cause rapid growth of new leaves but at the expense of losing one older leaf for each new one that appears.
If they aren’t watered as often, many leaves will fall off. Frequent watering is necessary for moisture-loving plants. Plants like this often have a weak root system that soon dies in dry soil. There is no difference in results between overwatering and underwatering regarding “wet” plants. A daily watering schedule is necessary for wet plants. For the medium to support growth, they must keep the moisture level constant.
A brief dehydration period may cause irreversible damage to a plant’s leaves and even its demise. Never leave plant saucers with water sitting out. Plants thrive under high humidity, created when water evaporates from moist moss on the planter’s surface. Do not use a syringe to enhance humidity levels for the plants artificially. It’s common for the increased humidity that follows syringing to dissipate within a few minutes. Also, the furniture in the room is at a higher risk of being ruined by water.
When watering, be careful not to splatter the planter, lights, or another décor. Fertilizing and watering plants simultaneously allows for more even distribution of nutrients throughout the growing medium. Fertilizing most plants only every third or fourth (every 2 to 4 weeks). Use the fertilizer that dissolves in water as instructed. Never apply fertilizer until new growth is visible. Water-soluble fertilizers can leave a white, crusty covering on the soil’s surface. The top several inches of soil and this deposit should be replaced with soil from elsewhere.
Conclusion
The practice of growing vegetables at home has gained popularity. The productivity of a backyard vegetable garden is susceptible to a wide range of variables. Still, laziness, not following instructions, and not learning new techniques and ways to grow vegetables are three of the most common reasons for failure.
- How to Grow Hibiscus from Flower
- Plantation Ideas for Home Decoration: A Beginners Guide
- Flower Garden Designs and Layouts for Beginners
- Planting and Spacing Techniques in Papaya: A Beginner’s Guide
- Growing Gold: Essential Techniques for Planting Pineapples
- How to Make Kalanchoe Plant Bushy: Home Remedies and Solutions
- 11 Reasons Why Your Gardenia is Not Blooming: Home Remedies and Solutions
- Eco Elegance: The Guide to Designing a Drought-Tolerant Landscape
- Gardening on a Slope: Strategies for Hillside Landscaping
- Nourish and Flourish: Top Organic Mulches for Thriving House Plants
- Everything You Want to Know about Indian Mogra Flower: Discover Uses and Growing
- Green Thumb Success: Expert Tips for Cultivating Greenhouse Pumpkins All Year Round
- Maximize Growth & Flavor: The Ultimate Guide to Companion Planting in Herb Gardens
- How to Control Rhododendron Problems Naturally: Home Remedies and Organic Ways to Fix Them
- Natural Magic: The Remarkable Benefits of Cinnamon for Plants
- Best Steps to Revive Dying Tulip with Natural and Organic Treatment
- 10 Reasons Why Your Angel Trumpet is Not Blooming: Remedies and Treatment
- How to Fix Periwinkle Leaf and Flower-Related Problems: Natural Remedies and Solutions
- How to Fix Zinnias Leaf and Flower Problems: Discover Natural and Home Remedies
- Organic Steps to Induce Lemon Tree Flowers: A Comprehensive Guide
- Bloom Booster: Crafting the Perfect Homemade Bougainvillea Fertilizer
- Optimizing Growth: A Guide to Applying NPK Fertilizer for Potted Plants
- 10 Best Homemade Fertilizers for Rubber Plant: DIY Recipes and Application Method
- How to Boost Female Pumpkin Flowers: Effective Steps for More Flowers and High Yields
- Transform Your Indoor Garden: Top Benefits of Pink Salt for Houseplants
- 10 Best Homemade Fertilizers for Peacock Plants (Calathea): Easy DIY Guide
- Unlock Blooms: 9 Reasons Why Your Potted Chrysanthemum is Not Blooming
- 8 Reasons Why Your Potted Hibiscus is Not Blooming: Fix it with Simple Solutions
- Unlock Blooms: 9 Key Reasons Your Potted Frangipani Won’t Flower
- 10 Reasons Why Is My Ice Plant Not Blooming: Remedies and Treatment
- 10 Reasons Why My Potted Hydrangea Not Blooming: Treatment and Remedies
- 10 Reasons Why is My Wisteria Not Blooming: Remedies and Treatment
- 10 Reasons Why is My Goldfish Plant Not Blooming: Remedies and Treatment
- Maximize Your Space: Ultimate Guide to Balcony Gardening with Grow Bags
- 10 Reasons Why Your Iris is Not Blooming: Remedies and Treatment
- 10 Reasons Why Your Anthurium Plant is Not Blooming: Treatment and Remedies