If you take the necessary precautions, much of New Hampshire is an ideal location for cultivating a bountiful harvest of vegetables in your backyard garden. Many people who garden at home do it because they love working with their hands or want to save money on grocery bills.
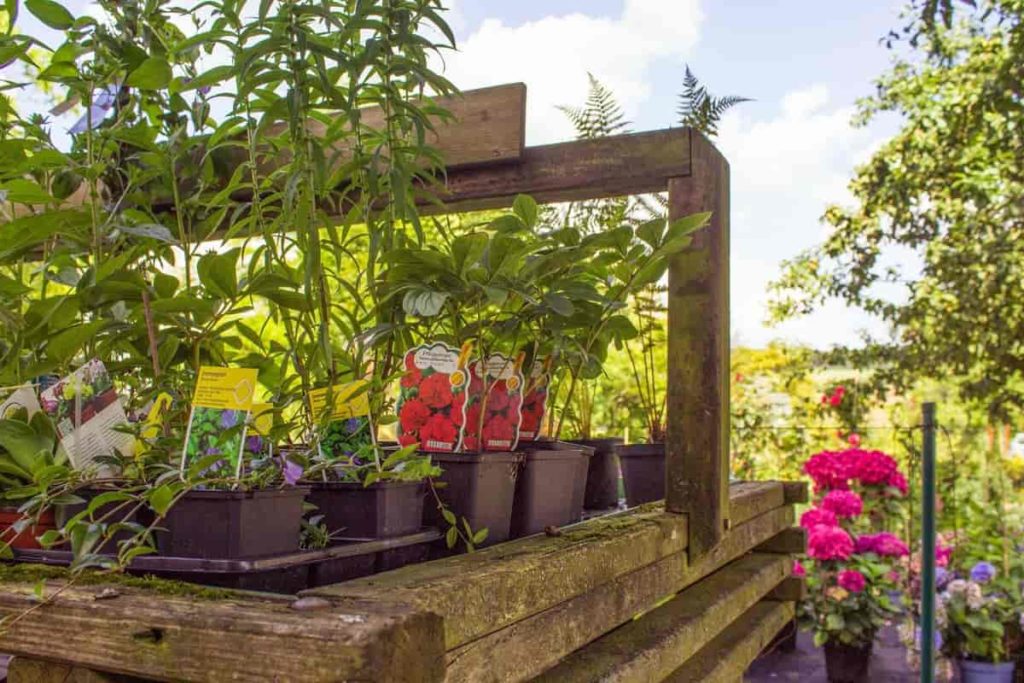
Below we learn home gardening in New Hampshire, different home gardens for Nh, how to set up a backyard home garden in NH, how to set up an indoor home garden in NH, how to set up a container home garden in NH, about the planting zones of New Hampshire, and different vegetables and fruits for NH home gardens.
When should I plant my garden in New Hampshire?
You should consider the final frost date in central New Hampshire to be Memorial Day. Mark the current date on a calendar, then count backward from that point to determine how many weeks have passed since the seed was planted. On this day, you will begin the process of sowing your seeds. Tomatoes, for instance, need to be sown six to eight weeks before they can be transplanted.
How to start home gardening in New Hampshire (NH) for beginners
What zone is NH for gardening?
Large seasonal and daily temperature swings characterize New Hampshire’s humid continental climate. In most planting zones, precipitation is uniform and continuous throughout the year. As a result, the summers are short, cool, and humid, while the winters are lengthy, cold, and snowy. In contrast to the extreme cold and heavy snowfall seen in the interior and northern regions, the Southeastern region has warmer winters thanks to the Atlantic Ocean.
Winter temperatures average in the low 20s, and yearly snowfall can reach 100 inches. Summertime highs are generally in the middle 60s on an annual basis. The hardiness zone map of the United States is based partly on the average date of the first frost. Depending on the local climate and other circumstances, specific locations are classified as “growing zones” that are optimal for growing specific plants and flowers.
To start a garden in New Hampshire, you must know your planting zone. The climate zones of New Hampshire are 3b-6a. Anywhere in the zone where the plant will thrive or below is a good choice for planting. Doing so increases the likelihood of a plant surviving the winter. If you live in a colder climate, don’t plant anything that requires a more challenging growing zone since it will struggle to make it through the winter.
In case you missed it: How to Grow Peas from Seed to Harvest: Check How this Guide Helps Beginners
What plants can you grow in New Hampshire?
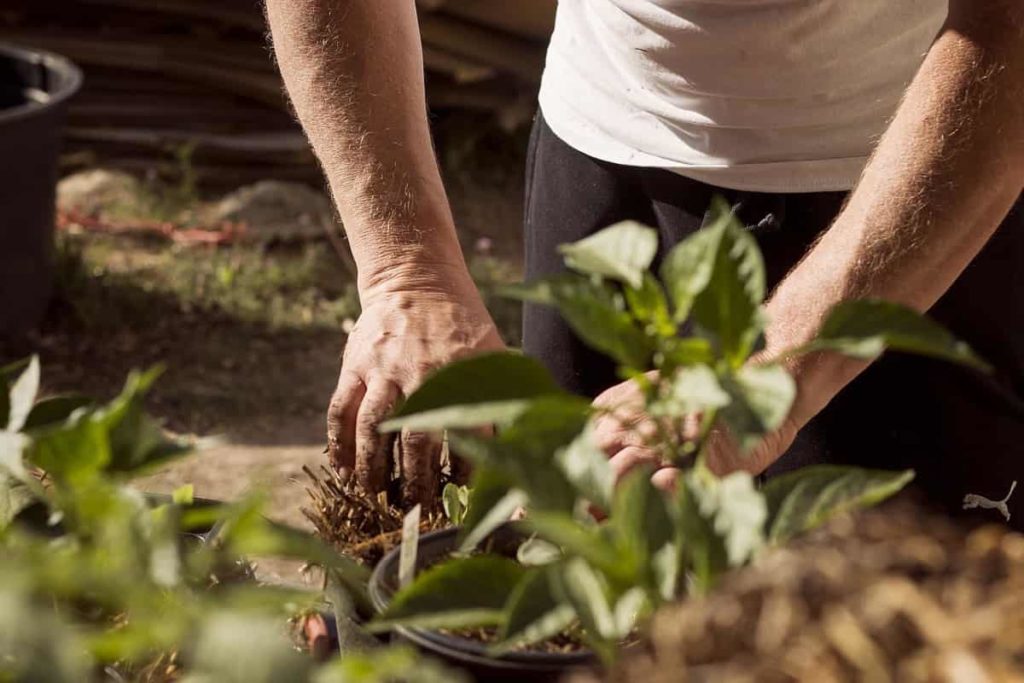
Many different types of plants and vegetables thrive in New Hampshire’s climate. There are many possibilities for planting a garden in New Hampshire, whether you’re interested in producing vegetables or flowers. The planting zones of New Hampshire are ideal for a wide variety of vegetables. Royal azaleas, hobblebush, rhododendrons, climbing hydrangeas, and star magnolias are just a few of the plants and flowers that flourish well in the region.
When can you start planting flowers in New Hampshire?
Planting annuals, perennials, or even a combination of annuals and perennials should be done in the spring, early summer, or late autumn for the greatest results. Plantings done in the fall should take place so late in the season that the seeds do not start to germinate until the following spring. It is also possible to seed perennials in the early autumn, providing sufficient time for the plants to mature before they enter their dormant phase for the winter.
What vegetables grow in New Hampshire?
In New Hampshire, you can successfully grow sweet corn, cucumbers, beans, greens, squash, lettuce, pumpkins, and bedding plants.
How do I start a backyard home garden in NH?
Choosing an ideal location
At least six hours of sun each day (eight to ten hours is preferable) and a flat, well-drained soil surface are required for successful vegetable cultivation. Don’t put the garden at the bottom of a slope surrounded by a wall or fence. Since cold air naturally sinks, these locations take longer to warm up in the spring and often experience the effects of frost. Avoid planting in exposed areas; if you absolutely must, construct or establish a windbreak. Choose a spot near a water supply.
Pick a location close to your house so you can easily tend to your garden whenever you have a spare moment. You shouldn’t plant near trees and bushes to avoid competition for water and nutrients and heavy shadowing. Too near to a building may block light from reaching plants. Keep an eye on how the sun will cast shadows on your garden during the growing season. Planting crops that can handle the shade will allow you to use a shady region you want to utilize.
Never plant the same vegetable in the same area for more than three years. By rotating crops regularly, pests and diseases can be avoided. Rotate your crops according to ancient blueprints. Do not put the garden where lead-painted houses formerly stood since the soil; may contain dangerous levels of lead. If unsure about your area, try getting some soil samples analyzed for lead content or some tissue tests done on greens.
Test your soil
The perfect soil for a vegetable garden is deep, loose, well-drained, and rich in organic matter. Garden vegetables need a well-prepared soil environment to germinate and thrive. Soil supplements enrich the soil in a garden, giving plants the most excellent possible start. Perform a soil analysis every three years to check the soil’s fertility and pH. Test your soil’s pH to determine its acidity or alkalinity. Soil pH between 6.1 and 6.8 is ideal for growing a wide variety of vegetables in the garden. This is mildly acidic or below neutral (sour).
Crop development suffers if soil pH is too high or too low since this affects the nutrients available to the plants. The nutrient content of the soil can be roughly estimated with the use of a soil test. There are home soil testing kits you can buy. You can also take soil samples to an Extension office near you for analysis. Ext will send you a message with the findings and suggestions for fixing the issues. Take the soil sample exactly as directed for the best results.
Add necessary fertilizers and lime to the soil to correct basic nutrient deficiencies and raise the pH. To prepare a fresh garden area for planting, dig up the sod with a shovel and toss it in a compost pile. To till the soil, you can use a plow, spade, or rotary tiller. It’s essential to wait for optimal soil moisture conditions before beginning any work. Squeezing a handful of soil is a quick and easy way to check. If it cannot be flattened out, it is excessively damp.
Crumbling easily indicates a satisfactory consistency. Soil that has dried out too much can be powdery and clumpy, making it difficult to dig into. Soil is still too damp if it clings to a shovel or if, after being spaded, the turned surface remains smooth and shining. Plowing in wet soil is extremely destructive because it creates a layer of compaction that stunts root development. Because of their enhanced structural characteristics, soils with sufficient humus levels often provide more excellent wiggle room.
Prepare the planting bed by raking out any low spots and breaking up any clumps of soil just before you plant. Soil with a fine texture is ideal for germinating tiny seeds like those used in growing vegetables. However, when preparing a seedbed, care must be taken not to crush the soil. In addition to causing structural damage, this also increases the risk of crusting and erosion.
Tilling the soil
Turning gardens once a year with a moldboard plow was previously standard practice, largely for weed and insect management. Still widely used, garden plowing has been discovered to have adverse effects such as soil compaction, disruption of microbial balances, and burying layers of coarse organic debris that insects and microbes would otherwise decompose. Chisel plowing, which is less disruptive, can be used on sandy or loamy soils, although many gardeners don’t have them.
Moreover, it is difficult for gardeners in urban and suburban regions to locate a farmer who would come to plow and disc the garden for an affordable fee (or at all). As long as plant waste is not allowed to accumulate to an unacceptable level, roto-tilling is adequate for most home gardens. Rotary tilling combines the top soil layers rather than turning them over, which is usually desired.
Roto-tilling can be destructive because it can compress the soil beyond where the tines can reach. This also happens when using a moldboard plow at around the same depth each year. To avoid or lessen the severity of this issue, it is highly recommended to use deep-rooted cover crops or double-digging. If you have a small enough space, you can create a garden with raised beds and tend to it by hand.
For gardeners, the question of when to plow or till is perennial. Fall soil work offers several benefits over the more commonplace spring plowing. Planting in the spring may begin sooner since the soil has already been prepared for planting. If you plan on turning under much organic stuff, it’s best to do it in the fall when temps are higher and you have more time on your hands.
Burial or exposure to severe winter cold can kill or inactivate insects, disease organisms, and perennial weeds, reducing their populations. Alternating freezing and thawing may enhance heavy clay soils by breaking up aggregated particles. In addition, more water is preserved than on level land because snow accumulates in the valleys created by the coarsely plowed soil.
In case you missed it: How to Start Home Gardening in Nebraska (NE) for Beginners: From Scratch for Indoors, Outdoors, Backyards, Raised Beds, and Containers
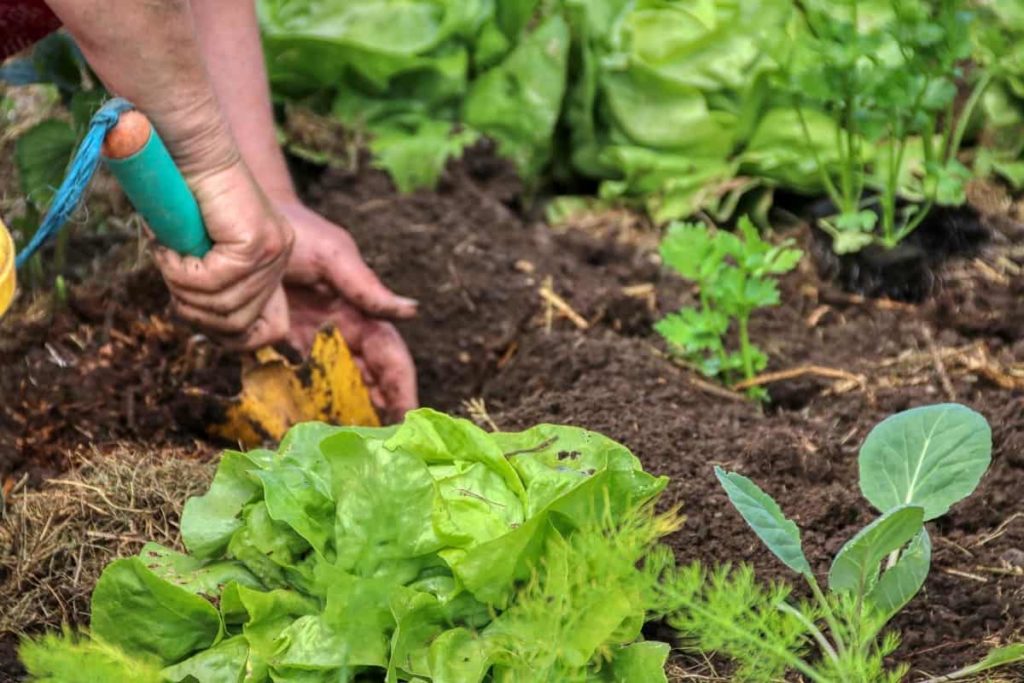
Limestone and other rock fertilizers are best worked into the autumn soil to affect spring plant development. Soil left exposed all winter by fall plowing is at risk of erosion during spring rains. Therefore this method is not suggested for hillside or steep garden plots.
If a winter cover crop is produced to enhance soil and prevent erosion, the land must be tilled in the autumn to prepare it for seed and turn under the manure in the spring. Sandy soils and soils where shallow tilling is the norm benefit most from plowing in the spring. Disking or rotational tilling the soil in a garden in the spring prepares it for planting.
Water your backyard garden
The success of a garden may depend critically on the availability of water. The infrastructure, water supply, climate, and watering habits of a garden all factor into the decision to buy irrigation equipment. Unless you live in a dry area or depend on your garden’s yield, an outside spigot may not be worth it. A rain bucket or a garden hose fitted with a fan-type sprinkler should be all that is needed for watering in areas where rainfall is sufficient, except a few times in the summer.
The addition of a water barrier for young plants is appreciated. However, the local water supply is likely low in regions with long dry spells. A drip irrigation system can be more appropriate than water-wasting overhead sprinklers. Drip irrigation is an effective method of watering plants since it reaches the roots but not the foliage, reducing the risk of disease. Drip and other systems can be set to water automatically using available timers.
However, this kind of system may be rather expensive, and the requirements for its installation and upkeep can lead some gardeners to find it annoying. Determine whether or not cultural methods such as mulching, tight plant spacing, shade, or planting in a broad bed may fulfill most of your additional water requirements. After that, you should go out and get the appropriate watering equipment.
Fertilizer your backyard garden
A garden’s fertilizer needs vary according to factors such as the crop produced, the quantity of organic matter in the soil, the kind of fertilizer used, and the soil’s inherent fertility. Soil testing is the most reliable method for establishing how much fertilizer should be applied. You can get the soil tested by a professional or use a home kit you can find at garden centers and online. Based on their fertilizer needs, vegetables can be classified as either “heavy feeders,” “medium feeders,” or “light feeders.”
It might be helpful to organize the garden beds into zones based on the fertilizer needs of the plants you want to grow. If you have access to a consistent supply of mulching materials, you can use that instead of weeding. Most annual weeds will be kept at bay by a thick layer of organic mulch, and the few that manage to emerge can be readily picked out of the soil. Black plastic can be preferable in areas where weeds with runners are common because they are challenging to eradicate. Weeds can be effectively suppressed along walkways using newspapers, old carpets, or similar materials coated with sawdust.
How do I start a container home garden in NH?
Choosing the ideal containers
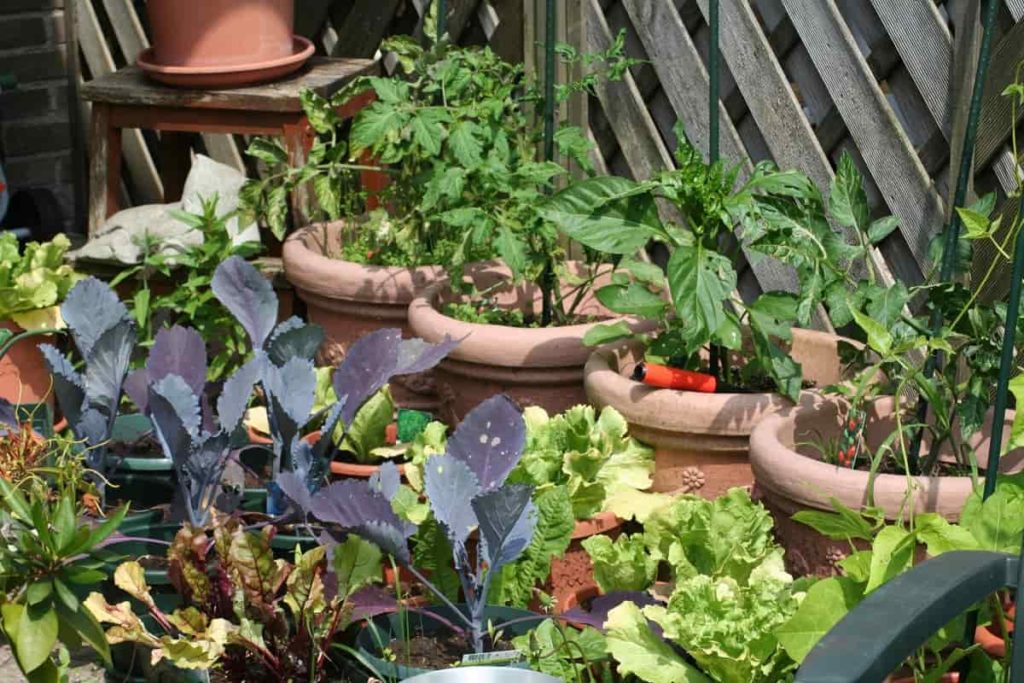
Growing veggies in pots is a fun and simple method to produce fresh food in a smaller area. Container gardening can be done almost anywhere. Plants housed in containers can be maintained either inside in strong light or outside on a patio, balcony, or doorway. This can be done wherever the plants get at least 6-8 hours of direct sunshine and enough water. Producing vegetables can be done in a broad range of containers, all of which are viable options. Be careful to provide appropriate drainage.
Steer clear of containers that might hold hazardous materials, such as buckets made of plastic or treated wood that may have previously contained chemicals. Nursery pots made of plastic or fiber, bushel baskets made of wood, buckets made of plastic, metal, or wood, milk cartons, and even plastic bags and recycled cardboard boxes are all acceptable containers. To ensure adequate drainage, drill holes in the container’s lower walls at regular intervals and fill the base with coarse gravel no more than half an inch thick.
Choosing an ideal potting mix
Light soil retaining nutrients and moisture while draining efficiently is vital for achieving desirable outcomes. The soil from the garden is far too dense to be used in pots. The best results can be achieved using soil replacements made up of combinations of peat moss and sand, perlite, or vermiculite, and then treated with lime and fertilizer. One mixture that works well calls for one bushel each of peat moss and vermiculite, one and a half cups of dolomitic lime, one-half cups of 20% superphosphate, and one cup of 5-10-5 fertilizer.
A combination such as the one described above may be used on its own, or it can be combined one-to-one with finished compost or a high-quality garden loam. An organic alternative may be made by combining vermiculite, peat moss, and high-quality compost in equal proportions. Additionally, each gallon of potting mix should add 0.6 ounces of blood meal, 0.4 ounces of rock phosphate, and 0.4 ounces of greensand. Adding water to soilless mixtures might be challenging because of how dry they are. Soaking the mix in water for a day ensures it absorbs enough moisture.
Start planting your container garden
When planting seeds or transferring veggies into a container, it is essential to keep the plant’s eventual size and form. Reduce the size of seedlings or provide sufficient space between transplants to ensure that the mature plants’ outer leaves will come into close contact with their neighbors. While practically any vegetable can be effectively grown in containers, the “miniature” or “bush” versions of that crop are the greatest candidates for container gardening.
Because most container gardens are “kitchen gardens” whose harvests are meant for eating fresh (rather than freezing or preserving), it is important to pick plant species that develop their crop gradually to give continual harvests over the course of a long season. When “cut and come again,” crops like mesclun salad mixes, spinach, Swiss chard, and arugula are grown in large containers that resemble boxes and are supplied with adequate amounts of fertilizer and water
Almost any variety of these crops can be cut multiple times within a short period, resulting in an abundance of salads and cooking greens over an extended period. Plants should be spaced 2 inches apart in a container, and leaves should be harvested when edible. Make fresh plants every three to four weeks to provide a steady supply of quick-growing crops like several herbs (such as cilantro and basil) and greens (such as lettuce, arugula, and others).
Care for your container gardens
Most vegetables require six hours of daily sun. Herbs, Swiss chard, lettuce, spinach, and cabbage require less light than fruiting crops. Consistent watering is essential as the soil in containers has a propensity to dry up rapidly. Water it well when the soil dries to a depth of 1/4 inch. Frequent watering helps minimize root harm by washing salts out of the soil mix while keeping the soil cool.
Before planting, providing plants with some nutrients and getting them off to a good start can be accomplished by adding up to fifty percent compost to the potting mix. A weekly application of diluted liquid or water-soluble fertilizer (such as 1 ounce of 20-20-20 per 4 gallons of water or 1-2 teaspoons of fish emulsion per gallon of water) should be made after the plants have been growing for three to four weeks. It is possible to combine slow-release fertilizers into the potting mix or apply them while the crop grows.
However, if the slow-release fertilizer is administered at the suggested rate, it only has to be applied once. Crops that yield fruit quickly or develop at a high rate tend to become top-heavy. Therefore, they should be staked to avoid harm to the stems. Vining plants will need support, so be sure to purchase supports or trellises. When there is a risk of frost, those who grow their vegetables in containers can prolong the harvest season for many fragile vegetables by several weeks by either covering the plants or bringing them inside. If the plants have access to sufficient light, certain crops can even be grown inside through the winter.
In case you missed it: How to Start Home Gardening in Missouri (MO) for Beginners: From Scratch for Indoors, Outdoors, Backyards, and Containers
Can you grow an indoor garden in the winter?
Starting an indoor garden can harvest fresh produce even in winter. Get the youngsters involved in planting seeds, keeping the plants watered, bringing in plants from outdoors, or beginning seeds inside to be replanted in the spring. An indoor garden in the winter may not be able to replace your regular supermarket shopping, but it can certainly help. Keeping plants indoors throughout the winter is a great way to exercise your “green thumbs” and pass the time.
Winter isn’t the best time to harvest a cornfield’s worth of ears, but many plants can be kept alive and well indoors throughout the cold season. Indoor plant growth is possible all winter long with access to a south-facing window or artificial grow lights to supplement the sun’s rays. Full-spectrum fluorescent lights are ideal because of their low cost and availability. These items are not enough; you will also need a growth medium and containers or a hydroponics system.
How do I start an indoor garden in NH?
Put your indoor garden in a room where the daytime highs average 75 degrees Fahrenheit and the nighttime lows average 65. Steer clear of spots near the vents or fans for the heating or cooling systems or any outside doors. The plants are heated and dried by air from the ductwork. The plants might become chilly if draughty windows or doors let in cold air. It’s not smart to put plants in high-traffic areas of the house.
The garden and its plants are vulnerable to being harmed by passing vehicles, and the planter is frequently in the way in high-traffic areas. An indoor garden can be placed anywhere and provide ambient lighting to the surrounding area and the plants. There’s a chance that this further lighting might be helpful. Some individuals find that even one thousand-foot candle light inside irritates their eyes. Reducing glare from the lights by blocking them with plants. Shields and strategic placement of the lights can prevent blinding glare from certain directions.
Plants in big containers can be propped up using additional clay containers inverted at the planter’s base. Coarse gravel to a depth of 3 or 4 inches should be used to fill the space surrounding the overturned containers. Put the potted plants in the center of the box, and then fill the remainder with unmilled sphagnum moss, pea-size gravel, or marble chips. The sphagnum, pea gravel, or marble may be poured straight over the top of small potted plants.
The garden’s fluorescent lights don’t get quite as hot as an incandescent bulb, but they still produce enough heat to kill any plants that come into touch with them. Therefore, ensure a 6-inch space between the plants and the lights. Once you’ve chosen hardy houseplants, the rest of the growth process is up to you. First, the plants must be fertilized, watered properly but rarely, and lit appropriately and consistently.
For optimal plant development, a full fertilizer should be used. Nitrogen, potassium, phosphorus, and a combination of trace elements should all be included on the label. Some green thumbs prefer a liquid fertilizer because of how versatile it is. The components in high-quality fertilizer don’t have to be absorbed by the plant slowly over time. Growth can be maintained better with low fertilizer rates applied more often than with high amounts applied once. Overfertilization leads to floppy growth, so be careful.
You should know how often water the soil, pot, and roots can absorb after you’ve ensured the plant has adequate light, dry space to thrive, and fertilizer. Understanding how many cups or ounces of water the plant media needs is crucial. As the soil and the roots form a homogeneous mass with no obvious pores, it is better to add water until the gap is filled and everything is wet. Don’t let any water sit idle. Record the consumption rate on a label.
Apply this procedure if you want to know how much water the plant needs. Get a big funnel (preferably metal or plastic) and divide it into thirds (1 cup, 2 cups, 3 cups). Inject a precise quantity of water into the soil using the funnel. Just leave the funnel set up all night. Add water until it is impossible for any more water to penetrate the medium in which the plants are growing.
Gravity will retain water in the soil media, but there is no room for overflow. Take note of how much goes into each storage unit. After that point, the right quantity of water will be determined mechanically. The watering process is the most crucial part of maintaining a houseplant garden. Without sufficient moisture, plants will dry up and perish. When exposed to an abundance of moisture, they either drown or decay. To avoid withering, plants should be watered properly but infrequently.
Start acclimating your plants to their new indoor surroundings as soon as you bring them into the garden. Soak the earth, the clay pot, and anything else around it. However, avoid drowning the flower pot. Let the whole garden dry out until the plants are on the verge of withering. The leaf’s color shift from green to greyish green, and their downward curling are an early indicator of withering.
In case you missed it: How to Grow Oranges from Seed to Harvest: Check How this Guide Helps Beginners
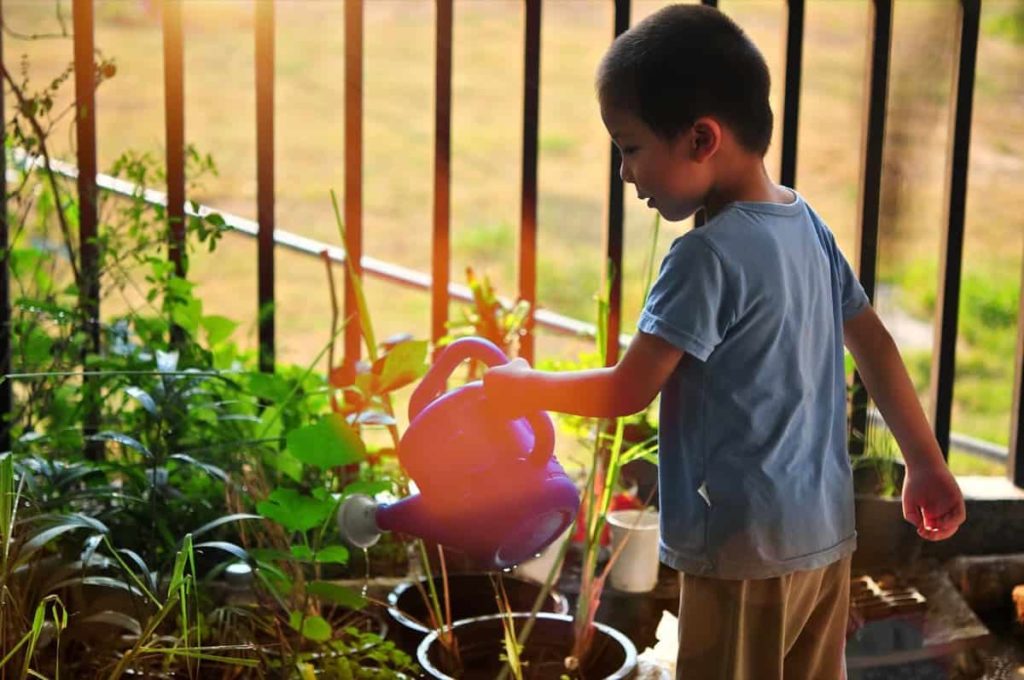
Water the plants again when you see signs of wilting. Some of the oldest leaves on indoor plants may turn yellow as they adjust to their new environment. If so, get rid of them. You should wash the remaining leaves in warm, soapy water, rinse them in clean water, and stake the plants. They’ve reached the maturity stage where they can live happily in the indoor garden for years.
Water the plants regularly. Put little plastic tags on each plant if you’re mixing species with different watering needs. Wet-loving plants might be labeled with green tags, moist-loving plants with yellow ones, and so on. Plants in arid areas need to be watered every 10 to 14 days. Plants in this category often have thick, fibrous roots and thrive in low light and dry circumstances.
They may be conditioned to survive extended periods of reduced growth, which slows the pace of leaf creation, keeps old leaves from dying, and allows the plant to maintain its size. If you water your plant more often, new leaves will emerge quickly, but one older leaf will fall off for everyone that grows. Many leaves will fall off if they are not watered as often. Plants that like being moist should be watered every 4-7 days. These plants often have a delicate root system that quickly withers in dry soil.
The outcomes for “wet” plants would be the same with either more or less watering. Wet plants need daily irrigation. They need to maintain a steady level of moisture in the growth medium. Drying out a plant for even a short time may cause irreparable harm to its leaves and possibly death. Avoid having plants sit in their saucers of water.
As water evaporates from damp moss on the planter’s surface, the surrounding air becomes more humid—the plants like the excessive humidity. Do not syringe the plants to increase the humidity level. Humidity increases after syringing, often only lasting a few minutes. The risk of water damage to the room’s furniture is also increased. Be careful not to splash the planter, lights, or any decor with water while watering.
It’s best to water and fertilize plants simultaneously to maximize nutrient absorption and spread over the growth medium. Most plants only need fertilizer every third or fourth (every 2 to 4 weeks). Apply water-soluble fertilizer as directed. Only fertilize when plant growth is apparent. Even when using water-soluble fertilizers, a white, crusty coating of fertilizer may form on the soil’s surface. The soil should be brought in to replace this deposit and the top few inches of soil.
Do indoor gardens attract bugs?
Houseplants are known to attract a diverse assortment of flying insects. When there is insufficient ventilation or a high humidity level, indoor gardens are more susceptible to being damaged or destroyed. The most common pests are fungus gnats, aphids, mealybugs, thrips, scales, spider mites, and whiteflies. Whiteflies are also a common pest.
Aphids do the most harm of any form of pest found in the United States. By keeping a close check on your plants, ensuring that they get adequate water, and ensuring that ideal development conditions are maintained, you can limit the risk of pest infestations and buy yourself more time to get rid of the pests before they do severe damage.
How do I start my raised garden bed first?
Select a site that complements your garden’s theme before you do anything else. Vegetable growth is difficult and requires much space, direct sunshine, proximity to water, and wind shelter. Though the level ground is ideal, any area of uneven soil can be brought to a satisfactory level. Wood is the most common and economical choice for building beds, while some choose stone retaining walls. If you worry about the safety of your food, you should only use untreated wood.
Cedar is the best material because of its natural resistance to deterioration. The lifespan of non-rot-resistant wood boards is just 5-10 years. When building on grass, it is unnecessary to remove the sod beforehand. Simply applying new soil will result in the death of the grass underneath due to suffocation and decay. To ensure no grass ever blocks the garden’s light, it’s advisable to soak newspaper or cardboard before placing the soil. Plants thrive in the improved soil of raised beds—mix compost with nutrient-rich soil to ensure that your plants have a good foundation from which to grow.
In case you missed it: How to Start Home Gardening in Mississippi (MS) for Beginners: From Scratch for Indoors, Outdoors, Backyards, and Containers
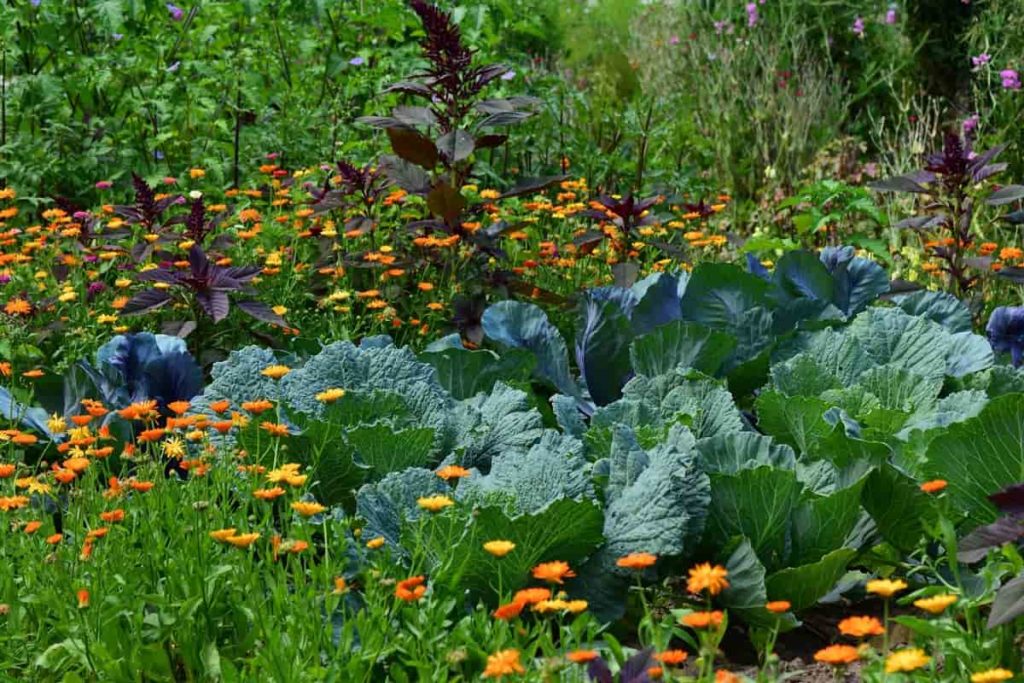
If you still have your dimensions, you can probably estimate how much soil you will need. You can figure out how many cubic feet of soil you’ll need by multiplying the measurements of your plot (length * breadth * depth). To construct a raised vegetable bed, you must invest time, fresh soil, and wood.
Conclusion
Home vegetable gardening has become more popular. Many factors affect a home vegetable garden’s performance. Still, three of the most prevalent causes of failure include laziness, failing to follow guidelines, and failure to learn new techniques and methods for producing vegetables.
- Best Liquid Fertilizer for Flowering Plants
- How to Set Up an Efficient Watering System for Home Garden
- How to Mulch Tulip Bulbs: Expert Tips Best Tulip Blooms
- Common Problems with Potted Figs and How to Solve Them
- How to Prevent Flower Drops in Pomegranate Trees: Effective Tips
- How to Boost Ridge Gourd Flowering and Yield: A Beginner’s Guide
- Effective Pollination Techniques for Maximizing Gourds Yield
- Composting Techniques for Manure in Home Gardens
- A Step-by-Step Guide on Propagation Techniques for Jasmine Plants
- How Do I Make My Garden Less Cluttered: A Beginners Guide
- Growing Red Currants at Home for Beginners
- Gardening Techniques in Planting Vegetables
- Where to Place Indoor Plants in Your Home
- How to Grow Tomatoes Organically at Home: A Comprehensive Guide
- Organic Gardening on a Budget: Low-Cost Methods and Materials
- Gongura Seed Germination and Planting Methods
- Cabbage Seed Germination and Selection
- Broccoli Seed Germination and Selection
- Asparagus Seed Germination and Variety Selection
- Seasonal Flower Gardening: Best Practices for Spring, Summer, Fall, and Winter
- How to Grow Hibiscus from Flower
- Plantation Ideas for Home Decoration: A Beginners Guide
- Flower Garden Designs and Layouts for Beginners
- Planting and Spacing Techniques in Papaya: A Beginner’s Guide
- Growing Gold: Essential Techniques for Planting Pineapples
- How to Make Kalanchoe Plant Bushy: Home Remedies and Solutions
- 11 Reasons Why Your Gardenia is Not Blooming: Home Remedies and Solutions
- Eco Elegance: The Guide to Designing a Drought-Tolerant Landscape
- Gardening on a Slope: Strategies for Hillside Landscaping
- Nourish and Flourish: Top Organic Mulches for Thriving House Plants
- Everything You Want to Know about Indian Mogra Flower: Discover Uses and Growing
- Green Thumb Success: Expert Tips for Cultivating Greenhouse Pumpkins All Year Round
- Maximize Growth & Flavor: The Ultimate Guide to Companion Planting in Herb Gardens
- How to Control Rhododendron Problems Naturally: Home Remedies and Organic Ways to Fix Them
- Natural Magic: The Remarkable Benefits of Cinnamon for Plants
- Best Steps to Revive Dying Tulip with Natural and Organic Treatment