While jogging or riding a bike around the block might be a fun way to burn calories and get some fresh air, establishing a garden can be just as rewarding for the body and mind. Tending to a garden can improve your fitness, enjoy the outdoors, and make your yard more attractive. Tell me, have you ever planted a garden before, or is this your first time doing so? Are you feeling completely overwhelmed? This article provides the necessary information on How to Start Home Gardening in Minnesota (MN) for Beginners.
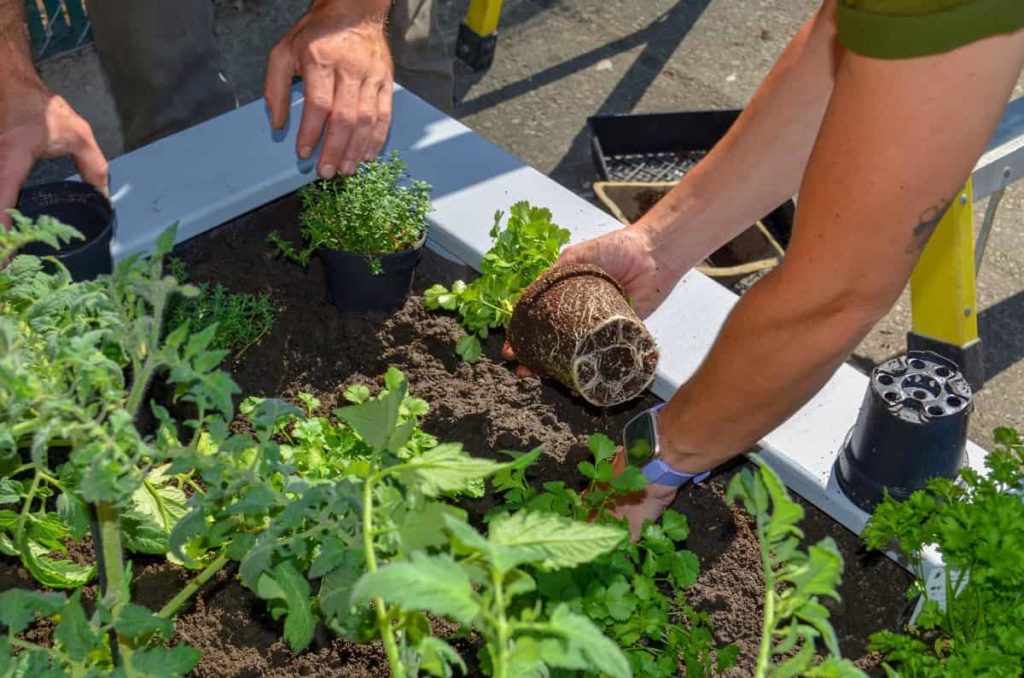
Below we learn home gardening in Minnesota, the different types of home gardens for Minnesota, how to set up a backyard home garden in Minnesota, how to set up an indoor home garden in Minnesota, how to set up a container home garden in Minnesota, about the planting zones of Minnesota, and the different fruits, vegetables, and herbs to grow in Minnesota home gardens.
How to start home gardening in Minnesota (MN) for beginners
When should I start a garden in Minnesota?
Most annuals and vegetables in Minnesota can be planted from seed inside between the first week of March and the middle of April. However, starting seeds indoors early to mid-March is ideal for brassicas (cauliflower, broccoli, and cabbage) and lettuce. (Onions and celery have an even earlier prep time need.) Unlike many other crops, brassicas do well in cold frames and hoop buildings, allowing them to be planted outdoors early. You can also start several popular annuals from seed in early March. This includes petunias, ageratum, coleus, and snapdragons.
Mid to late March is the time to plant annuals like marigolds, phlox, cleome, and hollyhocks, as well as warmer-weather crops like peppers and eggplants. Before the latest frost date, you must start them inside under lights for at least eight to ten weeks. Don’t bother sowing tomato seeds till April. Annuals can be started from seed in April, including nasturtiums, cosmos, zinnias, chrysanthemums, and zinnias. To extend their bloom time even more, you can plant some annuals outside after the final frost date.
What can I grow in my garden, MN?
Asparagus, Dill, Eggplant, Endive, Garlic, Ground cherries, Herb, Horseradish, Kale, Kohlrabi, Leeks, Lettuce, Basil, Beans, Broccoli, Brussels sprouts, Bok choy, Cabbage, Carrots, Radishes, Rhubarb, Rutabagas, summer Squash and winter squash, Cauliflower, Swiss chard, Chinese cabbage, Chives, Collards, Corn, sweet corn, Cucumbers, Onions, Parsley, Peas, Peppers, Popcorn, Potatoes, Pumpkins Radicchio, Scallions (green onions), Sorrel, Spinach, Tomatillos, Tomatoes, Turnips, and Zucchini can be grown in Minnesota.
Is Minnesota suitable for gardening?
Due to the state’s lengthy and severe winters, Minnesotan gardeners must often wait for the correct seasonal transition to establish their gardens. Local gardeners sometimes investigate the viability of certain veggies in chilly regions. Even though many vegetables struggle to thrive in Minnesota during the winter season, the state provides a wide range of opportunities for growing vegetables throughout the warmer months. Vegetable gardening in Minnesota is easy; you only need to learn the best techniques and choose the right crops.
Minnesota has a frigid environment that can be difficult for gardeners, yet there are many benefits to producing your fruits and veggies in Minnesota. The soil in this form has a high capacity to store water and organic matter, making it ideal for growing specific plants and providing some natural resistance to erosion. Plant any crops you choose; the soil in Minnesota will support a bountiful harvest.
What zone is Minnesota for planting?
The state’s planting zones reflect the state’s continental climate, which results in harsh winters and hot summers. Seasonal climate changes can be dramatic in Minnesota, situated in the upper midwestern region of the United States. This state has four distinct seasons, each with its charm. Throughout the winter, temperatures often hover around or drop below zero. The state often gets snow yearly and frequently gets rain, sleet, and even freezing rain.
In case you missed it: How to Grow Pomegranate from Seed to Harvest: Check How this Guide Helps Beginners
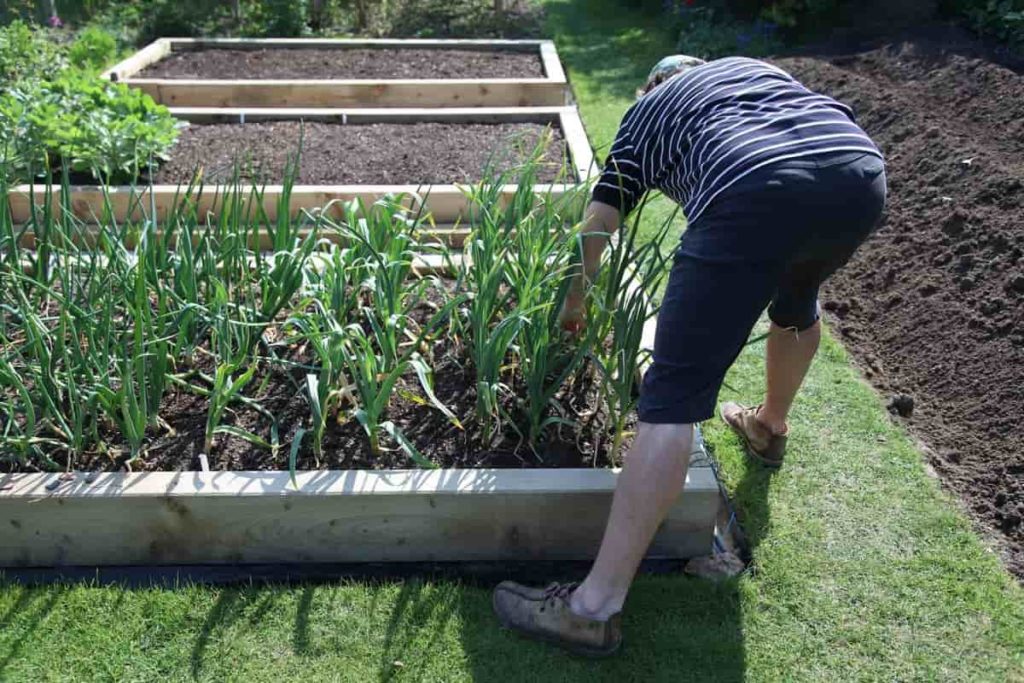
Even until the first days of spring, snowstorms are possible. However, by midseason, they often begin to weaken. Due to the warmer temperatures, tornadoes are more likely to develop between March and November. As the summer progresses, warm air from the Gulf of Mexico travels northward through the south, making it common for the temperature to stay high for a long time in this area. Minnesota is the third-oldest state and has an average winter temperature of 12 degrees.
The types of weather patterns that occur in the United States and the times of the first and last frosts are some factors considered when determining the kinds of plants and flowers most ideal for planting. Learning about the different planting zones in Minnesota can help you decide when and what to plant. On a Planting Zone Map, you may find the specific growing zone that applies to your area. In Minnesota, you may find growing zones from 3a to 5a.
It’s essential to know your time zone while traveling throughout Minnesota. You’ll have a better shot at figuring out when to plant when you want the best results. Growing something hardy in a lower hardiness zone is appropriate if you live in a warmer climate. Growing anything in Minnesota? Don’t bother with seeds meant for a warmer climate since they will perish in the brutal winters of the North Star State.
You can count on broccoli, spinach, cauliflower, potatoes, tomatoes, kale, lettuce, and squash flourishing in Minnesota. Plants hardy in USDA zones 3 and 4 are your best bet for ensuring they make it through the winter. Gorgeous blooms abound thanks to the favorable conditions in this area. Some plants that have a good chance of survival include hardy geraniums, allium, panicle hydrangeas, coneflowers, butterfly weeds, and lenten roses.
What do you do with garden beds in the winter?
These five steps will help you prepare your garden for the winter months and ensure that it will emerge from its slumber in good shape. Gather yard waste such as leaves and twigs for composting; throw away diseased plants. Dig out the spent plants from your flower and veggie gardens. Toss off any vines that seem sickly or have pests. If they are not disposed of correctly, the insects living in them will return the following spring to lay their eggs. Put in your compost pile any greenery that isn’t afflicted by a pest or disease.
When there is an excess of mulch, the soil won’t freeze and therefore die of any lingering bugs or diseases. Natural mulch, such as crushed leaves or a covering of clean straw, should be applied after it has frozen. Fall is also the prime season for filling your compost bin with brown materials like leaves and twigs. This is great for use as a natural mulch on your beds; its decomposition will enrich the soil underneath.
Cut down your annuals and collect your seeds. If your annuals are still healthy after the first severe cold, pull them from your garden beds and put them in your compost pile. If you don’t have very harsh winters where you are, you may be able to switch them out with hardier species. If you can, you should also start drying the harvested seeds. You can save them for sowing the next year to enhance your fresh crops.
Bulb garlic is best planted in the fall. If you give them enough fertilizer before winter, they will rest during the cold months and explode with growth in the spring. Eliminate the weeds. When temperatures are cooler, weeding your vegetable garden, flower beds, or grass is best done in the fall.
Weeds like dandelions, thistles, and sticker grass can be pulled by hand from the lawn, or they can be spot-sprayed with a herbicide. Compost and manure should be used as side-dressing. Before the ground freezes, now is the time to amend your garden beds with manure, compost, peat, or leaves. In the spring, you can easily use those nutrients as plant food.
How long is the growing season in Minnesota?
May to September is prime planting time in Minnesota. Gardeners in Minnesota can’t wait for the final day of guaranteed no-freeze temperatures in their regions each spring. Knowing when the first frost of autumn occurs is also crucial.
How do I start a backyard home garden in Minnesota?
Choosing an ideal location
First, choose a location in your backyard to plant your garden. Choosing a spot that receives adequate full light is crucial since most plants need prolonged periods of daily sun exposure. Between 10 a.m. and 4 p.m., the sun is directly above and at its brightest. The minimum daily solar exposure for vegetables is 8 hours. Some plants thrive under dimmer light. Plants require at least eight hours of sunlight every day to bear fruit. Root vegetables need at least six hours of daylight every day.
Most plants, particularly those with leafy greens, need at least four hours of sunshine each day to be alive and flourish. Look for a place that’s far away from any trees nearby. Avoid growing trees or huge bushes directly over garden plants unless you want them to suffer from too much shade. There will be less need to water and fertilize your garden because of the trees in the area. A reliable source of water is essential for plant life.
A hose must be placed to reach the closest outside water faucet. Therefore this is an important consideration. A smooth surface enhances the growth of plants. When water, whether from rain or irrigation, is put into the soil, it drains downhill because the soil slows the water’s speed. You should also use a fence or wall to protect your garden from windy conditions.
In case you missed it: How to Start Home Gardening in Michigan (MI) for Beginners: From Scratch for Indoors, Outdoors, Backyards, and Containers
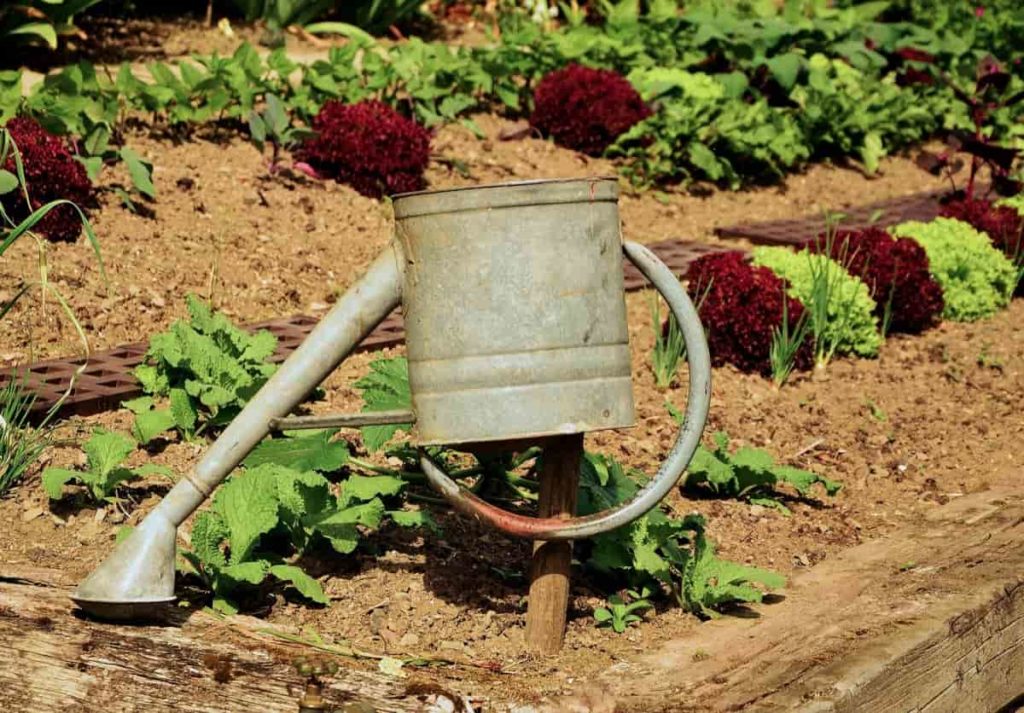
Prepare the soil in your backyard garden
There is a lot you can learn from a soil test. Before planting anything, you should always check the soil. Find out whether the pH is off if there are any nutrient deficiencies, and what percentages of clay, sand, silt, and organic matter are in your garden’s soil. Due to the presence of lead and arsenic, both deadly even in minute doses, soil testing is recommended. If soil toxicity is significant, it should not be used for plant cultivation. For this reason, a raised bed with a protective railing at the bottom is suggested.
Gardening requires the removal of any pre-existing vegetation. Even if you must pluck the weeds out by hand, you should still get rid of them. Sod cutters are gas-powered tools that can be rented for re-landscaping a lawn. In the meanwhile, manual tilling will accomplish the job of preparing the soil for planting. Since it might potentially kill off beneficial soil organisms like worms and beetles, it’s not the best tool for tilling the soil.
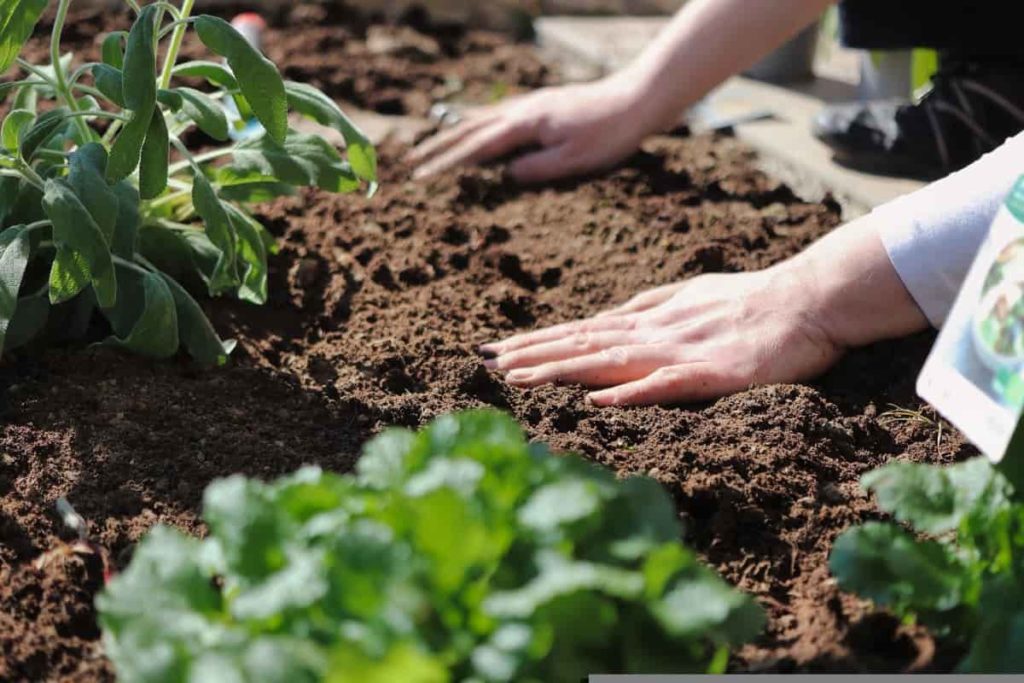
Garden beds and pathways can be planned out using your blueprint once the ground has been leveled. Avoid walking on your beds to avoid compacting the soil. To nurture plants that are in excellent health, the top inch of soil in each bed has to be turned over, and a sizeable quantity of compost should be applied.
Weeds and grass can be eradicated without damaging the soil’s structure when cardboard and compost are used to cover the ground. Plants need nitrogen, phosphorus, potassium, and even micronutrients, all of which can be added to the soil using compost. Water retention in the soil will also improve. Minnesota garden beds can be leveled with organic soil, purchased in bulk, or in bags from local plant shops.
Water your backyard home garden
Water your plant first thing in the morning, preferably around lunchtime, for optimal growth. This indicates that the leaves will not lose any water due to evaporation and will be able to dry out before dark, lowering the danger of infections. Fungal infections thrive at temperatures between 70 and 80 degrees Fahrenheit and can spread rapidly in warm, moist environments in as little as 2 to 4 hours. You need to water it often. If you want to water the soil until it is so moist that a shovel blade will not sink into it, wait until then.
Furthermore, this issue contributes to the wastage of water due to runoff. Bigger watering troughs provide more moisture for the plant’s roots to absorb. Drip watering systems are efficient because they wet the soil gradually and consistently, reducing the amount of water lost. When spraying a plant with sprinklers, water can be wasted if it runs off or evaporates in places that don’t need it. Drip watering systems provide a steady trickle of water directly to the soil, where the roots may drink up every drop.
Cartridge-style filters are advised for these plants since emitters or drip holes commonly get blocked with minute particles or salts in the water supply. Depending on soil density, the following depths are accessible with the same quantity of irrigation water: A depth of nine inches or more in loamy soil, twelve inches or more in the sand, and three inches or less in clay. Most plant roots only go down around 12 inches, while the roots of larger plants like tomatoes can go down as deep as 3 feet.
Soil composed of clay is so dense that even a small amount of water supplied once or twice a day for up to three days will be absorbed efficiently. If plants get too much water, they might perish. Using stepping stones and mulch or straw, design a path. Raised beds for plants should never be trodden on. Overhead watering once a week is recommended to maintain clean, healthy leaves.
Controlling pests and diseases
Think carefully about the consequences of spraying your veggies with pesticides. Several gardeners give up at the first indication of trouble, whereas others increase output to compensate for unavoidable losses. Pesticides may need to be used strategically if the problem persists. Try these preventative measures instead of relying on a “one spray kills all” approach. It is imperative that you carry out this procedure.
The options presented here are among the safest available if pesticides are necessary. Using these pesticides near humans and other animals is safe since they pose little threat to most species. Always check the product’s label to be sure it won’t negatively affect the plants or insects you’re trying to eradicate.
Aphids, whiteflies, and mites can all be eradicated with insecticidal soaps. The spray bottle format of the cleaners allows for quick and simple cleanups. Cover the afflicted area well, and you may need to use the insecticidal soap more than once for complete coverage. Several pests can be eradicated by using oils that have insecticidal characteristics.
Can container plants survive winter?
Gardeners in mild winter regions can reap the advantages of container gardening throughout the year without worrying about their plants freezing or breaking their pots. Compared to their garden-grown counterparts, plants grown in containers have a more challenging time surviving the winter. The roots of hardy plants are more vulnerable to freezing than the leaves, stems, and branches. There is no guarantee that container plants will survive the winter, even if you pick hardy species for your location.
In case you missed it: How to Start Home Gardening in Massachusetts (MA) for Beginners: From Scratch for Indoors, Outdoors, Backyards, and Containers
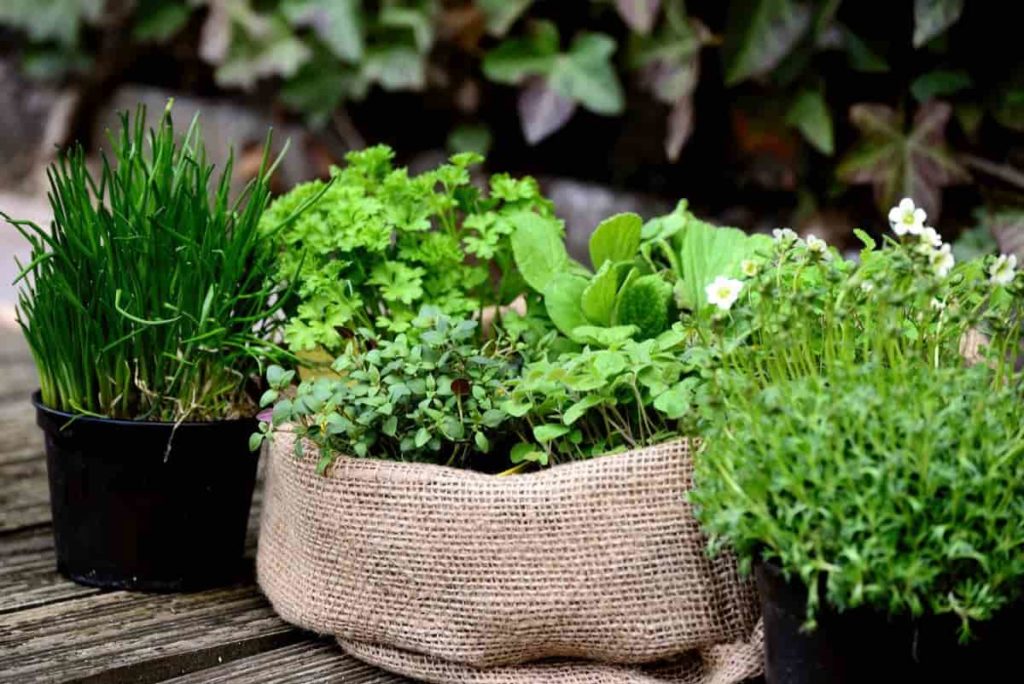
If you want to give your plant the best chance of life, several experts advise picking one that can handle temperatures two zones cooler than your own. Keep plants outside in large pots so that their roots can absorb as much soil heat as possible. When preparing a container garden for the winter, the first step is to clean and store any unused containers. If you’re storing clay or terra cotta containers, do it on their sides or upside down in a dry place.
Due to the permeable clays used in their construction, terra cotta pots should not be kept outside in cold weather for extended periods. Look for terra cotta containers made from frost-proof clay if you need to leave them outdoors all winter. Glazed containers are more frostproof than terra cotta vessels because they are fired at higher temperatures. Dormant plants can be left in their pots outdoors for the winter as long as the sides are secured with bubble wrap, burlap wrapped in plastic, or weatherproofing.
Cleaning and covering large, empty containers made of concrete, cement, or clay with lids or plastic sheeting are all needed to prevent water from collecting within, freezing, and damaging the containers. Two types of containers are safe to put outdoors throughout winter: fiberglass and plastic. The plastic might crack if the soil within the pot freezes and expands. Wooden storage containers persist for generations and look better with age.
Is it safe to plant vegetables in galvanized containers?
To put it briefly, they can be used in gardens without worries. The zinc coating on galvanized steel can only be dissolved in an acidic environment, and most garden soils are neutral. Moreover, zinc is a naturally occurring component of soil that serves as a vital mineral for plant growth.
A little while from now, we’ll go into further depth on all of this! The first item we decided to sell on our online shop was metal raised beds since we are so fond of them. These galvanized garden beds come in a broad range of styles and sizes, and we’re certain you’ll find one that suits your needs.
How do you start a container home garden in Minnesota?
Choosing the ideal containers
Growing pot plants is labor-intensive since you need as many plants as a flower garden to fill one. It’s also unusual for plants of different sizes, shapes, and nutritional requirements to grow side by side. The results can be impressive. Containers let you control the atmosphere of your garden. Gardens can be distinguished from one another by using suitable containers and planting the proper plants in the appropriate setting.
Make an informed decision when selecting containers since they will significantly affect your plants’ growth. You can use any container to hold the soil as long as you meet two conditions. First and foremost, it has to be a healthy environment, with enough room for roots to grow and good drainage. The second, perhaps more important, need is for the plant within it to be improved in terms of its visual appeal.
Choose a container that will look well in its ultimate resting place and goes well with the plant’s overall shape, foliage, and flowers. Consider more than just how the containers look and how much soil they can hold when making your selection. Drainage and porosity are two more crucial factors. Working with soil in permeable pots requires constant watering (sometimes daily). The opposite is true for nonporous containers.
Don’t overwater since the soil naturally tends to hold onto the water; instead, provide adequate drainage. Failure to provide adequate drainage is a leading cause of death for plants grown in containers. This won’t be a problem if you use a container with potting soil that drains well. This necessitates the use of a vessel with a perforated base. A drain is necessary for the intended use of a container without drains.
Choosing an ideal potting soil
Growing pot plants are labor-intensive since you need as many plants as a flower garden to fill one. It’s also unusual for plants of different sizes, shapes, and nutritional requirements to grow side by side. The results may be impressive. Containers let you control the atmosphere of your garden. Gardens can be distinguished from one another by using suitable containers and planting the proper plants in the appropriate setting.
Make an informed decision when selecting containers since they will significantly affect your plants’ growth. You can use any container to hold the soil as long as you meet two conditions. First and foremost, it has to be a healthy environment, with enough room for roots to grow and good drainage. The second, perhaps more important, need is for the plant within it to be improved in terms of its visual appeal.
Choose a container that will look well in its ultimate resting place and goes well with the plant’s overall shape, foliage, and flowers. Consider more than just how the containers look and how much soil they can hold when making your selection. Drainage and porosity are two more crucial factors. Working with soil in permeable pots requires constant watering (sometimes daily). The opposite is true for nonporous containers.
In case you missed it: How to Grow Basil from Seed to Harvest: Check How this Guide Helps Beginners
Don’t overwater since the soil naturally tends to hold onto the water; instead, provide adequate drainage. Failure to provide adequate drainage is a leading cause of death for plants grown in containers. This won’t be a problem if you use a container with potting soil that drains well. This necessitates the use of a vessel with a perforated base. A drain is necessary for the intended use of a container without drains.
Start planting your container garden
This is the season to sow garden seeds and plant containers. Place the soil mixture in a clean container and add enough water to cover it by an inch or two. Peat moss will absorb the water and blend much more smoothly if you wet it before adding it to the container. Prepare the soil and sow the seeds or transplants as instructed. Write the name of the plant, the name of the variety, and the planting date on the label of each container.
The soil should be irrigated well after planting, but the seeds should not be messed with. The time to thin seedlings is when they have grown their first two or three leaves. Cages or posts should be set up as soon as possible to protect the young plants from falling over or being knocked over, which can cause damage to the roots.
Carefully water and fertilize your container garden
Do not forget to water your houseplants regularly. The small quantity of soil within containers might dry up quickly, especially when put on a concrete patio in strong sunlight. Maybe twice a day, but you must water your plants daily. Put water inside and let it run through the holes. An effective drainage system is essential for any container garden that extends out over the heads of residents below.
Large trays of coarse marble chips work well. However, you should never let the container sit in drainage water since this can lead to the soil becoming too moist and rotten. Don’t ever let water pool or soak into the soil. Contamination plants that are excessively wet in cold weather can develop root rots. Since more water evaporates through the porous material of clay pots and similar containers, they need to be watered more often.
Smaller containers don’t have the same capacity as their larger counterparts to store water. Hence they dry up faster. If plants are wilting every day, it’s likely because the soil is heating up too rapidly; in this situation, it’s ideal to group containers together so that their leaves may create a canopy over the soil and keep it cooler. If your patio becomes too hot, you can prevent the soil from drying by placing pots on pallets or other structures.
Keep an eye on storage units often, especially during unfavorable weather conditions. Put a finger down into the ground to test whether it’s damp. Mulching and windbreaks are two methods for decreasing water use in container gardening. Drip emitters and other self-watering systems are options to consider installing if you often cannot tend to your plants. For up to ten weeks, plants can thrive off of fertilizer combinations.
The recommended fertilizer application rate for water-soluble fertilizers should be used if plants are left in the ground for longer. Repeat the process every two to three weeks. Soil may sometimes be fortified with missing micronutrients by adding fish emulsion or compost. Overfertilizing can kill plants. Because there is not enough soil or humus to function as a buffer, plants grown in pots are more susceptible to damage from overfertilizing or overlining. It’s not true that every kind of plant improves with perfection.
How do I start seeds indoors in MN?
Knowing how long it takes for a seed to grow until it’s ready to be transplanted, you’ll have a better idea of when to plant it. This data can be found on a label or package or require consulting a manual. If the plant is fragile, the clock starts ticking in late May. If it is a cold-hardy plant, you can set your clock back to the beginning of May.
A daily light cycle of 14-16 hours is optimal for seedling growth. To sprout, certain seeds must be kept in the dark. Light is necessary for those who need it. Make sure the shipment is correct. Materials used to germinate seeds should be airy and absorbent without being too heavy. Most seeds germinate best at 72º. Cooler temperatures are ideal for the germination of certain plant species.
When should I start my seeds indoors?
Seed packages don’t always tell you when to start them since not all firms do so. If yours doesn’t specify when you should plant, you may use these general parameters as a starting point for your calculations. Typically, seeds should be started indoors between six and eight weeks before your location’s typical last frost date. For each zone, the typical date of the last frost is different. Find out what yours is at a nearby garden store or online if you’re unsure.
How do I start an indoor garden in Minnesota?
Determine if you will be growing herbs, vegetables, or flowers. Start with a herb and vegetable garden to introduce young people to the pleasures of healthy eating and the culinary arts. Because of their compact size, low maintenance requirements, and much culinary use, herbs are a smart option for anybody planning an indoor garden. You should pick your herbs in the sun if that’s what you like. Many people choose rosemary, basil, and mint.
You can find gardening sections at most supermarkets and hardware stores where you can buy seeds. There’s also the choice of greens. However, if you plan on growing your garden inside, you may be concerned about the amount of space needed. The solution lies in eating microgreens, which are tiny yet mighty in terms of nutritional value. Since microgreens are grown in soil rather than water, which can harbor bacteria, they are a safer alternative to sprouts.
The types of plants used to cultivate microgreens are almost endless. You can’t go wrong with greens like lettuce, spinach, watercress, or cabbage. Microgreens provide a new dimension of flavor and color to salads. They not only complement the main dish but can also be used to garnish the plate. As soon as you decide what kinds of plants you want to grow, you can begin collecting the supplies you’ll need. Here is a list of everything you’ll need.
In case you missed it: How to Grow Apples for Beginners: A Guide to Planting to Harvesting
A little potted plant with drainage holes, a grow light, and a window facing south. The only things you need to start growing your organic food are seeds, organic potting soil, a mister, a watering can, and a plastic container with holes cut into the bottom, like a prepared salad box. Organic potting soil should be used, and the container should be leveled by mild pushing or smoothing off the soil. Feel free to scatter the seeds all around the yard. It could feel like you’re always replacing seeds if you’re cultivating microgreens.
However, the trick is selecting them when they’re still young sprouts, so the overall seed consumption is relatively minimal. Put your seeds in the ground immediately. Soil quality is guaranteed by passing it through a mesh screen, so take care. Find out whether you need to screen the soil or apply it by hand.
Plant the seeds and spray the young plants. Avoid splashing by spraying water from a mister or watering can equip with a mist setting. Take care of your little garden carefully. Spray the dish every few days and place it in bright sunshine or under grow lights. However, because you do not want to end up with soggy soil, drain the drip tray each time you see water accumulating.
What soil do I put in a raised bed?
Topsoil should have a dark color, a gritty texture, and an earthy smell. Don’t buy soil if it’s too sandy or clay-rich, if it smells horrible, if it’s mottled grey, if it’s chalky or sticky, or if it’s too rough in texture. A mixture of soil and compost, purchased from several suppliers, is an excellent medium for plant development in raised beds.
Conclusion
Whether you plant a garden in Minnesota to improve your diet, increase your property value, or just enjoy the outdoors, you’ll have something to look forward to every spring and summer. Building your garden is a fantastic thing to do right now. If you live in the following cities, towns, and counties of Minnesota (MN) in the United States of America, this article might be helpful with the basics of setting up a home garden indoors, outdoors in backyards, and in containers.
| Minneapolis | Owatonna |
| Saint Paul | Elk River |
| Duluth | Hibbing |
| Minnesota City | Forest Lake |
| St. Cloud | Fergus Falls |
| Bloomington | Anoka |
| Mankato | Park Rapids |
| Eagan | White Bear Lake |
| Brainerd | Chanhassen |
| Winona | New Ulm |
| Blaine | Cloquet |
| Eden Prairie | Chaska |
| Maple Grove | Richfield |
| Bemidji | St. Louis Park |
| Burnsville | International Falls |
| Minnetonka | Fridley |
| Shakopee | Prior Lake |
| Edina | Redwood Falls |
| Lakeville | Rosemount |
| Willmar | Waconia |
| Coon Rapids | Sartell |
| Moorhead | Wayzata |
| Brooklyn Park | Shoreview |
| Albert Lea | Eastern Minnesota |
| Faribault | Southern Minnesota |
| Detroit Lakes | Central Minnesota |
| Northern Minnesota | Western Minnesota |
- The Role of Watering in Preventing Drying Moringa Pods
- Best Liquid Fertilizer for Flowering Plants
- How to Set Up an Efficient Watering System for Home Garden
- How to Mulch Tulip Bulbs: Expert Tips Best Tulip Blooms
- Common Problems with Potted Figs and How to Solve Them
- How to Prevent Flower Drops in Pomegranate Trees: Effective Tips
- How to Boost Ridge Gourd Flowering and Yield: A Beginner’s Guide
- Effective Pollination Techniques for Maximizing Gourds Yield
- Composting Techniques for Manure in Home Gardens
- A Step-by-Step Guide on Propagation Techniques for Jasmine Plants
- How Do I Make My Garden Less Cluttered: A Beginners Guide
- Growing Red Currants at Home for Beginners
- Gardening Techniques in Planting Vegetables
- Where to Place Indoor Plants in Your Home
- How to Grow Tomatoes Organically at Home: A Comprehensive Guide
- Organic Gardening on a Budget: Low-Cost Methods and Materials
- Gongura Seed Germination and Planting Methods
- Cabbage Seed Germination and Selection
- Broccoli Seed Germination and Selection
- Asparagus Seed Germination and Variety Selection
- Seasonal Flower Gardening: Best Practices for Spring, Summer, Fall, and Winter
- How to Grow Hibiscus from Flower
- Plantation Ideas for Home Decoration: A Beginners Guide
- Flower Garden Designs and Layouts for Beginners
- Planting and Spacing Techniques in Papaya: A Beginner’s Guide
- Growing Gold: Essential Techniques for Planting Pineapples
- How to Make Kalanchoe Plant Bushy: Home Remedies and Solutions
- 11 Reasons Why Your Gardenia is Not Blooming: Home Remedies and Solutions
- Eco Elegance: The Guide to Designing a Drought-Tolerant Landscape
- Gardening on a Slope: Strategies for Hillside Landscaping
- Nourish and Flourish: Top Organic Mulches for Thriving House Plants
- Everything You Want to Know about Indian Mogra Flower: Discover Uses and Growing
- Green Thumb Success: Expert Tips for Cultivating Greenhouse Pumpkins All Year Round
- Maximize Growth & Flavor: The Ultimate Guide to Companion Planting in Herb Gardens
- How to Control Rhododendron Problems Naturally: Home Remedies and Organic Ways to Fix Them
- Natural Magic: The Remarkable Benefits of Cinnamon for Plants