Propagating elderberries is an endeavor that rewards you with an abundant harvest of berries that are beneficial for various uses, from homemade jellies to natural health remedies. How do you propagate elderberries from cuttings? The answer involves a series of simple yet crucial steps for successful growth. You can take elderberry cuttings in different seasons: summer, fall, or winter. Knowing how long it takes for elderberry cuttings to root is essential, usually between 6 to 10 weeks.
Some prefer to propagate elderberry cuttings in water, while others opt for a soil medium. Beyond cuttings, you can also learn how to propagate elderberry from seed. A key consideration in the propagation process is how far apart to plant elderberry cuttings, which ensures proper growth and fruiting. Whether dealing with elderberry softwood cuttings or considering other methods, this comprehensive guide covers everything you need to know.
How to Propagate Elderberries from Cuttings
Gathering the Necessary Tools and Materials for Elderberry Propagation
For a smooth and successful elderberry propagation process, collecting all essential tools and materials is imperative before you start. This proactive approach eliminates interruptions that could potentially harm your cuttings. Use clean, sharp pruning scissors to cut plants without harming them. Rooting hormone is also essential; it speeds up the rooting process and increases the chances of successful propagation.
In case you missed it:9 Best Berries to Grow in Containers: Well Explained in Simple Steps
A well-draining potting mix or soil enriched with organic matter is essential for planting your cuttings, as this medium will serve as the foundation for the new plants. You’ll also need containers or pots with good drainage to house the cuttings. Finally, gather plastic bags or use a small greenhouse to create a high-humidity environment to encourage the cuttings to root.
Selecting Healthy Elderberry Plants for Cuttings
The condition of the original elderberry plant’s health greatly affects how well your cuttings will grow. Choose a robust, thriving plant free from visible signs of diseases or pest infestations. A plant with a history of healthy growth and abundant fruit production is generally a good choice. Inspect the plant thoroughly, focusing on the leaves, stems, and base for any abnormalities. Taking cuttings from a vigorous plant increases the likelihood of successful rooting and results in offspring that inherit the parent plant’s desirable traits.
Timing and Seasonality: When to Take Elderberry Cuttings
The time of year, when you take elderberry cuttings can significantly impact the success of your propagation endeavor. Summer is often ideal, as plants are actively growing during this period, and the chances of cuttings rooting successfully are generally higher. However, taking elderberry cuttings in winter, during dormancy, is also an option that many gardeners find successful.
If you’re wondering whether you can take elderberry cuttings in the fall, the answer is yes; the fall season is also suitable, particularly for softwood cuttings. Adapting your timing based on your local climate conditions and the specific elderberry variety you intend to propagate is essential.
Preparing the Cutting Site: Soil Preparation and Potting Mix
Proper preparation of the soil or potting mix where the elderberry cuttings will be planted is a crucial step that should not be overlooked. The planting medium should offer good drainage and rich organic matter to support healthy root development. If you’re contemplating how to root elderberry cuttings in water, note that this viable method requires close monitoring to avoid rot.
In case you missed it: How to Grow Berries in USA: At Home in Pots, Containers, Indoors, and Tips
Sterilizing the chosen medium is critical whether you opt for soil or water. This eliminates the risk of bacterial or fungal infections that could hinder the cuttings’ growth. Preparing the soil adequately is key to enhancing the likelihood of your elderberry cuttings taking root and thriving.
Step-by-Step Guide to Taking Elderberry Cuttings
Here’s a quick step-by-step guide on how to take elderberry cuttings for propagation. First, use a pair of clean, sharp pruning shears to cut a 6 to 10-inch long stem from a healthy elderberry plant. Make sure the cutting has at least two or three sets of leaves. Second, remove the leaves from the lower half of the cutting. Third, dip the cut end into the rooting hormone to promote faster root growth.
Fourth, plant the cutting into a prepared container filled with potting mix or directly into the ground. If you opt for the latter, ensure you know how far apart to plant elderberry cuttings, typically about 6 feet apart, to allow adequate space for growth. Finally, cover the cutting and container with a plastic bag or place it in a greenhouse to maintain high humidity.
Proper Handling and Storage of Elderberry Cuttings
Once you’ve taken your elderberry cuttings, proper handling and storage become crucial for their survival and successful rooting. If you’re not planting the cuttings immediately, they should be kept moist and stored in a cool place. Cuttings can also be stored in the refrigerator for a short period, usually up to a week, wrapped in moist paper towels and placed in a sealed plastic bag. Whether you’ve taken elderberry softwood cuttings or are considering how to propagate elderberry seeds as an alternative method, proper storage will make all the difference in your propagation success.
Creating Optimal Conditions for Rooting Elderberry Cuttings
Setting up an environment conducive to root development is crucial for successfully propagating elderberry cuttings. This often involves maintaining high humidity levels through a humidity dome, plastic bag, or misting system to prevent the cuttings from drying out. Light is another vital factor; provide indirect sunlight, as direct light can scorch the tender cuttings.
Temperature should be consistently warm but not too hot; a range between 65 and 75 degrees Fahrenheit is generally considered ideal. If you’re propagating elderberry cuttings in water, remember to change the water every few days to maintain its freshness and minimize the risk of rotting.
In case you missed it: When is it Too Late to Harvest Lavender: When to Harvest Lavender for Drying, Sachets, and Tea
Watering and Fertilizing Young Elderberry Plants
Ensuring adequate water and nutrition for your young elderberry plants is critical for their health and growth. It’s better to keep the soil consistently moist but not waterlogged when it comes to watering. Excessive watering can result in root rot, whereas insufficient watering might lead to desiccation of the cuttings. Fertilizing should start once the cuttings have rooted and show new growth, typically six weeks or more after planting. A balanced, slow-release fertilizer applied according to the package instructions should suffice for nutritional support.
Monitoring and Managing Pests and Diseases in Propagated Elderberries
Vigilant monitoring and effective management are crucial to safeguard the well-being of your cultivated elderberry plants, as they can be susceptible to pests and diseases. Regular inspections can help identify issues like aphids, spider mites, and fungal infections early on. Physical removal or organic insecticides can deal with most pests, while fungicides can effectively treat diseases.
Always ensure proper air circulation around the plants to minimize the risk of fungal infections. Healthy plants are less susceptible to diseases, so keeping your elderberries well-watered and fertilized can also be preventive.
Transplanting Rooted Elderberry Cuttings into Larger Containers or the Ground
Once your elderberry cuttings have established a robust root system, generally within 6 to 10 weeks, they are ready for transplanting. You can move them to larger containers filled with a well-draining potting mix or transplant them directly into the ground. When planting in the soil, it’s essential to maintain appropriate spacing for elderberry cuttings. The correct distance between plants, a minimum of 6 feet, is vital to support their growth and maximize fruit production. This spacing facilitates proper air circulation and provides ample room for the plants’ expansion.
Hardening Off Elderberry Plants for Outdoor Planting
Before moving your elderberry plants from an indoor or sheltered environment to the great outdoors, they’ll need to go through a process called hardening off. This involves gradually exposing the plants to outdoor conditions to help them adapt and reduce the transition shock. Start by placing the plants outside in a shaded or sheltered area for a few hours each day, gradually increasing the duration and introducing them to more sunlight and wind throughout 7 to 10 days. Once the plants are accustomed to the outdoor conditions, they are ready for planting in their permanent outdoor location.
Pruning and Training Young Elderberry Plants for Optimal Growth
Proper pruning and training are essential practices that contribute to your young elderberry plants’ optimal growth and fruit production. Begin pruning in the first year after planting, typically in late winter or early spring when the plants are dormant. The goal is to remove dead or damaged stems, promote air circulation, and shape the plant for future growth.
In case you missed it: How Long it Takes to Grow Mushrooms at Home: Factors Affecting the Growth Rate of Mushrooms
Training involves selecting strong, central stems for the plant’s main structure while removing weaker or competing shoots. This directs the plant’s energy into growing stronger and producing more fruit. An essential aspect of this training process is understanding elderberries’ growing habits, which typically produce fruit on second-year wood. Therefore, judicious pruning promotes healthy growth and optimizes fruit production in subsequent years.
Harvesting and Utilizing the Fruits of Propagated Elderberries
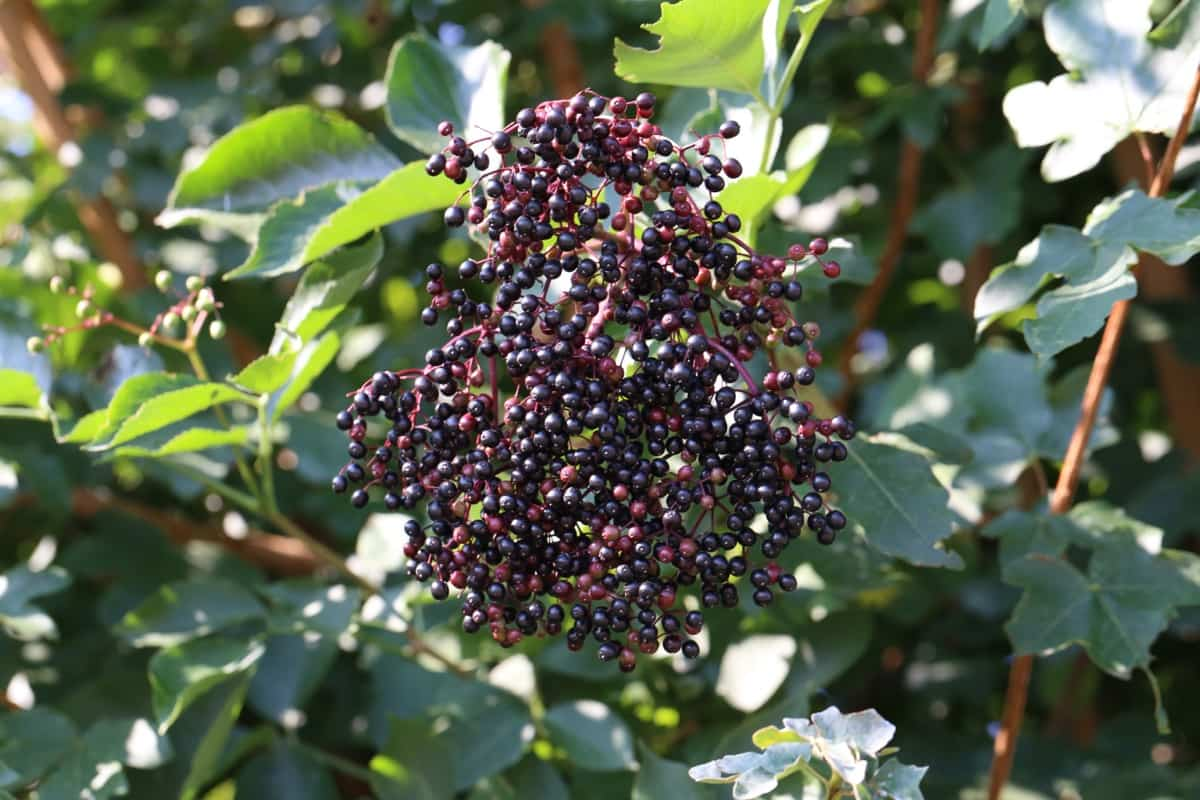
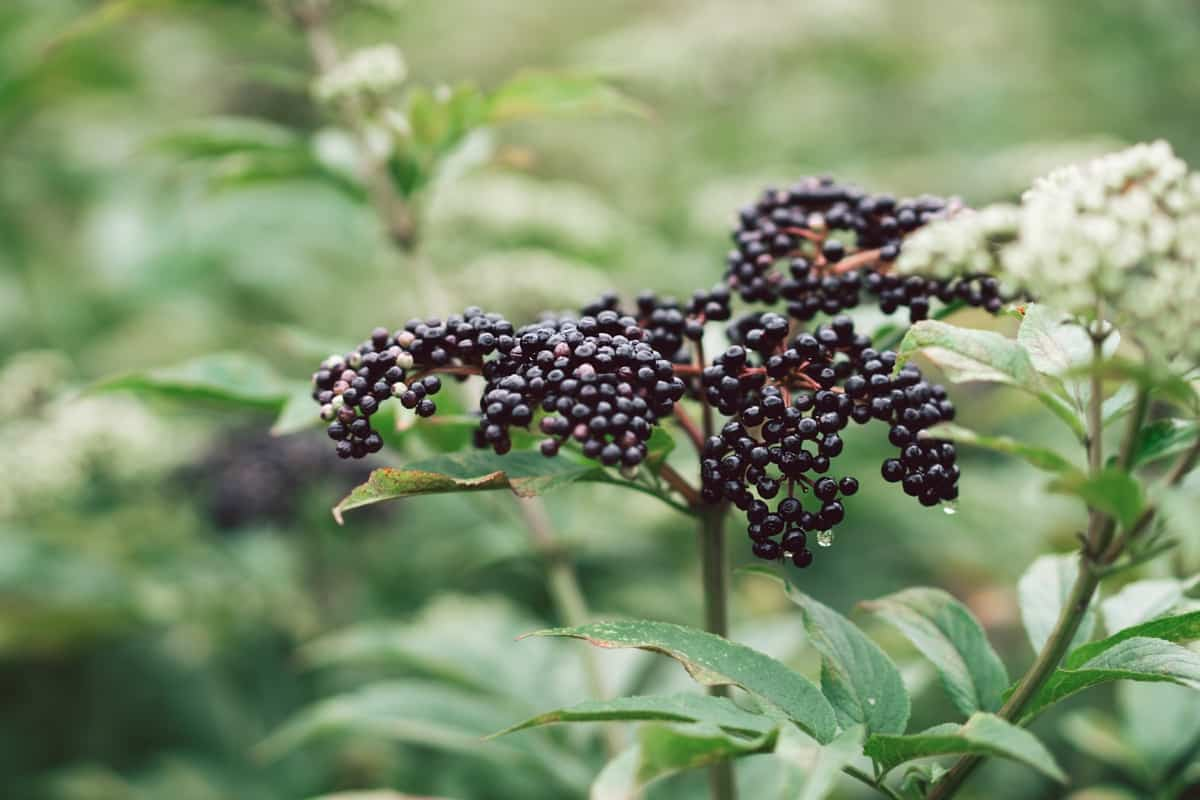
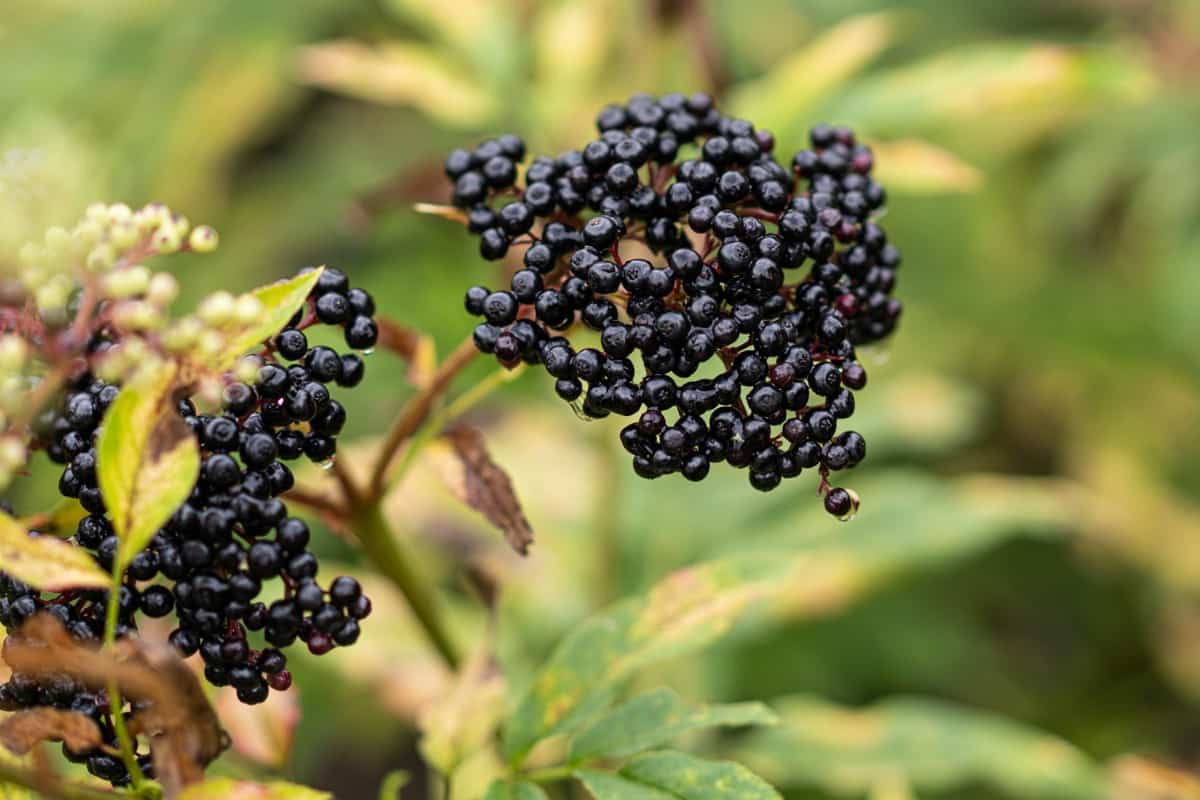
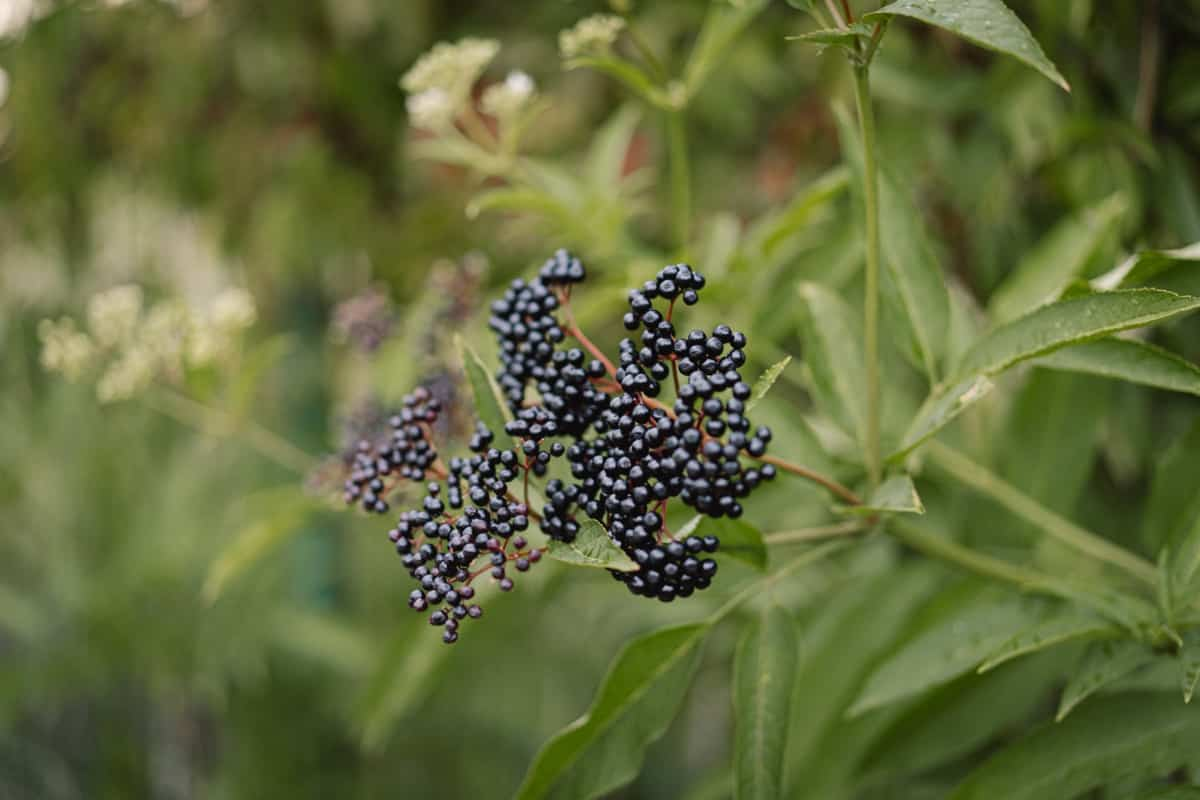
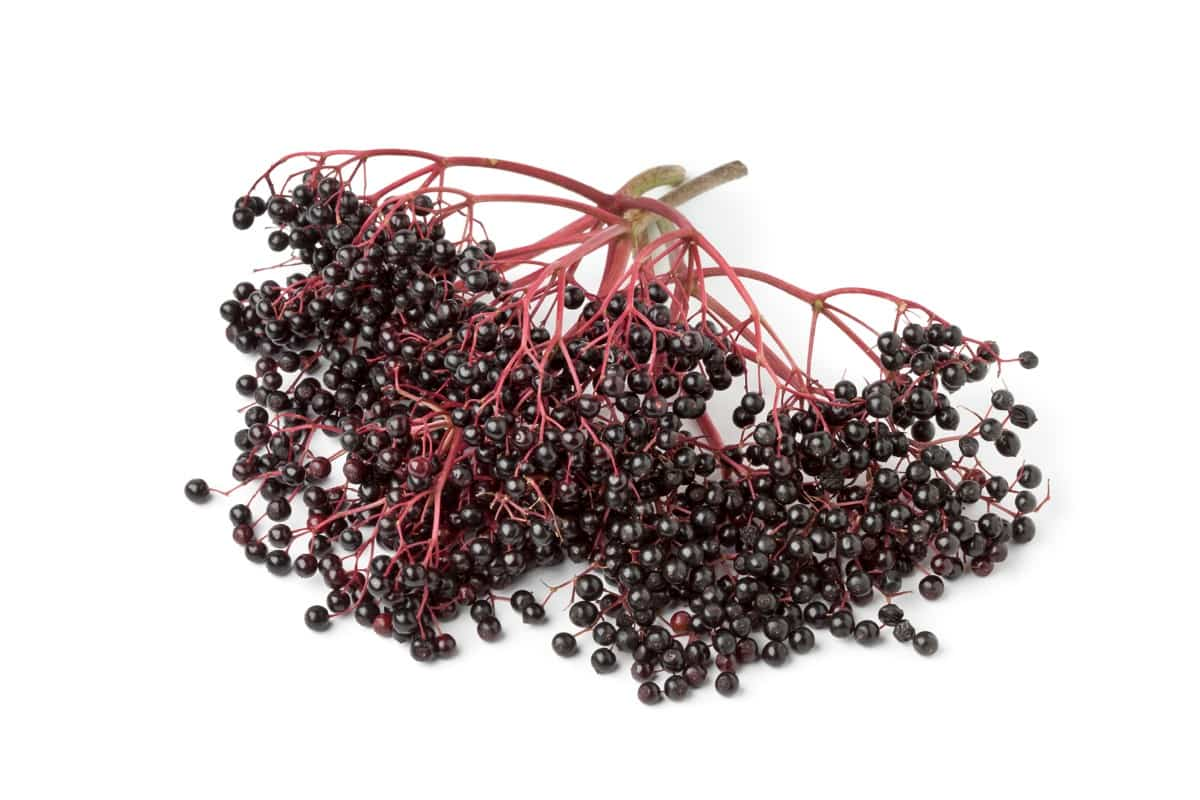
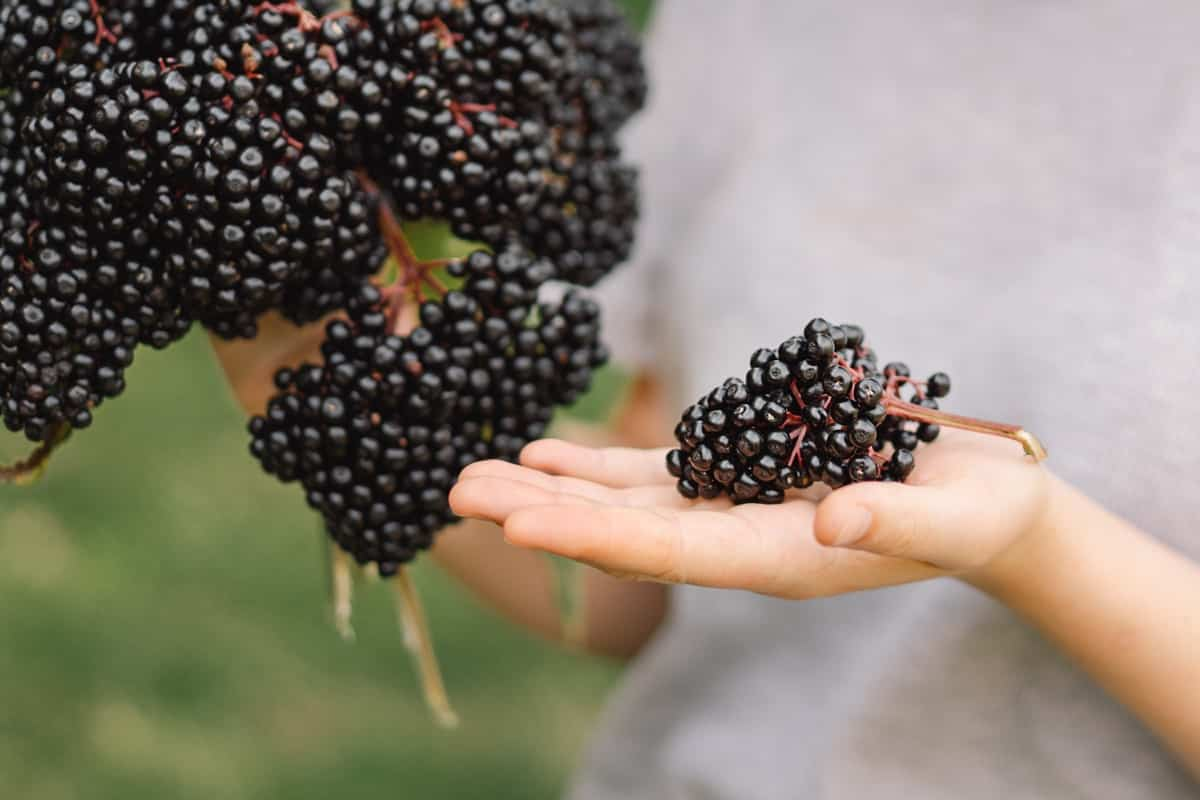
Harvesting the fruits of your propagated elderberries is a rewarding experience, often between late summer and early fall, depending on your location and the elderberry variety. Once the berries reach maturity, they will exhibit a dark purple or black hue and are best gathered in clusters to facilitate the harvesting procedure. After harvesting, the fruits can be used in various applications, including jellies, syrups, and home remedies.
It’s crucial to remember that elderberries should never be consumed raw, as they contain compounds that can be toxic. Cooking or processing the berries breaks down these compounds, making them safe for consumption. Whether you’re interested in culinary uses or the berries’ medicinal properties, the fruits of your labor can serve multiple purposes, adding value to the time and effort invested in propagation.
Troubleshooting Common Issues in Elderberry Propagation
While propagating elderberries can be straightforward, you may encounter some common issues that could hinder successful growth. One frequent problem is root rot, often caused by overwatering or poor drainage in the planting medium. Make sure the soil or potting mix is well-draining to avoid this issue. Another common challenge is the failure of cuttings to root, possibly due to various factors, including taking cuttings from unhealthy parent plants or improper storage and handling.
Lack of rooting could also be attributed to inadequate application of rooting hormone or poor soil conditions. Additionally, pests and diseases can be particularly detrimental to young cuttings; vigilant monitoring and timely interventions are key to managing these issues. Understanding and quickly addressing these common problems can significantly increase your success rate in elderberry propagation.
Monitoring Growth and Checking for Root Development
One of the final yet essential steps in elderberry propagation is monitoring the growth of your cuttings and checking for root development. Usually, elderberries take 6 to 10 weeks to root, and it’s vital to keep an eye on this crucial phase. This involves gently tugging the cutting base after a few weeks to feel resistance, which usually indicates that roots have started to form. Alternatively, you may see new leaf growth or buds as positive signs of root development.
In case you missed it: How to Use 19-19-19 Fertilizer in Your Garden: Benefits and When to Apply
During this period, maintain optimal humidity levels and continue to water the soil to keep it consistently moist but not waterlogged. If you initially started with water propagation, this is the time to transplant the cutting into the soil or potting mix. Monitoring is not just about looking for root development but also involves watching out for signs of diseases or pests and addressing them promptly to ensure the healthy growth of your young elderberry plants.
Conclusion
Propagating elderberries from cuttings is a rewarding process that, when done right, results in healthy, fruit-bearing plants. Each step is crucial for successful propagation, from gathering the proper tools and selecting robust parent plants to understanding the intricacies of timing, soil preparation, and root development.
Whether you’re a novice or an experienced gardener, following this comprehensive guide can simplify the process and significantly improve your chances of success. Remember, patience and close attention to detail are your best allies in this gardening endeavor. Once you master the art of elderberry propagation, you’ll have a continuous supply of this valuable plant for years.
- How to Grow Hibiscus from Flower
- Plantation Ideas for Home Decoration: A Beginners Guide
- Flower Garden Designs and Layouts for Beginners
- Planting and Spacing Techniques in Papaya: A Beginner’s Guide
- Growing Gold: Essential Techniques for Planting Pineapples
- How to Make Kalanchoe Plant Bushy: Home Remedies and Solutions
- 11 Reasons Why Your Gardenia is Not Blooming: Home Remedies and Solutions
- Eco Elegance: The Guide to Designing a Drought-Tolerant Landscape
- Gardening on a Slope: Strategies for Hillside Landscaping
- Nourish and Flourish: Top Organic Mulches for Thriving House Plants
- Everything You Want to Know about Indian Mogra Flower: Discover Uses and Growing
- Green Thumb Success: Expert Tips for Cultivating Greenhouse Pumpkins All Year Round
- Maximize Growth & Flavor: The Ultimate Guide to Companion Planting in Herb Gardens
- How to Control Rhododendron Problems Naturally: Home Remedies and Organic Ways to Fix Them
- Natural Magic: The Remarkable Benefits of Cinnamon for Plants
- Best Steps to Revive Dying Tulip with Natural and Organic Treatment
- 10 Reasons Why Your Angel Trumpet is Not Blooming: Remedies and Treatment
- How to Fix Periwinkle Leaf and Flower-Related Problems: Natural Remedies and Solutions
- How to Fix Zinnias Leaf and Flower Problems: Discover Natural and Home Remedies
- Organic Steps to Induce Lemon Tree Flowers: A Comprehensive Guide
- Bloom Booster: Crafting the Perfect Homemade Bougainvillea Fertilizer
- Optimizing Growth: A Guide to Applying NPK Fertilizer for Potted Plants
- 10 Best Homemade Fertilizers for Rubber Plant: DIY Recipes and Application Method
- How to Boost Female Pumpkin Flowers: Effective Steps for More Flowers and High Yields
- Transform Your Indoor Garden: Top Benefits of Pink Salt for Houseplants
- 10 Best Homemade Fertilizers for Peacock Plants (Calathea): Easy DIY Guide
- Unlock Blooms: 9 Reasons Why Your Potted Chrysanthemum is Not Blooming
- 8 Reasons Why Your Potted Hibiscus is Not Blooming: Fix it with Simple Solutions
- Unlock Blooms: 9 Key Reasons Your Potted Frangipani Won’t Flower
- 10 Reasons Why Is My Ice Plant Not Blooming: Remedies and Treatment
- 10 Reasons Why My Potted Hydrangea Not Blooming: Treatment and Remedies
- 10 Reasons Why is My Wisteria Not Blooming: Remedies and Treatment
- 10 Reasons Why is My Goldfish Plant Not Blooming: Remedies and Treatment
- Maximize Your Space: Ultimate Guide to Balcony Gardening with Grow Bags
- 10 Reasons Why Your Iris is Not Blooming: Remedies and Treatment
- 10 Reasons Why Your Anthurium Plant is Not Blooming: Treatment and Remedies