Coco peat, also known as coir or coconut fiber, is a natural byproduct of the coconut industry that has gained popularity among gardeners for its numerous benefits. One of the key advantages of coco peat is its ability to retain moisture while providing excellent drainage. This means your plants will have access to water when needed but won’t become waterlogged and prone to root rot.
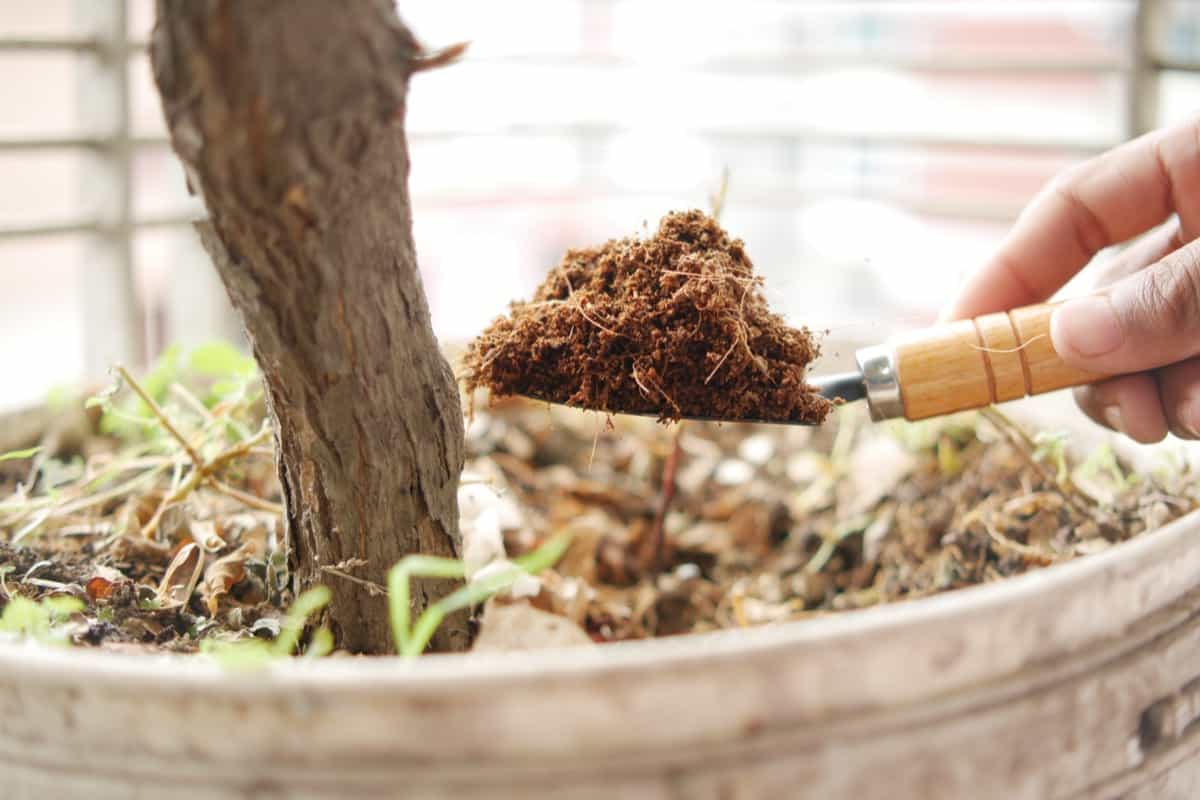
In addition to its moisture-retaining properties, coco peat improves soil structure and aeration. It helps loosen compacted soils, allowing roots to penetrate more easily and promoting healthy growth. The fibrous nature of coco peat creates air pockets in the soil, ensuring that oxygen reaches plant roots. Another benefit of using coco peat in your garden is its sustainability and eco-friendliness.
As a renewable resource made from coconut husks, it is an environmentally conscious alternative to traditional soil amendments. Furthermore, coco peat acts as a natural weed suppressant due to its ability to create a barrier on the soil’s surface. This can save you time and effort in weeding your garden beds.
How to Make Coco Peat at Home
Source Coconut Husks for Coco Peat Production
The first step is to source coconut husks when making coco peat at home. These husks are the outer layer of the coconut fruit and can be obtained from local markets or even directly from coconut vendors. It’s important to choose fresh and mature coconuts for optimum quality. Once you have your hands on some coconut husks, it’s time to prepare them for coco peat extraction.
Prepare Coconut Husks for Coco Peat Extraction
To begin making coco peat at home, properly prepare the coconut husks. This step is crucial in extracting high-quality coco peat for your garden plants. First, gather fresh coconut husks from mature coconuts. Make sure they are free from any mold or rotting. You can obtain these husks by purchasing whole coconuts from the grocery store or local market. Next, remove the outer layer of fibers from the coconut husk using a sharp knife or machete.
Dehusk and Clean Coconut Husks for Coco Peat
Dehusking and cleaning the coconut husks is crucial in making coco peat at home. First, carefully remove the outer layer of fibers that surround the husk. This can be done using a knife or by hand. Take your time to remove all fibers, as they can cause impurities in the final product.
In case you missed it: How to Make Biodegradable Peat Moss Planters and Pots: For Your Garden Plants
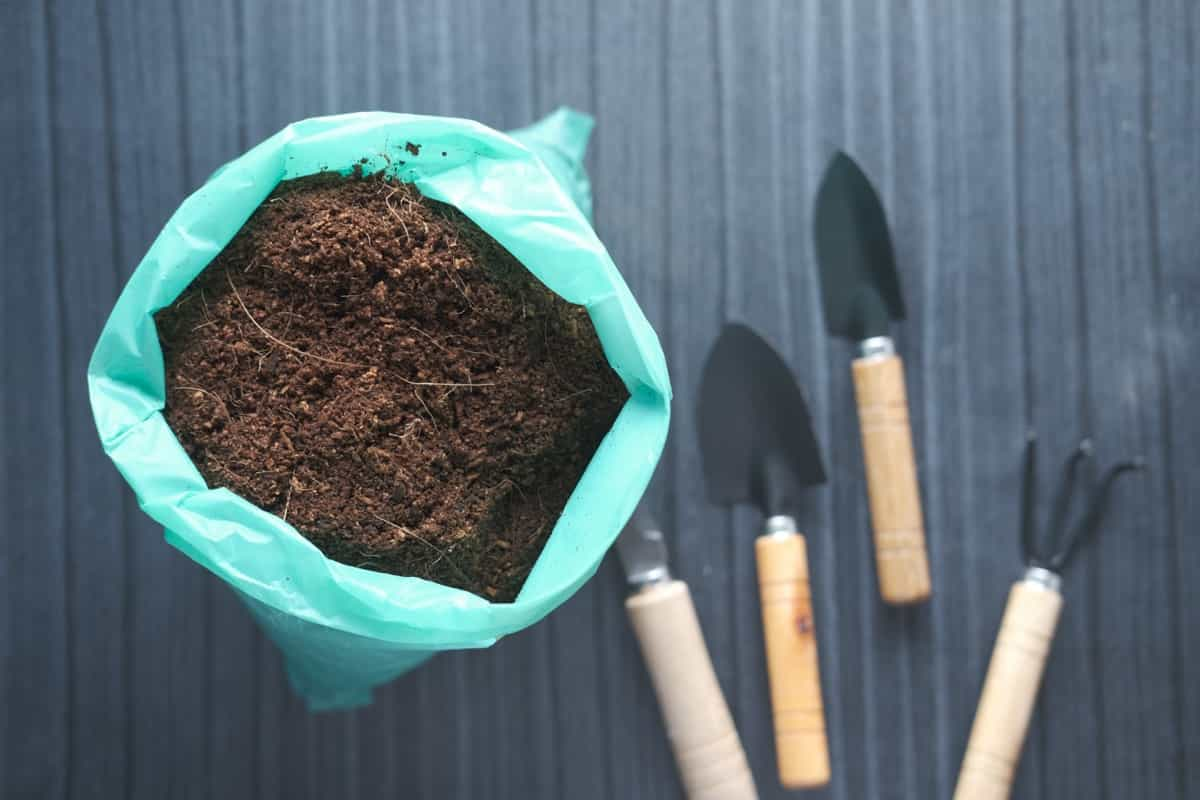
Next, rinse the husks thoroughly with clean water to remove dirt or debris. This will help ensure that your homemade coco peat is pure and contaminant-free. After rinsing, let the cleaned husks dry completely under direct sunlight for several days. This will help eliminate moisture and prevent mold or bacterial growth during storage.
Shred and Grind Coconut Husks into Fine Particles
Shredding and grinding coconut husks into fine particles is crucial in making homemade coco peat. This step helps break down the husks’ tough fibers, allowing for easier extraction and preparation of coco peat. Once you have collected enough husks, it’s time to start shredding them. You can use a shredder or simply chop them into smaller pieces. The goal is to create small strands that can easily be broken down further during grinding.
Next, it’s time to grind the shredded coconut husks into fine particles. This can be done using various methods, such as a hammer mill or an electric blender. The key is to achieve a fine and uniform consistency similar to peat moss. Grinding the coconut husk particles makes them easier to work with and enhances their ability to retain moisture when used in gardening applications.
Soak and Wash Coco Peat to Remove Impurities
Once you have shredded and ground the coconut husks into fine particles, it’s time to move on to the next step: soaking and washing the coco peat. This crucial process helps remove any impurities or unwanted substances from the coco peat, ensuring you’re left with a clean, high-quality product for your garden plants. Begin by placing the shredded coconut husks in a large container or bucket.
Fill it up with water until all the coco peat is submerged. Let it soak for at least 24 hours, allowing enough time for any excess salts or tannins in the husks to dissolve. After soaking, gently stir the mixture using a stick or your hands to help loosen any dirt or debris trapped within the coco peat. You may notice some sediment settling at the bottom of the container – this is normal.
Next, carefully pour the water while holding back as much of the washed coco peat as possible. Be cautious not to let too much of it escape by pouring water. Repeat this rinsing and draining process several times until you feel confident that most impurities have been removed from your homemade coco peat. You can check its cleanliness by squeezing a handful tightly – if only minimal amounts of brownish color seep through, then you’re on track.
Drain and Dry Process for Homemade Coco Peat
Once you have soaked and washed the coco peat to remove impurities, it’s time to move on to the next step – draining and drying. This crucial step ensures that your homemade coco peat is ready for use in your garden. After washing, transfer the wet coco peat into a large container with holes or a mesh screen at the bottom. This allows excess water to drain out while retaining the valuable coco peat. Place this container in a well-ventilated area or under sunlight for faster drying.
In case you missed it: How to Grow Coconut from Seed to Harvest: Check How this Guide Helps Beginners
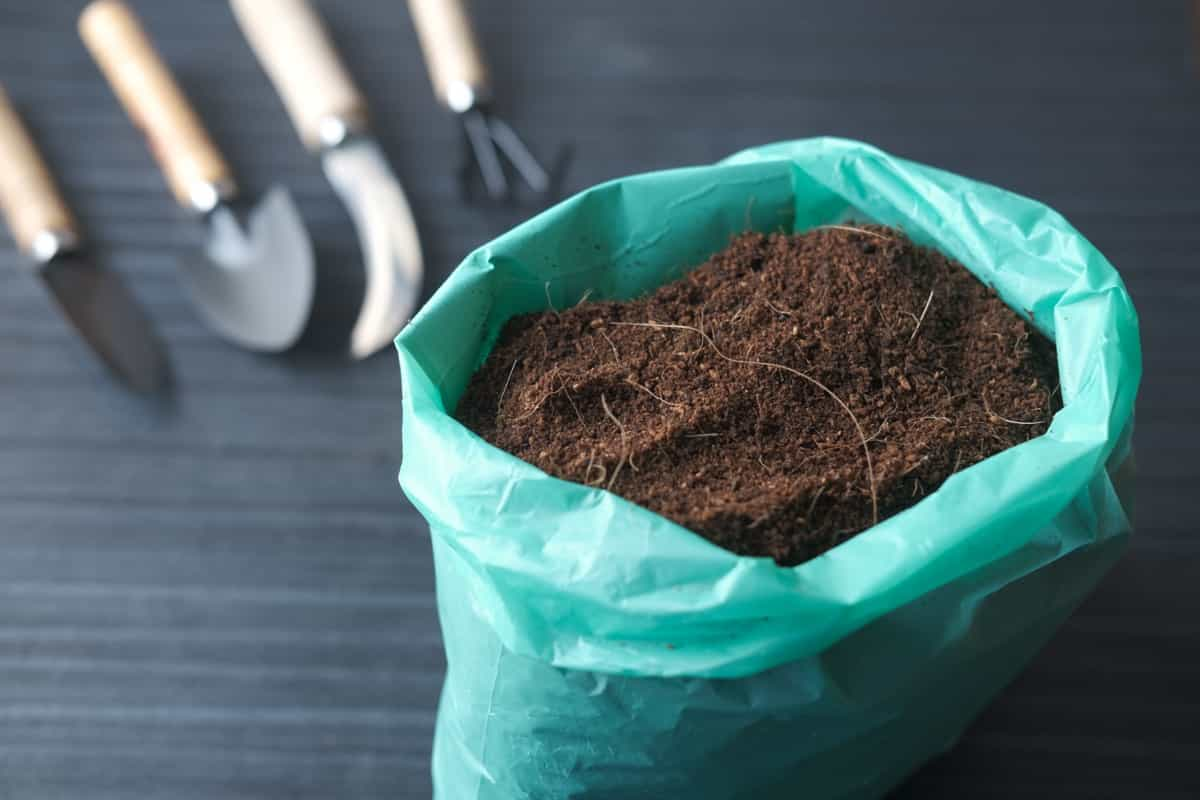
Proper airflow is essential during this stage as it helps prevent mold or mildew growth. Allow the coco peat to dry completely before using it. Depending on weather conditions, this can take anywhere from a few days to weeks. To check if it’s fully dry, simply touch it – no moisture should be left. Once dried, break up any clumps or chunks formed during drying by gently sifting through with your hands or using a fork. You now have perfectly dried homemade coco peat ready for application in your garden beds or containers.
Test the Quality of Homemade Coco Peat
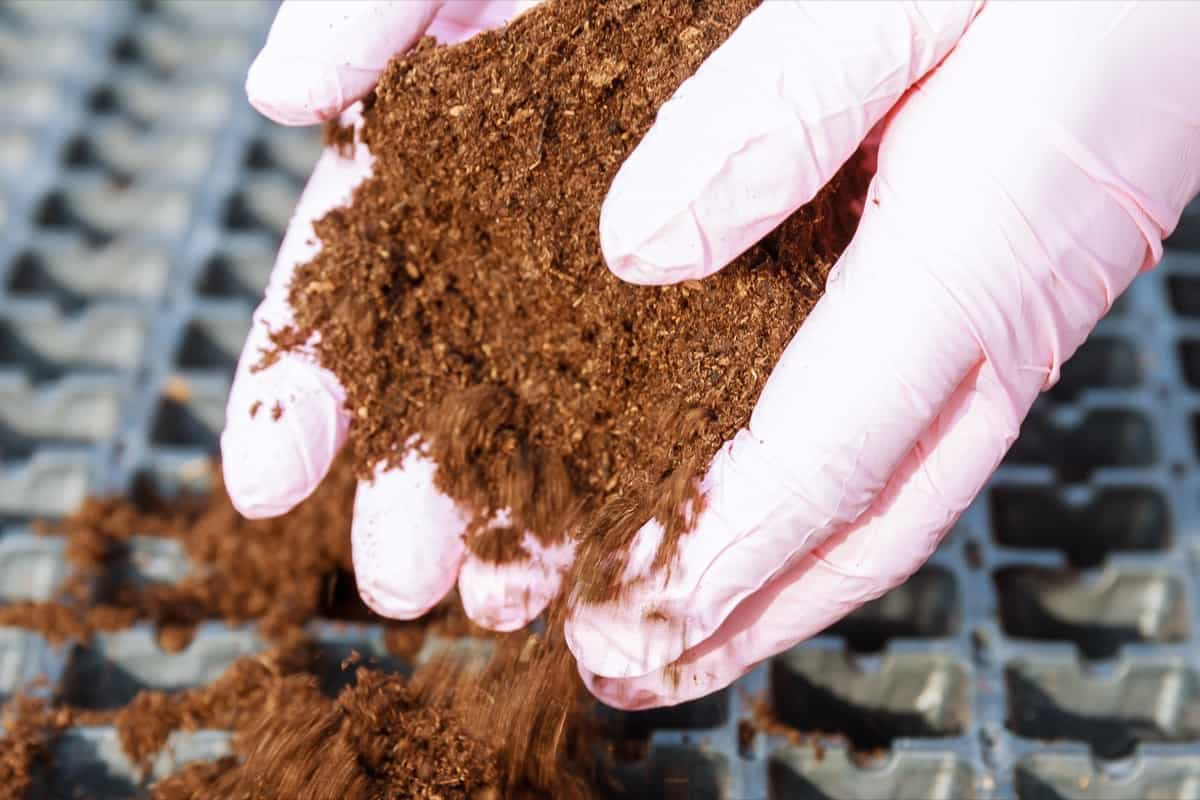
Testing the quality of homemade coco peat is crucial to ensure its effectiveness in your garden. You can use a few simple methods to assess the quality and determine if it meets your needs. One way to test the quality is by examining its texture. Good coco peat should have a fine, crumbly consistency that easily falls apart when touched. It shouldn’t contain large chunks or fibers that could hinder water absorption or root growth. Another important factor to consider is moisture retention.
Take a handful of the coco peat and squeeze it tightly in your hand. It has good water-holding capacity if it holds it together and releases only a small amount of moisture. On the other hand, if it crumbles easily or releases excessive water, it may not be suitable for use. Additionally, assessing the color can provide insights into its quality. High-quality coco peat typically has a uniform brown color without any signs of mold or discoloration. Be cautious if you notice any unusual odors, which may indicate decomposition or contamination.
Mix Homemade Coco Peat with Soil for Garden Use
Mixing homemade coco peat with soil is a great way to enhance the quality of your garden beds. Coco peat has numerous benefits for plants, and when combined with soil, it creates a perfect growing medium. First, gather equal parts of homemade coco peat and good-quality garden soil. The ratio will depend on the specific needs of your plants. Mix them thoroughly until they are well blended.
Adding coco peat improves water retention and drainage in the soil. It absorbing excess moisture while providing adequate hydration to plant roots. This helps prevent overwatering or waterlogging in your garden beds. Furthermore, mixing coco peat with soil enhances its structure and texture. The fine particles of coco peat improve aeration by allowing air to circulate through the root zone. This promotes healthier root development and prevents root rot or suffocation.
In addition to its physical properties, using homemade coco peat mixtures provides nutritional benefits for your plants. Coco peat contains natural minerals that can enrich the soil and support plant growth. However, it’s important to note that additional fertilization may be required depending on the specific needs of your plants.
Apply Homemade Coco Peat as Mulch in Garden Beds
Mulching is essential for maintaining healthy garden beds, and homemade coco peat can be a fantastic option for mulching. Not only does it provide insulation to the soil, but it also helps with moisture retention and weed suppression. Prepare the area to apply homemade coco peat as mulch in your garden beds. Remove any existing weeds from the bed surface. Once the bed is clean, spread a layer of homemade coco peat evenly across the soil surface. Aim for a thickness of about 2-3 inches.
In case you missed it: From Seedling to Bloom: Tailoring DIY Flower Plants Fertilizers to Different Growth Phases
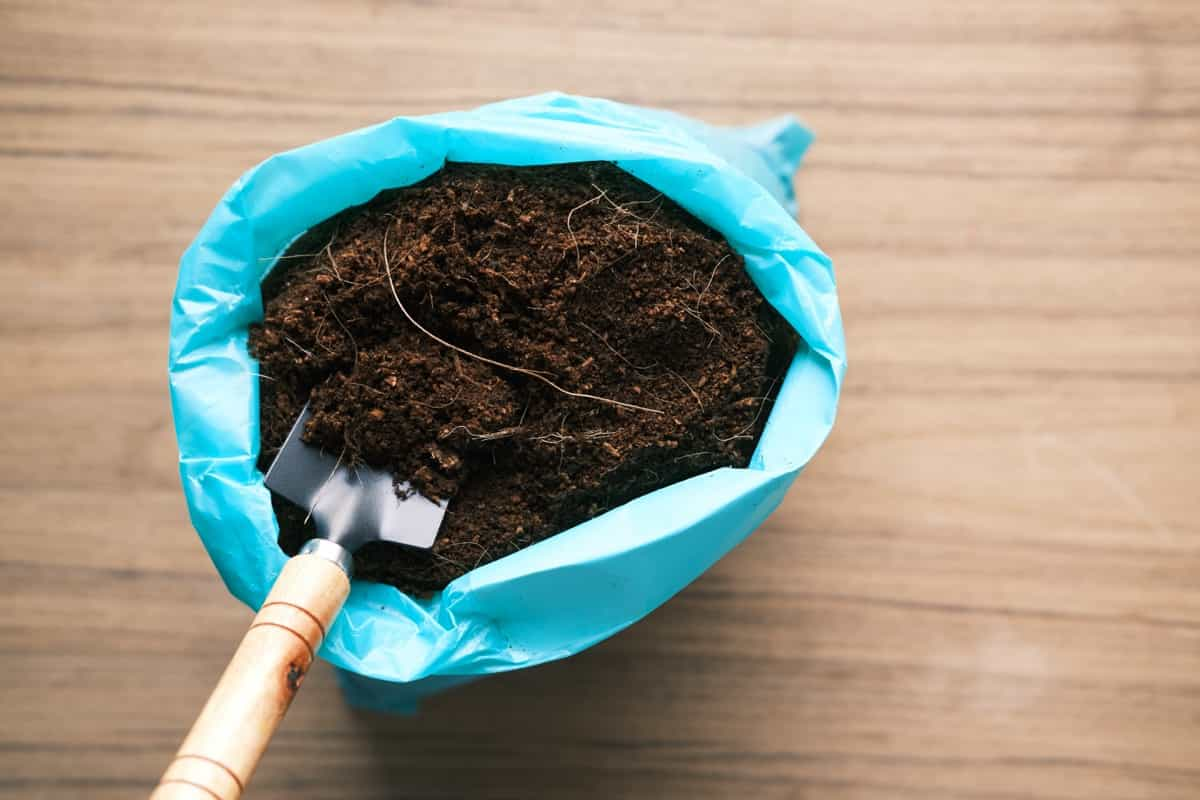
The coco peat will act as a protective barrier, preventing direct contact between the soil and external elements such as sunlight and extreme temperatures. This helps to regulate soil temperature and protect plant roots from damage. In addition to its insulating properties, homemade coco peat also aids in moisture retention. It absorbs water efficiently and slowly releases it into the soil, ensuring that plants receive consistent hydration even during dry periods.
Use Homemade Coco Peat in Container Gardening
Container gardening is a best way to bring greenery into small spaces, whether you have a balcony, patio, or a windowsill. Using homemade coco peat in container gardening offers numerous benefits. It retains moisture incredibly well while also providing adequate drainage. This means that your plants won’t suffer from over-watering or root rot. Coco peat is lightweight and airy, allowing roots to breathe and grow freely. It also provides essential nutrients to plants as they decompose over time.
To use homemade coco peat in container gardening, start by filling your pots or containers with a mixture of coco peat and compost or potting soil. The recommended ratio is about 1:1 or 2:1 (coco peat to soil). Ensure the mix is well blended before planting your desired herbs, flowers, or vegetables. Remember to water your container garden regularly, but be mindful not to overdo it since coco peat retains moisture efficiently. Monitor the moisture levels by checking the top inch of soil; if it feels dry, water accordingly.
Enhance Soil Drainage with Homemade Coco Peat
Enhancing soil drainage is crucial for maintaining healthy garden plants. One effective way to achieve this is by using homemade coco peat. Coco peat, coir, or coconut fiber has excellent water-holding capacity, allowing excess water to drain. Mix it with the soil in your garden bed or container to enhance soil drainage with homemade coco peat.
The fine particles of shredded and ground coconut husks will improve the overall structure of the soil, creating pathways for water to flow through. As you apply the mixture to your garden beds, you’ll notice that it helps prevent compacted soil. Compacted soil can cause poor drainage and hinder root growth. Incorporating coco peat into your gardening routine provides a natural solution that loosens up the soil and promotes better drainage.
In addition to promoting proper drainage, homemade coco peat also helps retain moisture in the root zone of your plants. The fibrous nature of coir holds onto water while still allowing air circulation within the soil. Adding homemade coco peat can significantly improve their drainage capabilities if you have sandy or clayey soils. It balances retaining enough moisture for plant roots without becoming overly saturated.
Improve Soil Aeration with Homemade Coco Peat
One of the key benefits of using homemade coco peat in your garden is its ability to improve soil aeration. Soil aeration refers to air movement within the soil, essential for healthy root growth and overall plant health. Mixing homemade coco peat with your garden soil helps create air pockets within the soil structure. These air pockets allow better oxygen circulation to reach plant roots, promoting their growth and development. The fine particles of shredded and ground coconut husks in homemade coco peat also improve soil aeration.
In case you missed it: From Seedling to Bloom: Tailoring DIY Flower Plants Fertilizers to Different Growth Phases
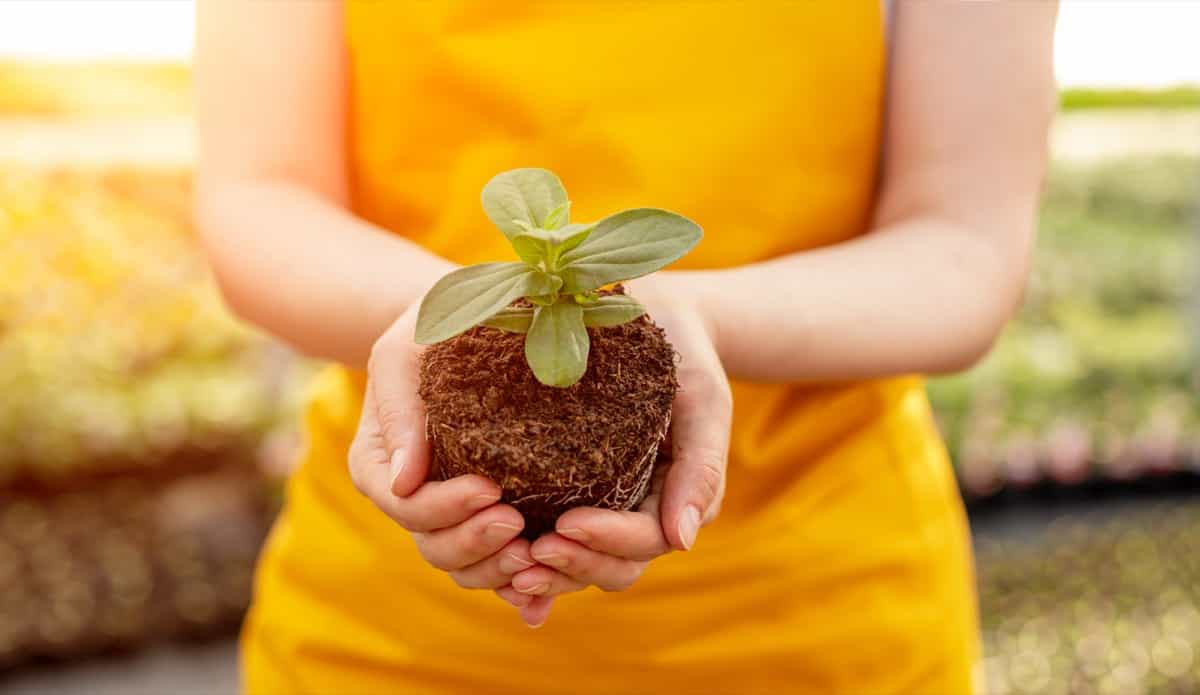
They help loosen compacted soils by increasing porosity, allowing water to drain more efficiently, and preventing waterlogged conditions that can suffocate plants. In addition to improving oxygen levels in the soil, homemade coco peat aids in nutrient absorption by enhancing nutrient availability through increased microbial activity. The beneficial microorganisms present in coco peat break down organic matter, releasing nutrients that are then taken up by plant roots.
Water and Moisture Management with Coco Peat
Water and moisture management is crucial for the health and growth of garden plants. When using coco peat, it’s essential to strike the right balance. The material has a high water-holding capacity but drains well to prevent waterlogging. This means that you need to adjust the watering frequency accordingly. Mix coco peat with soil or other amendments before planting to ensure proper moisture management.
This will help create a well-draining medium that retains enough moisture for plant roots without causing excess saturation. Once your plants are established, monitor the soil moisture regularly. Coco peat tends to dry out faster than traditional soil mixes, so you may need to water more frequently. However, be mindful not to overwater, which can lead to root rot. Consider implementing mulching techniques using coco peat around your plants.
It acts as an insulating layer on top of the soil surface and helps reduce evaporation while providing additional protection against extreme temperatures. Another benefit of coco peat in managing moisture is its ability to rehydrate quickly after drying out completely. If you accidentally let your plants dry out too much, simply soak the coco peat thoroughly until it absorbs enough water, and then apply it around the base of your plants.
Fertilize Garden Plants with Homemade Coco Peat Mixtures
One of the greatest benefits of using homemade coco peat in your garden is its ability to retain moisture and nutrients. This makes it an excellent medium for fertilizing garden plants. Incorporating coco peat into your soil can create a nutrient-rich environment promoting healthy plant growth. To fertilize your garden plants with homemade coco peat mixtures, prepare a mixture of equal parts coco peat and organic compost. The coco peat will retain moisture, while the compost adds essential nutrients to the soil.
Once you have prepared your mixture, simply spread it around the base of your plants or use it as a top dressing. Gently work it into the soil to ensure even distribution. The coco peat mixture will slowly release nutrients over time, providing a consistent source of nourishment for your plants. This helps them develop strong roots and vibrant foliage. Additionally, using homemade coco peat mixtures reduces dependence on synthetic fertilizers, making it an eco-friendly choice for gardening enthusiasts.
In case you missed it: How Long it Takes to Grow Mushrooms at Home: Factors Affecting the Growth Rate of Mushrooms
Conclusion
Making coco peat at home can be a rewarding and cost-effective way to enhance your garden plants’ growth and overall health. Utilizing homemade coco peat offers numerous benefits for your garden plants. It promotes healthier root development and better overall plant growth and contributes to sustainable gardening practices by repurposing coconut husks that would otherwise go to waste.
- How to Grow Hibiscus from Flower
- Plantation Ideas for Home Decoration: A Beginners Guide
- Flower Garden Designs and Layouts for Beginners
- Planting and Spacing Techniques in Papaya: A Beginner’s Guide
- Growing Gold: Essential Techniques for Planting Pineapples
- How to Make Kalanchoe Plant Bushy: Home Remedies and Solutions
- 11 Reasons Why Your Gardenia is Not Blooming: Home Remedies and Solutions
- Eco Elegance: The Guide to Designing a Drought-Tolerant Landscape
- Gardening on a Slope: Strategies for Hillside Landscaping
- Nourish and Flourish: Top Organic Mulches for Thriving House Plants
- Everything You Want to Know about Indian Mogra Flower: Discover Uses and Growing
- Green Thumb Success: Expert Tips for Cultivating Greenhouse Pumpkins All Year Round
- Maximize Growth & Flavor: The Ultimate Guide to Companion Planting in Herb Gardens
- How to Control Rhododendron Problems Naturally: Home Remedies and Organic Ways to Fix Them
- Natural Magic: The Remarkable Benefits of Cinnamon for Plants
- Best Steps to Revive Dying Tulip with Natural and Organic Treatment
- 10 Reasons Why Your Angel Trumpet is Not Blooming: Remedies and Treatment
- How to Fix Periwinkle Leaf and Flower-Related Problems: Natural Remedies and Solutions
- How to Fix Zinnias Leaf and Flower Problems: Discover Natural and Home Remedies
- Organic Steps to Induce Lemon Tree Flowers: A Comprehensive Guide
- Bloom Booster: Crafting the Perfect Homemade Bougainvillea Fertilizer
- Optimizing Growth: A Guide to Applying NPK Fertilizer for Potted Plants
- 10 Best Homemade Fertilizers for Rubber Plant: DIY Recipes and Application Method
- How to Boost Female Pumpkin Flowers: Effective Steps for More Flowers and High Yields
- Transform Your Indoor Garden: Top Benefits of Pink Salt for Houseplants
- 10 Best Homemade Fertilizers for Peacock Plants (Calathea): Easy DIY Guide
- Unlock Blooms: 9 Reasons Why Your Potted Chrysanthemum is Not Blooming
- 8 Reasons Why Your Potted Hibiscus is Not Blooming: Fix it with Simple Solutions
- Unlock Blooms: 9 Key Reasons Your Potted Frangipani Won’t Flower
- 10 Reasons Why Is My Ice Plant Not Blooming: Remedies and Treatment
- 10 Reasons Why My Potted Hydrangea Not Blooming: Treatment and Remedies
- 10 Reasons Why is My Wisteria Not Blooming: Remedies and Treatment
- 10 Reasons Why is My Goldfish Plant Not Blooming: Remedies and Treatment
- Maximize Your Space: Ultimate Guide to Balcony Gardening with Grow Bags
- 10 Reasons Why Your Iris is Not Blooming: Remedies and Treatment
- 10 Reasons Why Your Anthurium Plant is Not Blooming: Treatment and Remedies