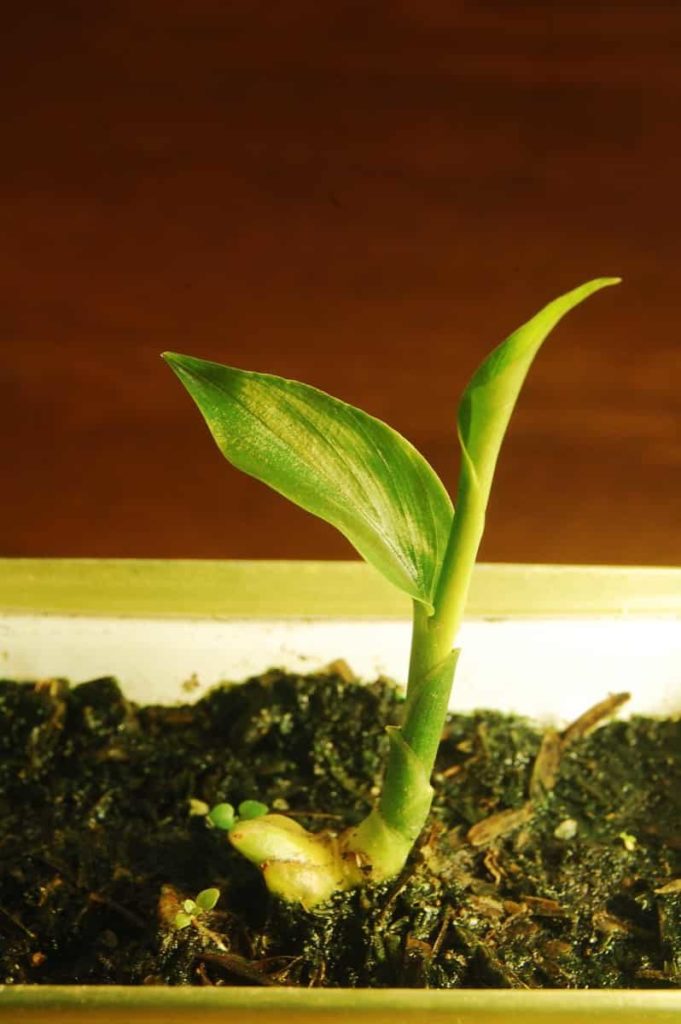
Spices have been an important part of cooking all over the world. Spice is a seed, fruit, root, bark, or other plant substance used mainly for flavoring or coloring food. Whether you are a new grower or you already have a little experience, growing a few spices at home can help you grow your crops and horticultural skills for all your crops. Not only are spices pure, but they also have growing evidence of their ability to fight inflammation and reduce various health risks.
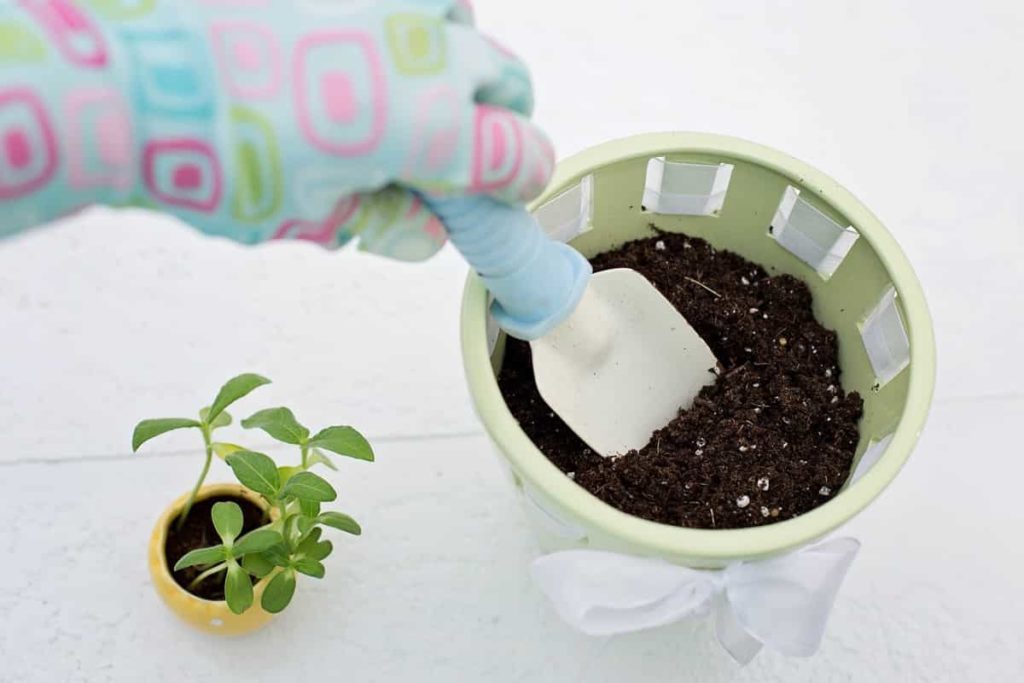
Seed spices such as Dill, Fennel, Fenugreek, Cumin, Sesame, Mustard, and Caraway are great for increasing crop yields and learning seed-saving skills. Seed spices should be grown to produce abundant seeds. These flowers are important not only for the production of spices but also for attracting beneficial pollinators to your garden.
How to grow spices in pots at home
Tips for growing spices at home
Plant Selection – You can grow any spice in a pot if you have the right pot and mix. Some spices are especially suitable for growing in pots. Spices can be grown in any pot or vessel as long as there are enough holes in the bottom to drain excess water easily. Your options are almost endless, with utensils available in various styles, colors, sizes, and materials. Plastic containers are lightweight and inexpensive but can deteriorate over time in outdoor conditions.
Soil essentials – Garden soil is too heavy to use in containers and lacks the porosity needed to grow healthy potted spices. Using light and unsafe commercial potting mix is important to grow any plant in a container. The potting mixture needs to retain moisture yet is easily drained – otherwise, the roots lose oxygen, killing the plant.
You can use high-quality commercial potting mix straight from the bag. But if you want to get your herbs off to a great start, make a custom blend by mixing the following: A three-part pot mix; one part compost, earthworm casting, or aged manure for additional nutrients; and a portion of perlite, pumice, or coarse sand for air and drainage.
Growing spices such as Ginger, Turmeric, and Garlic for their cultivable underground parts is also an excellent gateway to increasing your understanding of good soil modification and watering practices. Their rhizomes, roots, extended stems, and spice cuttings for bulbs require deeper, more fertile soil than many shallow-rooted annuals grown in ordinary vegetable gardens.
In case you missed it: Spice Gardening Tips, Techniques for Dummies
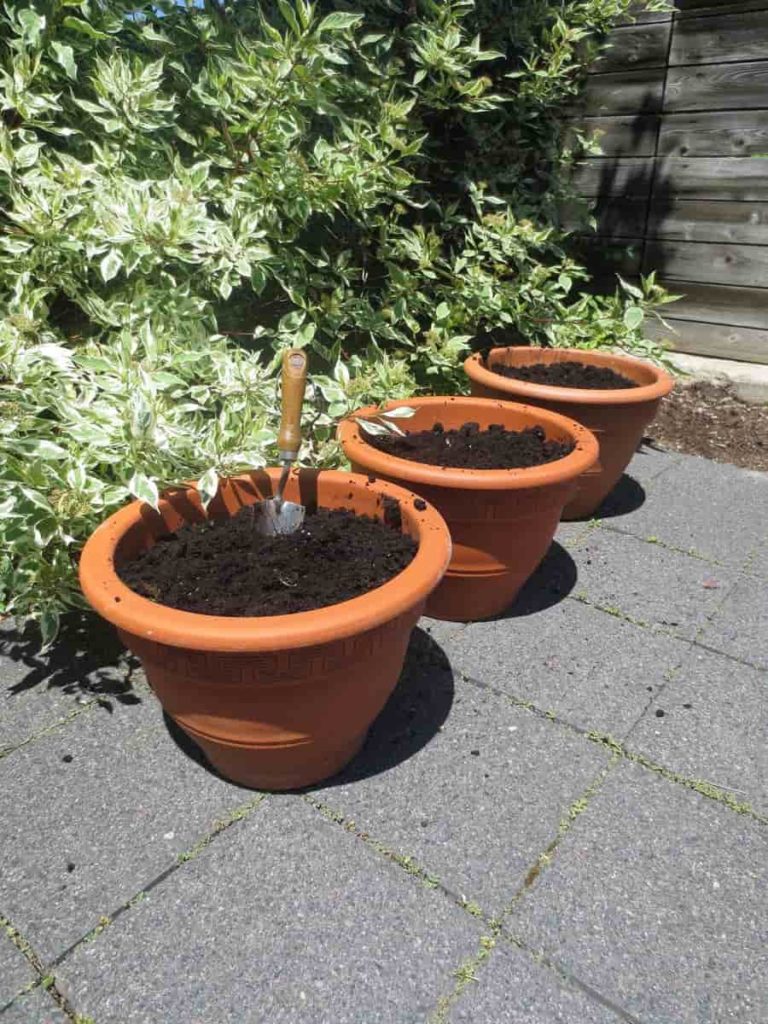
To obtain this type of soil, you must specialize in making potting mixes without soil or modifying your native soil with old fertilizers and other aerators such as leaf molds or coconut coir to improve drainage. To get the best yield, you will also need to maintain soil fertility by using home fertilizer tea like a liquid fertilizer.
Learning to make the soil mixture yourself, improving the native soil, and maintaining soil fertility to grow spices underground are key skills that will make a big difference even if applied to your production.
Feeding – Plants that grow in the ground have ample space to send their roots in search of nutrients. The roots of the herbs that grow in containers are minimal. Thus, it is best to lightly feed the plants with a slowly released organic fertilizer or a half-strength solution of organic liquid fertilizer like fish emulsion, kelp, or compost tea. During the growing season, feed the plants with a liquid fertilizer every three to four weeks a year.
Spice plants also need special light for peak productivity. When growing Cardamom, it is suitable for anything from full sun to partial shade. But it needs the full sun when it is mature enough to start flowering.
To get the right light for perennial spices at home, start them with the outer circle of light radius of your sunny windows. Then take them near the window every few days until you find the light level of their choice. Also, the plant’s shade is towards the sun every few days so that you get the same amount of sunshine all around.
It is essential to water your spice plants properly. Different spices have different water needs. Soggy soil can be deadly to your herbs, especially in cold temperatures. One of the symptoms of over-watering or under-watering is when the leaves of your plants begin to turn yellow.
In case you missed it: Soil Preparation for Garlic Plants: Best Soil Mix, pH, Compost, and Recipe
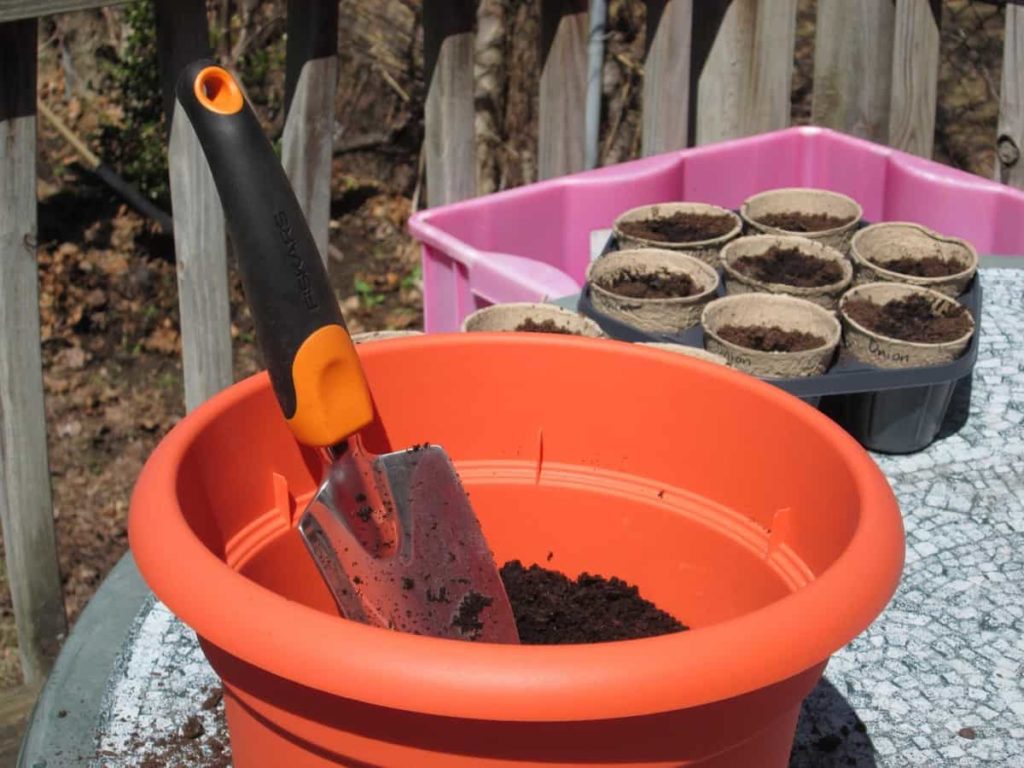
Water your spices twice a week so they can grow well. When watering, a good rule is to feel the first few inches of container/garden soil with your fingers. If the garden soil feels dry, it’s time to water the spice plants.
Growing Fenugreek in pots
- Fenugreek is a nitrogen-fixing legume that grows well in outdoor soils or pots. It takes 3 to 4 months from sowing to harvesting. You can find seeds online at various herbal and hereditary seed sellers.
- Fenugreek is self-fertile, which means you can only get seeds from one plant. In early spring, after the risk of frost, soak the seeds for a few hours immediately before sowing. Then plant the prepared soil in the garden about 3 inches deep.
- Grow three fenugreek plants together in a 2-gallon pot. Or grow four fenugreek plants per square foot in your beds.
- Allow the fine, narrow pods to dry on the plant. Shell small batches such as small dry pods or large batches of threshing/winnow.
In case you missed it: Ginger Growing Tips, Techniques, Ideas, and Secrets
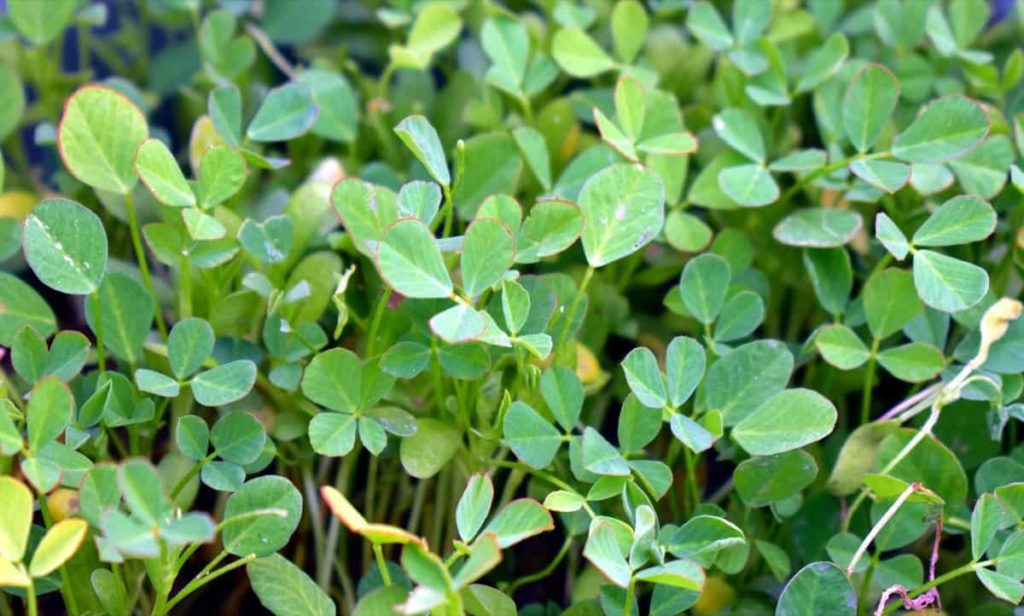
Growing Ginger in pots
- Ginger or ginger root is a rhizome of the Zingiber officinale plant, used as a delicacy, medicine, or spice. It gives its name to its genus and family (Zingiberaceae). Ginger is a perennial plant’s fleshy, underground stem or rhizome.
- Fill a large tub with a well-drained potting mix. Place several pieces of Ginger 6 inches on the surface of the tub. Keep the tub in a well-lit place or under a rising light. Water it regularly when the soil feels dry and feed it once in two weeks with a general-purpose fertilizer.
- Good drainage is essential for plant growth.
- Ginger grown in the garden is ideally considered annual because frost can rot the rhizomes. Dig up the whole plant, shake the soil, and cut the rhizomes by removing the aerial stems.
- The ginger plant needs loose, well-drained soil to produce large-sized rhizomes. Add a good quality pot mix with plenty of extra fertilizer. Ginger prefers organic fertilizers such as bio-compost or vermicompost.
- Choose a wide, flat container for planting. Pots or containers that are small enough to be easily moved in and out are the best choices for Ginger.
In case you missed it: Garlic Growing Tips, Tricks, Ideas, and Secrets
- Fill your container with well-drained soil. Growing locations must be protected from wind and moisture. Soak ginger root in water overnight before planting.
- Fill the container with organic fertilizer mix with organic fertilizer.
- Water the plant with water, can, watering well until the soil at the bottom is completely moist.
- To get good yields, feed the plant a small amount of balanced organic liquid fertilizer once a month. Fertilize the spice plant every six to eight weeks with fish emulsion or seaweed extract. Additional fertilizer can be applied as a side dressing during the growing season. Use some slow-release organic granular fertilizer every three weeks during the Ginger growing period.
Growing Turmeric in pots
- Apply turmeric rhizomes in spring and early summer if you live in a cold climate region. Growing Turmeric is no different than growing Ginger.
- Place in a 3-gallon pot 2 inches deep with a potting mix full of compost. Keep growing indoors in a very hot, sunny place. If transplanting on an outdoor garden bed, start indoors in a 1-gallon container of old manure.
- Fertilize Turmeric weekly when watering using compost tea or organic liquid vegetable fertilizer. Harvest rhizomes begin in late summer when they are large enough for fresh use.
- For drying, long-term storage, or saving and replanting next year – wait until the leaves begin to die naturally during harvest. Use the fingers growing from the mother’s side as a spice. Save the mother (the main body of the rhizome) for replanting in the spring. To dry, boil to soften the fingers, then dehydrate and powder.
Growing Garlic in pots
- Growing in garlic containers is challenging as the plant has a long growing season and needs regular watering. The bottom of the container you choose must have a drainage hole and be at least 8 inches deep to allow enough space for the roots to grow.
- Adequate soil source is important for planting Garlic in pots. It cannot retain too much moisture or be too dry, and plenty of organic nutrients should be available for the bulb.
- A good soil mix of peat, perlite, or vermiculite and a potting mix or compost with a little builder’s sand will provide the nutrients you need to drain, retain moisture, and grow Garlic in containers.
- Garlic leaves usually turn yellow in early summer. Once they are half yellow (usually in early or mid-July), throw the pot out and remove the garlic cloves.
- Garlic is prone to fungal root diseases, so the soil in which you plant cloves must be well-drained. Don’t be tempted to put garden soil in containers regularly. It is very heavy and gets wet in winter. Instead, use a low-quality pottery mix. These mixtures usually contain a mixture of coconut fiber or stomach and compost, in addition to helping to keep vermiculite or perlite light.
- Garlic prefers bright direct sunlight when growing indoors in a container and will need at least six hours a day to grow properly if your home is not blessed with endless sunshine and open windows! Fluorescent bulbs or rising light can be just as helpful and sometimes even more effective.
- These bulbs prefer moist soil, but ensure your vessel gets enough sunlight and has good drainage to help move the water forward. Garlic can rot or die if left in too much water. To water the Garlic plant, fill a container with water at room temperature and pour it into the soil.
Growing Cumin in pots
- It belongs to the Apiaceae family. It prefers a frost-free climate. Grow cumin plants in the spring to be ready for harvest from mid-summer to late.
- Choose pots at least 8-10 inches deep to grow it. It is popular worldwide and is an essential flavor in many foods.
- Start sowing indoors about 6-8 weeks before the last frost. To reduce the risk of transplant shock, sow the seeds in soil blocks or biodegradable pots to a depth of 2 inches, and keep the shoots moist until the shoots appear. Transplant outside, 4-8 inches apart when daily temperature is 15ºC or higher.
- Seeds should germinate between 7 and 14 days if a warm propagator is used. Cumin benefits from being slightly crowded or planted in clusters which helps and prevents the stem from falling to the ground.
Growing Clove in pots
- Cloves are fragrant dried flower buds of a tree in the family Myrtaceae. Cloves belong to the Maluku Islands of Indonesia and are used worldwide as a spice in food.
- Container plants are known to dry out faster than plants in the ground, which means that clove pots need even more water to stay healthy. If you have a large pot and can provide frequent irrigation, there is nothing to say that you cannot try to grow a clove tree in the pot.
- Clove plants can be grown in containers, although they may not be as tall as when planted outside. Containers must be 18 inches in diameter and have a proper drainage system. It is possible to grow cloves from seeds and cuttings.
In case you missed it: Growing Clove Plant from Seed, Clove Plant Propagation
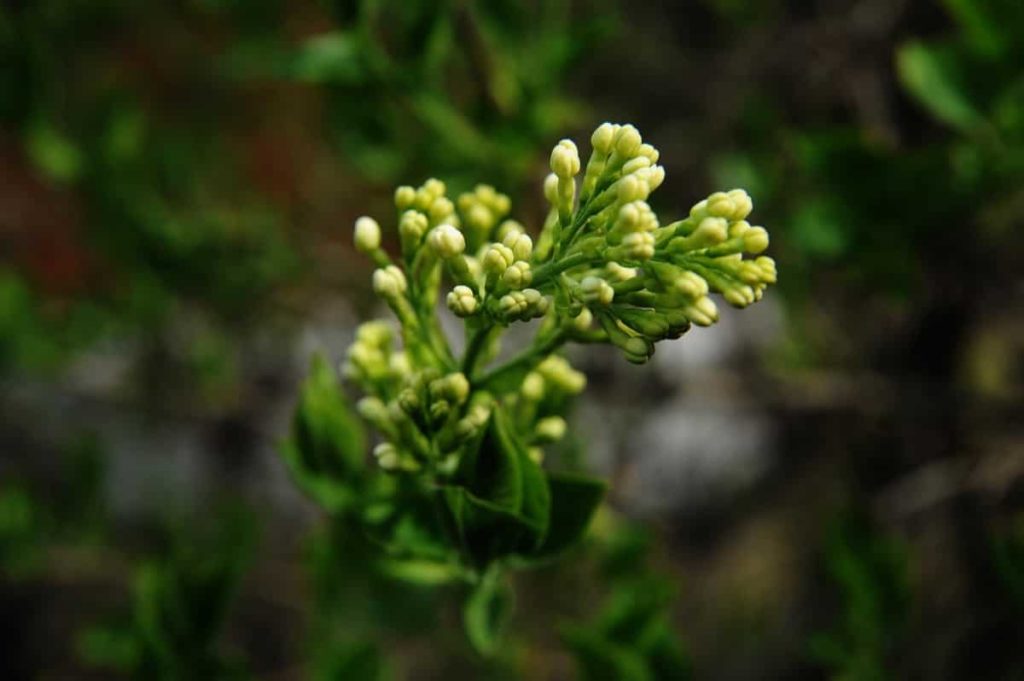
- For seed germination, buy seeds that have recently been harvested and are not completely dry, as completely dried seeds are not viable and cannot germinate. The clove seeds do not need to be covered with soil and should be placed on top of the soil. Sprinkle a little dust on them if you want.
- Cover the pot or seed tray with a plastic wrap to increase humidity. When properly fertilized, cloves will grow and produce the best. Organic fertilizers can be applied from May to June. In the early autumn, shallow trenches dug around the plant can be fertilized.
- You use the cloves as a spice for pruning dried, unopened flower buds. If the clove tree is planted under favorable conditions, it starts flowering six years after planting. It takes 15-20 years to reach the full bearing stage.
Growing Cardamom in pots
- It is (Elettaria cardamomum), also called green Cardamom or real Cardamom.
- You can grow Cardamom in pots easily. You may want to plant the plants in large pots to take them inside when it is very cold.
- Choose a pot as big as possible, so the Cardamom has enough space to grow. Cardamom can be produced from seeds, but make sure to use designated seeds for planting, not pods that have been sold for cooking.
- Soak the seeds overnight before planting. Keep them an inch apart and barely cover them with dirt. They can take 20 to 40 days to germinate in a warm room.
- Cardamom can also be grown through the rhizome division of the plant. In colder climates, you can grow Cardamom in a pot, which you can transfer to a greenhouse or indoors when it cools down.
- The advantage of growing Cardamom in a pot is that you can take it indoors when the temperature is below 10°C. Keep the pot indoors where you can get about 6 hours of bright indirect light. In dry cold months, wash them daily or run a humidifier.
- Placing the pot on a pebble on a plate filled with water is best. Do not place the pot directly on a tray filled with water. 30 to 4 days after flowering, seeds starting from the base of the plant can be harvested.
- Harvest the pods before they are fully ripe and split. Another sign of ripening is that the seeds turn from white to black when ripe. Ripe pods are also easily pulled from the stem.
- Broccoli Seed Germination and Selection
- Asparagus Seed Germination and Variety Selection
- Seasonal Flower Gardening: Best Practices for Spring, Summer, Fall, and Winter
- How to Grow Hibiscus from Flower
- Plantation Ideas for Home Decoration: A Beginners Guide
- Flower Garden Designs and Layouts for Beginners
- Planting and Spacing Techniques in Papaya: A Beginner’s Guide
- Growing Gold: Essential Techniques for Planting Pineapples
- How to Make Kalanchoe Plant Bushy: Home Remedies and Solutions
- 11 Reasons Why Your Gardenia is Not Blooming: Home Remedies and Solutions
- Eco Elegance: The Guide to Designing a Drought-Tolerant Landscape
- Gardening on a Slope: Strategies for Hillside Landscaping
- Nourish and Flourish: Top Organic Mulches for Thriving House Plants
- Everything You Want to Know about Indian Mogra Flower: Discover Uses and Growing
- Green Thumb Success: Expert Tips for Cultivating Greenhouse Pumpkins All Year Round
- Maximize Growth & Flavor: The Ultimate Guide to Companion Planting in Herb Gardens
- How to Control Rhododendron Problems Naturally: Home Remedies and Organic Ways to Fix Them
- Natural Magic: The Remarkable Benefits of Cinnamon for Plants
- Best Steps to Revive Dying Tulip with Natural and Organic Treatment
- 10 Reasons Why Your Angel Trumpet is Not Blooming: Remedies and Treatment
- How to Fix Periwinkle Leaf and Flower-Related Problems: Natural Remedies and Solutions
- How to Fix Zinnias Leaf and Flower Problems: Discover Natural and Home Remedies
- Organic Steps to Induce Lemon Tree Flowers: A Comprehensive Guide
- Bloom Booster: Crafting the Perfect Homemade Bougainvillea Fertilizer
- Optimizing Growth: A Guide to Applying NPK Fertilizer for Potted Plants
- 10 Best Homemade Fertilizers for Rubber Plant: DIY Recipes and Application Method
- How to Boost Female Pumpkin Flowers: Effective Steps for More Flowers and High Yields
- Transform Your Indoor Garden: Top Benefits of Pink Salt for Houseplants
- 10 Best Homemade Fertilizers for Peacock Plants (Calathea): Easy DIY Guide
- Unlock Blooms: 9 Reasons Why Your Potted Chrysanthemum is Not Blooming
- 8 Reasons Why Your Potted Hibiscus is Not Blooming: Fix it with Simple Solutions
- Unlock Blooms: 9 Key Reasons Your Potted Frangipani Won’t Flower
- 10 Reasons Why Is My Ice Plant Not Blooming: Remedies and Treatment
- 10 Reasons Why My Potted Hydrangea Not Blooming: Treatment and Remedies
- 10 Reasons Why is My Wisteria Not Blooming: Remedies and Treatment
- 10 Reasons Why is My Goldfish Plant Not Blooming: Remedies and Treatment
