Growing Ranunculus can be a rewarding and enjoyable experience for any gardener. From propagation to planting and care, these beautiful flowers can bring vibrant colors and elegance to your garden or landscape. By understanding the different propagation methods, such as seeds and bulbs, you can choose the option that suits you best. Growing Ranunculus requires patience, attention to detail, and a love for gardening. With the right knowledge and techniques, you can watch these stunning flowers bloom into a colorful masterpiece right before your eyes.
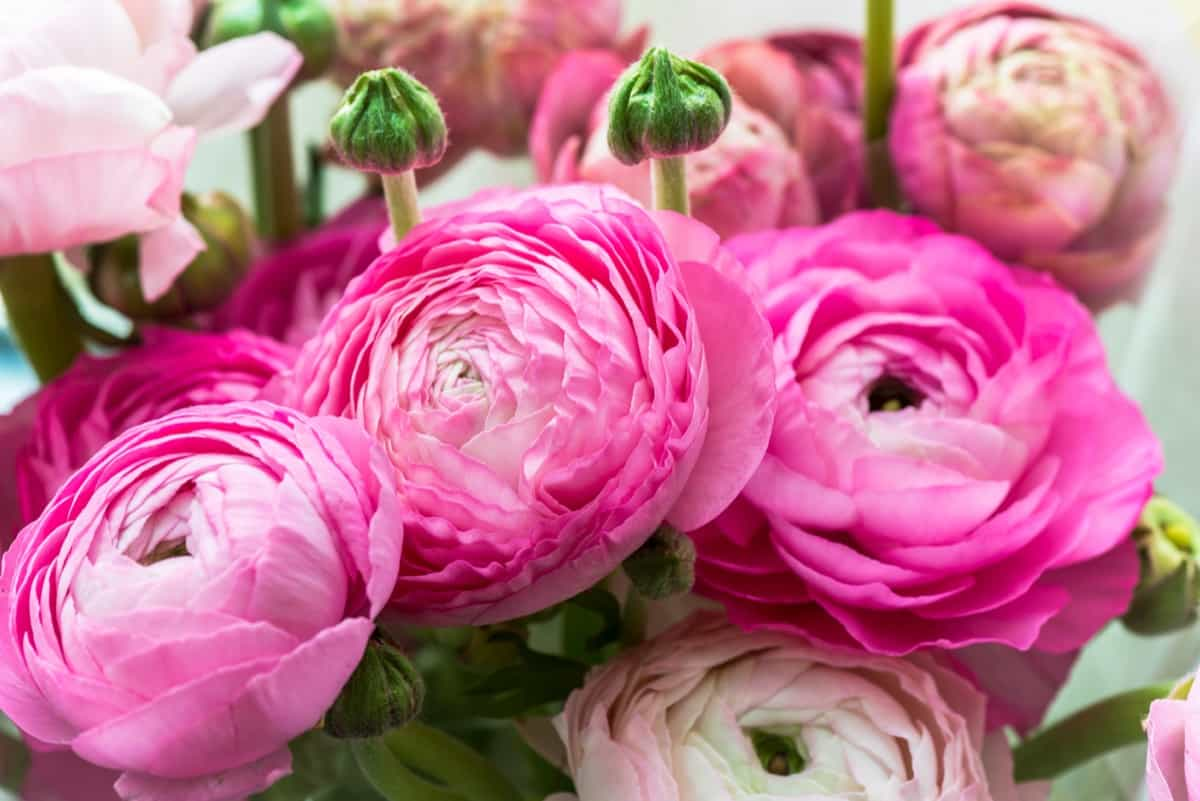
How to Grow Ranunculus (Buttercup)
Planting Ranunculus: Choosing the Right Location and Preparing the Soil
When planting Ranunculus, choosing the right location and preparing the soil is crucial for successful growth. Ranunculus thrives in bright light but can tolerate some shade as well. Ranunculus prefers well-draining soil that is rich in organic matter. Before planting, prepare the soil by removing weeds or debris and loosening it with the tiller. This will create a favorable environment for root development.
Consider amending the soil with compost or well-rotted manure to improve drainage and fertility. Mix these organic materials into the top few inches of soil before planting your Ranunculus bulbs. If growing Ranunculus in containers, choose a container with good drainage holes. This will provide adequate moisture retention while preventing waterlogged conditions.
Growing Ranunculus in Different Climates: Tips for Specific Regions
Ranunculus can be grown in various climates, from cool temperate regions to hot and dry areas. However, each climate comes with its own set of challenges when it comes to cultivating these beautiful blooms. Choose a spot which gets full sun exposure and well-draining soil. If your region experiences heavy frost, consider planting the bulbs in containers so they can be moved indoors during extreme weather. In hotter and drier climates, growing Ranunculus requires extra care.
In case you missed it: How to Grow Trillium Flowers: A Step-by-Step Guide for Planting to Care
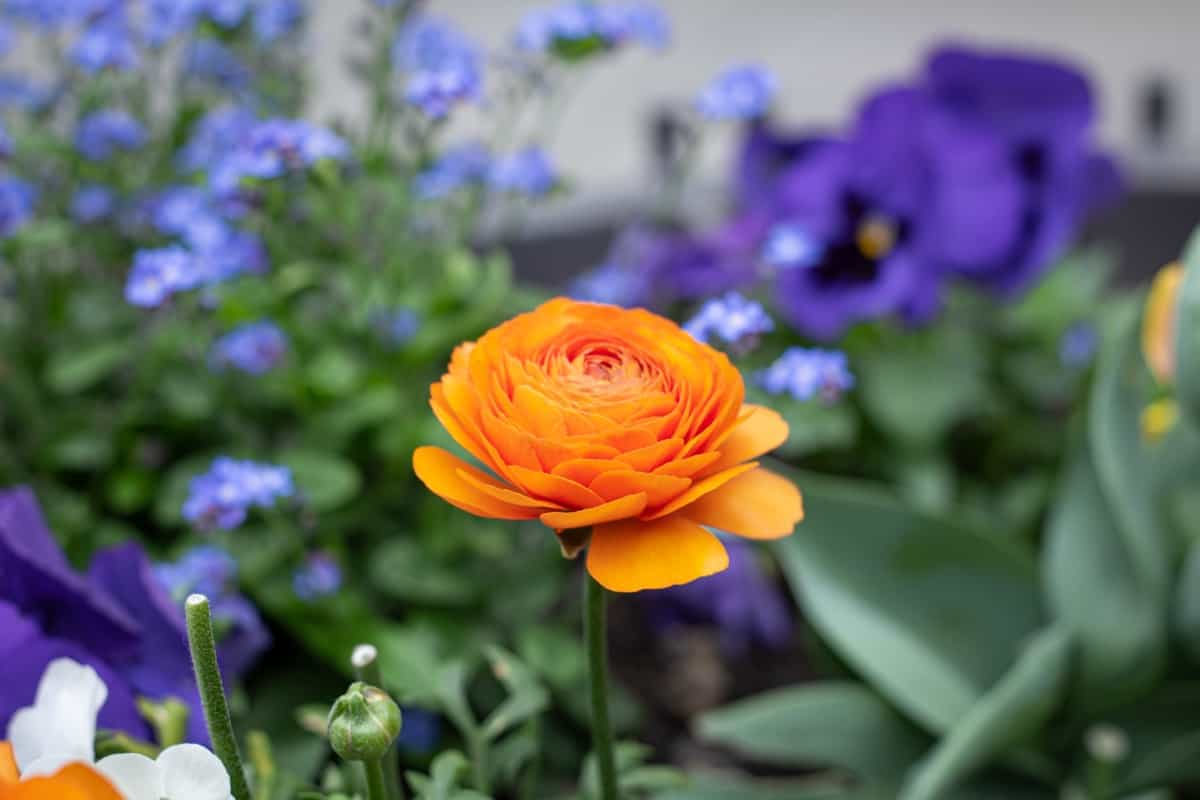
It’s important to provide ample shade during the hottest day and ensure consistent irrigation to prevent wilting. Growing Ranunculus may pose a challenge due to their preference for cooler temperatures if you live in a tropical or subtropical region where temperatures remain consistently warm year-round. Consider planting them during milder seasons or providing partial shade. Proper watering is crucial for successful Ranunculus growth regardless of your climate zone. The key is maintaining moist but not waterlogged soil throughout their growing season.
Propagating Ranunculus: Divisions and Cuttings
When propagating Ranunculus, you can try several methods – divisions and cuttings. Both techniques have their advantages and can be successful with proper care. Dividing the tubers is one way to propagate Ranunculus. This method works well if your plants have formed multiple tubers that can be separated. Dig up the plant carefully, then use a sharp knife or your hands to separate the individual tubers. Make sure each division has at least one healthy bud or shoot attached.
Another option is propagating Ranunculus through stem cuttings. To do this, select a healthy stem and make a clean cut where leaves meet the stem. Remove lower leaves from the cutting, leaving only two or three pairs of leaves at the top. Dip the end in rooting hormone for better success rates before planting it in moist potting soil. Remember to provide adequate water and light for optimal growth during this propagation process.
Sowing Ranunculus Seeds: Timing and Techniques
These delicate beauties prefer cool weather, so sowing them in early spring or late fall is best. If you live in a region with mild winters, you can even start sowing them in winter. Before sowing the seeds, prepare the soil by loosening it with tiller. Remove any weeds or debris that may hinder seed germination.
Caring for Ranunculus Seedlings: Light, Water, and Fertilization
Caring for Ranunculus seedlings is essential to ensure their healthy growth and beautiful blooms. Light, water, and fertilization are key factors in providing the right conditions for these delicate plants. Regarding light requirements, Ranunculus seedlings thrive in full sunlight or partial shade. They need at least six hours of sunlight daily to develop sturdy stems and vibrant flowers. Place them near a sunny window or provide artificial grow lights if you’re growing them indoors.
Watering is crucial during the early stages of growth. Fertilizing your Ranunculus seedlings will give them the necessary nutrients for robust growth and abundant blooms. Use a balanced fertilizer once every three weeks during their active growing period. Remember that moderation is key in fertilization – too much can lead to excessive foliage growth instead of focusing energy on flower production.
Pruning Ranunculus: How and When to Prune
Ranunculus plants are known for their vibrant blooms, but proper pruning is essential to keep them healthy and encourage continuous flowering. Timing is crucial when pruning Ranunculus. It’s best to wait until the flowers have faded and started to wilt before reaching for those pruning shears. This usually occurs towards the end of spring or early summer.
Start by removing dead or damaged foliage from the plant using clean, sharp scissors or pruners. Be sure to cut back close to the base of the plant and dispose of any debris properly. Next, focus on removing spent flower stems. Trim them back just above a healthy leaf node where new growth can emerge. This technique keeps your Ranunculus looking tidy and encourages fresh blooms.
As your Ranunculus grows throughout the season, occasional maintenance pruning may be necessary. Remove any yellowing leaves or stems that appear overcrowded or tangled with nearby plants. Remember that each cutting should be made at a slight angle just above the node point where new growth will occur. This allows for better water drainage and prevents disease from entering through open wounds.
In case you missed it: 15 Gardening Mistakes to Avoid This Fall: For Vegetables, Flowers, Fruits, and Herbs
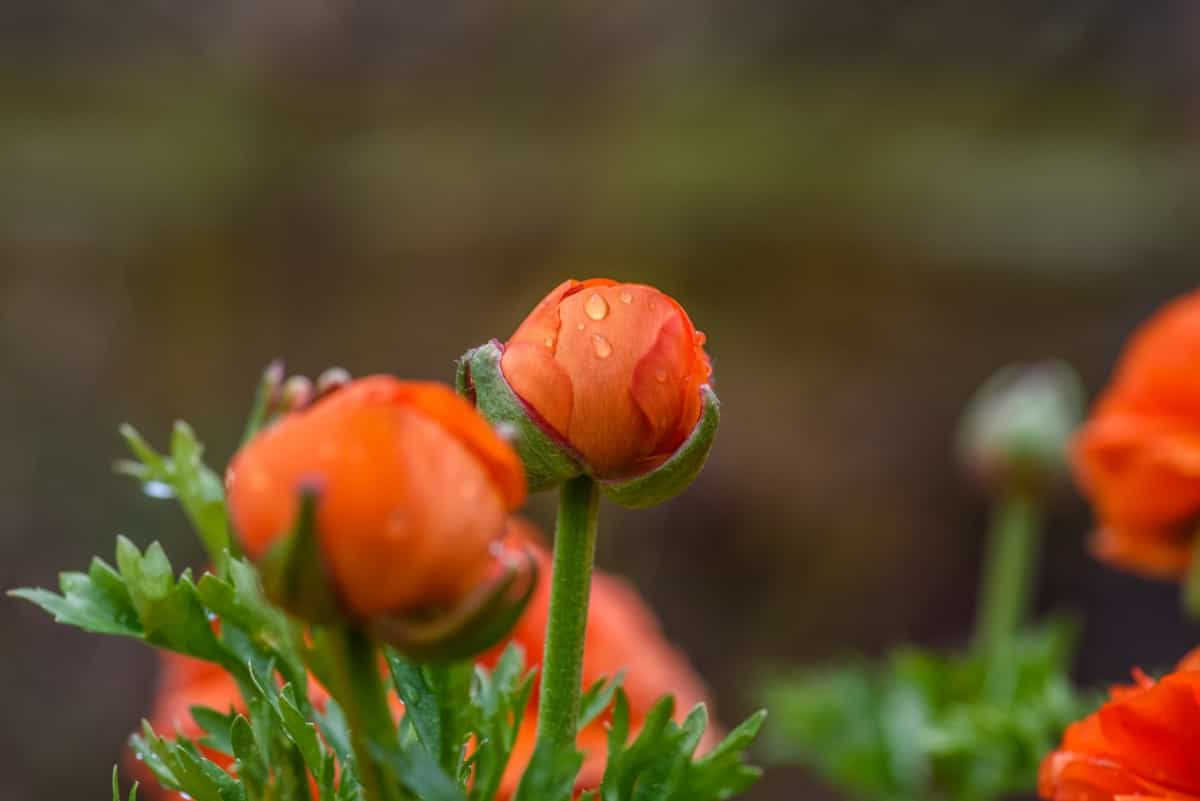
Deadheading Ranunculus: Why and How to Do It
Ranunculus flowers are known for their vibrant and long-lasting blooms. Understanding the importance of deadheading to keep them looking their best is important. Deadheading removes faded or spent flowers from a plant, which is crucial in promoting continuous blooming. First and foremost, removing faded blooms enhances your garden’s overall appearance and encourages new growth.
By cutting off spent flowers, you redirect energy into producing more buds rather than wasting it on seed production. Using sharp shears or scissors, locate the stem above where the spent flower meets its stalk. Make a clean cut at an angle without damaging any surrounding foliage.
Pest and Disease Management for Ranunculus
Aphids are one of the most common pests you may encounter when growing Ranunculus. These tiny insects can quickly multiply and damage by sucking sap from leaves, resulting in distorted leaves and stunted growth. To get rid of aphids, you can use insecticidal soap to control their population. Another pest that may plague your Ranunculus plants is slugs and snails.
These slimy creatures love to feast on tender foliage, leaving behind unsightly holes. You can protect your plants by creating physical barriers such as copper tape or applying organic slug pellets. Powdery mildew often affects Ranunculus, especially in humid conditions. This powdery white coating on leaves can inhibit photosynthesis and weaken the plant over time. To prevent powdery mildew, ensure air circulation around your plants by spacing them apart.
Botrytis blight is another fungal disease that commonly affects Ranunculus blooms. It manifests as brown spots on petals or fuzzy gray growth on buds and stems. Proper sanitation practices like removing infected plant material promptly can help prevent its spread. Regularly inspecting your Ranunculus for signs of pests or diseases will enable early detection so you can take necessary action promptly.
Growing Ranunculus in Containers: Tips and Tricks
First things first, choose the right container. Opt for a large pot with good drainage holes to ensure proper air circulation around the roots. Fill it with well-draining soil mixed with organic matter like compost or peat moss. Next, plant your Ranunculus bulbs about 2 inches deep into the soil, spacing them at least 4-6 inches apart. Ensure each bulb has enough room to spread its roots and grow properly.
In case you missed it: 14 Best Spring-flowering Bulbs to Grow in Your Garden
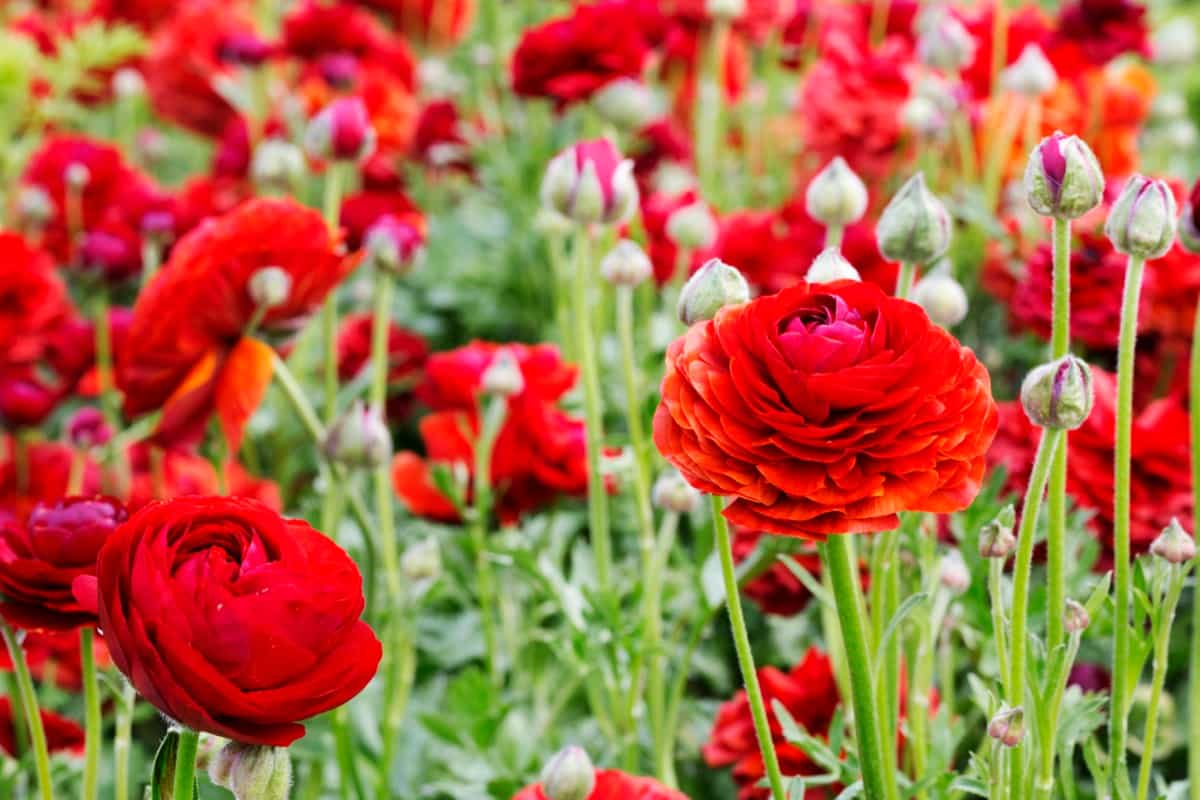
Remember that they prefer moist but not soggy conditions when watering your Ranunculus in containers. Water regularly whenever the top few inches of soil feel dry, but be careful not to overwater, as this can cause root rot. To keep your container-grown Ranunculus healthy and blooming throughout the season, fertilize regularly using a balanced liquid fertilizer diluted according to package instructions.
This will provide them with essential nutrients for vigorous growth and abundant flowers. Ranunculus loves bright light but needs protection from direct afternoon sun, which can scorch their delicate petals. Place your containers where they receive morning sun or dappled shade during hot summer afternoons.
Companion Planting for Growing Ranunculus
Regarding growing Ranunculus, companion planting can ensure healthy growth and prevent pests. By strategically selecting plants that complement the needs of Ranunculus, you can create a harmonious and beneficial garden ecosystem. One excellent companion plant for Ranunculus is lavender. Lavender attracts pollinators like bees and butterflies, and its strong scent also helps deter pests such as aphids and spider mites.
The vibrant purple blooms of lavender make a stunning contrast with the colorful Ranunculus petals. Another great option is marigold. This cheerful flower adds visual appeal to your garden and is a natural pest repellent. Marigolds emit a pungent scent that repels nematodes, which are harmful soil-dwelling organisms that can damage the roots of many plants, including Ranunculus.
Additionally, consider planting dianthus alongside your Ranunculus. Dianthus attracts beneficial insects like ladybugs and lacewings that feed on common pests such as aphids and thrips. These tiny warriors help keep your precious Ranunculus safe from infestations while adding pops of color to your garden beds. Herbs like chives or rosemary make excellent companions for Ranunculus due to their aromatic properties that naturally fend off harmful bugs while attracting important pollinators.
Harvesting Ranunculus: When and How to Cut Blooms
Ranunculus plants produce stunning blooms that color any garden or floral arrangement. Timing is important when it comes to harvesting Ranunculus blooms. The ideal time to cut the flowers is when they have fully opened but before they start to fade or wilt. This ensures that you get the most vibrant and long-lasting blooms. To harvest Ranunculus, use a sharp pair of pruning shears or scissors.
In case you missed it: Blooming Bounty: 14 Best Shrubs for Pollinators
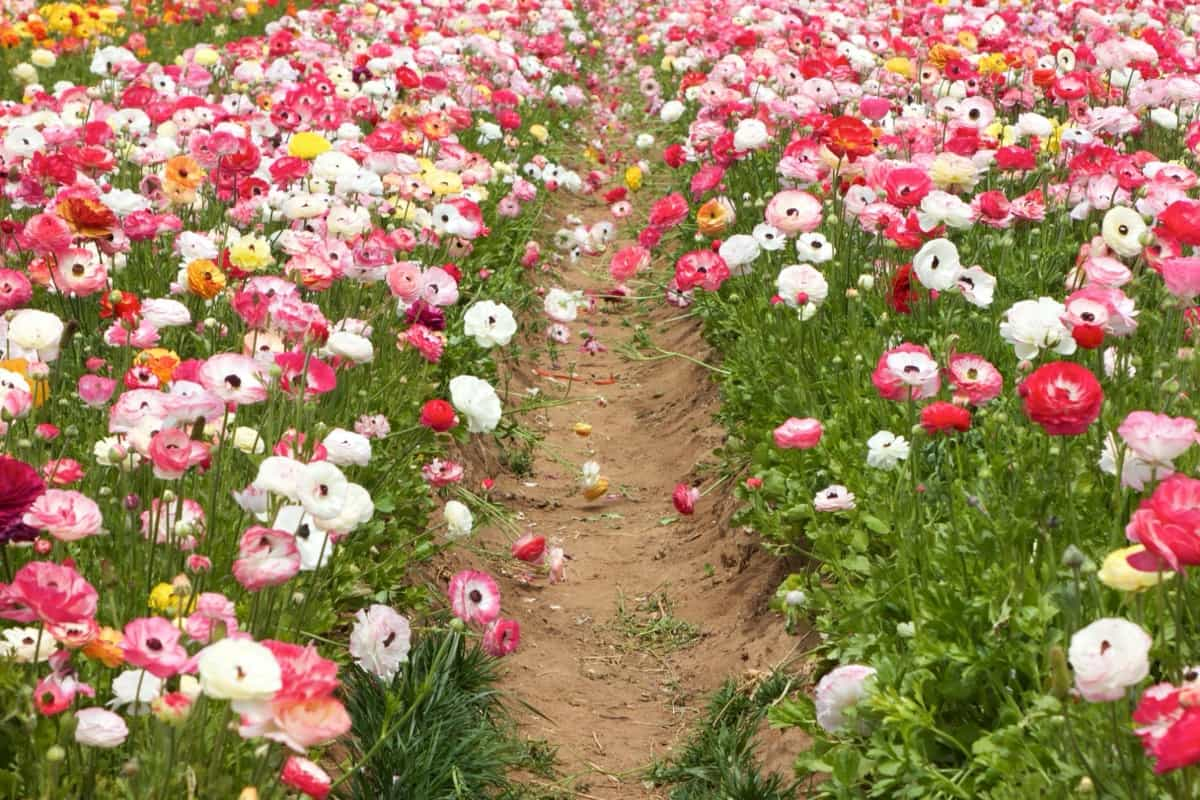
Look for stems with at least one open flower, as this indicates that the rest of the buds on the stem will also bloom soon. Cut the stem close to where it meets another stem or leaf, ensuring it does not damage neighboring buds. After cutting your Ranunculus blooms, immediately place them in a bucket filled with clean water. This helps prevent wilting and keeps them fresh for longer periods.
Remove any leaves submerged in water, as they can cause bacterial growth. Once indoors, prepare a clean vase with fresh water and flower preservatives. Trim each stem at an angle before placing them in the vase, allowing for better water absorption. Remember not to overcrowd your vase, as this can lead to premature wilting of your beautiful Ranunculus blooms. Display them in a cool spot away from direct sunlight or drafts.
Storing Ranunculus Cuts: How to Keep Them Fresh
After harvesting your beautiful Ranunculus blooms, it’s important to know how to properly store them to ensure they stay fresh for as long as possible. First and foremost, remove any foliage from the stems that will be submerged in water. Leaves below the waterline can cause bacterial growth and shorten the vase life of your cuts. Next, trim about an inch off the bottom of each stem at a 45-degree angle. This allows for better water absorption and keeps your flowers hydrated.
If desired, fill a clean vase with fresh room-temperature water mixed with flower food. Place your Ranunculus cuts in the vase immediately after trimming their stems. Be sure not to overcrowd them – give each bloom enough space to fully open up without touching other flowers or foliage. To extend their longevity further, keep your Ranunculus cuts in a cool location away from direct sunlight or heating vents. Change the water every two days or whenever it looks cloudy or discolored.
In case you missed it: 15 Gardening Mistakes to Avoid This Summer: Green Thumb Guide
Conclusion
Growing Ranunculus can be a rewarding experience for any gardening enthusiast. These flowers add beauty to any garden or landscape with their vibrant colors and delicate blooms. Following the right propagation methods and planting techniques and properly caring for Ranunculus plants can ensure their healthy growth and abundant blooming.
- Gardening Techniques in Planting Vegetables
- Where to Place Indoor Plants in Your Home
- How to Grow Tomatoes Organically at Home: A Comprehensive Guide
- Organic Gardening on a Budget: Low-Cost Methods and Materials
- Gongura Seed Germination and Planting Methods
- Cabbage Seed Germination and Selection
- Broccoli Seed Germination and Selection
- Asparagus Seed Germination and Variety Selection
- Seasonal Flower Gardening: Best Practices for Spring, Summer, Fall, and Winter
- How to Grow Hibiscus from Flower
- Plantation Ideas for Home Decoration: A Beginners Guide
- Flower Garden Designs and Layouts for Beginners
- Planting and Spacing Techniques in Papaya: A Beginner’s Guide
- Growing Gold: Essential Techniques for Planting Pineapples
- How to Make Kalanchoe Plant Bushy: Home Remedies and Solutions
- 11 Reasons Why Your Gardenia is Not Blooming: Home Remedies and Solutions
- Eco Elegance: The Guide to Designing a Drought-Tolerant Landscape
- Gardening on a Slope: Strategies for Hillside Landscaping
- Nourish and Flourish: Top Organic Mulches for Thriving House Plants
- Everything You Want to Know about Indian Mogra Flower: Discover Uses and Growing
- Green Thumb Success: Expert Tips for Cultivating Greenhouse Pumpkins All Year Round
- Maximize Growth & Flavor: The Ultimate Guide to Companion Planting in Herb Gardens
- How to Control Rhododendron Problems Naturally: Home Remedies and Organic Ways to Fix Them
- Natural Magic: The Remarkable Benefits of Cinnamon for Plants
- Best Steps to Revive Dying Tulip with Natural and Organic Treatment
- 10 Reasons Why Your Angel Trumpet is Not Blooming: Remedies and Treatment
- How to Fix Periwinkle Leaf and Flower-Related Problems: Natural Remedies and Solutions
- How to Fix Zinnias Leaf and Flower Problems: Discover Natural and Home Remedies
- Organic Steps to Induce Lemon Tree Flowers: A Comprehensive Guide
- Bloom Booster: Crafting the Perfect Homemade Bougainvillea Fertilizer
- Optimizing Growth: A Guide to Applying NPK Fertilizer for Potted Plants
- 10 Best Homemade Fertilizers for Rubber Plant: DIY Recipes and Application Method
- How to Boost Female Pumpkin Flowers: Effective Steps for More Flowers and High Yields
- Transform Your Indoor Garden: Top Benefits of Pink Salt for Houseplants
- 10 Best Homemade Fertilizers for Peacock Plants (Calathea): Easy DIY Guide
- Unlock Blooms: 9 Reasons Why Your Potted Chrysanthemum is Not Blooming