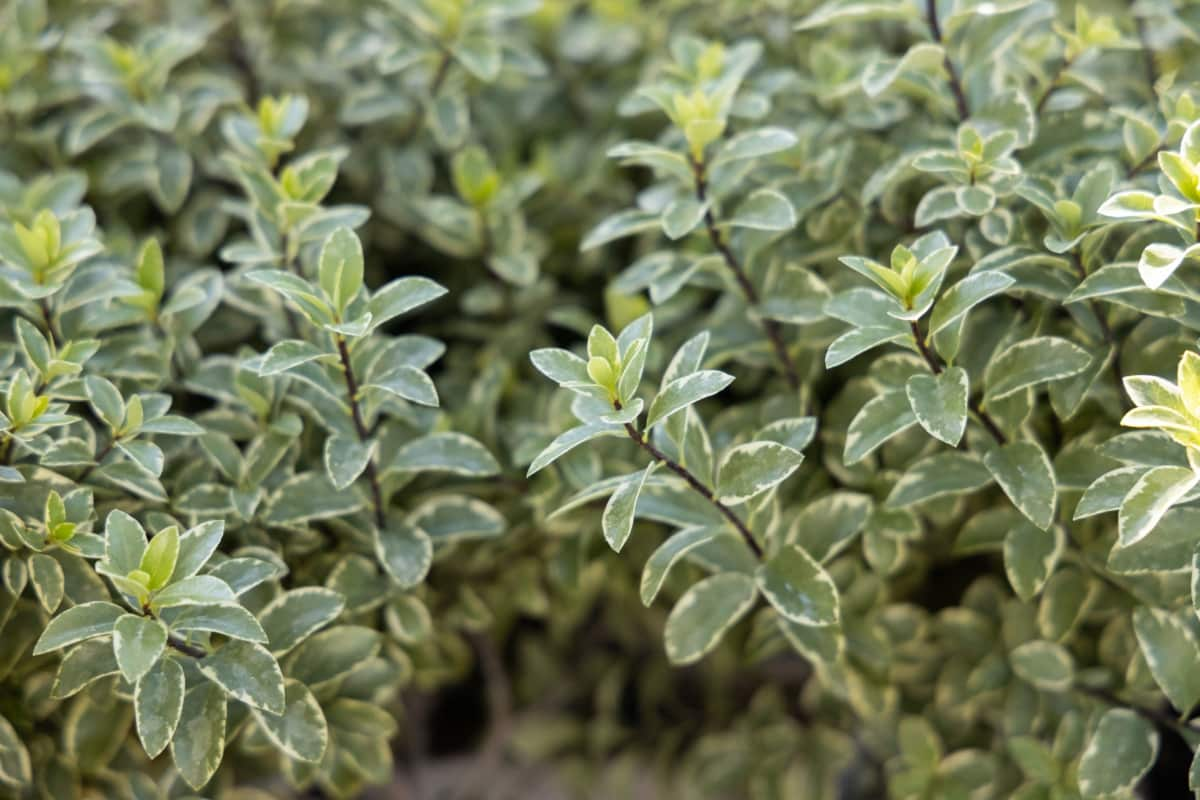
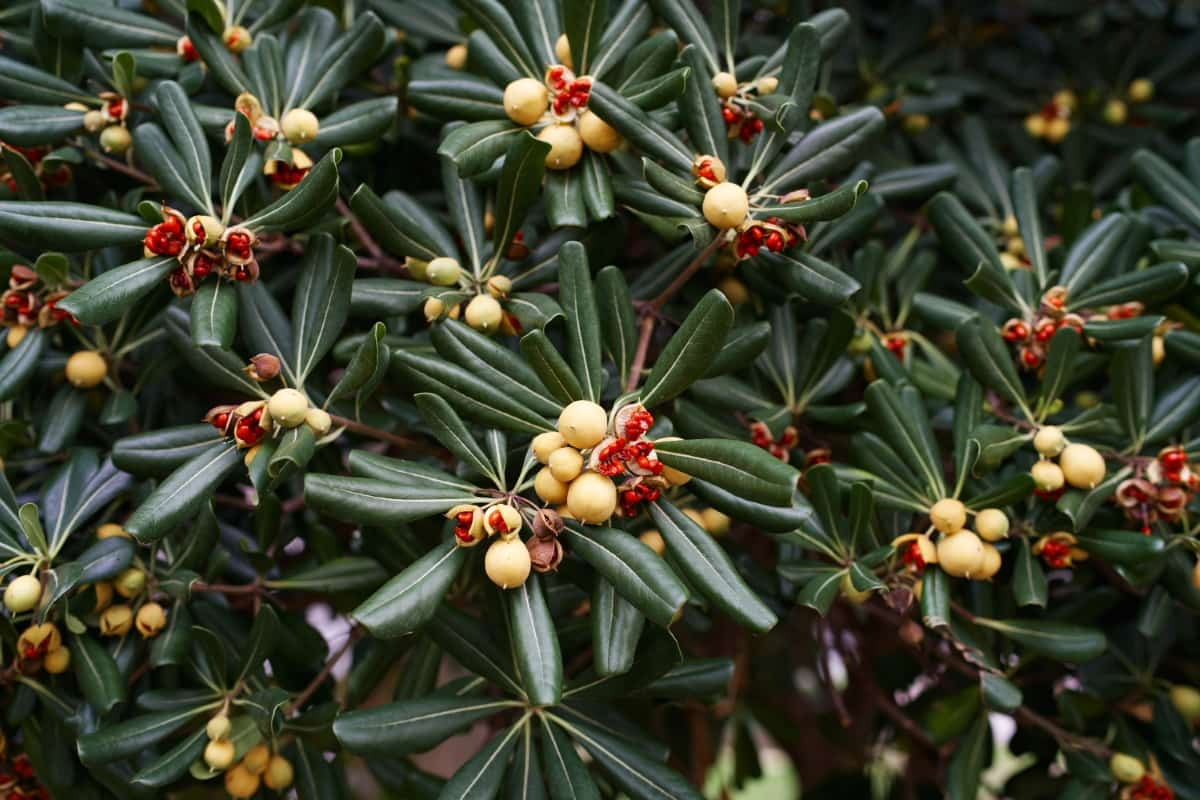
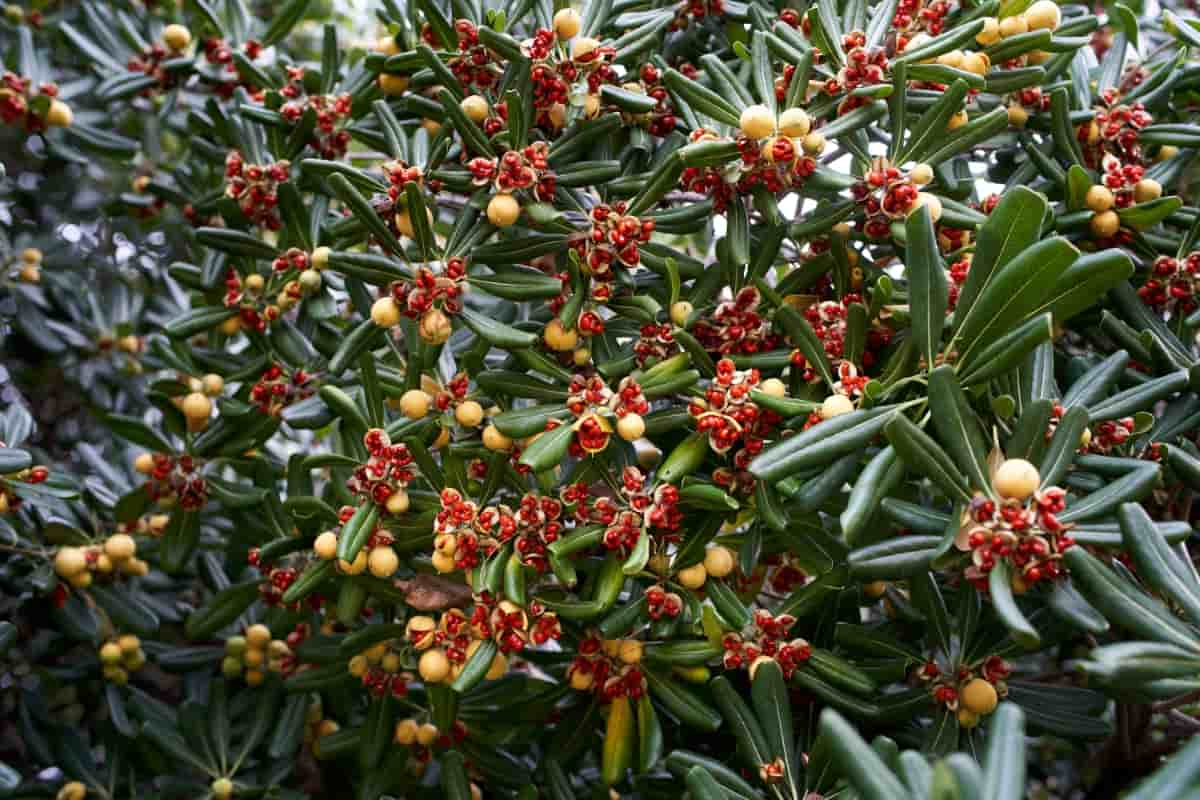
Growing Pittosporum from cuttings can be a rewarding and cost-effective way to propagate this beautiful plant. By following Pittosporum propagation techniques, you can increase your success rate and enjoy the benefits of having more Pittosporum plants in your garden. How to root Pittosporum cuttings?

Gathering the necessary materials and understanding cutting propagation are essential first steps. Taking the time to prepare your cuttings carefully, providing them with proper Pittosporum cutting care, and troubleshooting any issues that may arise will give you the best results.
How to Grow Pittosporum from Cuttings
Selecting the Right Tools and Materials
When it comes to propagating Pittosporum from cuttings, selecting the correct tools and materials is crucial for success. First and foremost, you’ll need a sharp pair of pruning shears to make clean cuts without damaging the plant. It’s also important to have a clean work surface and sterile equipment to prevent the spread of diseases. Next, you’ll need a rooting medium such as perlite or vermiculite that provides good drainage while retaining moisture.
This will create an ideal environment for root development. Additionally, having small pots or containers with drainage holes is essential for planting the cuttings. To further enhance rooting success, consider using hormone rooting powder. This powdered substance contains growth hormones that stimulate root formation in cuttings. Simply dip the base of each cutting in the hormone powder before planting.
Choosing the Right Time for Taking Cuttings
Timing is crucial when it comes to taking cuttings from your Pittosporum plant. The ideal time for this propagation method is during spring or early summer. This is when the stems are at their healthiest, making them more likely to root successfully. One way to determine if it’s the right time to take cuttings is by observing the growth pattern of your Pittosporum. Look for new shoots that have begun to harden off slightly but are still flexible enough to bend without breaking. These young stems are perfect candidates for cutting propagation.
Preparing the Cutting
One crucial step in Successful Pittosporum cutting propagation is preparing the cutting itself. This involves selecting a healthy, disease-free branch that is suitable for propagation. Look for a branch that is about 4-6 inches long and has several sets of leaves. To prepare the cutting, start by making a clean diagonal cut just below a node – this is where new roots will emerge. Remove leaves from the lower portion of the cutting to encourage root development.
Next, dip the bottom end of the cutting into hormone-rooting powder. This powder contains growth hormones that stimulate root formation and increase success rates. After applying the rooting powder, you can plant your cutting in a well-draining potting mix or propagating medium. Make a hole with your fingertip or pencil and gently insert the cutting into it, ensuring that at least one set of nodes remains above ground.
Using Hormone Rooting Powder
Using hormone rooting powder is a common practice when propagating plants from cuttings, and it can greatly increase the success rate of root formation. This powder contains synthetic hormones that stimulate the growth of roots in plant cuttings. To use hormone rooting powder, start by dipping the base of your Pittosporum and cutting it into water to moisten it.
In case you missed it: List of Houseplants That Grow from Leaf Cuttings

Then, dip the moistened end into the rooting powder, ensuring that it is evenly coated. Gently tap off any excess powder before planting. The hormone in the rooting powder works by encouraging cell division at the base of the cutting, which leads to root development. It also helps protect against fungal and bacterial infections that could hinder root growth.
Planting the Cuttings
The best soil for Pittosporum cuttings is a well-draining potting mix, such as one composed of equal parts perlite, peat moss, and vermiculite. Make sure the soil is moist but not waterlogged before planting the cuttings. Make holes in the soil by using a pencil. The holes should be deep enough to accommodate about half of each cutting’s length.
Gently place each cutting into a hole and lightly press down on the surrounding soil to secure it in place. Once all your cuttings are planted, mist them with water to increase humidity levels around the leaves. This will help prevent excessive moisture loss through transpiration while they establish roots.
Providing the Ideal Growing Conditions
Creating the perfect environment for your Pittosporum cuttings is crucial to their successful growth. These delicate plants need specific conditions to thrive and develop strong roots. Make sure you place your cuttings in a bright location that receives indirect sunlight. Next, maintain a consistent temperature between 18-24°C.
Fluctuations in temperature can stress the cuttings and hinder their growth. You may need to use a heating mat or provide additional warmth during cooler months. Humidity is also important for Pittosporum cuttings. To increase humidity levels around your plants, you can mist them regularly with water or use a humidity tray filled with water beneath the pots.
Watering and Humidity Requirements
Watering and humidity requirements play a key role in the successful propagation of Pittosporum cuttings. Once you’ve planted your cuttings, it’s important to provide them with the right amount of water to keep them hydrated without drowning them. When it comes to watering, it’s always better to err on the side of caution and not overwater the cuttings. Too much moisture causes rotting or fungal diseases. Instead, aim for moist but well-drained soil.
Humidity is another key factor in helping your Pittosporum cuttings establish roots. Maintaining a humid environment around the plants will prevent excessive transpiration and promote healthy growth. You can increase humidity by covering the cuttings with plastic bags or using a misting system.
In case you missed it: Best Fertilizer for Coconut Trees: Application Guidelines for Coconut Palm

Fertilizing the Pittosporum Cuttings
Fertilizing the Pittosporum cuttings is an important step in ensuring their healthy growth and development. These young plants require a balanced supply of nutrients to establish strong roots and promote overall vigor. When it comes to fertilization, it’s best to use a slow-release fertilizer. This will help prevent any potential burn or damage to the delicate root system of the cuttings.
Before applying fertilizer, make sure the potting mix is moist but not waterlogged. This will ensure optimal absorption of nutrients by the roots. Use a well-balanced fertilizer with nitrogen (N), phosphorus (P), and potassium (K) for balanced growth. Over-fertilization can be detrimental to these young plants and may cause excessive leafy growth without proper root development.
Monitoring and Care During Rooting Process
During the rooting process, it is crucial to monitor and care for your Pittosporum cuttings to ensure their successful growth. This stage requires attention and diligence, as you want to create an optimal environment for root development. Keep a close eye on the moisture level of the soil. It should be consistently damp but not overly saturated. Regularly check the soil using your finger or a moisture meter to maintain proper hydration.
Additionally, maintaining humidity levels is essential during this phase. Covering the cuttings with a plastic bag or placing them in a greenhouse can help create a humid microclimate around them. This will prevent excessive moisture loss through evaporation and promote healthy root formation. Furthermore, protect your cuttings from extreme temperatures and direct sunlight. Keep them in a location that receives bright indirect light but avoids harsh afternoon sun exposure, which could scorch delicate new growth.
Transplanting the Rooted Cuttings
Once your Pittosporum cuttings have successfully rooted, it’s time to give them a new home. Transplanting is a key step in the growth process as it allows the young plants to establish themselves in their permanent location. Before transplanting, make sure you have prepared a suitable planting area. Choose a place that gets partial shade and has well-drained soil.
Gently remove each rooted cutting from its container. Dig a hole place each cutting into its respective hole and backfill with soil, ensuring that the plant is at the same depth it was previously planted. Gently firm down the soil around each cutting to eliminate any air pockets. Water thoroughly after transplanting to help settle the soil and provide moisture for establishing roots. Continue to water regularly during dry periods until your Pittosporum cuttings are fully established.
In case you missed it: How to Grow Leeks on Tower Gardens: Step-By-Step Guide for Beginners

Conclusion
Growing Pittosporum from cuttings can be a rewarding and cost-effective way to propagate these beautiful ornamental plants. By following Pittosporum propagation tips, you can increase your chances of success rate and enjoy the satisfaction of watching your cuttings grow into healthy, thriving plants.
- How to Grow Hibiscus from Flower
- Plantation Ideas for Home Decoration: A Beginners Guide
- Flower Garden Designs and Layouts for Beginners
- Planting and Spacing Techniques in Papaya: A Beginner’s Guide
- Growing Gold: Essential Techniques for Planting Pineapples
- How to Make Kalanchoe Plant Bushy: Home Remedies and Solutions
- 11 Reasons Why Your Gardenia is Not Blooming: Home Remedies and Solutions
- Eco Elegance: The Guide to Designing a Drought-Tolerant Landscape
- Gardening on a Slope: Strategies for Hillside Landscaping