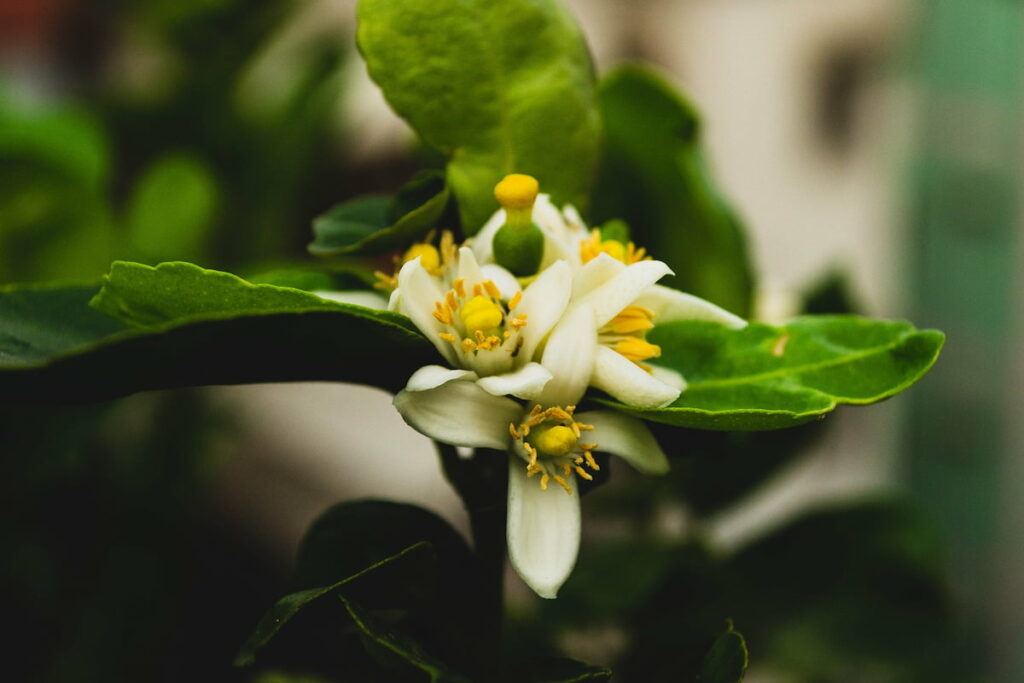
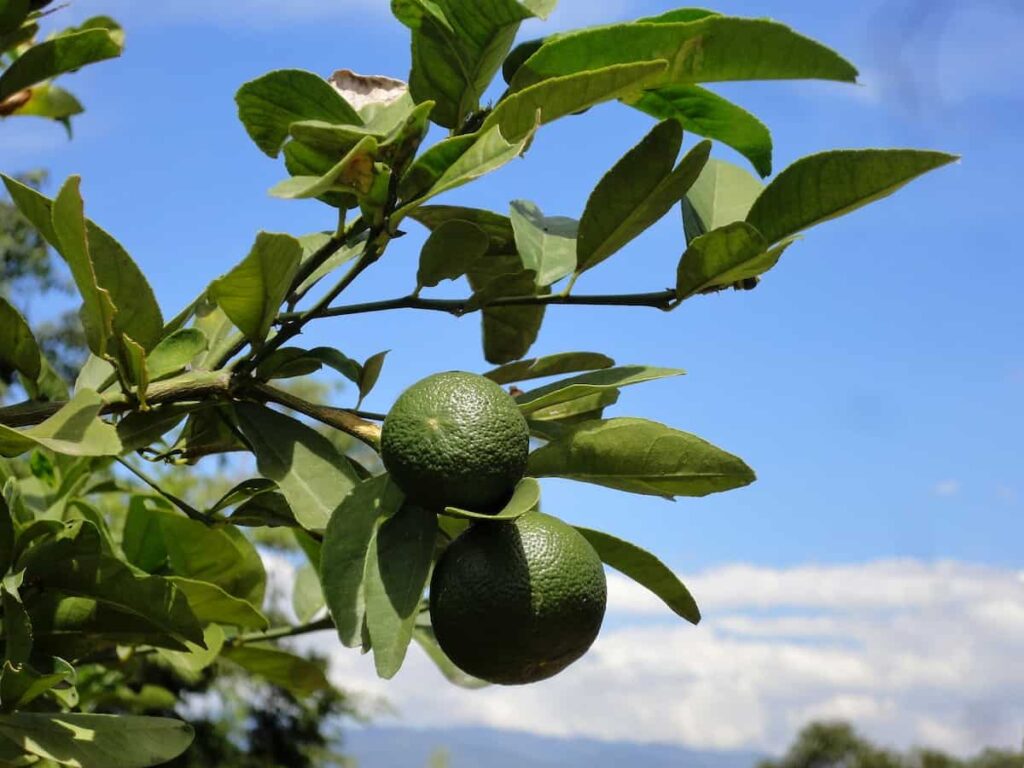
Known as sweet limes or sweet lemons, Mosambi belongs to the citrus family. Mosambi grows as an evergreen perennial with vigorous thorns and is adapted to tropical, subtropical, and Mediterranean climates. Depending on the fruit’s ripe, mosambi can taste tart or extremely sweet. The branches are smooth, branched irregularly, and bear numerous thorns. White fragrant flowers bloom on it.
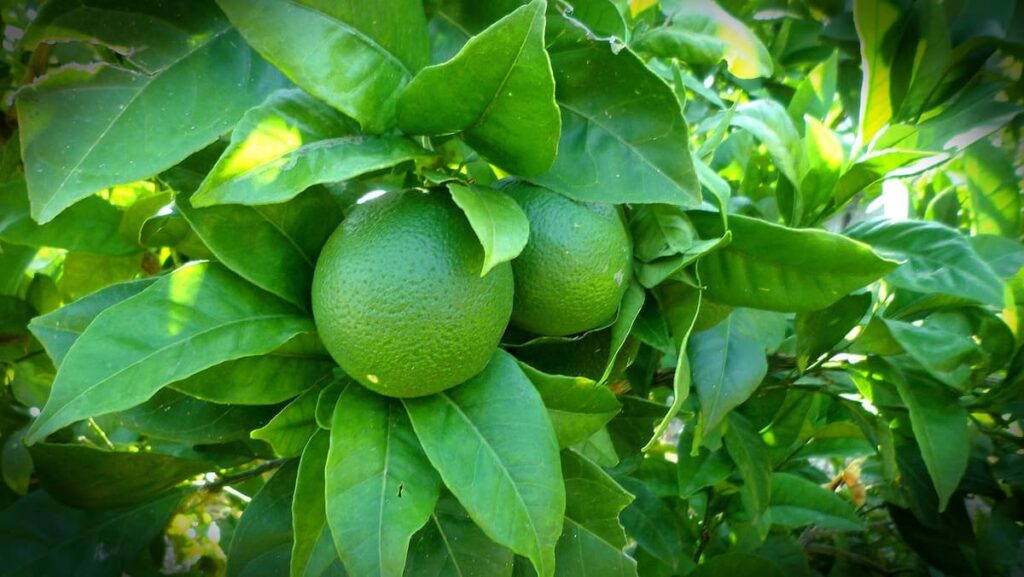
Depending on what language is spoken, Mosambi has several names. Limettier doux is the French name for Mosambis. The Indian word “mitha” means sweet, and it is also referred to as mitha limbu, mitha nimbu, or mitha nebu. There are two types of Mosambis, Palestine, and Mexican, and several Mosambi varieties are grown in India. The most common fruit is Palestine (or Indian), an oblong or nearly round fruit with a rounded bottom.
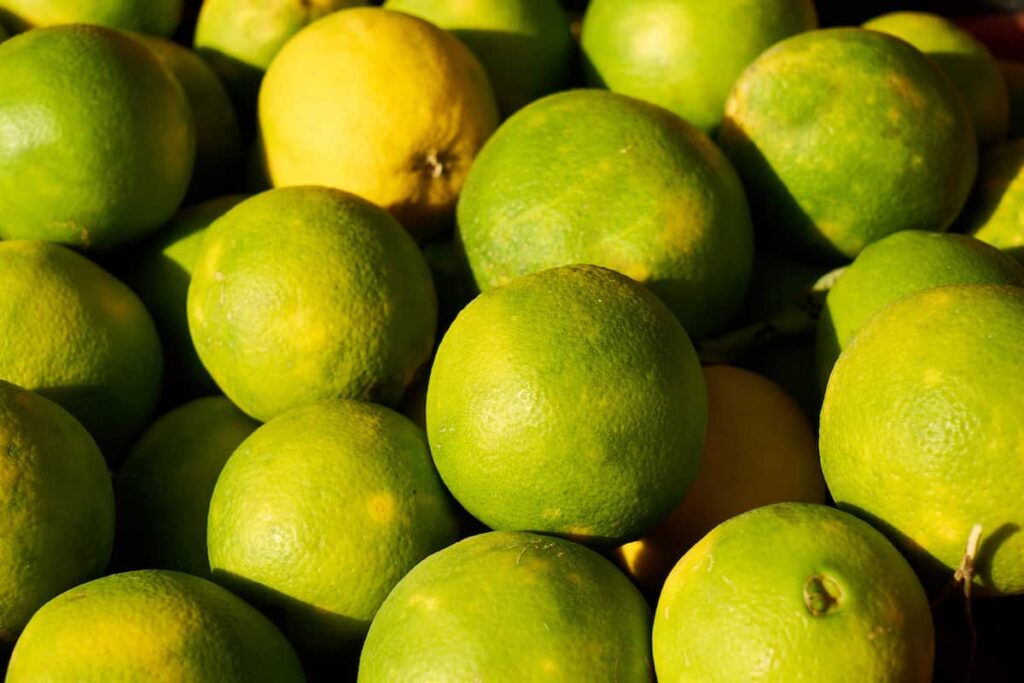
Ripe peels are greenish to orange-yellow in color, smooth, and thin with prominent oil glands. This fruit has a pale yellow interior pulp segmented into ten segments, incredibly juicy, low on acid, and slightly bitter. A Palestine tree is larger to shrubby, thorny, and hardier than an ordinary lime tree. When other citruses are out of season in India during the rainy season, this varietal bears as well.
How to grow Mosambi in pots
How to propagate and grow Mosambi from seeds
“Sweet lime” is a common name for the sweet lemon tree. It does not matter which citrus species is intended; both produce seeds. In other words, even if you are unsure of the species of your seeds, the procedure remains the same. As most Mosambi trees are hybrids, plants produced from the seeds of any given tree will likely not be the same as the parent plant. The new tree will probably have a difficult time producing fruit or blooming.
While Mosambi seeds are easy to germinate, a Mosambi tree can take anywhere from 7 to 15 years to bear fruit. Getting a grafted tree from a nursery is better if you want a tree that will produce fruit faster. Sprouting a Mosambi seed is a fun and easy way to grow a tree for your home or yard if you are looking for a fun project.
- Add a small amount of water to sterile, good-quality potting soil until it is moist but not soggy.
- The potting soil should be filled into small plastic containers with drainage holes. You can use seed trays with individual compartments or separate containers, like yogurt cups with holes poked in the bottom that has been cleaned.
- Purchase certified Mosambi trees from your local garden center or collected the seeds from the Mosambi fruit.
- Water at room temperature should be filled into a small bowl. Place the seeds in the water and let to soak for 24 hours. Seeds have a good chance of sprouting if they are soaked first because soaking softens the seed coating and triggers germination.
- After the seeds are soaked for 24 hours, strain the water and place them on a clean towel. The seeds should not be soaked for longer than this, as they may become waterlogged and not sprout.
- Each Mosambi seed should be pushed into each container a quarter inch deep. Pat the soil lightly over the seed before covering it with soil.
- Ensure the containers are covered with plastic wrap or in a plastic bag and sealed to keep moisture in. During germination, you should not need to add water to the containers if they remain sealed in plastic. When the soil dries out to the touch, mist it lightly with a spray bottle to keep it moist but not wet.
- The containers should be placed in a warm place with temperatures between 18°C and 24°C. Placing it next to a heater or on top of a plant heating mat is a good idea. Ensure that the containers are kept out of direct sunlight. Three to six weeks should be enough time for seeds to germinate.
- You can remove the plastic when the seeds germinate, and leaves appear above the potting soil’s surface. It is best to place the containers where the seedlings will receive bright, indirect sunlight.
- Before transplanting the germinated Mosambi seeds into large containers or the garden, wait for the seedlings to grow a few inches tall and the second set of leaves to appear.
In case you missed it: Growing Mangoes from Seed to Harvest: A Detailed Planting/Production Guide for Beginners
Growing Mosambi trees in containers
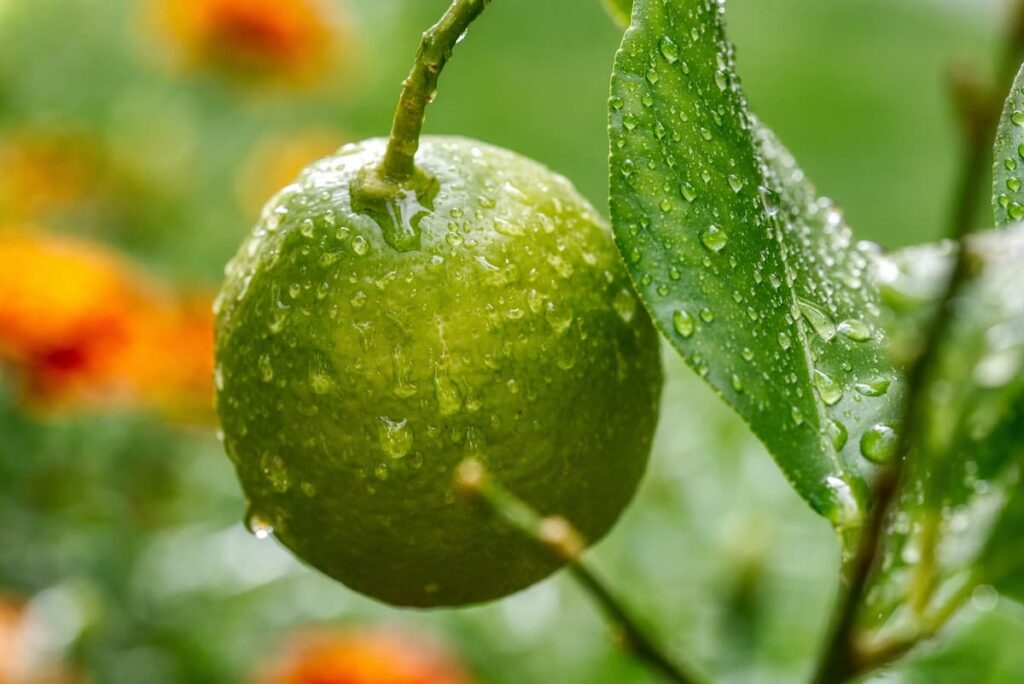
Fruit trees were grown in containers by the ancient Persians, Greeks, and Egyptians and became popular in France and England during the 17th and 18th centuries. Nowadays, potted fruit trees adorn patios and mini gardens as valuable and decorative features. Out of these states, Mosambi is most commonly grown in the Marathwada region of Maharashtra. Mosambi is also abundant in other states, such as Andhra Pradesh, Maharashtra, Karnataka, Punjab, Haryana, and Rajasthan.
Mosambi is grown in West Bengal’s red soil, but Salt Lake’s home gardeners also grow it, generally as a potted plant. Compost rich in nutrients retains most of the moisture and drains well should be used for the plant. Well-decomposed compost-enriched loamy soil is an excellent potting medium, but specially prepared potting mixes with organic and inorganic fertilizer will be even better. A 1:1 proportion of good sandy loam and well-decomposed Farm Yard Manure should be used in preparing the potting mix.
For a pot 12 inches in diameter, add 300 grams of nitrogen, 100 grams of phosphorus, and 200 grams of potassium. Adding a small quantity of wood ash to this mix is recommended. Mosambi plants should be planted in containers two to three inches larger than the existing root ball. The container size can be increased during repotting, and 12 inches is reasonable. It is recommended to plant before the rainy season and keep the bud union above ground level when planting.
Most container plants require daily watering during summer and little watering during winter. The plant should be watered freely, but the pots should drain well. Make sure the compost in the container is never allowed to dry out. Every spring, top-dress established plants with fresh compost. For citrus trees, nitrogen is vital, and high-nitrogen feed should be used regularly to supplement it. Home gardeners can tell whether they need more nitrogen based on the color of their leaves in spring.
Those with healthy foliage will have dark green foliage that is glossy and dark. It is also necessary to analyze the chemical composition of leaves for commercial growers to determine the need for fertilizer. Hilly areas are suitable for planting Mosambi at a high density. These trees grow quite large and occupy a lot of space, so it’s better to plant them at reasonable distances.
In case you missed it: How to Grow Papaya from Seed to Harvest: Check How this Guide Helps Beginners
Mosambi plant care
Soil and climate required for growing Mosambi plant
A deep, well-drained, loamy soil is ideal for growing Mosambi. Crops can be grown on heavy soils, but cultivation becomes complicated if they are not well drained. It is recommended to keep the soil pH at 6.5 to 7.5. Water-logged soils are incredibly harmful to the plant. An ideal climate is about 50 to 75 cm of rainfall from June to September and a clearly defined summer and winter season.
There is no limit to the elevation at which Mosambi can be grown. The plant can be grown as high as 900 m above sea level. Extreme temperatures are required to achieve higher yields. It is ideal for them to have a temperature of 25°C, and they cannot tolerate extreme cold or high temperatures.
Sunlight requirements for growing Mosambi plant
For more than six hours each day, sunlight is required for Mosambi plants. It is best to keep the plant outdoors in a bright, natural light environment. It is essential to keep the plant away from direct harsh sunlight to prevent damage to the foliage.
Manures and fertilizers per Mosambi plant
During March and October, nitrogen needs to be applied twice. The application of farm yard manure, phosphorus, and potash will take place in October. Fertilizers are applied in a circular band at a radial distance of 120 cm from the tree trunk area. The placement or application of fertilizer deep into the soil should be avoided.
Within the Mosambi plantation, maximum activity was found within a depth of 25 cm, while in acid lime, 80-95% is found within the top 10 cm. Once every three months, spray solution containing zinc (0.5%), manganese (0.05%), iron (0.25%), magnesium (0.5%), boron (0.1%), and molybdenum (0.003%) during new flushing. Furthermore, apply 25 g of Zinc Sulphate, Manganese Sulphate, and Iron Sulphate per tree annually.
| Manure and fertilizers | 1 Year (kg/plant) | Annual increase (kg/plant) | From 6th year (Kg/plant) |
| Farmyard manure | 20 | 5 | 30 |
| Nitrogen | 0.100 | 0.100 | 0.500 |
| Phosphorus | 0.050 | 0.050 | 0.250 |
| Potassium | 0.025 | 0.025 | 0.250 |
Watering for Mosambi tree
For proper root establishment, water Mosambi saplings immediately after planting. Irrigation frequency is determined by the climate, variety, and soil type. You can grow Rangpur Mosambi even if you provide irrigation less often than recommended because it is tolerant of drought conditions. At the base of the plant, you should ensure that the soil is moist. There is no need to water the Mosambi garden in the monsoon season.
Irrigation is generally carried out every 3 to 4 days during the winter and every alternate day during the summer. Waterlogging these pants cannot be tolerated, so avoid overwatering. To achieve the best yields and growth of plants, most Mosambi farmers prefer drip irrigation. A subsidy may be available from your local horticulture department for drip irrigation systems.
In case you missed it: How to Plant Blueberries from Seeds: A Beginners Guide to Sowing to Harvest
Pruning Mosambi tree
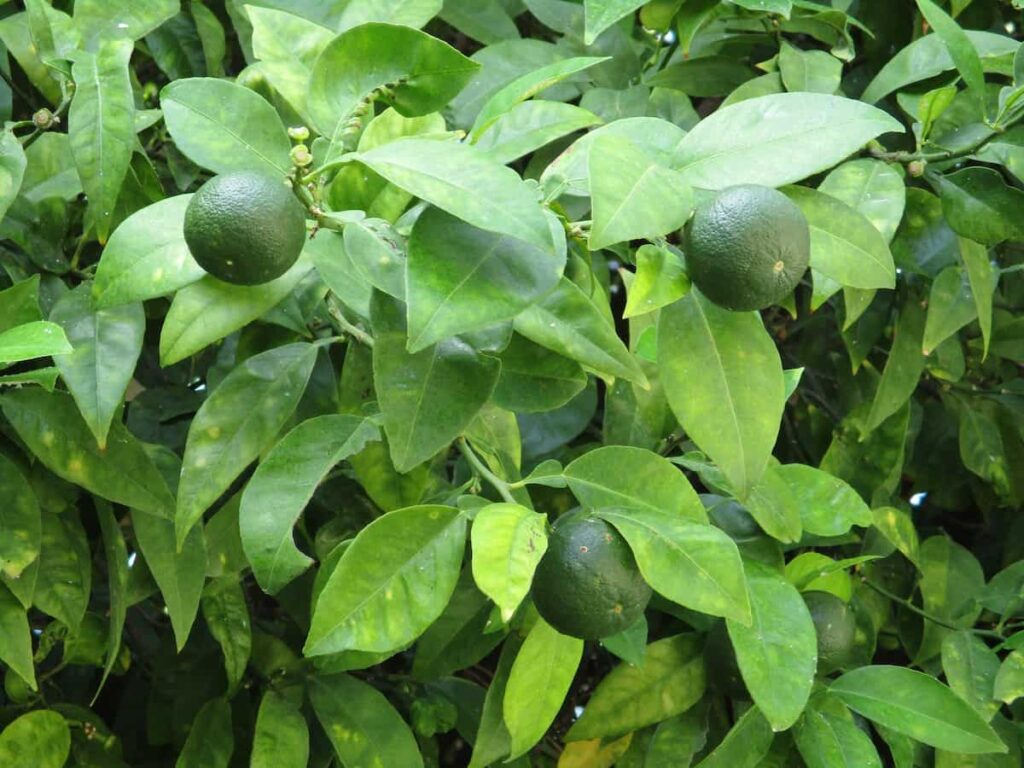
Pruning involves removing unwanted leaves, branches, or stems. Prune the Mosambi tree is necessary for straight growth and to build a strong framework. The purpose of pruning is to encourage new growth. Remove the shoots between 50 and 60 cm from ground level for proper trunk growth. It is crucial to keep the center of the Mosambi plant open. During the early stages of plant development, remove water suckers.
Repotting Mosambi tree
If you are repotting your plant, choose a pot at least 1 inch larger in diameter and 2 inches deeper than the current pot. To prevent excessive water from accumulating in a pot, make sure it has drainage holes. Despite choosing the right size pot, it’s still essential to prevent water from sitting at the bottom and rotting the roots. In addition to drainage holes in the pot, ensure the soil cannot escape through the holes.
Make sure the drainage holes are covered with some strainer-like thing that will allow water to pass through, such as paper towels or small stones. Put your index finger and thumb around the plant’s stem and place your other hand over the top of the pot. Next, turn the pot on its side and gently work the plant back and forth until some of the old roots come out and are exposed to the new soil in the new pot.
It should be put in a new pot, and some soil should be added to fill the unused space; once you have planted your plant in its new pot and filled it with soil, water it. As a result, the plant’s roots will soak up more nutrients from the soil, and it will be able to adapt to its new environment. Repot the plant in the late evening, keep it in a shady area for 2 to 3 days, and then move it to a suitable climate.
In case you missed it: Growing Strawberries from Seed to Harvest: A Complete Planting Guide for Beginners
Insects and pests in Mosambi tree
Insects
| Pests | Symptoms | Control methods |
| Leafminers | Insects make whitish zig-zag tunnels on the leaves. Young trees may have a reduction in growth. However, young trees with heavy leafminer populations are unlikely to die. | Spray Monocrotophos at 1-1.5ml/L water or dimethoate at 1ml/L water during initiation of new flush twice at an interval of 7-10 days |
| Lemon Butterfly | Caterpillars are blackish or greenish, with white and brown spots feeding on the new leaves. | 1. Spray systemic insecticides (per liter of water) Monocrotophos at 1-1.5 ml / Dichlorvos at 1 ml Dimethoate at 1.5 ml / Carbaryl at 2g 2. Manually collection of caterpillars and destroying by burring or burning. |
| Aphids | Blackish-brown or sometimes greenish aphids suck the cell sap from the tender shoots, and gradually shoots are dried. | 1. Clipping of infested shoots at the initial stages. 2. Spray systemic insecticides (per liter of water) Monocrotophos at 1.5 ml Dimethoate 1.5 ml Chlorpyriphos 1-1.5 mlNeem oil 1-2ml |
| Citrus Psylla | Adults and nymphs suck the cell sap from the tender buds and shoot tips. They excrete white waxy crystalline pallets on the affected shoots. Leaves become distorted and curled. | Spray systemic insecticides (per liter of water) Phosphamidon 1ml Parathion 1ml Monocrotophos 1-1.5ml Dimethoate 1.5ml |
| Mealybug | Insects make a white cottony mass at the nodal or shoot angle points and suck sap from leaves, twigs, tender shoots, and from fruits at the base near the fruit stalk. They also excrete crustal honeydew on the affected shoots. | Spray and drench with chlorpyriphos at 1.5-2ml/L water. |
| Black fly | Small black insects form dusty and smoked growth, mainly on the leaf’s undersurface. | Spray systemic insecticides (per liter of water) Quinalphos 1.5ml Monocrotophos 1.5 ml Dimethoate 1ml |
Diseases
| Disease | Symptoms | Control methods |
| Citrus scab | Initially, small, semi-translucent dots lesion develops on leaves which become pustular elevations. The opposite face corresponding to the warty growth exhibits a circular depression with a pink-to-red center. On the fruit, lesions consist of corky projections which often break into scabs affecting larger areas on the fruits | A spray of Bavistin (3g/L water) or Copper oxychloride (2g/L water) |
| Canker | Initially, the disease appears as minute, water-soaked, round, yellow spots that enlarge slightly and turn brown, eruptive, and corky. A characteristic yellow halo surrounds these pustules. Canker lesions on the fruit don’t possess the yellow halo as on leaves. Several lesions on the fruit may merge to form a larger canker. | Spray of copper oxychloride (3g/l) + Streptocycline (0.1g/l) on marble size fruits twice at 15-20 days intervals during the rainy season. |
| Powdery mildew | White powdery spores develop primarily on the upper leaf surface. Young leaves will turn a pale whitish-grey-green. Mildewed leaf ends can twist and curl upward. | Spray Thiophenate Methyl based fungicide at 50% WP 2 gm/L of water at 10-15 days intervals Spray Copper Oxychloride 50 WP 1-2 gm/L. On the same day of pruning to prevent infection |
Harvesting Mosambi
An unripe green fruit turns yellow as it ripens. Once picked, the fruits don’t ripen further; they ripen only on the tree. It usually takes nine to twelve months for Mosambi to mature. Ideally, the fruit should be harvested when it has reached a suitable size and color. October and November are the primary harvesting months for Mosambi.
In case you missed it: Custard Apple Gardening, Tips, Ideas, and Techniques
Conclusion
Mosambis are in season mainly from July through August, much earlier than other orange varieties, between October and November and November through March. In contrast to citrus fruits, Mosambis are only available during the summer monsoon season. You can find them everywhere in the country.
- How to Grow Hibiscus from Flower
- Plantation Ideas for Home Decoration: A Beginners Guide
- Flower Garden Designs and Layouts for Beginners
- Planting and Spacing Techniques in Papaya: A Beginner’s Guide
- Growing Gold: Essential Techniques for Planting Pineapples
- How to Make Kalanchoe Plant Bushy: Home Remedies and Solutions
- 11 Reasons Why Your Gardenia is Not Blooming: Home Remedies and Solutions
- Eco Elegance: The Guide to Designing a Drought-Tolerant Landscape
- Gardening on a Slope: Strategies for Hillside Landscaping
- Nourish and Flourish: Top Organic Mulches for Thriving House Plants
- Everything You Want to Know about Indian Mogra Flower: Discover Uses and Growing
- Green Thumb Success: Expert Tips for Cultivating Greenhouse Pumpkins All Year Round
- Maximize Growth & Flavor: The Ultimate Guide to Companion Planting in Herb Gardens
- How to Control Rhododendron Problems Naturally: Home Remedies and Organic Ways to Fix Them
- Natural Magic: The Remarkable Benefits of Cinnamon for Plants
- Best Steps to Revive Dying Tulip with Natural and Organic Treatment
- 10 Reasons Why Your Angel Trumpet is Not Blooming: Remedies and Treatment
- How to Fix Periwinkle Leaf and Flower-Related Problems: Natural Remedies and Solutions
- How to Fix Zinnias Leaf and Flower Problems: Discover Natural and Home Remedies
- Organic Steps to Induce Lemon Tree Flowers: A Comprehensive Guide
- Bloom Booster: Crafting the Perfect Homemade Bougainvillea Fertilizer
- Optimizing Growth: A Guide to Applying NPK Fertilizer for Potted Plants
- 10 Best Homemade Fertilizers for Rubber Plant: DIY Recipes and Application Method
- How to Boost Female Pumpkin Flowers: Effective Steps for More Flowers and High Yields
- Transform Your Indoor Garden: Top Benefits of Pink Salt for Houseplants
- 10 Best Homemade Fertilizers for Peacock Plants (Calathea): Easy DIY Guide
- Unlock Blooms: 9 Reasons Why Your Potted Chrysanthemum is Not Blooming
- 8 Reasons Why Your Potted Hibiscus is Not Blooming: Fix it with Simple Solutions
- Unlock Blooms: 9 Key Reasons Your Potted Frangipani Won’t Flower
- 10 Reasons Why Is My Ice Plant Not Blooming: Remedies and Treatment
- 10 Reasons Why My Potted Hydrangea Not Blooming: Treatment and Remedies
- 10 Reasons Why is My Wisteria Not Blooming: Remedies and Treatment
- 10 Reasons Why is My Goldfish Plant Not Blooming: Remedies and Treatment
- Maximize Your Space: Ultimate Guide to Balcony Gardening with Grow Bags
- 10 Reasons Why Your Iris is Not Blooming: Remedies and Treatment
- 10 Reasons Why Your Anthurium Plant is Not Blooming: Treatment and Remedies