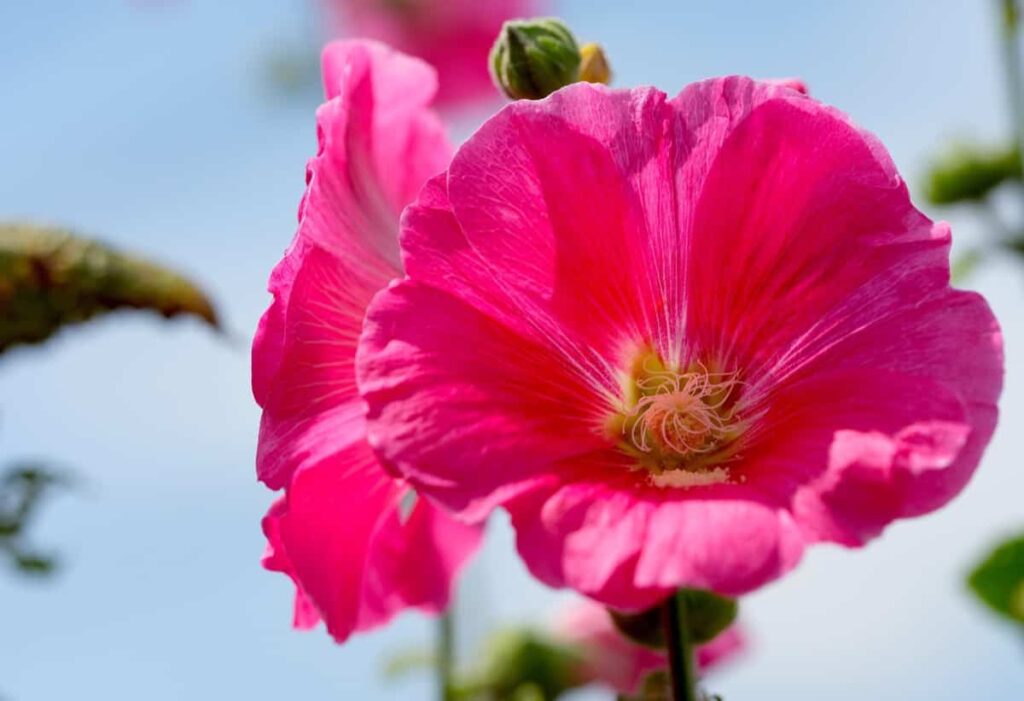
Hollyhocks are a classic cottage garden staple known for their numerous flowers on tall spikes. The most common varieties are biennials, i.e., they live for two years. Plants grow foliage and store energy during the first year. By the second year, the stalks are growing, the flowers are blooming, and the seeds are forming. When planted early enough in spring or started indoors in winter, wide varieties behave like short-lived perennials and will bloom in their first year.
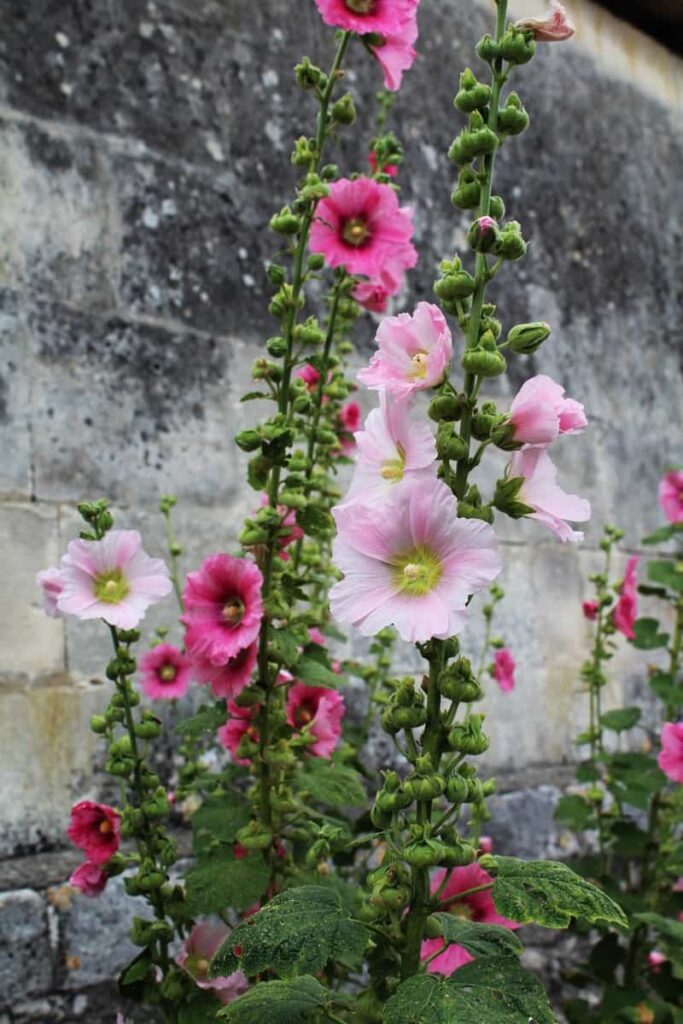
Hollyhocks come in more than 60 different species. The common Hollyhock is the most common and cultivated among the Hollyhock species. Most of these plants grow to a height of 8 feet and are tall, pretty, and flowering. They are ideal for adding to borders or growing against walls and fences because of their height and large blooms. You’ll have long-lasting, beautiful blooms every summer because they self-seed easily. Single-flowering varieties are best for attracting pollinators like bees, even though double-flowering varieties look impressive.
How to grow Hollyhocks
Types of Hollyhocks
Alcea rosea, commonly known as the common Hollyhock, is the most common Hollyhock species found in gardens. Several cultivars are available, some of which are more rust-resistant, taller, or cold-hardy than others. Here are a few species and cultivars to watch out for:
The bristly Hollyhock
The bristly Hollyhock is an ornamental plant that grows up to 6.7 feet tall. A long petiole carries the leaves with an emarginate blade up to 8 inches in diameter. There is either a smooth or a dentate margin on the leaf. As spring approaches, a tall stalk grows, reaching 10 feet tall. The stalk is lignified with alternate sessile leaves and pink flowers in their axils.
Bristly hairs on their surfaces characterize the leaves, the flower stalk, and the fruits. This species Blooms earlier than common Hollyhocks, blooms from April to June, grows in hardiness zones 5 to 9 and has pink blooms.
The Russian yellow Hollyhock
As one of the best choices in the display garden, the Russian yellow Hollyhock, also called Alcea rugosa, is a superb but rarely encountered hollyhock from Russia. It produces large, yellow single flowers from May to September, making it a sensational biennial or perennial Hollyhock. A healthy, vigorous, heavy flowering plant grows 6-7 feet tall and is highly resistant to rust.
Hollyhock leaves are deeply lobed – the classic fig leaf shape. Russian Yellow Hollyhock deserves a prominent place if you grow Hollyhocks in your garden. As compared to other hollyhock species, Alcea rugosa has proved to be reliable and disease-resistant.
Chater’s Double Hollyhock
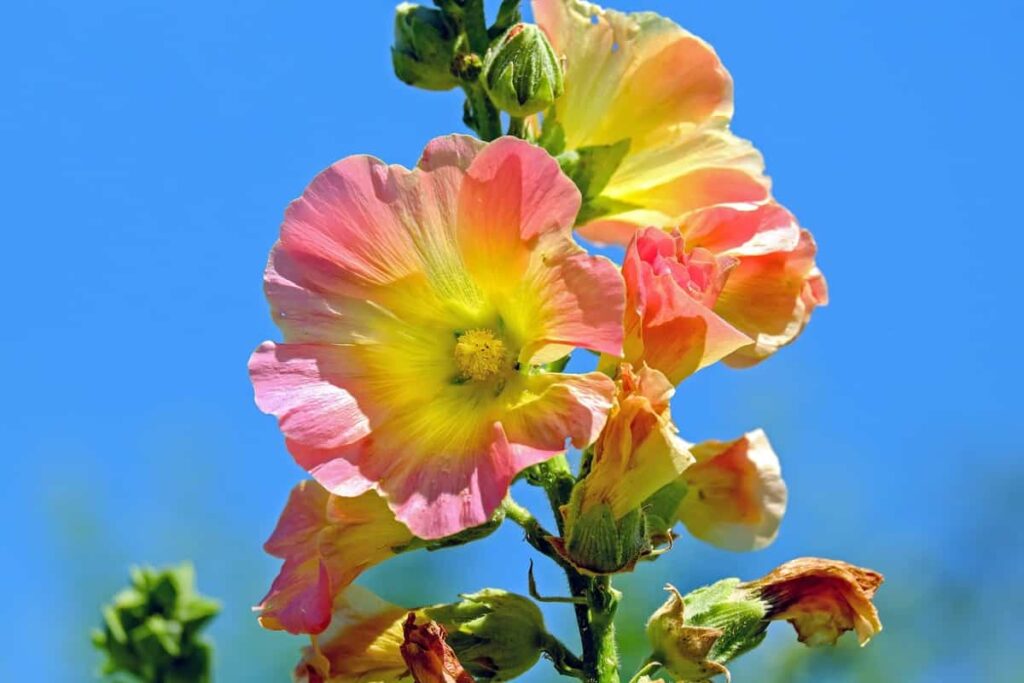
This beautiful double-flowered variety blooms all summer long and comes in many shades. As one of the most popular hollyhock varieties, Chater’s Double is named after the English horticulturist Chater of Essex, who developed it in the 1880s. Various colors are available, including golden-yellow, rose, maroon, salmon-pink, scarlet, and white. The bloom period of flowers is long, and the flowers are edible. This plant is drought-tolerant but performs best in rich and moist soil. Although hollyhock flowers are edible, they are bland; their colorful petals make lovely garnishes for salads and desserts.
Blacknight Hollyhock
Hollyhock with a striking single to semi-double flower, almost black. Alcea rosea Blacknight (Hollyhock) provides architectural height to borders with its funnel-shaped, deep black-purple, single flowers, four inches across, with a bright buttery-yellow throat. From mid to late summer, this variety blooms with striking flowers arranged all around the spike and blooming from the bottom up.
This Hollyhock is a classic garden favorite that grows best against walls, fences, or behind borders. Among the Spotlight Series, Alcea rosea Blacknight is noted for its genuinely perennial cultivars. Hollyhocks grow up to 6 feet tall and 2 feet wide, self-seed readily, and can establish colonies in gardens.
In case you missed it: 365 Days Flowering Plants in India: A Year Of Beautiful Flowers
How to grow Hollyhocks from seed
Hollyhocks self-seed readily; if you already have these plants in the garden, new plants will likely sprout the following year. Growing them from seed is not difficult if you wish to introduce them to your garden. For a better germination rate, follow the general procedure below, but check the specific temperature and timing for each species or cultivar. In April and May, hollyhock seeds should be sown undercover. In May and June, seeds can also be sown directly outside.
- Fill a tray with compost and moist it well to keep the seeds consistently moist if you are planting them undercover. Seeds can bunch up if you water after sowing because the water can move them around.
- The large seeds should be sown separately on the compost surface at approximately 5 cm intervals. Leaving them on the soil surface and not pushing them will allow them to remain visible as you sow. Compost should be lightly sprinkled over the seeds once the tray is full.
- Ensure the tray is placed in a warm area so it can germinate. This stage does not require light.
- Keep heat and moisture in the seed tray by covering it with an open, empty compost bag.
- The trays should be checked every morning and evening for germination after about a week. The light-excluding compost bag should be removed once this process begins.
- Hollyhocks germinate between 10-14 days and are ready to be pricked after 3-4 weeks. They are ready to move on if roots can be noticed at the bottom of the tray.
How to grow Hollyhocks in containers
Choose a dwarf cultivar such as Queeny Purple if you plan to grow Hollyhocks in containers. It is essential to use a gigantic container that can accommodate the large taproots of Hollyhocks and is wide enough to allow roots to spread out during their first growing season. Choose containers with a diameter of no less than two feet and a depth of at least 16 inches. It is essential for Hollyhocks to have good drainage, so a homemade growing medium is ideal. Peat moss, perlite, and old-fashioned garden loam must be in equal proportions.
Ideally, all three types of particles should be present in a garden loam. Hollyhock roots will be able to circulate air by using this planting mix, allowing soil nutrients and fertilizer to reach their roots. Once planting the Hollyhocks in a container has been completed. Set it up in the garden, deck, or patio, where it will get plenty of sunshine. You may need to move the planter to a shadier spot during hot and dry spells. It is also essential to find a location where they will be protected from high winds or severe storms.
Propagation
Hollyhock flower propagation from cutting
- After flowering in winter, hollyhock flower cuttings can be propagated.
- Pick a healthy-grown mother plant, dig up the whole root ball, and lift it out of the ground. With a spade, dig around the base of your Hollyhocks until the root ball can be lifted and accessed
- Choose the plant’s thickest, healthiest roots. The root should be cut off closest to the root ball using a pair of pruning shears. To identify which end of the root is which, make a diagonal cut at the opposite end.
- Cut each root into pieces between 3 and 6 inches long. Keep track of which root end is closest to the root ball (the straight-across end) and which is farthest away (the diagonal end).
- Place the cuttings about 1 1/2 inches deep in a plastic growing tray or pot filled with moist soil. A plastic bag will keep the humidity in the tray, which will help the cuttings sprout. Under grow lights or indoors in a sunny spot, place the tray.
- The cuttings will sprout within 3-4 weeks in most cases. Once the root cuttings start sprouting, remove the plastic bag and fertilize them.
- Root cuttings should be positioned 2 inches below the soil with straight-across ends sticking up. You should leave at least 12 to 18 inches between each cutting so the Hollyhocks can grow as large as possible.
- Hollyhock cuttings continue to grow and release new shoots as long as the soil stays moist.
Hollyhock flower propagation from the division
Hollyhocks are usually propagated by division in the autumn. The perennial Hollyhock is dug from the soil and divided into clusters using a sharp blade, ensuring each cluster has two or three buds. The plants are then planted separately in fertile, well-drained, and sandy soil. It can flower the following year if you water it immediately after planting.
In case you missed it: Growing Morning Glory Flowers: How to Plant and Care
Hollyhock care
It is known that most hollyhock species are adaptable and cold-hardy plants that can be grown in many regions of the U.S., although each species has its care requirements. It is best to place these tall plants in a sheltered place away from the wind to avoid flopping. Ensure they are spaced far enough apart to access good air circulation. In most cases, Hollyhocks are susceptible to moisture-loving fungus rust. Ideally, they should be spaced 18 to 24 inches apart.
Light
Hollyhocks generally prefer full sun, although they survive in partial shade. These tall plants can flop if placed in an overly shady area. Hollyhock’s lower leaves will not wither in a partially shaded location if you live in a hot and dry area.
Soil
Most Hollyhocks can grow in any soil type, making them highly versatile plants. Those with rich, well-drained soils can achieve the best results, but plants in poor quality and sterile conditions often benefit from organic matter amendments. In addition to improving air circulation and drainage, these amendments will also enhance the quality of the soil.
For Hollyhocks to thrive, your soil should have a pH of 6 to 8. However, they can survive on other types of soil. A pH of 7 is considered neutral soil; pH levels below this indicate acidity, and pH levels above this indicate alkalinity. Various nutrients can be added based on test results to balance the pH.
Water
Hollyhock seedlings and young plants prefer consistently moist soil, so keep the top 5 inches damp. During the winter, soggy conditions are particularly problematic. Hollyhocks need only be watered during prolonged hot and dry spells once they are established. To prevent issues with the fungal disease rust, it is essential to water Hollyhocks at their roots and not on their leaves.
When planting Hollyhocks, allowing the water to penetrate as deep into the ground as possible is essential. Sprinklers or other watering devices should not be used to saturate your plants’ leaves. Soaker hoses or above-ground irrigation systems are more efficient and less wasteful for deep-root irrigation. Water a perennial bed to soak the roots in the water for two hours. Water the Hollyhocks more frequently during scorching hot days or prolonged periods of dry weather.
Temperature and Humidity
Temperate regions are the best places to grow these plants. Some species are cold-hardy, and some can survive temperatures as low as -18°C. Early fall frosts can damage late blooms. Because these plants are susceptible to rust, they do not like high humidity.
Fertilizer
Hollyhocks thrive in fertile soils and prefer high levels of nutrients. The foliage may be yellow without this, and the blooms may be less impressive. It is beneficial to amend your soil with organic matter during the spring if it is not rich. Fertilizing is not necessary for fertile soils, but feeding during bloom can benefit poor soils. Using a fish emulsion high in nitrogen or an organic flower fertilizer is best.
In case you missed it: How to Grow Tomato Plants Faster: Best Tips to Increase Flowering, Fruiting, and Production Yield
Fertilize the Hollyhocks grown in planters every seven to fourteen days. Use a fertilizer with a breakdown of 15-30-15 for bloom-boosting. There is a variety of fertilizers available in a garden center. Find a product that advertises itself as a bloom booster or has a higher phosphorus concentration. Flowering is encouraged by that mineral.
Deadheading Hollyhock flowers
Deadheading Hollyhocks is different from deadheading other species that produce only one flower per stalk, such as peonies. There are many flower heads on each stalk, and the buds do not open simultaneously. To maintain a tidy appearance while waiting for the upper flowers to open, pinch off the spent flowers at the bottom of the stalk.
Once most of the blossoms are gone, cut off the entire flower stalk at the base to encourage a second round of blossoms. The right time is when about a quarter of the flowers are left at the top, and the rest look pretty sad. At the base, make a clean cut using scissors or pruners.
Common Pests & Plant Diseases
Diseases in Hollyhocks
| Disease name | Cause and symptoms | Control methods |
| Rust | Cause: Puccinia malvacearum Symptoms: Affects the plant’s foliage and can lead to leaf drop and damage, discoloration, and stunted growth. | Water carefully, space plants appropriately, and remove the leaves on the lower part of the stem to minimize problems. Cutting back the plants after their bloom in the fall and removing any plant debris or infected plants can also help prevent spreading. |
| Powdery Mildew | Cause: Several different species of fungi in the order Erysiphales Symptoms: Gray or white powdery coating on the leaf and stems of infected plants. It can eventually cause yellowing of the leaves and premature leaf drop. | 1. Keep water away from the leaves. Ensure that the ground is dry throughout the day by watering plants early in the morning2. Remove diseased leaves from the plant or discard them on the ground.3. Spray copper sulfur-based fungicides on plants weekly. |
| Anthracnose | Cause: Fungi that belong to the genus Colletotrichum Symptoms: Water-soaked dark lesions that appear on all parts of the plant. The surface of lesions develops a pink-colored mass of spores that have a gelatinous consistency. | 1. Fungicides should be applied to seeds and bare roots as a precaution2. Prevent the disease before it begins. Make a weekly protocol for spraying liquid copper on Hollyhocks and dusting sulfur powder on them.3. Clean and disinfect garden tools with a bleach and water solution |
In case you missed it: Growing Peace Lily – Planting, Care
Pests in Hollyhocks
| Pest name | Symptoms | Control methods |
Spider mites | Stippling or flecking on leaves, yellowing of leaves, and premature leaf drops are signs of spider mite feeding damage. | Hollyhocks should not be overfertilized and should be kept dry and hot to control mites. A strong blast of water will knock off mites and alleviate dry conditions on Hollyhocks. |
Hollyhock Weevil | They damage foliage and thin-out stands of Hollyhock. As the flower buds form, the adult female chews a hole in them and lays an egg inside. | The weevils can be controlled by laying down a sheet to catch them, shaking the plant, and destroying the fallen weevils. Identify infested seeds and destroy them before they emerge. The use of chemicals can also be a viable option. |
Japanese beetles | Due to feeding on them, hollyhock leaves turn brown from the top. | Generally, handpicking provides somewhat effective control. Insecticides for Japanese beetle control typically are not warranted, as most feeding damage occurs late in the growing season. |
How to get Hollyhocks to bloom
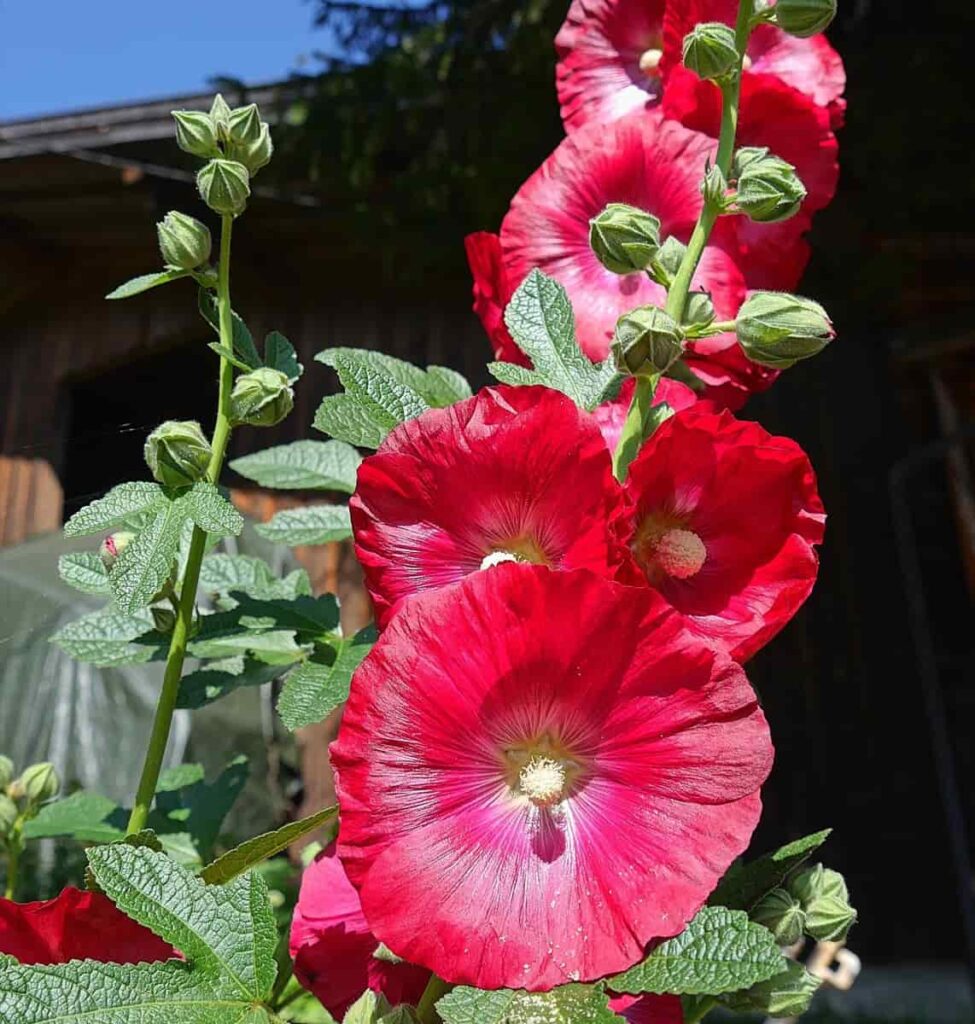
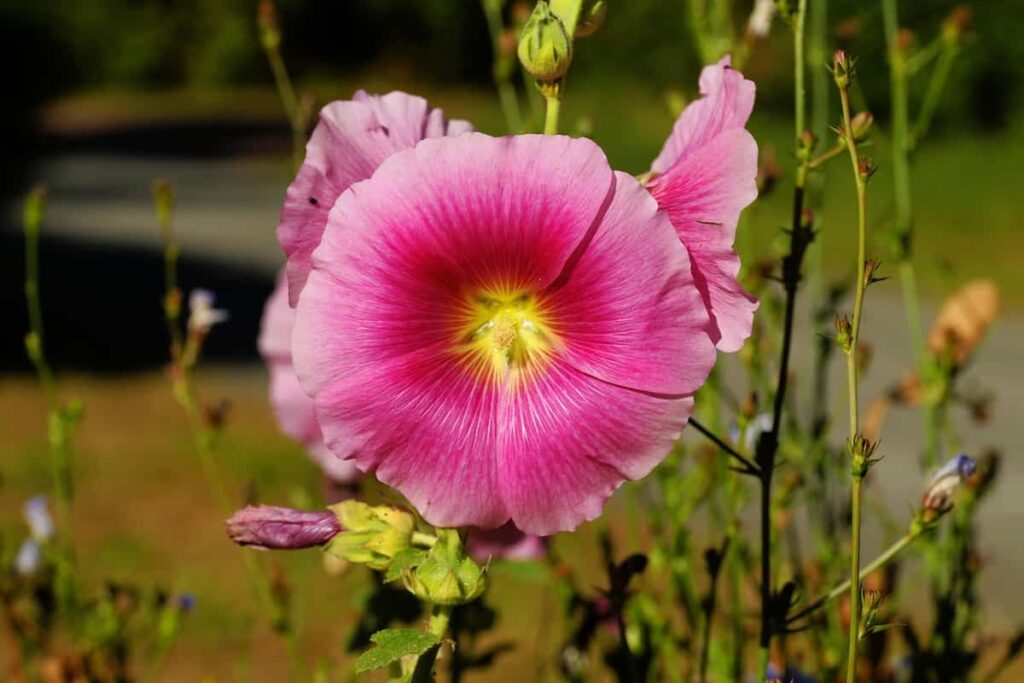
Hollyhock flowers will vary in size and appearance based on the species selected. They are large, around 5 inches in diameter, outward-facing, and have a long central stem. Known for their lengthy bloom, they come in various bright colors and often bloom from early summer to early fall. Make sure the Hollyhocks get enough nutrients, deadhead the spent flowers, and provide consistent moisture to maximize bloom and encourage large, healthy flowers.
In case you missed it: How to Grow Marigold Flowers from Seed to Harvest: A Planting Guide for Beginners
Conclusion
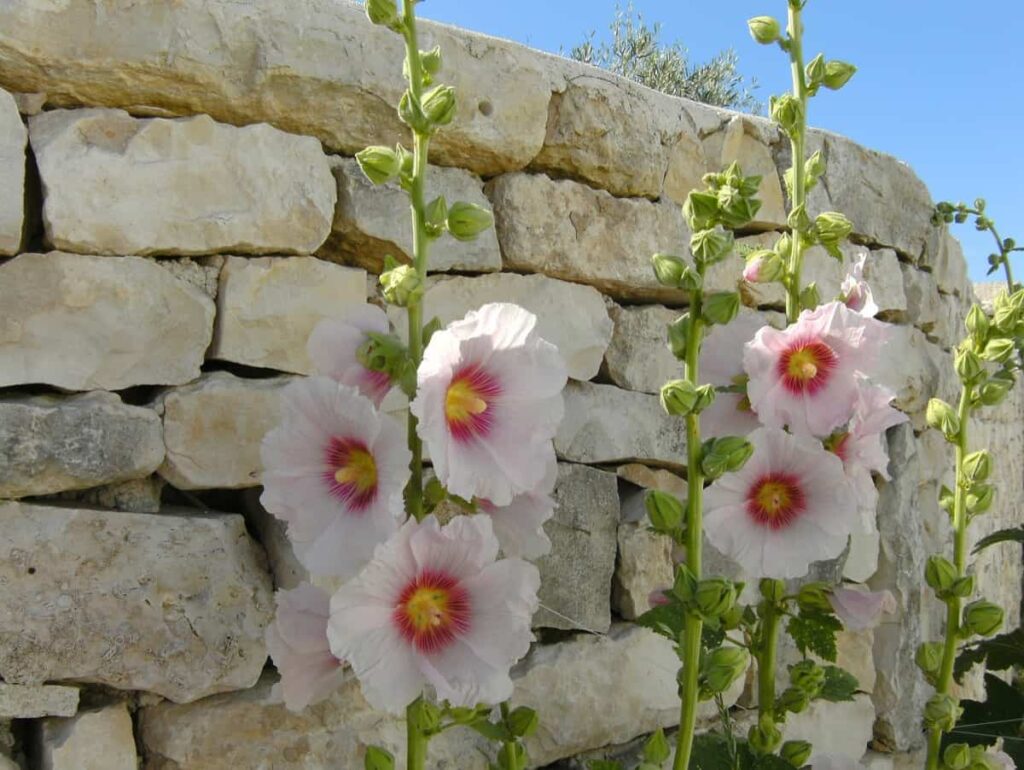
Hollyhocks are old garden favorites with long blooming seasons. Usually a short-lived perennial in Zones 3-8, but can survive for several years after flowering if stalks are cut off at their bases. A good background plant for shorter plants, it makes an excellent screening plant for hiding unsightly places. Growing Hollyhocks is easy, as they prefer a warm, sunny location sheltered from the wind. From midsummer to early fall, they will tolerate moist conditions.
- Broccoli Seed Germination and Selection
- Asparagus Seed Germination and Variety Selection
- Seasonal Flower Gardening: Best Practices for Spring, Summer, Fall, and Winter
- How to Grow Hibiscus from Flower
- Plantation Ideas for Home Decoration: A Beginners Guide
- Flower Garden Designs and Layouts for Beginners
- Planting and Spacing Techniques in Papaya: A Beginner’s Guide
- Growing Gold: Essential Techniques for Planting Pineapples
- How to Make Kalanchoe Plant Bushy: Home Remedies and Solutions
- 11 Reasons Why Your Gardenia is Not Blooming: Home Remedies and Solutions
- Eco Elegance: The Guide to Designing a Drought-Tolerant Landscape
- Gardening on a Slope: Strategies for Hillside Landscaping
- Nourish and Flourish: Top Organic Mulches for Thriving House Plants
- Everything You Want to Know about Indian Mogra Flower: Discover Uses and Growing
- Green Thumb Success: Expert Tips for Cultivating Greenhouse Pumpkins All Year Round
- Maximize Growth & Flavor: The Ultimate Guide to Companion Planting in Herb Gardens
- How to Control Rhododendron Problems Naturally: Home Remedies and Organic Ways to Fix Them
- Natural Magic: The Remarkable Benefits of Cinnamon for Plants
- Best Steps to Revive Dying Tulip with Natural and Organic Treatment
- 10 Reasons Why Your Angel Trumpet is Not Blooming: Remedies and Treatment
- How to Fix Periwinkle Leaf and Flower-Related Problems: Natural Remedies and Solutions
- How to Fix Zinnias Leaf and Flower Problems: Discover Natural and Home Remedies
- Organic Steps to Induce Lemon Tree Flowers: A Comprehensive Guide
- Bloom Booster: Crafting the Perfect Homemade Bougainvillea Fertilizer
- Optimizing Growth: A Guide to Applying NPK Fertilizer for Potted Plants
- 10 Best Homemade Fertilizers for Rubber Plant: DIY Recipes and Application Method
- How to Boost Female Pumpkin Flowers: Effective Steps for More Flowers and High Yields
- Transform Your Indoor Garden: Top Benefits of Pink Salt for Houseplants
- 10 Best Homemade Fertilizers for Peacock Plants (Calathea): Easy DIY Guide
- Unlock Blooms: 9 Reasons Why Your Potted Chrysanthemum is Not Blooming
- 8 Reasons Why Your Potted Hibiscus is Not Blooming: Fix it with Simple Solutions
- Unlock Blooms: 9 Key Reasons Your Potted Frangipani Won’t Flower
- 10 Reasons Why Is My Ice Plant Not Blooming: Remedies and Treatment
- 10 Reasons Why My Potted Hydrangea Not Blooming: Treatment and Remedies
- 10 Reasons Why is My Wisteria Not Blooming: Remedies and Treatment
- 10 Reasons Why is My Goldfish Plant Not Blooming: Remedies and Treatment
