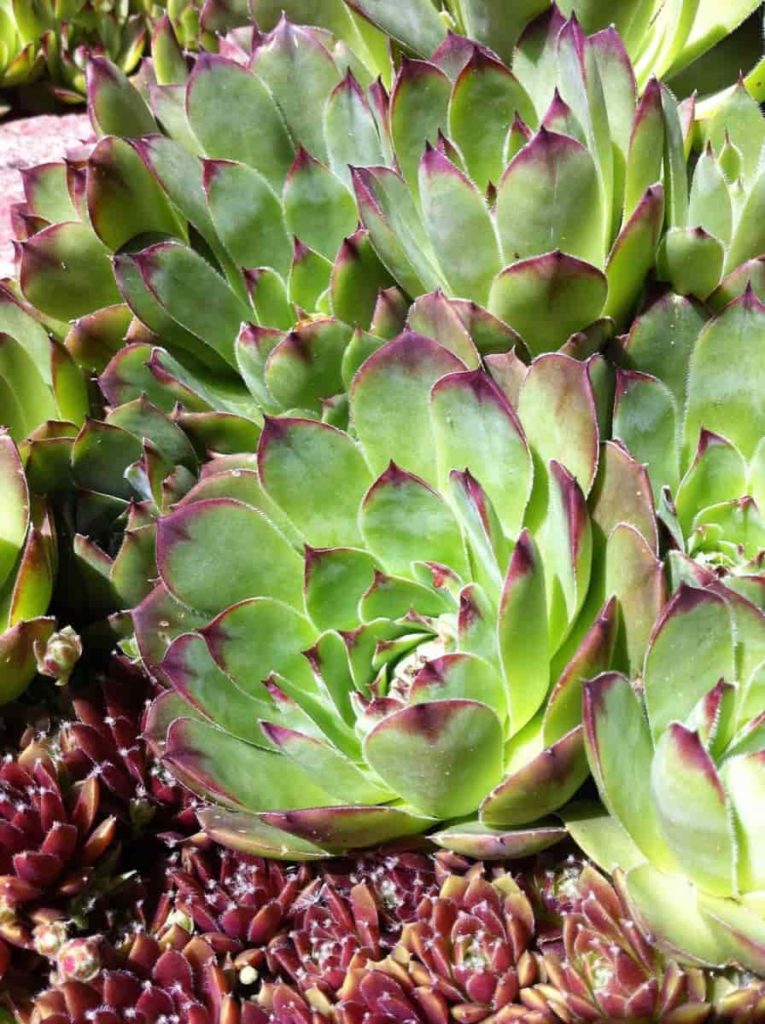
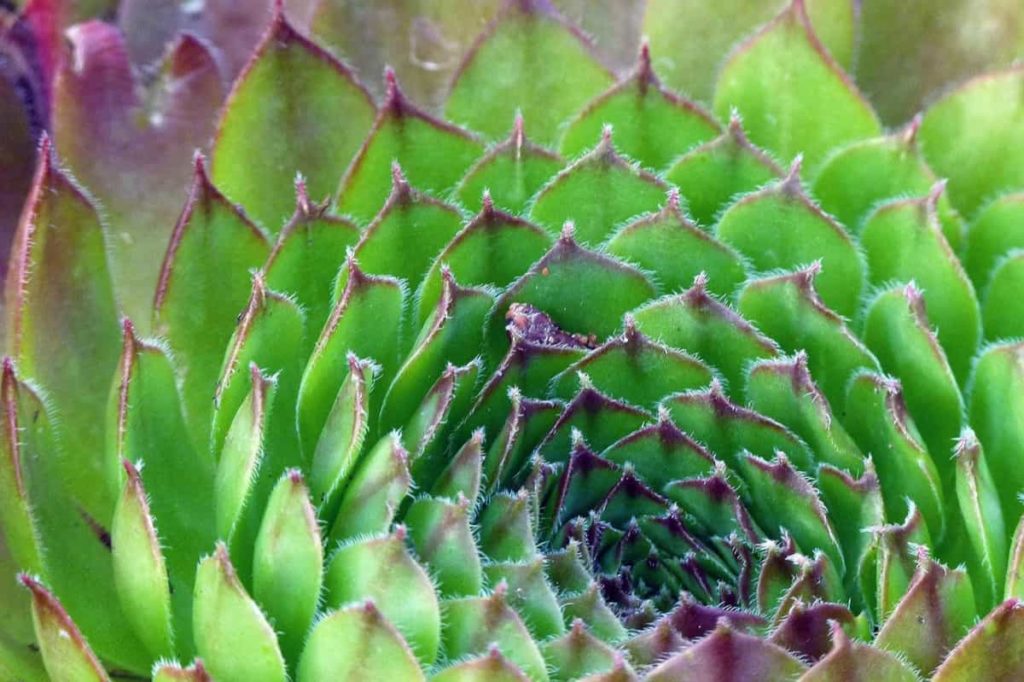
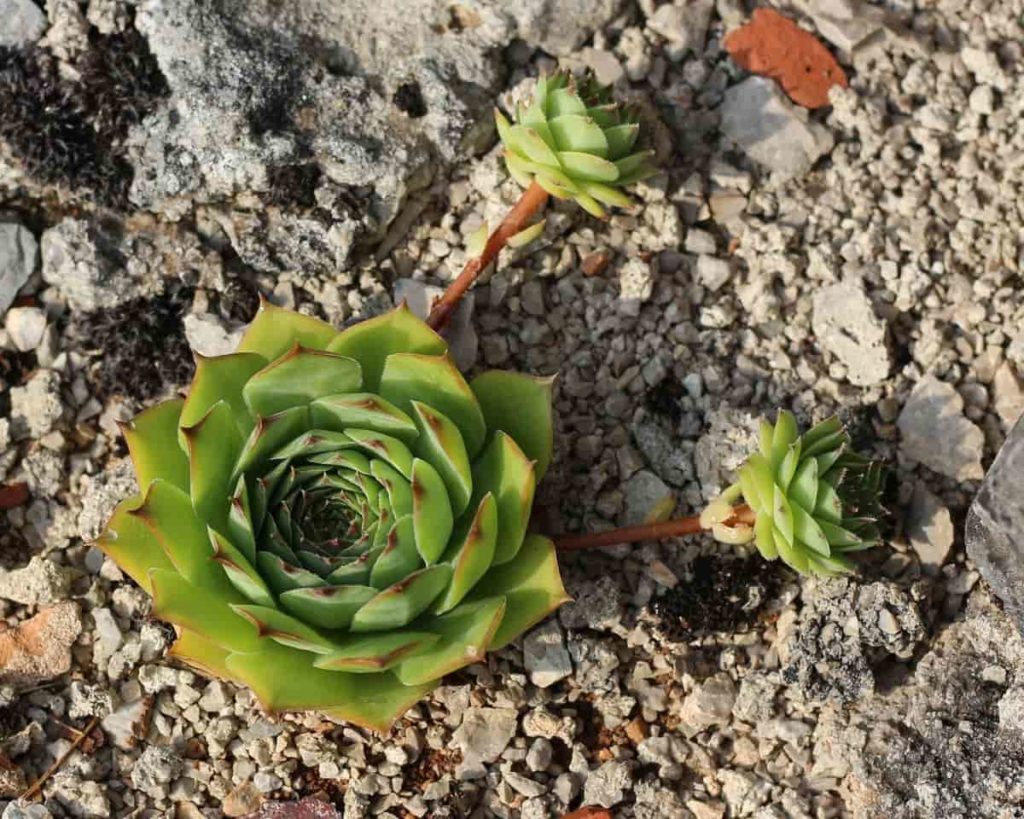
Hens and Chicks are one of the easiest, least-cared houseplants you can grow. These hardy and low-growing desert plants get their name through their propagation method. The larger central rosette is a Hen and the small offsets that have emerged from it over time are the baby is Chicks, which can easily be spread to new plants. Hens and Chicks are members of the Sempervivum group of succulent plants.
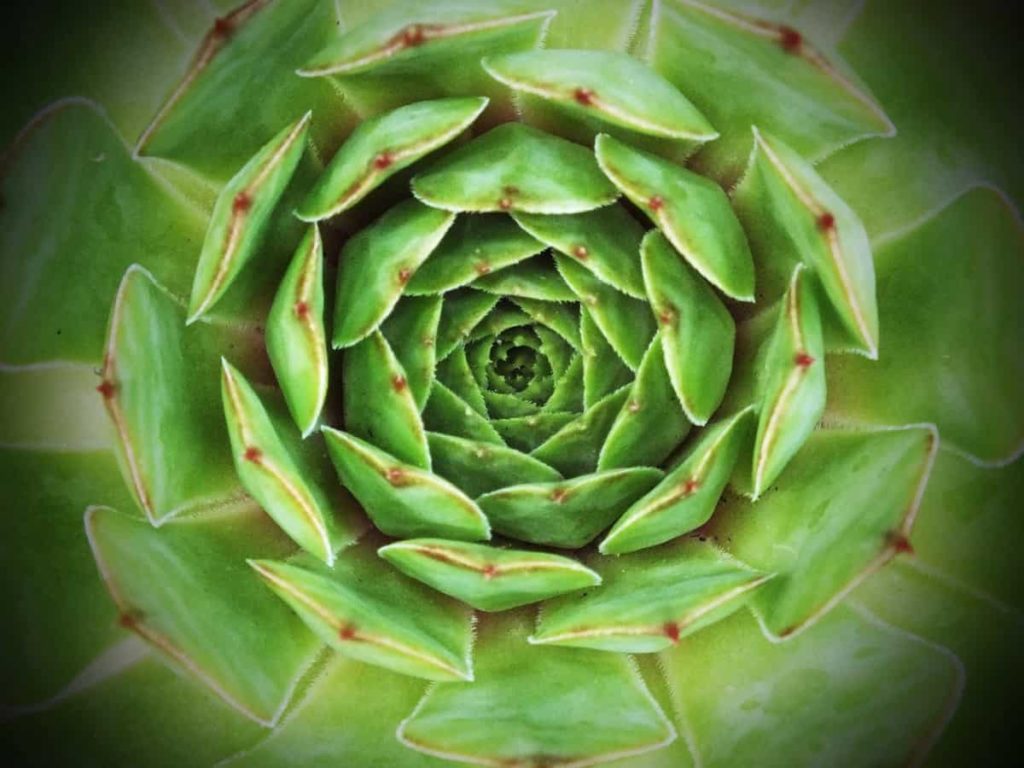
They are called houseleeks and grow well in and out of the house in cold or hot temperatures. An underground runner attaches the mother’s plant to babies (or Chicks). Chicks can be as small as a dime, and the mother can grow to the size of a small plate. Hens and Chicks make the best container plants for the house’s interior and exterior. Let’s check out how to grow Hens and Chicks succulent plant.
Hens and Chicks have beautiful rosettes in red, green, blue, and copper colors. They grow like nobody’s business and produce many baby plants called cute Chicks, so you’ll likely never have to buy more than one hen. Hens and Chicks are a type of small succulent plant. A succulent plant is a plant that stores water in its leaves and trunks. With enough sunlight and well-drained soil, you can easily plant Hens and Chicks in your garden bed containers.
Hens and Chick plants require little care. However, the mother’s plant will die after four to six years and should be removed. Plants produce flowers when they mature and should be pulled from the plant when they expire. Divide Chicks from the mother’s plant every two years to prevent overcrowding.
how to grow Hens and Chicks succulent plant
Hens and Chicks verities
- Fashion Diva – Fashion Diva, showcases bright red rosettes with Auburn Green to yellow highlights in some seasons. It also shows corrugated lines that help the plant assist the plant in bearing direct sunlight.
- Eddy – Eddy looks stunning with dark red leaves and green from the center. Grow them on a rocky surface under the full sun to enjoy pink flowers when they mature.
- Killer – This type makes beautiful olive-green rosettes. The leaves have dark red splashes of mahogany.
- Terracotta Baby – The Terracotta Baby shows a dramatic look with long spoon-shaped burgundy leaves, which grow exotic in spring and fade slightly in fall.
- Purple Haze – This perennial succulent one offers a beautiful rosette of flat round grey to green leaves with purple and pointy tips.
- Jade Rose – This type of hen and Chick shows compact rosettes of narrow emerald green and red leaves. In addition, there is a hairy line of thin white cilia along the edge of this beautiful succulent.
- Magnificum – ‘Magnifcum’ is a perennial succulent one that forms compact rosettes of large dark purple leaves spreading from a narrow center. In the middle of summer, star-shaped pink flowers grow over leaves.
- Hairy Balls – Hairy balls resemble small balls of fleshy furry leaves. They are small, spread over 2 inches in diameter, with gray-green leaves covered in creamy white fuzz.
- Ruby Heart – Ruby Heart shows a rosette of plumped, pointed, silver-blue to blue-green leaves, a bright ruby red at the base.
- Purple Dazzler – Purple Dazzler shows off two-colored leaves in light green and dark purple colors. This succulent variety makes a perfect ground cover if planted throughout the sun.
- Kalinda – It offers little evergreen rosettes of green fleshy leaves, a blushing blood-red at the base. The color deepens at cool temperatures.
- Pacific Blue Ice – Like most of its cousins, it is also neglectful in wild conditions and style. Leaves appear in an icy blue-grey shade with rosette flushed roses at the center.
- Engles – An attractive succulent one with fleshy long grey-green leaf rosettes, which turn purple in winter.
- Carmen – This mat-forming type makes five inches of fleshy, thick, emerald green leaves adorned with red tips.
- Commander Hay – Commander Hey is a perennial mat-forming logistic with an evergreen rosette of purple-red leaves with bright green tips.
In case you missed it: Alaska Container Gardening: Guide for How to Grow Fruits, Vegetables, Flowers, and Herbs at Home for Beginners
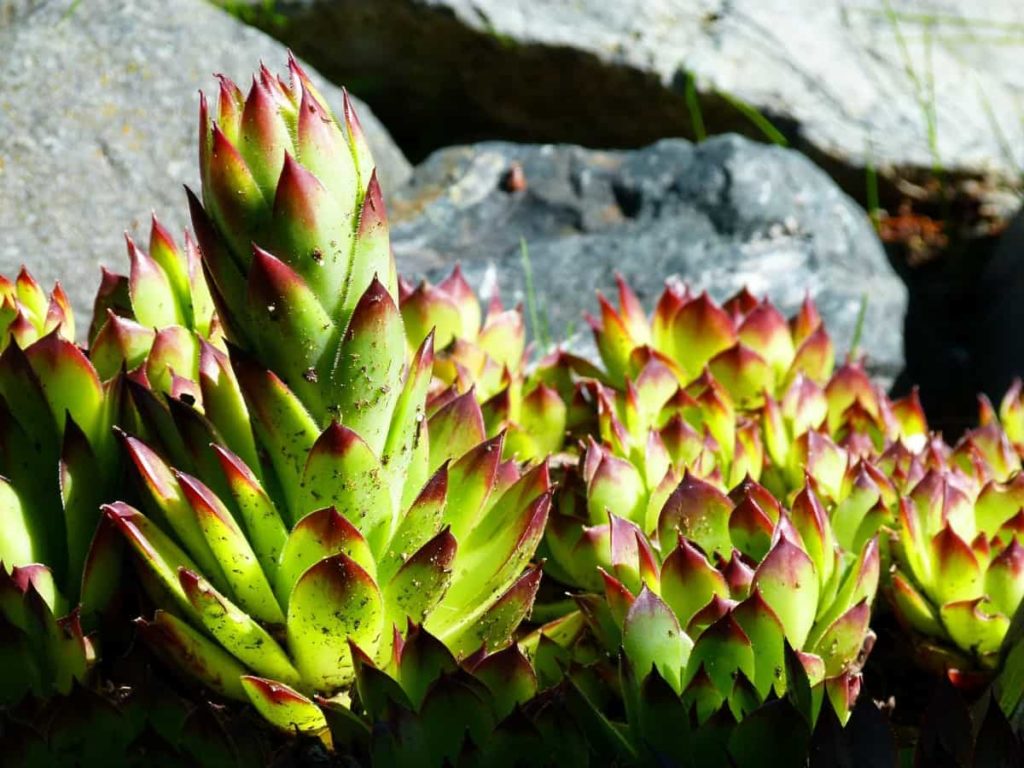
Climatic conditions required for growing Hens and Chicks
These desert plants perform well in different conditions, thrive in arid climates, cold temperatures, and rocky areas with very little soil, as well as in well-intended gardens or containers. They thrive in conditions with a partial shade from the full sun, which gives you some flexibility regarding where to display them. Hens and Chicks are cold hardy plants, which means they can survive in temperatures below freezing.
The ideal temperature for Hens and Chicks is between 18 to 24°C. When the temperature moves upwards or falls, the plants become semi-inactive and stop growing. Many plants cannot handle such temperatures the water they store in their leaves freezes from the cold and makes the leaves brown and mushy. Their ability to survive in cold weather is one of many things that make Hens and Chicks remarkable.
Water requirement for growing Hens and Chicks
Give enough water to help newly transplanted plants, but once they are established, be careful not to apply too much water to them. Make sure to check the soil and it is dry before watering. Let your hen and Chicks dry entirely between the watering. Because it’s very drought-tolerant, it’s almost impossible to underwater this plant, but your biggest risk is excessive water.
If you see that the leaf structure is mushy or transparent, it is a sign that you are giving the plant too much water. If your hen and Chick plant lacks water, the leaves will look wrinkled or feel dry and crispy.
In case you missed it: Iowa Container Gardening: Guide on How to Grow Vegetables, Fruits, Herbs, and Flowers at Home
Soil requirement for growing Hens and Chicks
Hen and Chicks need excellent drainage, so while they can do well in sandy, poor soil, they should be well-drained. Use a succulent potting mix, or make your own by combining three parts of regular potting mix in two parts into thick sand and one part in perlite. Hens and Chick plants are remarkably nonchalant about their soil and will grow best in a mixture of sandy or gravel. Therefore, the basic need for soil for the plant is to be well-draining.
Suppose your soil is heavy and does not drain well. Some peat moss and sand work in the mixture to increase aeration and drainage. These plants prefer soil that is slightly alkaline from neutral and slightly acidic. If you are growing your plants in a container, the best potting medium is a mixture prepared for succulents and cactus.
Plant them in sandy soil or add compost, potting soil, gravel, or vermiculite to the soil to help drainage. Hens and Chicks survive in the soil where other plants cannot grow. They do very well with very little soil; the accumulated water will kill plants even in gravel. Ideally, soil pH levels should be neutral, between 6.6 and 7.5.
Container size for growing Hens and Chicks
Hens and Chicks are the favorite plants of all time for growing in containers. The Colour and structure of this beautiful plant are extraordinary. You can use containers of any size to plant your Hens and Chicks. If the container does not already have drainage holes, use a drill to make small 2 to 7 holes under the pot and around the sides. You can use a basic drill bit to make your holes. Size doesn’t matter, as long as there are several holes to drain out any excess water.
When to propagate Hens and Chicks
The best time for propagating Hens and Chicks is when they start to outgrow their container or outdoor space. Chicks are small clones of the parent rosette (a hen) and quickly separate. Dividing the plant helps it fit in place and stay healthy. The best time of year is in the summer to divide a succulent-like sempervivum before it goes into a period of heavy fall growth.
In case you missed it: How to Grow Tomatoes in Michigan: Planting to Harvesting Guide
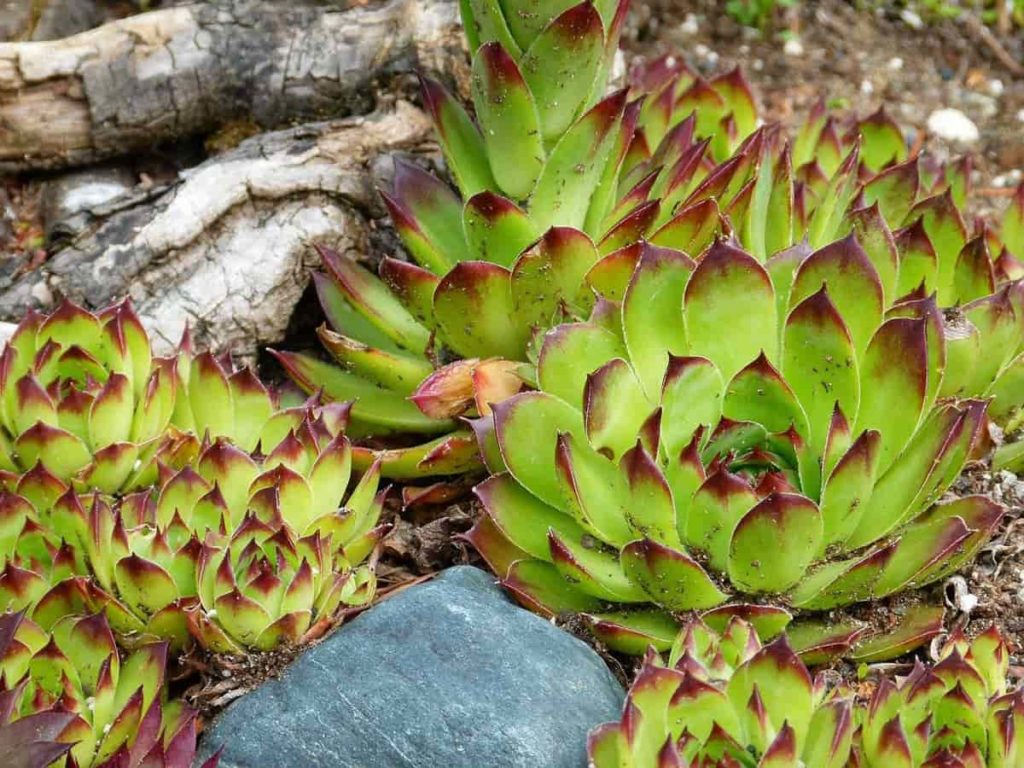
Propagation methods of Hens and Chicks
Propagating from offsets
Root Hens and Chicks offset in spring. Once the plants are 1 to 2 inches wide, they are ready to propagate. Gently work an offset free from under the mother’s plant. Place the plantlet, base down, and place in a pot filled with cactus and succulent potting mix. The pot should be a little wider than offset, and there should be drainage holes. Place the pot in bright indirect light and wait for the offset root. Water the root plant regularly until the water comes out of the drainage holes. Allow the soil to dry halfway through the pot in the middle of the water.
Propagating from cuttings
Take the stem cutting in spring, a branch for Hen and Chicks. Clean a pair of sharp pruners with a cloth soaked in rubbing wine. Choose a branch and cut the stem so that the 1 to 2 inches of stem is under the head of the leaves. Keep cutting towards it in the shade for about a week, so the cut end is fine. Then, insert the stem head into a 2-inch pot filled with cactus and succulent potting mix or equal parts of the peat and perlite. Then, make sure you use a pot that has drainage holes. Cutting need not be watered until roots are formed.
Propagating Hens and Chicks from seed
If a mature plant produces flowers and seeds, you can grow Hens and Chicks through seeds. Collect seeds from the pods left behind after the flowers fade and sprinkle them over pots filled with cactus or succulent potting mix. Place the pot in a bright place and lightly moisten the mix; the seeds should sprout within three weeks. At this point, you can add some fine gravel and mulch.
In case you missed it: Easy Plants to Grow at Home in USA: For Containers, Backyard, Patio, and Indoors
Propagating from leaves
It is also possible to start a new Hen and Chick plant from a leaf. First, separate a mature, fully formed leaf from the mother’s plant by pulling it from the stem or cutting it free with a sharp knife dipped in rubbing alcohol. Make sure the leaf is the base that connects it to the stem. Next, place the leaf in a shallow tray or pot filled with moist half peat and half a perlite. Use a container that has a drainage hole.
Plant the leaf at an angle so that only a small part of the base of the leaf is in contact with the soil. Place the container in the shade and water the potting mix occasionally to keep it a little moist. It usually takes 40 to 50 days for the roots to sprout from the base of the leaves, and then a new small plant forms above the roots.
Planting Chicks on grounds
If you have separated Chicks from the Hens, place the Chicks in the soil so that the small stem sinks. Chicks only sit on top of the soil. Leave 1 to 2 in between each Chick. You can use your hands to gently pack your soil mixture around Chicks, which will help them further. Next, use your hands or garden spades to spread stones on your container or garden bed. Pack stones around the base of the plants so that they can get some help.
Gravel helps divide the plant evenly and eliminates any excess wetness. The layer may be between 1⁄2 to 2 inches thick. You can use small stones, such as pea gravel. Alternatively, you can use sand instead of gravel. To help your Hens and Chicks, water the plant base well for 10 to 15 seconds. Avoid getting water on the leaves of the plant. If there is water on the leaves, it can rot them.
Fertilizer requirement for growing Hens and Chicks
Hens and Chicks can survive in nutritionally poor land, so you don’t have to fertilize them. However, you probably want your plant to grow faster and look more active, so you should fertilize it once every month or two months during spring and summer. The best fertilizer for Hens and Chicks is a less balanced, water-solving fertilizer. Less balanced fertilizers are light and are less likely to burn your plant leaves.
Even though you are using light fertilizer, you should still dilute it to half the power. Standard fertilizers usually recommend one tablespoon of fertilizer per gallon of water, but you should only use 1/2 tablespoon. A high-quality organic fertilizer will improve your plants’ overall health and longevity. Fertilizers should be low in nitrogen and should contain beneficial soil microbes. However, be aware that overfertilization can have the opposite effect, suppressing the color of the leaves. So, please don’t do more than that.
In case you missed it: How to Grow Jasmine Flowers at Home in the USA: From Seeds, Cuttings, Faster, In Backyards, Indoors, and In Containers
Hens and Chicks pests
Hens and Chicks grown indoors, in greenhouses, or with insects in excessively moist conditions are the biggest problems, often in the form of mealybugs and aphids. If you notice symptoms of infection, try removing insects using a cotton swab or cotton ball soaked in rubbing alcohol. You can also treat plants with neem oil or insect soap. You can spray them off your hose and remove them. Some gardeners use ladybugs to rid their plants of aphid hunters or pests.
You may have to try pesticides or insecticidal soaps if nothing else works. Always be careful with chemical solutions, and keep pets and children away from the area where pesticides have been sprayed and plants themselves. Moist conditions or poor drainage can encourage fungal leaf spots or root rot. Placing these plants in dry conditions is the best way to overcome these problems.
- Flower Garden Designs and Layouts for Beginners
- Planting and Spacing Techniques in Papaya: A Beginner’s Guide
- Growing Gold: Essential Techniques for Planting Pineapples
- How to Make Kalanchoe Plant Bushy: Home Remedies and Solutions
- 11 Reasons Why Your Gardenia is Not Blooming: Home Remedies and Solutions
- Eco Elegance: The Guide to Designing a Drought-Tolerant Landscape
- Gardening on a Slope: Strategies for Hillside Landscaping
- Nourish and Flourish: Top Organic Mulches for Thriving House Plants
- Everything You Want to Know about Indian Mogra Flower: Discover Uses and Growing
- Green Thumb Success: Expert Tips for Cultivating Greenhouse Pumpkins All Year Round
- Maximize Growth & Flavor: The Ultimate Guide to Companion Planting in Herb Gardens
- How to Control Rhododendron Problems Naturally: Home Remedies and Organic Ways to Fix Them
- Natural Magic: The Remarkable Benefits of Cinnamon for Plants
- Best Steps to Revive Dying Tulip with Natural and Organic Treatment
- 10 Reasons Why Your Angel Trumpet is Not Blooming: Remedies and Treatment
- How to Fix Periwinkle Leaf and Flower-Related Problems: Natural Remedies and Solutions
- How to Fix Zinnias Leaf and Flower Problems: Discover Natural and Home Remedies
- Organic Steps to Induce Lemon Tree Flowers: A Comprehensive Guide
- Bloom Booster: Crafting the Perfect Homemade Bougainvillea Fertilizer
- Optimizing Growth: A Guide to Applying NPK Fertilizer for Potted Plants
- 10 Best Homemade Fertilizers for Rubber Plant: DIY Recipes and Application Method
- How to Boost Female Pumpkin Flowers: Effective Steps for More Flowers and High Yields
- Transform Your Indoor Garden: Top Benefits of Pink Salt for Houseplants
- 10 Best Homemade Fertilizers for Peacock Plants (Calathea): Easy DIY Guide
- Unlock Blooms: 9 Reasons Why Your Potted Chrysanthemum is Not Blooming
- 8 Reasons Why Your Potted Hibiscus is Not Blooming: Fix it with Simple Solutions
- Unlock Blooms: 9 Key Reasons Your Potted Frangipani Won’t Flower
- 10 Reasons Why Is My Ice Plant Not Blooming: Remedies and Treatment
- 10 Reasons Why My Potted Hydrangea Not Blooming: Treatment and Remedies
- 10 Reasons Why is My Wisteria Not Blooming: Remedies and Treatment
- 10 Reasons Why is My Goldfish Plant Not Blooming: Remedies and Treatment
- Maximize Your Space: Ultimate Guide to Balcony Gardening with Grow Bags
- 10 Reasons Why Your Iris is Not Blooming: Remedies and Treatment
- 10 Reasons Why Your Anthurium Plant is Not Blooming: Treatment and Remedies
- 10 Reasons Why Your Aquaponic Plants Are Not Flowering: Remedies and Treatment
- 10 Reasons Why Your Agapanthus is Not Flowering: Remedies and Treatment
