For people with little yard space, container gardening is the way. Container gardening is the most excellent option if you have a small patio or deck or a small yard. The greatest advantage of growing in containers is its flexibility regarding the containers used. In addition, it signifies that you have several low-cost solutions available to you.
On this page, we will learn about Alaska container gardening, Home garden plants for containers in Alaska, how to set up a container garden in Alaska and grow different herbs, vegetables, flowers, and fruits in containers in Alaska. Many cities in Alaska, such as Anchorage, Juneau, Fairbanks, and Badger, have emerged as focal points for container gardening in the state. This article is for the people who are ready to start container gardening in Alaska, and we hope it helps.
What are the USDA hardiness zones of Alaska?
Despite its reputation as the state with the lowest average temperature in the country, Alaska features a remarkably diverse spectrum of climates. There are many ways to define Alaska, from its ice cap to its tundra, from its frigid semi-arid climate to its hot, humid summers on the continental interior. Still, the state’s planting zones aren’t as diversified.
In some regions of Alaska, the winters are very prolonged, bitterly cold, and severe, while the summers are relatively brief and mild. The southeast region of the state is much warmer and wetter than the rest of the state, and during the winter months, it is the only region of the state with an average daytime high temperature that is higher than freezing. There are other locations with a more moderate climate, such as Anchorage and the southern and center sections of the state.
Find out what Alaska growth zone you are in before shopping for plants, flowers, or veggies in Alaska. First, you need to do is determine what zone you are in. You must do this if you want to develop a garden that will continue to grow and flourish throughout the season. Finding your planting zone may be done quickly and easily using an interactive planting zone map. There is a wide variety of potential planting zones in Alaska, ranging from 1a to 8b.
It is more challenging to grow in Alaska because of the temperature, a shorter growing season, and inferior soil conditions; however, modifying planting procedures to suit and overcome these issues is simple once they are recognized obstacles. Any plant with a rating of 1 through 4 has a good chance of surviving the climatic conditions of zone 4a, for instance, if you plant it there. Despite the severe winters, Alaska is home to a wide variety of floral species that can thrive there.
Flowers that can survive the cold and often severe circumstances of the area include monkshood, fire week, forget-me-nots, and salmonberries, all of which are wonderful selections. A remarkable variety of leafy greens and root crops are both capable of flourishing in such an environment. Even if it is pretty cold, some vegetables, such as turnips, beets, cabbage, chard, and dill, can be grown successfully.
Alaska container gardening: Steps to Grow a container garden in Alaska
Select appropriate location
To begin, think about where you want to put your container garden. This means that container gardening can be employed in any setting, from a tiny apartment patio to a vast backyard. The available floor space will determine the quantity and size of containers used. Think about the atmosphere of the room as well. Symmetry is advantageous in formal landscapes. Formality is preserved by placing two similar containers on each side of an entrance or driveway.
A more casual and laid-back atmosphere can be achieved by placing several smaller pots around a small balcony or patio. Sun-loving plants do best in containers put in full sun on concrete surfaces, such as patios and driveways, which provide eight hours of direct sunshine each day. But, of course, many veggies need full sun as well.
Therefore, they would be suitable in these settings as well. Because the container will grow hotter in summer afternoons, choosing drought-resistant plants is good. Plants that can endure low to medium light levels should be considered for containers inside or in shady regions outdoors.
Select appropriate container
The size of a container is one of the most significant considerations. Using a smaller container in a smaller area is preferable, whereas using a bigger container in a larger space is more visually appealing. Bigger plants like shrubs and miniature trees can be housed in larger pots. Little containers can seem untidy in vast, open settings; huge containers can feel overpowering in compact locations and take up precious space.
The root system of a fully developed plant should be able to fit in a container. A bigger container is needed to accommodate larger plants and more plants. Smaller pots dry up more quickly than larger ones, which needs more attention from the grower. Rooting medium will dry up quickly if the plant(s) is/are too big for the container. Unglazed ceramic and terracotta pots allow more soil moisture to be lost because of their porous nature.
Moisture loss can be reduced by using nonporous materials such as plastic, polystyrene foam, metal, and glazed ceramic. Plants may also influence the sort of container that is used. Drainage is essential. The majority of ornamental plants need good drainage. Plants can get infected and die if there is a lot of standing water. As a result, the container’s bottom must include a drainage hole for any extra water. Add holes 2 inches apart if the container does not already have any.
A hefty container with a broad base can help prevent it from being blown over in windy areas. In places with a lot of sunlight, it’s better to use light-colored containers since dark containers can rapidly heat up and damage the roots. People with restricted mobility can find gardening easier if they use taller containers since they don’t have to squat as much.
Choose an ideal potting mix for your plants
Artificial or soilless media, found at most garden supply stores, is essential for developing container gardens. Your plants will perish if you use standard garden soil or topsoil in pots because it compacts too readily and restricts water and airflow to the roots; unlike soil, which compacts, artificial media is used in containers and does not. In addition, it is lighter, making it simpler to transfer containers.
For one thing, container gardening gives you more control over your plants’ environment. Certain plants favor a more acidic environment, such as blueberries. Changing the pH of a container garden is more straightforward than changing the pH of a garden bed. Succulents, for example, need greater drainage. Thus, a succulent medium should be used. Since many garden stores provide many kinds of soil media specifically for use in containers, those who grow their plants in pots have more discretion over the media they use to grow.
Using the same media year after year is a waste of time and money. The media’s capacity to retain moisture and nutrients deteriorates with time and can serve as a breeding ground for disease. Instead, the container should be cleaned and disinfected with a 10% bleach solution at the end of the season. Add 1 cup of bleach to 9 cups of water to make the bleach solution.
Start planting your container garden.
Any garden or flowerbed you are planting in your container is different. The medium can then be added to it. You should allow an inch between the media and the container’s rim so that water doesn’t wash media out every time it gets drenched. Make sure the material isn’t crammed too tightly inside the storage container. Compacting the medium denies oxygen to the roots, a life support system needing fresh air.
Gently free the roots of any plants that are tethered to the ground. Cover the root ball with a medium once the plants have been placed in the container. If the plant’s roots are exposed, they will rapidly dry up, resulting in its death. Before watering, it is important to ensure that all plants have been placed in their containers. When watering the container, fill it to the brim with water.
This method fosters more profound root development and helps drain salts that may accumulate. It’s good to place a saucer beneath the container to catch any spills or stains. Again, diseases and death of plants and mosquito larva might result if water remains in the saucer for too long.
How to water your container garden?
In-ground plants dry out faster than potted ones: small soil area and the pot’s design store little moisture. Container plants benefit from being watered in the early morning or evening when temperatures are more relaxed, and the water has more time to soak. Still, it also allows excess water to drain rapidly, preventing fungus. When the earth is completely dry, it’s time to water, but the plant can be dead.
In case you missed it: 22 Common Problems of Watermelon Plants: How to Fix Them, Solutions, and Treatments
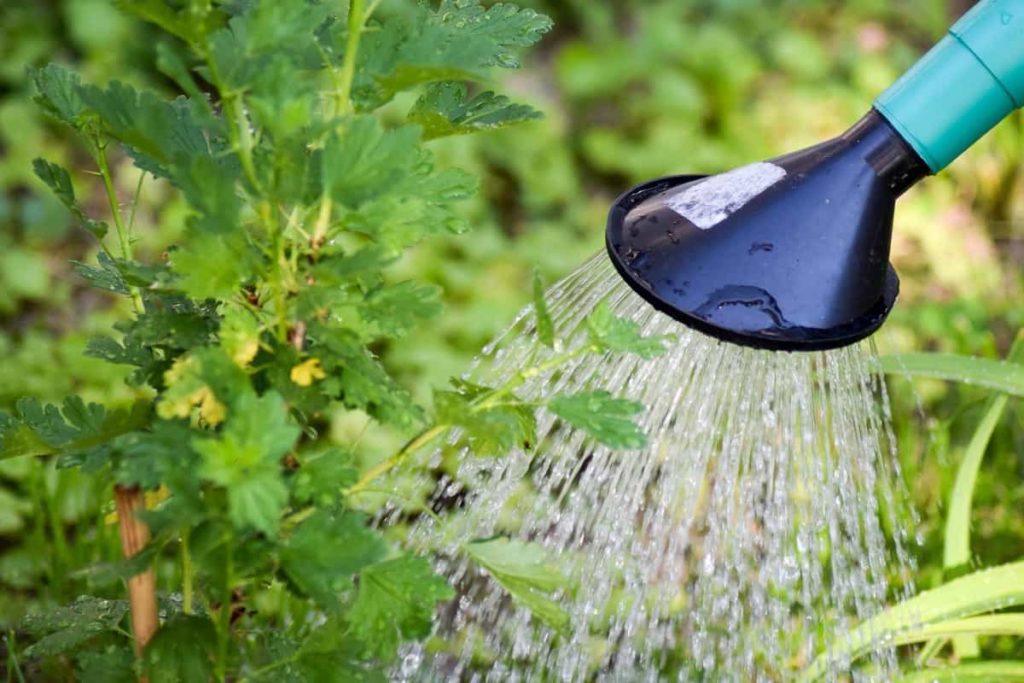
Look for shriveled, discolored leaves, drooping stalks, and falling petals. Check warm, dry potted plants regularly. It is time to water plants whenever the top inch of the soil is completely dry. Most plants need deep, gradual watering so water may reach the soil and roots. Short, light watering evaporates before the plant or soil can absorb it. When totally dry, most potting soils reject water.
Slow and deep watering will deliver water to the plant’s roots and rehydrate dry potting soil. If you realize that the soil in your container has become entirely dry by mistake, it is best to rehydrate the potting soil by submerging the whole container in a tub of water for around half an hour. This will help to bring the soil back to its original moisture level. Dunk baskets, coir, or moss-lined wire cages in a pail of water and let them soak.
Species’ water needs differ. Get a moisture gauge after determining your plant’s typical moisture demands. These are great for watering containers. The gauge’s probe measures soil moisture. If your plant requires wet soil and the gauge indicates dry, water. Slowly deep-water until water drains from drainage holes.
Make sure you fertilize your container garden.
Even if you put a slow-release fertilizer in your potting mix, frequent watering will eventually wash away the nutrients. Depending on the potting soil, the frequency of watering, and the pace at which the plant is expanding, it is good to begin applying regular fertilizer between two and six weeks after planting a container with your plant. A wide variety of nutrients are available for container plants.
An all-purpose fertilizer is a great place to start. Besides vital plant nutrients such as nitrogen and potassium, all-purpose fertilizers include iron, manganese, and zinc. An example of fertilizer with increased phosphorus or potassium concentrations compared with the quantity of nitrogen is tomato food or bloom promoting fertilizer. Allowing plants to absorb nutrients quickly, soluble fertilizer is ideal.
It’s much easier to utilize soluble fertilizers on container plants because of the limited root area and the likelihood of lost nutrients due to frequent watering. For container gardening, slow-release fertilizers work well since watering releases nutrients over time. Slow-release fertilizers may not be enough for large, fast-growing plants, so monitor their nutritional needs and offer more nutrients.
Regardless of whatever fertilizer you use, you must follow the label’s instructions to prevent over-fertilizing, harming plants, and releasing excess fertilizer into the atmosphere. To avoid nitrogen loss due to water drainage, you may want to try applying fertilizer more often but at a lesser rate. Try using a half-scoop of fertilizer per gallon instead of one scoop per gallon if you fertilize once every two weeks.
Pest and disease management in your container garden
If you have switched to growing in containers, but one of your plants doesn’t seem to be doing very well, the problem might be a pest or a disease. What to do to limit the harm and avoid a repeat of this incident is laid forth below. Before fixing a problem, identify the fundamental cause, such as improper growing methods, pests, diseases, too much sun, frost, etc. In many circumstances, a plant’s poor health results from unsuitable conditions for its growth.
Is your plant getting enough water, for example? Drainage openings in your container? Poor growth practices make a plant more susceptible to pests and diseases. Choose the least harmful way of control if a pest or disease is the cause of the issue and an intervention is required. Pesticides are the last option except for low-toxicity insecticides like insecticidal soap since they can harm beneficial creatures like ladybird populations. Always abide by the pesticide laws in your area.
To keep pests and illnesses at bay, choose healthy plants that are well-suited to the growing circumstances and aren’t vulnerable to insect assault or disease infections. Make sure they’re correctly cared for and inspected regularly.
Top vegetables to grow in containers in Alaska
In Alaska, it is possible to cultivate vegetables such as Arugula, Beans, Beets, Okra, Peas, Peppers, Radish, Calabrese Broccoli, Cabbage, Lettuce, Kale, Spinach, Summer Squash, and Tomatoes in containers. Other vegetables such as Summer Squash and Tomatoes can also be grown.
Tomatoes: Tomatoes grow well in containers because of their prolific nature. It’s important to choose a container big enough to accommodate the plant. Tomatoes can be started from seed or a starter plant, depending on your preference. Add a cage on the outside of the container to help support the plant.
Pole beans: Despite their ease of growing, they perform well in containers. With a trellis, you can quickly grow pole beans next to a wall and have them climbing the lattice in a few weeks. Pots should be placed in direct sunlight.
Lettuce: It’s easy to grow lettuce, which means you can obtain numerous harvests over the growing season. Container lettuce requires a six-inch-deep planter to be successful. Lettuce needs a minimum of 4 inches to spare between each plant when planted. To ensure that the soil is constantly wet, choose well-draining soil and water it often.
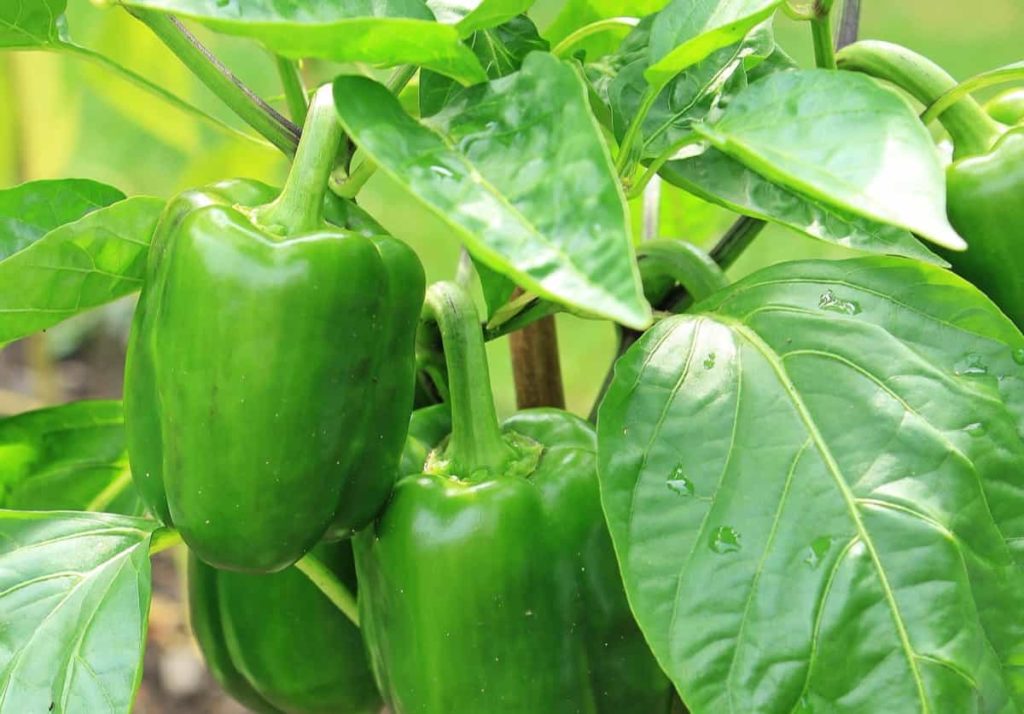
Bell peppers: In addition to chiles and jalapenos, bell peppers can be grown in containers. To ensure their survival, they must be planted in a sunny location and given the correct soil and fertilizer. To succeed in growing peppers in containers, you’ll need a pot at least 12 inches deep.
In case you missed it: Bell Pepper Gardening For Beginners, How To Start
Radishes: Radishes are simple to grow and do well in pots; they are the vegetable of choice for first-time gardeners. These plants require water and sunshine every few days.
Top fruits to grow in containers in Alaska.
It is possible to grow various plants in containers in Alaska, including black and red currants, raspberries, apples, honeyberries, strawberries, and rhubarb, amongst others.
Strawberries: Strawberries thrive in pots because of their compact size. Strawberries don’t need any special containers to be grown. However, a well-draining container of at least 6 to 8 inches deep is required for these perennial plants. Our berry suppliers in the Bronx urge frequent watering and exposure to sunlight to produce juicy and flavorful strawberries.’
Blackberries: You need to produce your tasty blackberries at home in a 5-gallon container with some soil and stakes. When in bloom, the canes of these berries can grow to be rather long; thus, they should be supported.
Blackcurrants: Containers are the best way to keep these juicy berries fresh. Rich potting soil and enough drainage are a must for your blackcurrants.
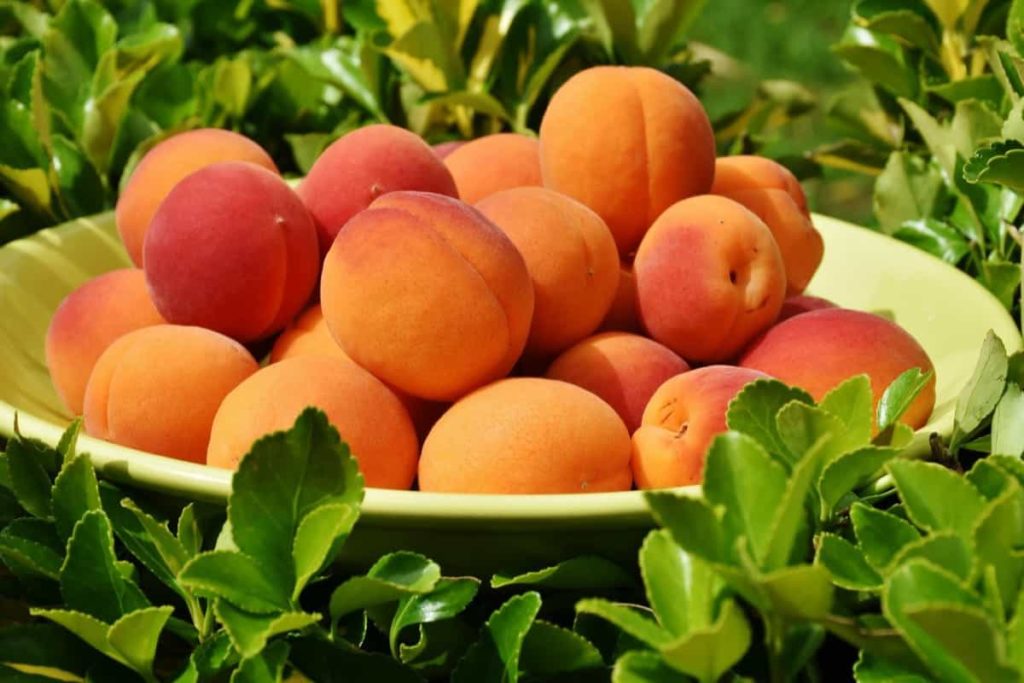
Peaches: You’ll be harvesting juicy peaches from the tree you’ve selected carefully in only a few years. Peach trees are renowned for their rapid growth and prolific fruit production, making them one of the most popular types of fruit trees. There must be excellent air circulation for peach plants to thrive.
In case you missed it: Best Fertilizer for Peach Trees: Homemade, Organic, Compost, NPK, Liquid, How and When to Apply
Apples: The apple tree is the most widely distributed and easiest to grow of all the temperate-zone fruit plants. If it is grown in a location that gets enough light and has soil that drains properly, an apple tree can eventually produce enough fruit for many families’ worth of bushels. It’s possible to grow apples in pots, but only if you pick dwarf types that won’t become too big.
Top herbs to grow in containers in Alaska
Among the herbs typically produced and gathered for seed in Alaska are dill, cilantro, and mustard. In addition, Alaska’s milder summer temperatures are ideal for several common herbs, such as chives and cilantro, parsley and sage, and thyme.
Lemon thyme: To develop lemon thyme, starting with plants rather than seeds is recommended. Re-prune the following spring to fresh growth. Hardened mats of plants must be separated or removed at some point in their life cycle. During the growth season, prune down stems to keep plants looking their best. It’s best to prune and fertilize lemon thyme after it flowers to encourage more blooms.
Lemon balm: 6 weeks before the final frost, start indoor seedlings with a thin layer of soil. Late in the spring, sow your seeds outside. During the growing season, prune plants to maintain them bushy and covered with new growth. Lemon balm can be overwintered in pots towards the end of the season when it has formed woody stems.
Mint: Cuttings can be used to propagate mint, but plants are preferred. You may maintain a steady supply of plants simply by replanting some of the roots for the next year.
In case you missed it: Mint Growing Tips, Techniques, Ideas, and Secrets
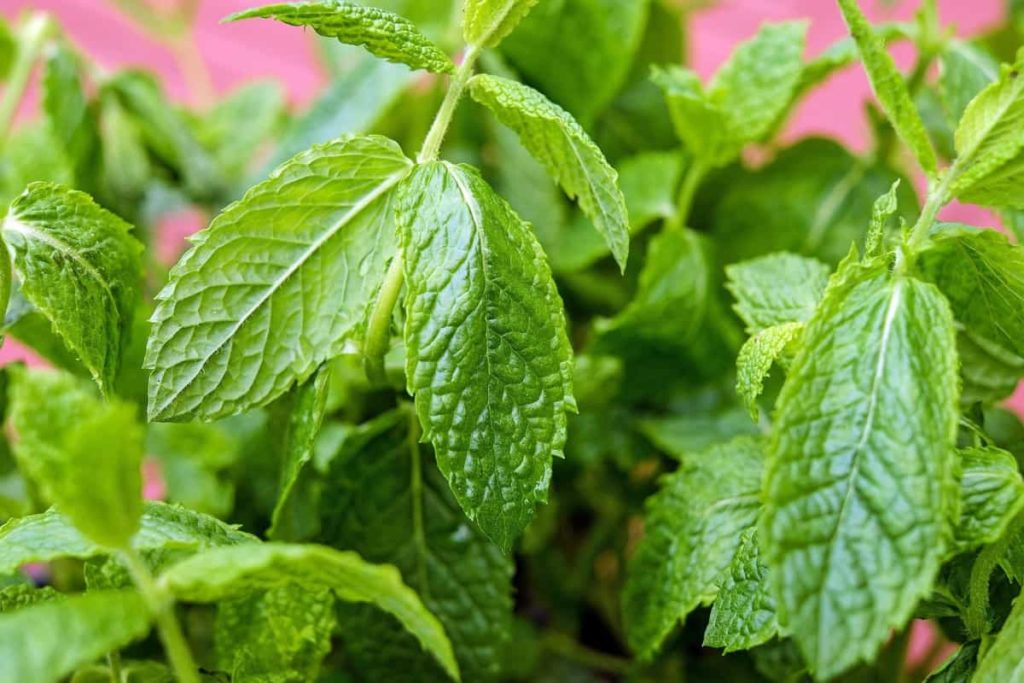
Parsley: Ten to twelve weeks before the final frost, begin seed germination inside by soaking the seeds in warm water for forty-eight hours. To maintain plants healthy throughout the season, trim them back and fertilize them.
Basil: A basil plant may be planted in its permanent container, making it a simple plant to grow and maintain. 4 to 6 weeks before the last frost, start seedlings inside. Temperatures should be between 60 and 70 degrees Fahrenheit before bringing plants outside for the first time. Basil will blossom and spread its leaves sparsely in hot weather. Pruning back the stems of your plants will keep them sturdier and help them produce new leaves.
Top flowers to grow in containers in Alaska.
Many flowers can be grown in containers in Alaska, such as marigolds, petunias, zinnias, sunflowers, asters, sweet alyssum, blue floss flowers, and other flowers. Some of the details are given below.
Marigolds: This annual thrives in warmer climates and can be grown from seed rather easily. To get the most out of your African kinds, choose the taller, bushier variations, whereas the shorter, ankle-high variants are French types.
Petunias: With a wide range of flower colors ranging from deep purple to scarlet and even bi-colored stripes, petunias are a summer staple in Alaska. There is little to no maintenance required by these species when flowering. Flower border foregrounds and hanging baskets are the perfect places for petunias.
In case you missed it: Tennessee Container Gardening: Guide for Vegetables, Fruits, Flowers, and Herbs at Home
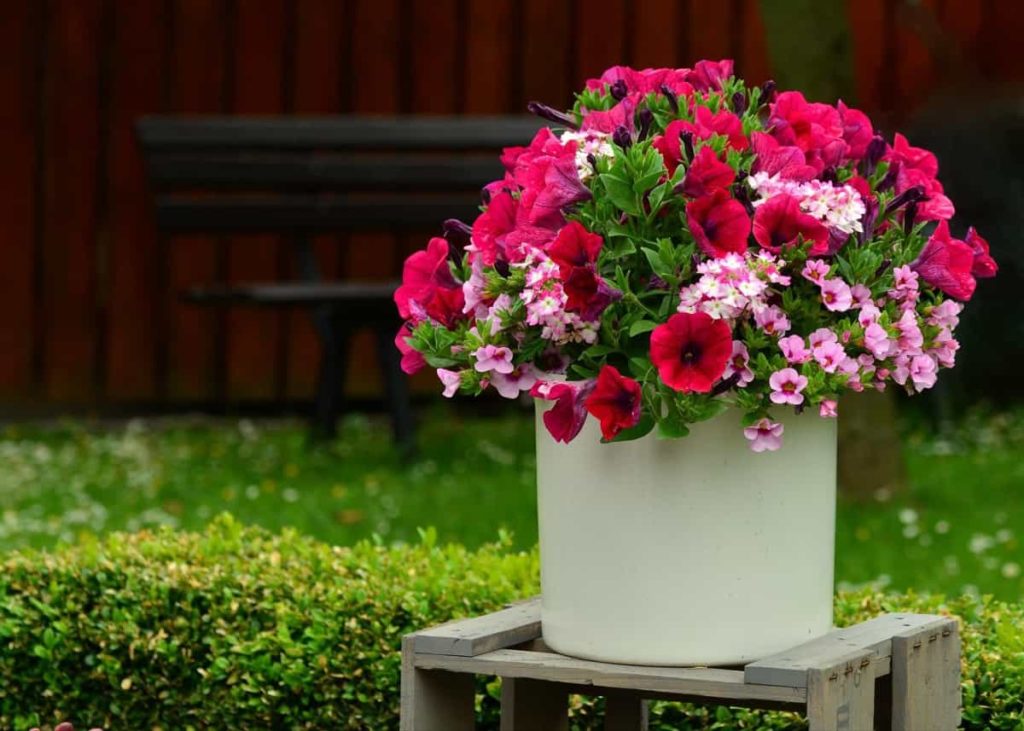
Snapdragon: Snapdragons are one of the first spring-flowering plants because they thrive on chilly, bright days and cool nights. Many of the old-fashioned cut flower kinds of “snaps,” particularly the taller ones, perform well. When cut and placed inside a vase, the original flower stalk sometimes sprouts additional flower stalks.
Sweet alyssum: Sweet alyssum is a low-growing ground cover that can be used for other annuals and also is a great container plant.
Blue floss flowers: These plants, also known as ageratum, thrive in the 65 to 75 degree Fahrenheit range thanks to their neatly structured mounded plants capped with tiny sea urchin-like blossoms. The blue floss flower’s most common color is powder blue, although it can also come in white or rose-pink varieties.
- Broccoli Seed Germination and Selection
- Asparagus Seed Germination and Variety Selection
- Seasonal Flower Gardening: Best Practices for Spring, Summer, Fall, and Winter
- How to Grow Hibiscus from Flower
- Plantation Ideas for Home Decoration: A Beginners Guide
- Flower Garden Designs and Layouts for Beginners
- Planting and Spacing Techniques in Papaya: A Beginner’s Guide
- Growing Gold: Essential Techniques for Planting Pineapples
- How to Make Kalanchoe Plant Bushy: Home Remedies and Solutions
- 11 Reasons Why Your Gardenia is Not Blooming: Home Remedies and Solutions
- Eco Elegance: The Guide to Designing a Drought-Tolerant Landscape
- Gardening on a Slope: Strategies for Hillside Landscaping
- Nourish and Flourish: Top Organic Mulches for Thriving House Plants
- Everything You Want to Know about Indian Mogra Flower: Discover Uses and Growing
- Green Thumb Success: Expert Tips for Cultivating Greenhouse Pumpkins All Year Round
- Maximize Growth & Flavor: The Ultimate Guide to Companion Planting in Herb Gardens
- How to Control Rhododendron Problems Naturally: Home Remedies and Organic Ways to Fix Them
- Natural Magic: The Remarkable Benefits of Cinnamon for Plants
- Best Steps to Revive Dying Tulip with Natural and Organic Treatment
- 10 Reasons Why Your Angel Trumpet is Not Blooming: Remedies and Treatment
- How to Fix Periwinkle Leaf and Flower-Related Problems: Natural Remedies and Solutions
- How to Fix Zinnias Leaf and Flower Problems: Discover Natural and Home Remedies
- Organic Steps to Induce Lemon Tree Flowers: A Comprehensive Guide
- Bloom Booster: Crafting the Perfect Homemade Bougainvillea Fertilizer
- Optimizing Growth: A Guide to Applying NPK Fertilizer for Potted Plants
- 10 Best Homemade Fertilizers for Rubber Plant: DIY Recipes and Application Method
- How to Boost Female Pumpkin Flowers: Effective Steps for More Flowers and High Yields
- Transform Your Indoor Garden: Top Benefits of Pink Salt for Houseplants
- 10 Best Homemade Fertilizers for Peacock Plants (Calathea): Easy DIY Guide
- Unlock Blooms: 9 Reasons Why Your Potted Chrysanthemum is Not Blooming
- 8 Reasons Why Your Potted Hibiscus is Not Blooming: Fix it with Simple Solutions
- Unlock Blooms: 9 Key Reasons Your Potted Frangipani Won’t Flower
- 10 Reasons Why Is My Ice Plant Not Blooming: Remedies and Treatment
- 10 Reasons Why My Potted Hydrangea Not Blooming: Treatment and Remedies
- 10 Reasons Why is My Wisteria Not Blooming: Remedies and Treatment
- 10 Reasons Why is My Goldfish Plant Not Blooming: Remedies and Treatment