Growing and caring for Prickly Pear cactus is a rewarding experience that requires patience and dedication. Prickly Pear is a unique and beautiful addition to any garden or landscape. This cactus plant is worth growing with its striking appearance, low maintenance needs, and nutritional benefits.
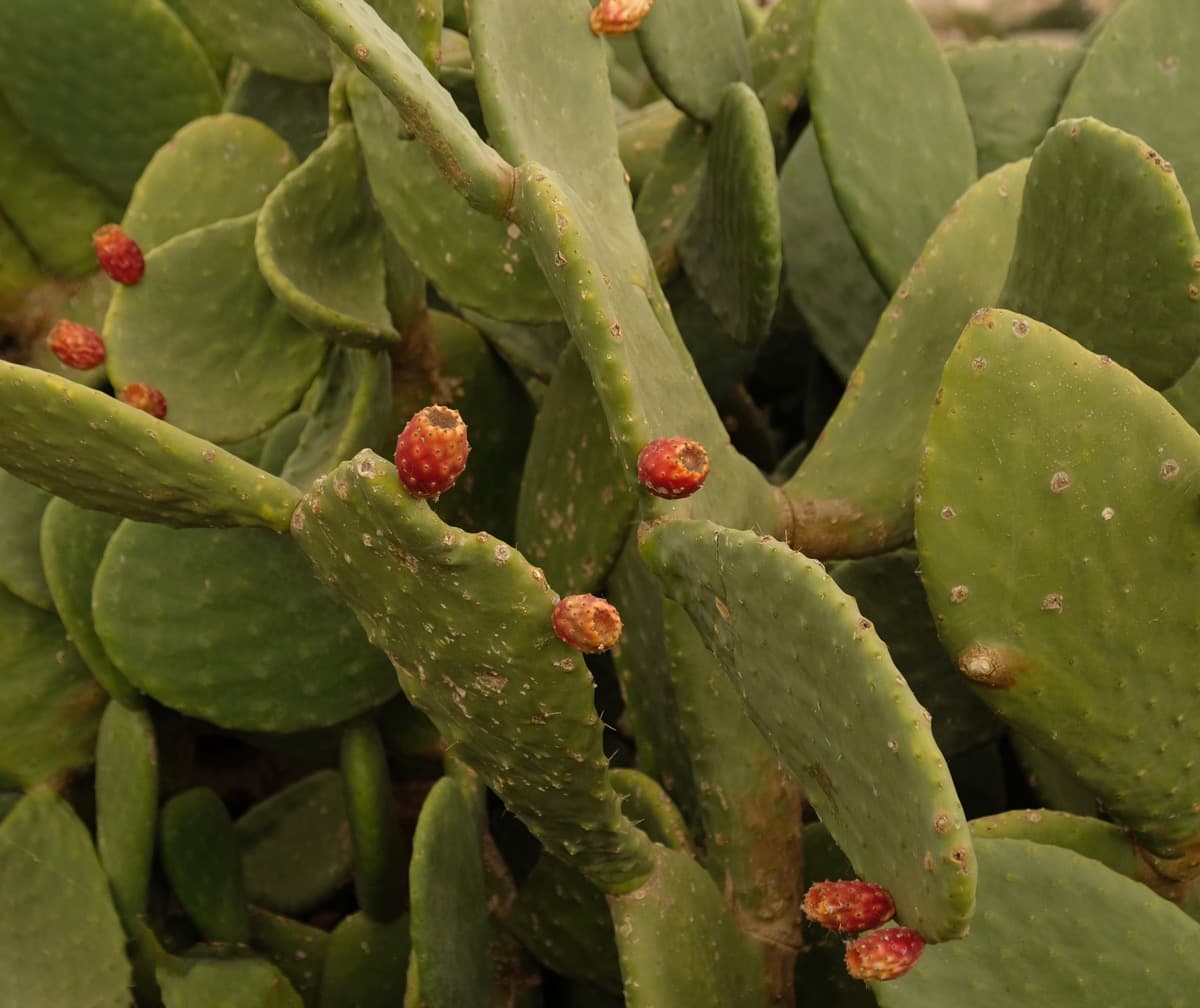
If you want to successfully grow and care for Prickly Pear, choose the right location with well-draining soil and plenty of sunlight. You can enjoy healthy plants that produce beautiful flowers and delicious fruit with proper soil, watering, pruning, and pest control techniques.
How to Grow and Care for Prickly Pear
Prickly Pear Varieties: Choosing the Right One for Your Garden
Pink Prickly Pear
Pink Prickly Pear is a stunning variety of Prickly Pear cactus that produces vibrant pink blooms in the late spring and early summer. One of the great things about Pink’ Prickly Pear is that it’s relatively easy to care for, making it the best choice for novice gardeners.
Spineless Prickly Pear
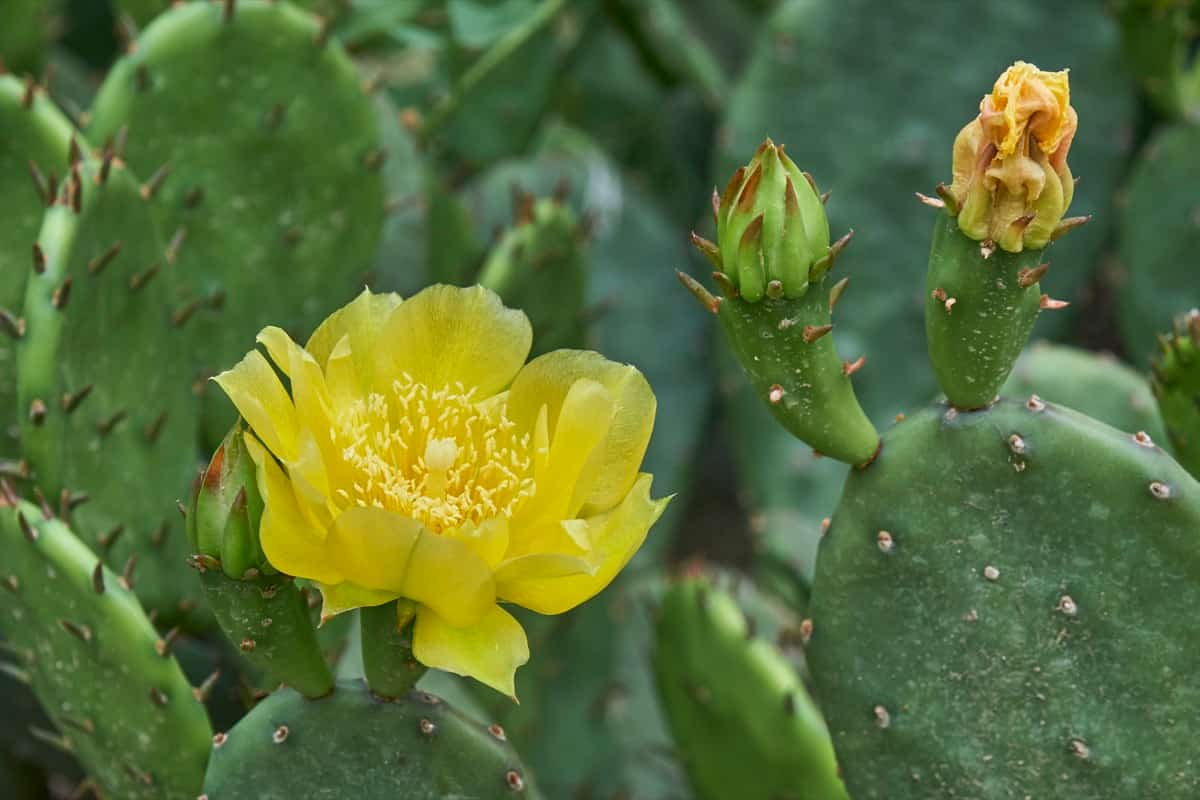
One of the main advantages of growing spineless Prickly Pear is its relatively low maintenance compared to other types. This makes it perfect if you’re new to gardening or lack time. Like most Prickly Pears, spineless varieties produce beautiful flowers, including yellow, orange, and red. These blooms are attractive and beneficial for attracting pollinators such as bees and butterflies.
Prickly Pear Soil Requirements for Optimal Growth
Prickly Pear Cacti are hardy plants that can thrive in different soil conditions. However, certain soil requirements must be met for this plant’s optimal growth and development. The ideal soil type for Prickly Pear cactus is well-draining and nutrient-rich. Avoid soils with too much clay or sand, as they tend to retain water or dry out quickly, respectively.
Adding organic matter helps improve the structure and fertility of the soil. Another important aspect is pH levels; Prickly Pears prefer slightly acidic to neutral soils. It’s also essential to ensure good drainage by planting the cactus on raised beds when dealing with heavy clay soils. This method enhances air circulation around the roots while preventing waterlogging that leads to root rot.
Watering Schedule for Healthy Prickly Pear Cacti
In general, Prickly Pear cacti require infrequent but deep watering. Letting the soil dry completely between waterings is important to prevent root rot. During hot and dry weather conditions, it may be necessary to water your Prickly Pear more frequently. However, you should avoid overwatering at all costs. It’s also advisable to water your plant when temperatures are cooler. This helps reduce evaporation rates and ensures that most moisture reaches the roots.
In case you missed it: Key Rules to Grow String of Pearls Succulent Indoors: Explained in Simple Steps
Prickly Pear Propagation Techniques: Seeds Vs. Cuttings
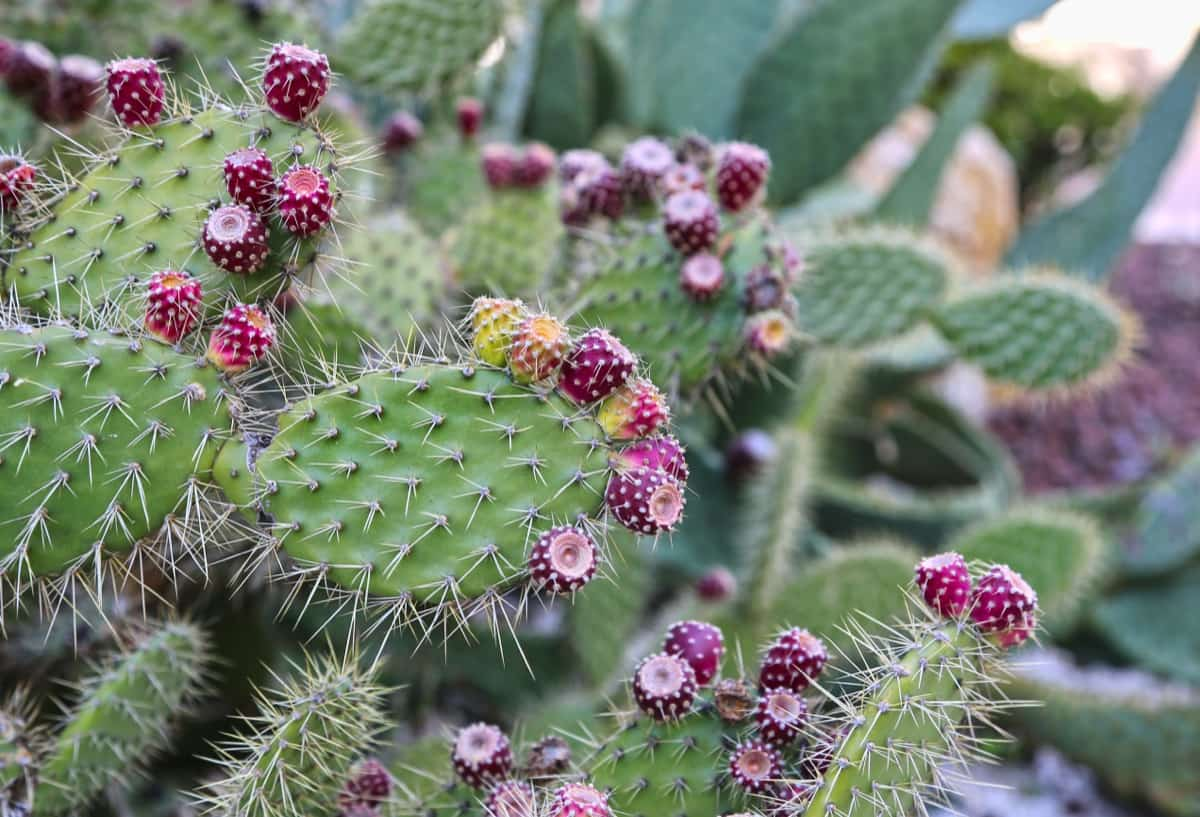
Propagation through seeds allows for genetic diversity in new plants, as each seed carries a slightly different set of genes from its parent plant. To propagate using seeds, collect them from ripe Prickly Pear fruits, clean off any residual pulp, and allow them to dry before planting in well-draining soil. Propagating with cuttings ensures you’re growing an exact clone of the parent plant. This method typically results in faster growth compared to starting from seeds.
To take a cutting, use a sharp knife to remove a healthy pad or segment from the main plant body while wearing gloves for protection against spines. Allow the cutting to callus over (dry out) at room temperature for several days before planting it into moistened soil. Both techniques require patience as new roots form within the soil; however, once established, your new Prickly Pear cacti will begin thriving in no time.
Prickly Pear Pests and Diseases: Identification and Control Measures
The Prickly Pear cactus is a hardy plant that can withstand harsh conditions but may fall prey to pests and diseases. The cochineal insect is one of the most common pests that attack Prickly Pear cacti. These small insects feed on the cactus sap, leaving behind a white, cotton-like substance on their pads. To control this pest, manually remove infected pads or use an insecticide spray.
Another pest that causes damage to Prickly Pear plants is aphids. These tiny insects suck out sap from new growth areas and cause stunted growth and deformation in affected areas. You can control aphids by introducing natural predators like ladybugs into your garden or using organic pesticides. In addition to these pests, some fungal diseases like root rot and stem blight may infect your Prickly Pear cactus if there’s too much moisture around the roots or stems.
These diseases manifest as black spots on leaves or softening of stems and roots in advanced stages. To prevent such infections, ensure proper drainage for your soil mixtures and avoid overwatering during rainy seasons. Always sanitize pruning tools before trimming diseased parts off your plant to prevent the spreading of disease-causing organisms.
Pruning and Shaping Prickly Pear Cactus for Aesthetics
Pruning and shaping the Prickly Pear cactus helps maintain its appearance and promotes healthy growth. The perfect time to prune is early spring before new growth appears. Start by removing dead or diseased branches, cutting them back to healthy tissue. Next, remove any crossing or rubbing branches that may cause damage over time. Be sure to step back periodically to assess the plant’s overall shape.
In case you missed it: How to Grow Pears from Seed to Harvest: Check How this Guide Helps Beginners
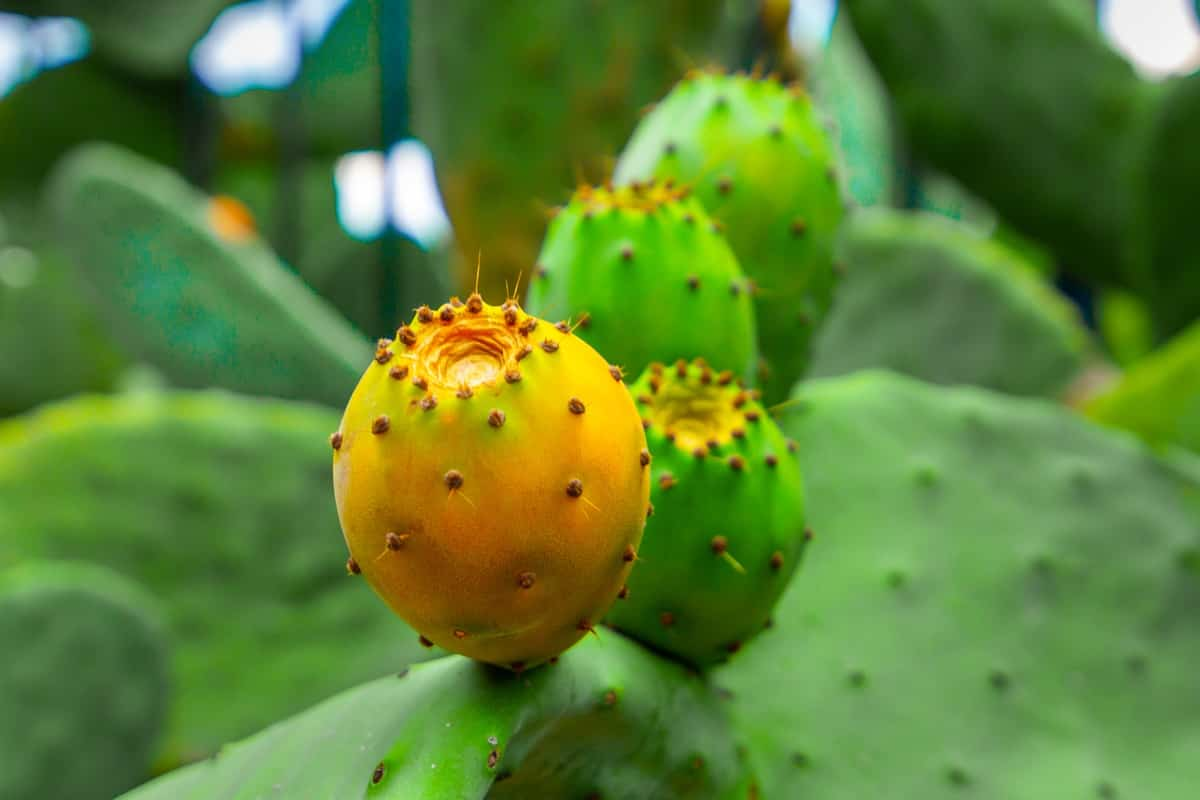
You can also prune your Prickly Pear into shapes such as globes or columns. To create these shapes, allow some stems to grow longer while trimming others shorter. When shaping your Prickly Pear cactus, you should not cut too much off at once, as this may cause stress on the plant and lead to stunted growth. Instead, make small cuts gradually until you achieve your desired shape.
Prickly Pear Plant Care in Hot and Arid Climates
Watering is essential in caring for Prickly Pear cacti during hot and arid climates. Though it can store water, providing supplemental irrigation during prolonged drought could help maintain optimal growth. In addition to watering, adding mulch around the base of your Prickly Pears can be beneficial as it helps retain moisture levels around the root system.
Proper sun exposure is another critical aspect of caring for Prickly Pears during hot temperatures. While they need plenty of sunlight to thrive, excess direct sun can lead to leaf burn or dehydration. If you live in intense heat waves or extreme dry spells, consider shading your succulents partially using shade cloths or covering them up during peak hours of direct sunlight exposure.
How to Protect Prickly Pear from Frost and Freezing Temperatures
Protecting your Prickly Pear cactus from frost and freezing temperatures is crucial in ensuring it thrives all year round. Covering your Prickly Pear with a protective cloth is one way to protect it from freezing temperatures. Frost blankets or burlap sacks are excellent materials to shield the plant from cold weather. Before wrapping the plant, ensure enough air circulation to prevent moisture build-up.
In case you missed it: 16 Common Pear Tree Problems: How to Fix Them, Solutions, and Treatment
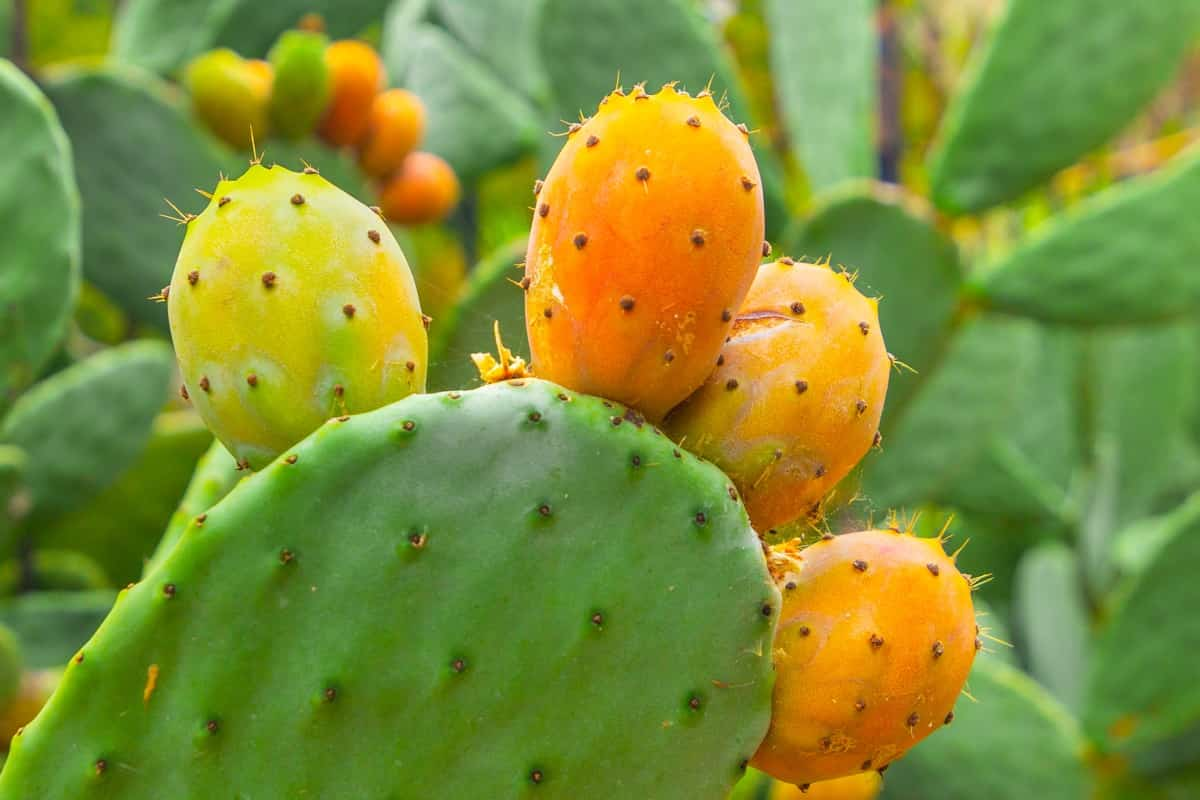
Mulch around the base of the cactus with dried leaves, straw, or wood chips. This will help regulate soil temperature and keep roots warm when temperatures drop drastically during winter. If you live in frost and frequent freezes, consider planting your Prickly Pears on elevated ground where cold air won’t settle as quickly. Ensure you avoid watering your plants before a freeze occurs since water expands when frozen, causing significant damage and ultimately leading to the death of the plant.
Best Containers for Growing Prickly Pear Indoors
Prickly Pear cacti are the best addition to any indoor garden, but choosing the right container is best for their growth and overall health. When it comes to selecting a pot, there are several factors you should consider. Select a container that is larger enough than the size of your plant’s root system.
This will give your Prickly Pear room to grow without being overwhelmed by too much space. Prickly Pears need well-draining soil; excess water can cause rot or other diseases. Terracotta pots are an excellent choice for growing Prickly Pears as they allow airflow through the sides of the pot, which helps with moisture control. Additionally, these pots absorb excess water, which helps prevent overwatering and keeps roots healthy.
Companion Plants for Enhancing Prickly Pear Health and Appearance
Prickly Pear plants are quite hardy and can thrive in various environments. However, to enhance their health and appearance, it’s best to plant them alongside companion plants that complement their unique characteristics. One great option is the Yucca plant, which features tall spiky leaves that contrast with the round shapes of Prickly Pears. Yuccas also prefer well-draining soil conditions similar to cacti, making them an ideal pairing.
Another excellent option is Lavender, which provides beautiful purple blooms and repels many pests that may harm Prickly Pear plants. Sedum is another popular choice as it’s drought-resistant and low-growing. It creates a striking visual effect when planted around Prickly Pears due to its small star-shaped flowers and fleshy leaves. Agave is an excellent companion plant thanks to its tough foliage texture and ability to grow in harsh conditions without competing for resources with nearby Prickly Pears.
How to Repot Prickly Pear Cacti Without Getting Pricked
The spines on the plant can cause painful injuries if not handled properly. Wear thick gardening gloves and protective clothing that covers exposed skin. This will minimize the risk of getting stuck by the spines while handling the plant. Next, choose a pot slightly larger than the current one to allow room for growth. Use a well-draining soil mix designed for cacti and succulents. Remove the plant, gently loosening any roots attached to the sides of the pot. Use a clean knife to cut off any tangled roots if necessary.
In case you missed it: Best Fertilizers for Pear Trees: Organic, Homemade, Liquid, Natural, NPK, Compost, How and When to Apply
Once removed from its old container, inspect the root system damage or disease signs. Trim away dead or diseased parts using sterilized tools before planting in the fresh soil mix. Carefully place your Prickly Pear into its new pot and backfill with soil mix until it reaches just below where it was previously planted. Firmly pack down around the base of the plant with fingers but avoid pressing too hard as this could damage delicate roots.
Prickly Pear Sun Exposure: Finding the Right Balance
Prickly Pear cacti should receive at least six hours of sunlight daily. However, this doesn’t mean they should be in full sun all day. Too much direct sunlight can cause burns on the plant’s skin and damage its ability to absorb nutrients. You’ll consider a few factors to find the right balance of sun exposure for your Prickly Pear cactus. These include your location, the time of year (with hotter months requiring less direct sunlight), and whether or not your plant is potted or planted directly in the soil.
Prickly Pear Cactus Care During the Dormant Season
During the dormant season, which usually starts in late fall and lasts until early spring, Prickly Pear cacti tend to slow down their growth and require less care. However, it’s important to continue giving them the necessary attention to remain healthy. Reduce watering frequency during this period as cacti are susceptible to root rot if over-watered. Water only when the soil dries, but be careful not to let it stay too dry.
Avoid fertilizing your Prickly Pear cactus during winter months, as it can stimulate new growth, which can be damaged by frost. Prune any dead or diseased stems during this time. Take advantage of their dormant state and reshape your plants as needed without worrying about damaging new growth. Protect your cacti from freezing temperatures by covering them with blankets or burlap sacks on extremely cold nights. It’s also recommended that you move container-grown Prickly Pears indoors if possible.
Fertilizers for Enhancing Prickly Pear Growth
The best fertilizer for Prickly Pears is high in phosphorus and low in nitrogen. Nitrogen can cause excessive vegetative growth at the expense of fruit production, so it should be avoided. It’s also important to apply fertilizers at the right time. Prickly Pear cacti are dormant during winter months when temperatures drop below freezing.
Fertilizing during this time won’t benefit your plant since it won’t grow actively. Instead, wait until springtime, when temperatures rise and new growth emerges. Follow instructions carefully when applying any fertilizer – too much can harm your plants instead of helping them grow.
Mulching Techniques for Moisture Retention in Prickly Pear Gardens
Mulching is an essential aspect of Prickly Pear cactus gardening. This technique involves covering the soil beneath the cacti with organic or inorganic materials to help retain moisture, regulate temperature and suppress weed growth. For Prickly Pear cacti, it’s advisable to use organic mulch. These materials break down slowly, releasing nutrients into the soil while retaining moisture.
Before applying mulch, create a space around the base of each plant to prevent contact between the material and the stem. This helps avoid rotting caused by excess moisture retention in contact with the stem. A layer of 2-3 inches thick of organic mulch is enough for effective water retention without suffocating your Prickly Pear plants’ roots. In contrast, too much mulch can cause root rot due to excessive moisture build-up.
Harvesting Prickly Pear Fruits
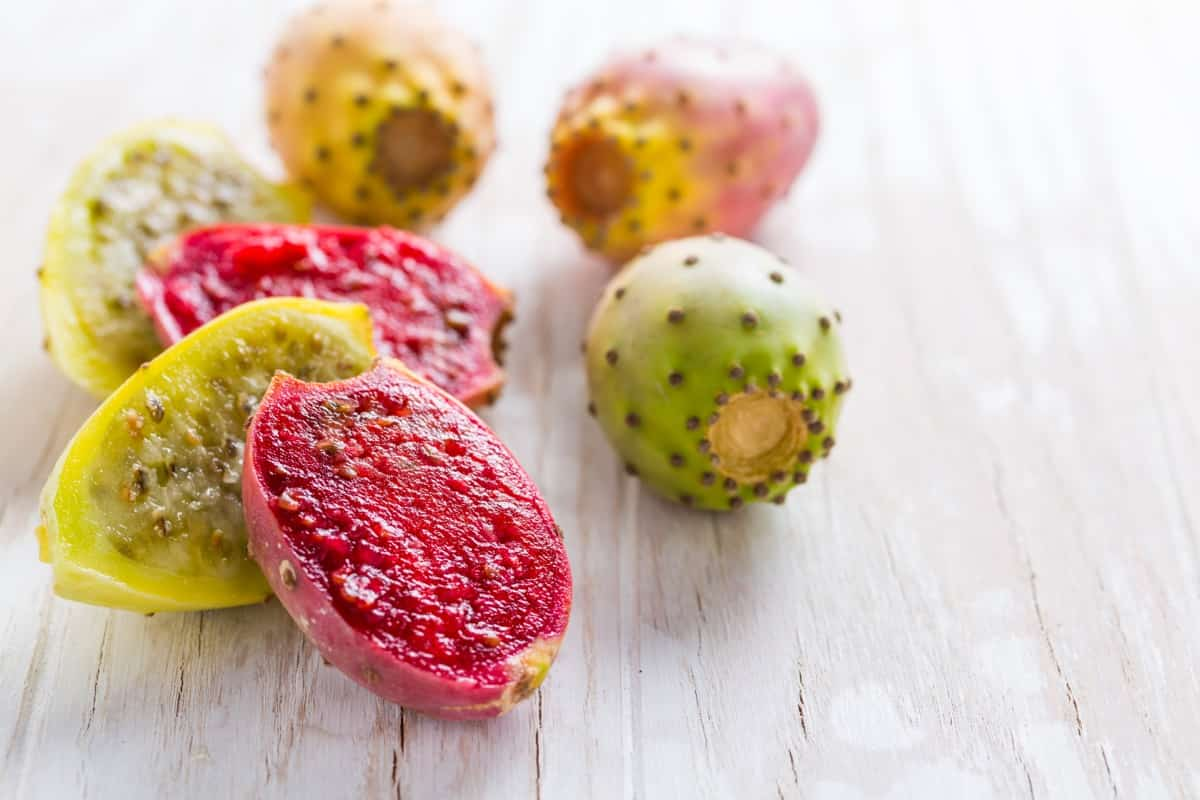
Before harvesting Prickly Pears, wear gloves and use pliers to handle them carefully. Once harvested, you can remove their spines with cold water to avoid getting pricked. Harvesting Prickly Pear fruits is straightforward once you take precautions against their thorns; they’re versatile enough for use in many different recipes and provide nutritional benefits.
Troubleshooting Stunted Growth in Prickly Pear Cacti
Prickly Pear cacti are known for their ability to grow under harsh conditions, but sometimes they can experience stunted growth. If you notice that your Prickly Pear cactus is not growing as it should be, a few issues may be causing this problem. Make sure your cactus has enough light exposure.
In case you missed it: Best DIY Homemade Rooting Hormone Ideas
Prickly Pears need full sun exposure to thrive and grow properly. Lack of sunlight can lead to weak stems and small pads or fruit. Ensure you are giving your Prickly Pear adequate water but not over-watering it. Overwatering will cause root rot which eventually leads to stunted growth. Consider pests like mealybugs or spider mites feeding on the plant sap, causing damage and poor growth performance.
Conclusion
Growing and caring for Prickly Pear can be a rewarding experience. Not only does this versatile plant offer a variety of health benefits, but it also adds unique beauty to any garden or landscape. Remember to choose a suitable location with plenty of sunlight, well-draining soil, and ample space for growth. If you encounter any issues with pests or diseases, take immediate action to prevent further damage. By following these tips, you’ll be able to grow thriving Prickly Pear plants that will continue producing year after year.
- How to Grow Tomatoes Organically at Home: A Comprehensive Guide
- Organic Gardening on a Budget: Low-Cost Methods and Materials
- Gongura Seed Germination and Planting Methods
- Cabbage Seed Germination and Selection
- Broccoli Seed Germination and Selection
- Asparagus Seed Germination and Variety Selection
- Seasonal Flower Gardening: Best Practices for Spring, Summer, Fall, and Winter
- How to Grow Hibiscus from Flower
- Plantation Ideas for Home Decoration: A Beginners Guide
- Flower Garden Designs and Layouts for Beginners
- Planting and Spacing Techniques in Papaya: A Beginner’s Guide
- Growing Gold: Essential Techniques for Planting Pineapples
- How to Make Kalanchoe Plant Bushy: Home Remedies and Solutions
- 11 Reasons Why Your Gardenia is Not Blooming: Home Remedies and Solutions
- Eco Elegance: The Guide to Designing a Drought-Tolerant Landscape
- Gardening on a Slope: Strategies for Hillside Landscaping
- Nourish and Flourish: Top Organic Mulches for Thriving House Plants
- Everything You Want to Know about Indian Mogra Flower: Discover Uses and Growing
- Green Thumb Success: Expert Tips for Cultivating Greenhouse Pumpkins All Year Round
- Maximize Growth & Flavor: The Ultimate Guide to Companion Planting in Herb Gardens
- How to Control Rhododendron Problems Naturally: Home Remedies and Organic Ways to Fix Them
- Natural Magic: The Remarkable Benefits of Cinnamon for Plants
- Best Steps to Revive Dying Tulip with Natural and Organic Treatment
- 10 Reasons Why Your Angel Trumpet is Not Blooming: Remedies and Treatment
- How to Fix Periwinkle Leaf and Flower-Related Problems: Natural Remedies and Solutions
- How to Fix Zinnias Leaf and Flower Problems: Discover Natural and Home Remedies
- Organic Steps to Induce Lemon Tree Flowers: A Comprehensive Guide
- Bloom Booster: Crafting the Perfect Homemade Bougainvillea Fertilizer
- Optimizing Growth: A Guide to Applying NPK Fertilizer for Potted Plants
- 10 Best Homemade Fertilizers for Rubber Plant: DIY Recipes and Application Method
- How to Boost Female Pumpkin Flowers: Effective Steps for More Flowers and High Yields
- Transform Your Indoor Garden: Top Benefits of Pink Salt for Houseplants
- 10 Best Homemade Fertilizers for Peacock Plants (Calathea): Easy DIY Guide
- Unlock Blooms: 9 Reasons Why Your Potted Chrysanthemum is Not Blooming
- 8 Reasons Why Your Potted Hibiscus is Not Blooming: Fix it with Simple Solutions
- Unlock Blooms: 9 Key Reasons Your Potted Frangipani Won’t Flower