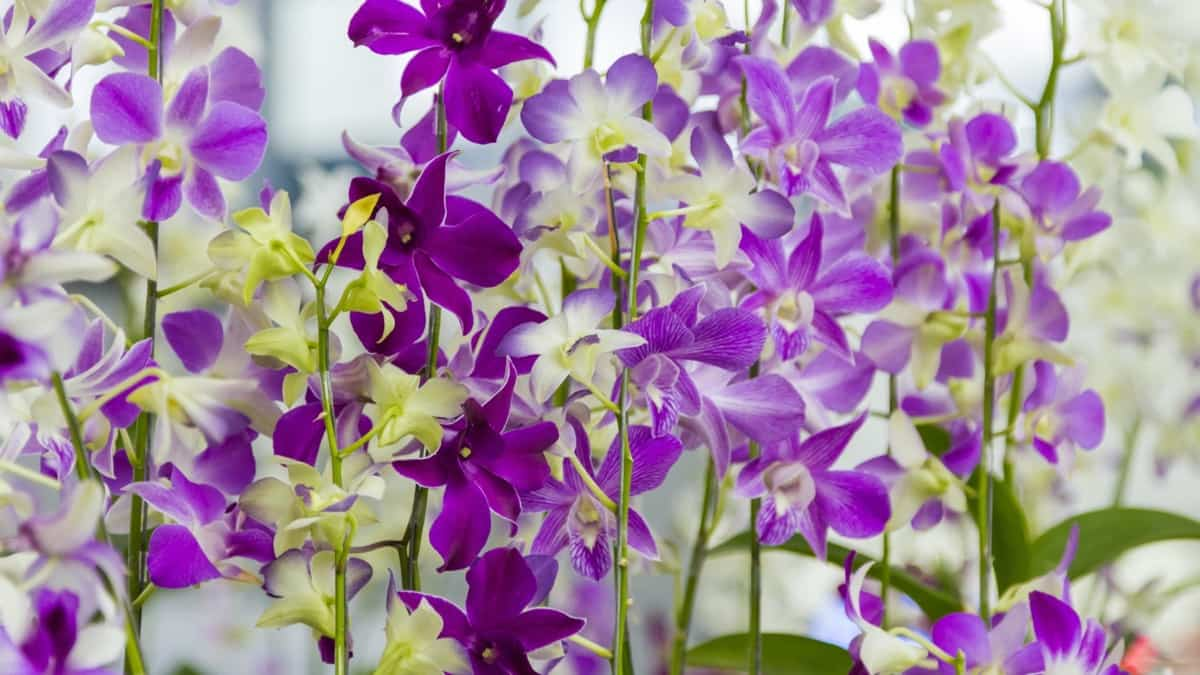
Orchids are the most beautiful and exotic flowers in the world. Their stunning colors and unique shapes make them popular for home decor and gift-giving. However, maintaining these delicate plants can be quite challenging. Pruning not only helps to keep your Orchids healthy and blooming but also ensures that they remain visually appealing all year round.
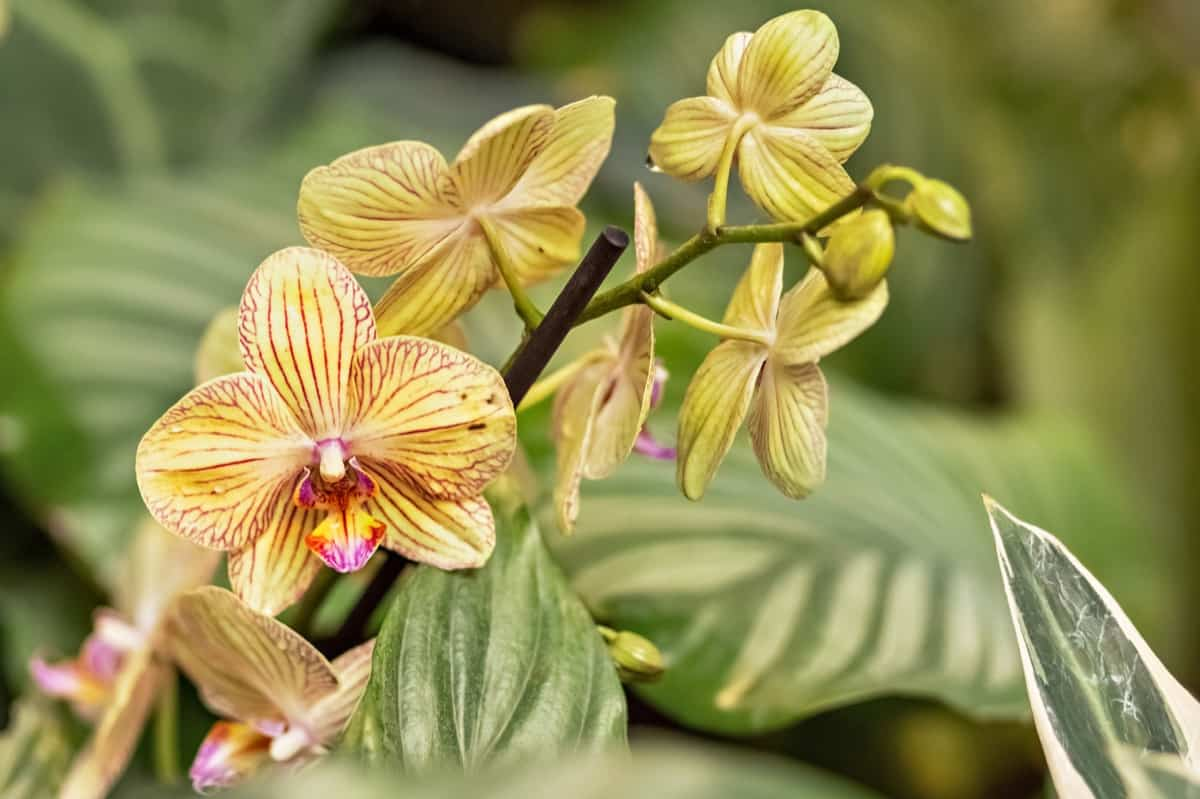
Pruning should be done during the active growing season, spring or summer. Your Orchid will have enough energy to recover from the pruning process and produce new growth during this time. It’s important to wait until your Orchid has bloomed before you prune it. Timing plays a key role when it comes to pruning Orchids. By waiting until after bloom season and choosing an appropriate time during active growth periods, you can encourage your plant to stay healthy and vibrant throughout its life cycle.
How and When to Prune Your Orchids
Types of Orchids
Monopodial and sympodial Orchids are two of the most distinctive types of Orchids in the world. Monopodial Orchids have a single stem and grow upright, while sympodial Orchids produce multiple stems that grow horizontally. Monopodial Orchids are characterized by their tall, slender, and graceful appearance. The stem grows continuously upward, with new leaves forming along its length.
In case you missed it: Easy to Grow Orchid Plants for Beginners: Soil, Propagation, Planting, and Care
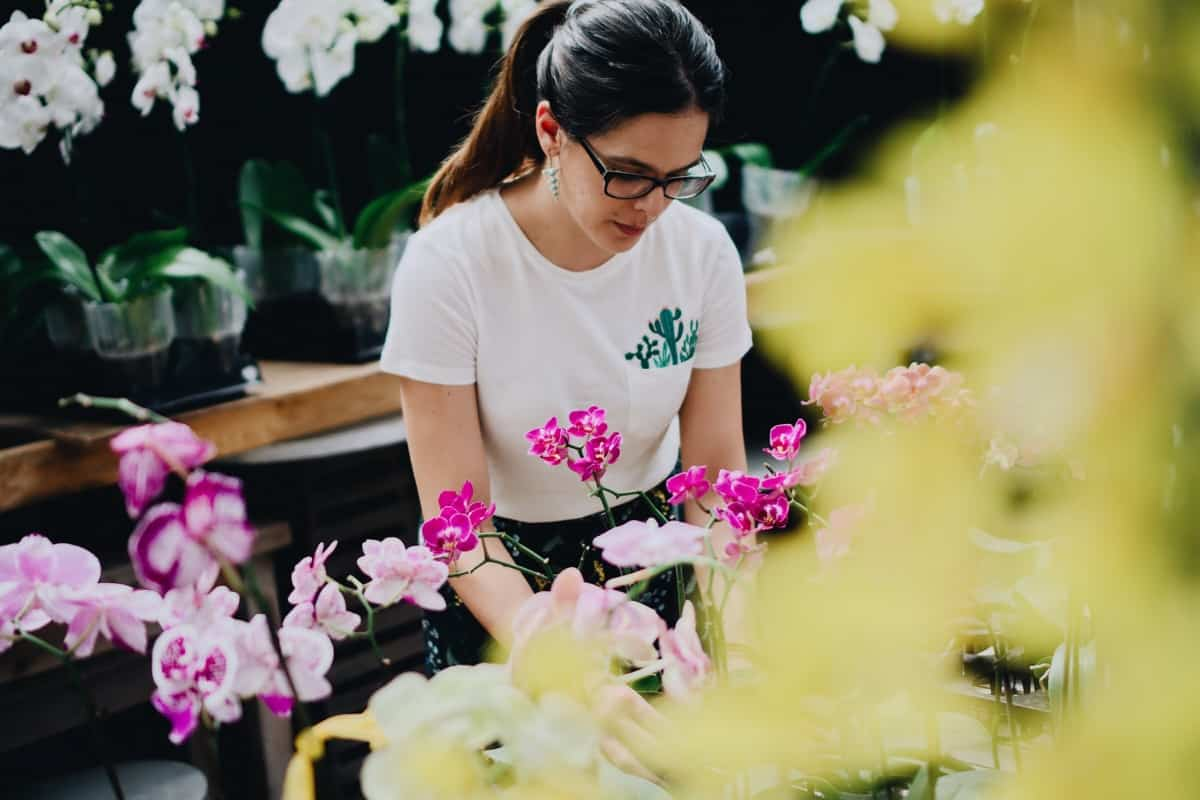
On the other hand, sympodial Orchids grow sideways, producing multiple shoots or pseudobulbs that form clumps over time. These plants tend to be more compact than monopodial and can spread out as they mature. Both types of Orchids come in various sizes, colors, shapes, and patterns, making them perfect for indoor gardening enthusiasts who want to add natural beauty to their homes.
Tips to Prune Monopodial Orchids
Water Thoroughly
When watering your Orchid, it’s important to water thoroughly so the roots can absorb enough moisture. If possible, use room-temperature water to avoid shocking the plant. To water thoroughly, give your Orchid a good soak until excess water drains out of the pot’s bottom holes. Ensure all parts of the potting mix are evenly moistened before letting it drain completely.
Cut Back Spent Flower Spikes
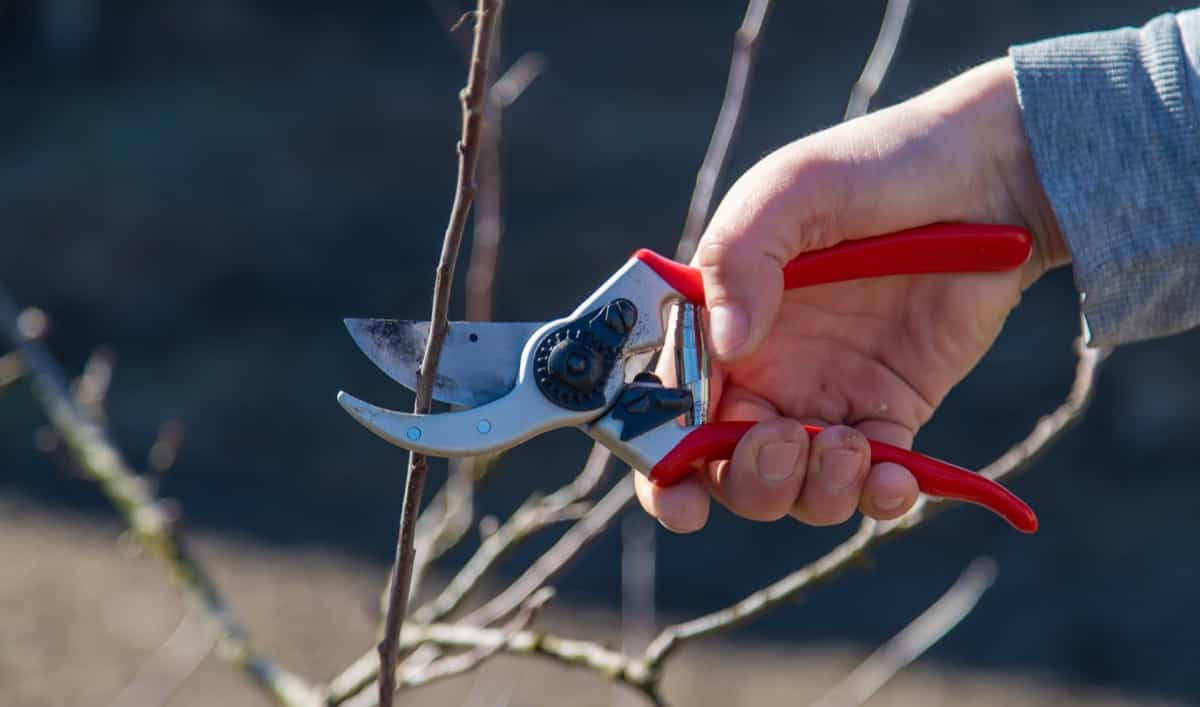
After your Orchid has bloomed, you will want to cut back the spent flower spikes. This is essential in pruning monopodial Orchids as it promotes new growth and encourages the plant to produce more flowers. Cut the spike back just above where it connected with the plant’s stem using sterile scissors or pruning shears.
Avoid damaging healthy leaves or stems while cutting back the spent flower spike. If you accidentally snip off a healthy stem or leaf, it could stunt growth and harm your Orchid. If multiple spikes on your Orchid have finished blooming, cut them all back at once rather than one at a time. This allows for even regrowth throughout the entire plant.
In case you missed it: Top 16 Perennial Herbs You Can Plant Once and Enjoy for Years
Remove Wilted and Damaged Leaves
Leaves play a crucial role in the plant’s photosynthesis process, so ensuring they are healthy and damaged-free is important. Regularly check your plants for yellowing or browning on the edges of the leaves. If you observe any dead or dying leaves, trim them off. Ensure not to cut into the stem, which could cause further damage.
Removing any damaged leaves that pests or diseases may have caused is also important. If left untreated, these can spread throughout your Orchid and cause serious harm. Removing wilted and damaged leaves allows your plant to devote more energy towards producing new growth rather than trying to repair old, damaged foliage.
Trim Spent and Damaged Aerial Roots
Aerial roots are a distinguishing feature of monopodial Orchids. These roots grow out from the stem or leaves, reaching for moisture and nutrients in the air. However, these roots may become damaged or die, affecting the plant’s health. To trim spent and damaged aerial roots on your monopodial Orchid properly, take a pair of clean scissors or pruning shears. Carefully inspect each root before cutting to ensure it is dead or damaged beyond repair.
Begin by removing any shriveled, browned, or mushy aerial roots, as these are signs that the root has died off. Be sure to cut back to where you see healthy tissue rather than leaving a stub, which could lead to infection. Next, remove any tangled or overlapping aerial roots blocking light. Trim them carefully so as not to damage nearby healthy ones. Remember, not all aerial roots should be removed. Only those that exhibit signs of damage should be trimmed away.
Withhold Water
Withholding water is a vital step in pruning monopodial Orchids. After repotting and trimming, giving your Orchid time to recover before watering again is important. If you water too soon, the excess moisture can cause root rot or other issues compromising your Orchid’s health. It’s best to wait until the potting mix has dried out completely before watering again.
In case you missed it: Orchid Gardening For Beginners – How To Start, FAQs
The watering frequency depends on temperature, humidity levels, and the size of your pot. Most monopodial Orchids should be watered once every one or two weeks during active growth periods. Remember that withholding water doesn’t mean depriving your Orchid altogether. A healthy balance between watering sessions is essential for promoting strong growth and beautiful blooms.
Tips to Prune Sympodial Orchids
Cut Back Long, and Trailing Roots
Sympodial Orchids are popular for their beautiful, long-lasting blooms. However, if left unpruned, these plants can develop excessive roots that may lead to problems with water absorption and nutrient uptake problems. This is why it’s important to prune the long and trailing roots regularly. You’ll need a clean pair of scissors or gardening shears to start pruning your sympodial Orchid’s roots. Carefully remove the plant from its pot, not damaging any healthy roots.
Examine each root carefully before deciding which ones to cut back. If a root is long and trailing but still green and healthy-looking, try wrapping it around the base of the plant. However, if you observe any dead or damaged roots that appear brown or black, they should be removed entirely using your shears or scissors. Trimming away damaged portions allows room for fresh growth while preventing infection from spreading further into other areas.
Remove Flower Spikes
Once the flowers on your sympodial Orchid have bloomed and started to wilt, it’s time to remove the flower spikes. This will not only help keep your plant looking tidy, but it can also encourage more blooms in the future. To remove a spent flower spike, cut it off at the base using sterilized scissors or pruning shears. Be careful not to damage any nearby leaves or new growth while doing so. If you notice any green areas remaining on the spike after cutting back dead flowers, leave them intact, as they may produce new buds and lead to further flowering.
Some varieties of sympodial Orchids may develop baby plants along their flower spikes. If this is the case for your Orchid, you can either leave them attached or carefully detach them and pot them up separately once they’ve developed roots. Removing spent flower spikes is essential to caring for your sympodial Orchid and promoting healthy growth.
Remove or Propagate Spent Bulbs
When pruning sympodial Orchids, removing or propagating spent or damaged bulbs is essential. Bulbs are the storage organs of the plant and provide energy for growth and blooms. Therefore, keeping them healthy is vital for the overall health of your Orchid. If a bulb has turned yellow, mushy, or has stopped producing new growths, it’s time to remove it.
In case you missed it: When to Prune Hydrangea Varieties: A Step-By-Step Guide
Some Orchid growers prefer to cut only the dead part, while others recommend cutting off the whole bulb. After removing a bulb from your Orchid plant, consider propagating it if possible instead of discarding it. Propagation can be done by dividing the bulb into sections with at least one healthy eye per section and potting each in containers filled with fresh potting mix.
Remember that not all sympodial Orchids have bulbs that can be easily divided; some species have rhizomes instead, which require different propagation techniques. Removing spent or damaged bulbs may seem daunting, but doing so will encourage new growth and future blooming seasons for your beloved plant.
Remove Spent and Damaged Leaves
Removing spent and damaged leaves is an essential part of pruning sympodial Orchids. These leaves detract from the plant’s appearance and can harbor pests and diseases. Using sharp, sterile scissors or a knife is important when removing spent or damaged leaves. This helps prevent tearing or damaging the remaining healthy tissue on the plant.
Start by identifying any yellowed, wilted, or brown-spotted leaves. Removing old sheaths around your Orchid’s new growths is crucial since they tend to accumulate dust and debris over time which causes fungal infections. Remember that while cutting back too much foliage may cause stress in some plants at first, this removal will promote healthier growth in years ahead.
Remove Damaged or Discolored Roots
Sympodial Orchids produce new growth from the base of their rhizomes, which means that they can be quite forgiving regarding root pruning. However, if you notice any damaged or discolored roots while pruning your Orchid, removing them promptly is important. Damaged and discolored roots can be a sign of disease or pests, so removing them is crucial for maintaining a healthy Orchid plant. To do this, gently loosen the potting mix around the affected roots and use sharp scissors or clippers to cut away any brown, black, or mushy parts.
You should sterilize your cutting tools with rubbing alcohol before and after using them on each Orchid. This will help prevent cross-contamination between plants. After removing the damaged or discolored roots, allow the cuts to dry for at least an hour before repotting your Orchid in a fresh potting mix. Remember that healthy roots are essential for supporting a strong and vibrant plant, so don’t hesitate to prune away any damaged ones as needed.
Repot the Orchid
Repotting an Orchid is a crucial aspect of its care. It’s best to do this during the active growth period, which can vary depending on the type of Orchid. Remove the plant and gently loosen up the root ball. If there are any dead or damaged roots, trim them away with sharp shears. Be careful not to damage healthy roots in the process.
In case you missed it: Top 12 Carnivorous Plants to Grow Indoors: Easy to Care and Maintain
Next, choose a pot slightly larger than the previous one and fill it with a fresh potting mix suitable for your particular type of Orchid. Place your Orchid plant into the new pot and pour soil around it until it reaches just below where leaves emerge from stems. Water thoroughly, but avoid oversaturating, as too much moisture can lead to rotting roots. Repotted Orchids may need extra care while adjusting to their new environment, including appropriate light and humidity.
Conclusion
Pruning Orchids may seem daunting at first, but with the right technique and timing, it can be a simple task that will benefit your plant’s health and overall appearance. Remember to use clean tools and only prune when necessary or after blooming. Don’t be afraid to discard old or damaged leaves or stems, encouraging new growth. And lastly, always research specific instructions for your type of Orchid before proceeding with any pruning techniques. With these tips in mind, you’ll have beautiful and thriving Orchids in no time.
- How to Grow Tomatoes Organically at Home: A Comprehensive Guide
- Organic Gardening on a Budget: Low-Cost Methods and Materials
- Gongura Seed Germination and Planting Methods
- Cabbage Seed Germination and Selection
- Broccoli Seed Germination and Selection
- Asparagus Seed Germination and Variety Selection
- Seasonal Flower Gardening: Best Practices for Spring, Summer, Fall, and Winter
- How to Grow Hibiscus from Flower
- Plantation Ideas for Home Decoration: A Beginners Guide
- Flower Garden Designs and Layouts for Beginners
- Planting and Spacing Techniques in Papaya: A Beginner’s Guide
- Growing Gold: Essential Techniques for Planting Pineapples
- How to Make Kalanchoe Plant Bushy: Home Remedies and Solutions
- 11 Reasons Why Your Gardenia is Not Blooming: Home Remedies and Solutions
- Eco Elegance: The Guide to Designing a Drought-Tolerant Landscape
- Gardening on a Slope: Strategies for Hillside Landscaping
- Nourish and Flourish: Top Organic Mulches for Thriving House Plants
- Everything You Want to Know about Indian Mogra Flower: Discover Uses and Growing
- Green Thumb Success: Expert Tips for Cultivating Greenhouse Pumpkins All Year Round
- Maximize Growth & Flavor: The Ultimate Guide to Companion Planting in Herb Gardens
- How to Control Rhododendron Problems Naturally: Home Remedies and Organic Ways to Fix Them
- Natural Magic: The Remarkable Benefits of Cinnamon for Plants
- Best Steps to Revive Dying Tulip with Natural and Organic Treatment
- 10 Reasons Why Your Angel Trumpet is Not Blooming: Remedies and Treatment
- How to Fix Periwinkle Leaf and Flower-Related Problems: Natural Remedies and Solutions
- How to Fix Zinnias Leaf and Flower Problems: Discover Natural and Home Remedies
- Organic Steps to Induce Lemon Tree Flowers: A Comprehensive Guide
- Bloom Booster: Crafting the Perfect Homemade Bougainvillea Fertilizer
- Optimizing Growth: A Guide to Applying NPK Fertilizer for Potted Plants
- 10 Best Homemade Fertilizers for Rubber Plant: DIY Recipes and Application Method
- How to Boost Female Pumpkin Flowers: Effective Steps for More Flowers and High Yields
- Transform Your Indoor Garden: Top Benefits of Pink Salt for Houseplants
- 10 Best Homemade Fertilizers for Peacock Plants (Calathea): Easy DIY Guide
- Unlock Blooms: 9 Reasons Why Your Potted Chrysanthemum is Not Blooming
- 8 Reasons Why Your Potted Hibiscus is Not Blooming: Fix it with Simple Solutions
- Unlock Blooms: 9 Key Reasons Your Potted Frangipani Won’t Flower