Home gardening is part of choosing a location, designing the garden, amending the soil, selecting seeds and plants, planting a crop, and caring for the plants until harvest. The outcome is delicious, nutritious food that can be eaten, shared, or sold. Home gardening is easy and accessible to everyone prepared to dedicate a few minutes a day to tend to their plants. It doesn’t need a lot of resources.
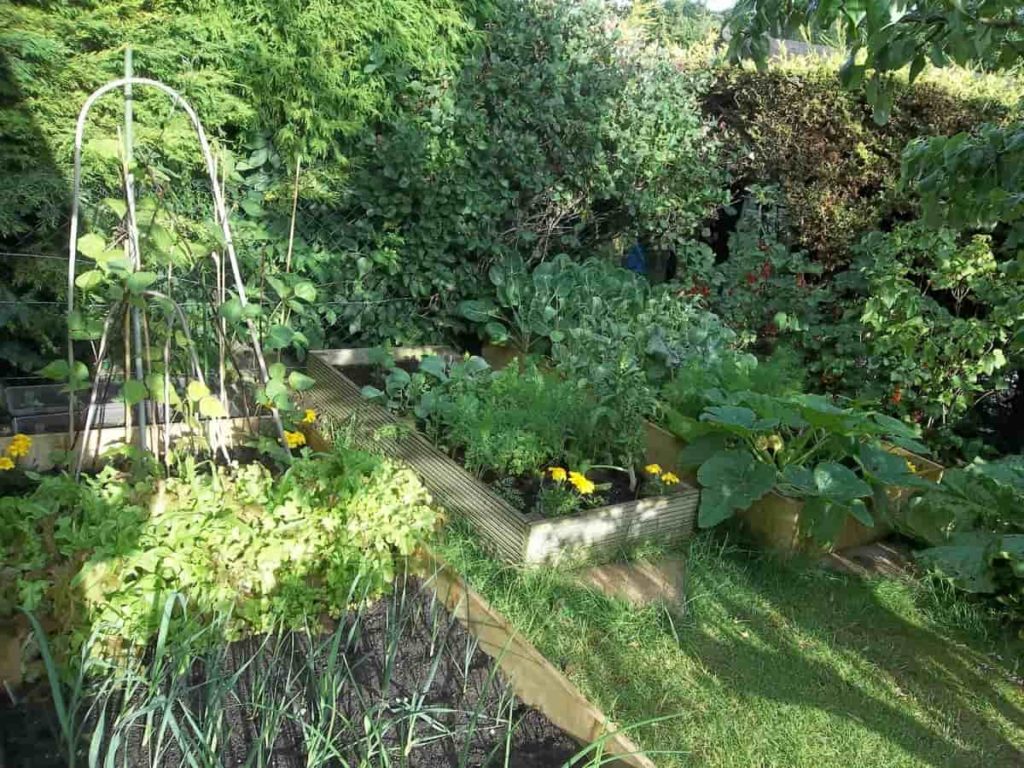
However, some time and skill are necessary. Every year, your proficiency will rise if you just keep at it. If, at first, you don’t succeed, keep trying. Below we learn about home gardening in North Carolina, how to set up a home garden in North Carolina, how to set up a backyard home garden in North Carolina, how to set up an indoor home garden in North Carolina, how to set up a container home garden in North Carolina and different fruits and vegetables that can be grown in NC home gardens.
Home Gardening in North Carolina
Is North Carolina good for gardening?
If we plant it correctly, we can grow almost everything in North Carolina. Fall and spring have shorter days and growing seasons, so it’s best to plant leafy greens and roots like spinach, lettuce, and radishes. Grow plants that need time to age, flower, and produce fruit throughout the long summer months, so we have eggplant, tomatoes, and squash to eat. At the same time, shorter-season crops like radishes, lettuce, and other leafy greens are less vulnerable to insect and disease damage.
Tomatoes provide the most significant challenge due to their susceptibility to various pests and diseases. In addition, tomatoes are very picky about their growing conditions. They must be heat-tolerant in the Piedmont and Coastal Plain but need not be so in the mountains. Therefore, all that remains is identifying the types that thrive in your climate. If you wish to grow vegetables in your location, talk to a local extension agent or gardeners.
When should I start a garden in North Carolina?
If you can work the soil, you can direct sow cole crops like cauliflower, broccoli, and cabbage into your garden around March 9. However, it is recommended that you start these seeds inside around February 10 and then transfer them outside around March 31. Put lettuce and spinach through the same process. Around the 20th of February, put in your potato and onion seedlings. Plant sugar snap and English pea seeds at the same time. You should wait until the ground thaws, if it is frozen, before planting them.
Which peppers, tomatoes, and eggplants would you want to cultivate? Indoor planting should begin about February 10. Then, on or around April 16th, keep an eye on the forecast and put them in the ground as soon as the frost is no longer expected. Plant the seeds for your summer harvest of beans, cowpeas, maize, squashes, cucumbers, pumpkins, watermelons, gourds, and sunflowers into the ground on April 20 or if your soil is still cool after the soil is near 60° F in temperature.
Fall gardening is more complex than spring gardening because of the tight window of opportunity to bring crops to full maturity and harvest before winter’s first frosts (often around October 31). This means you’ll need to think about how long it will take until you can harvest each type. Those figures are quite variable, even among clones of the same species! Seed packages often include a “Days to Harvest” chart.
Plants like tomatoes, peppers, and eggplants must be in the ground for around 100 days before they can be harvested. This means you should do it around July 23. Use the figures in this autumn planting guide as a jumping-off point for your experimentation! I wish you the best of luck and success in your gardening endeavors. Garlic should be planted in the fall. Around September 16, separate cloves and plant toes 3 to 4 inches deep.
Maybe that’s not the case! The ideal time to plant garlic varies widely throughout the nation. A soil thermometer will reveal the truth. Plant your garlic when the soil is 60 degrees Fahrenheit at 4 inches. Depending on where you live, you may direct sow cole crops like cauliflower, broccoli, and cabbage into your garden around August 22.
However, due to the heat, it is recommended that you start these plants inside around July 3 and then transplant them outside around August 12. Put lettuce and spinach through the same process. Direct sow peas about August 17th. Seeds for beans, cowpeas, maize, pumpkins, cucumbers, squashes, watermelons, gourds, and sunflowers may be planted directly into the soil around July 18.
Is North Carolina a good place to grow vegetables?
Have you ever thought about the kinds of veggies produced in North Carolina? North Carolina is home to some of the most skilled farmers in the nation in growing vegetables. North Carolina is one of the top 10 states in the US regarding the production of eight different vegetable crops. These include cabbage, squash, watermelons, cantaloupes, tomatoes, cucumbers, pumpkins, and sweet potatoes.
Can your garden be year-round in North Carolina?
In North Carolina, you can plant all year long. When planning for the year ahead, purchasing seeds in January is a fantastic start. To your surprise, February is the best time to sow outdoor hardy crops. Planting time for potatoes and garden peas, as well as their near cousin’s snow peas and sugar snaps, is from the beginning of February until the beginning of March. Seeds for vegetables such as carrots, parsnips, spinach, mustard, lettuce, rutabaga, radishes, and turnips can be planted in the garden between the middle of February and the beginning of April.
In case you missed it: Home Gardening in South Carolina for Beginners: How to Start from Scratch for Indoors, Outdoors, Raised Beds, Backyard, and Containers
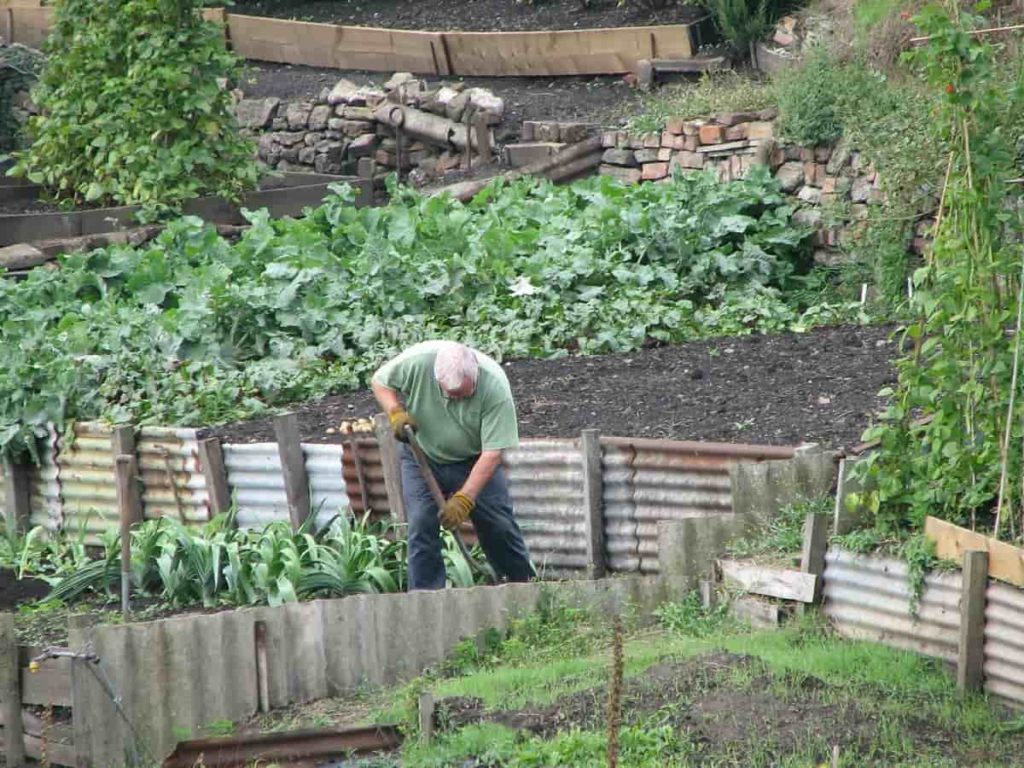
From late February to mid-March, you may plant your onions, cabbage, kale, broccoli, and collard seeds outside. Plant seeds for transplants in a cold frame without heating in January or February if you wish to grow your vegetables. To have transplants of peppers, eggplants, and tomatoes ready to go in the ground come spring, start sowing the seeds indoors in March.
After the latest average frost date, typically April 15 for inland locations and March 30 near the coastal coast, warm-season crops such as cucumbers, southern peas, tomatoes, and lima beans can be planted outdoors without fear of frost. In addition, some summer crops can be planted early since they can withstand frost. Vegetables including maize, squash, zucchini, and green beans fall within this category.
Planting these crops in the garden can begin as early as the end of March; just be sure to have some kind of protection ready if a late frost is forecasted. Planting other warm-season crops outdoors is discouraged until all danger of frost has passed. Plants like melons and okra can be started inside and transplanted to the garden in late April. Eggplants, peppers, and sweet potatoes are also started indoors and transplanted into the garden.
By August, most tomatoes have been wiped off by disease and pests, corn is done for the season, and cucumbers and squash have fallen to the same fate. Stop feeling sorry for yourself and make a new beginning! Plant seeds for your autumn garden in late summer. Plant the seeds for summer squash, zucchini, cucumbers, swiss chard, kohlrabi, leeks, green beans, rutabaga, parsnip, turnips, and carrots, beets, rutabaga, parsnip, turnips, and cucumbers in the garden between the middle of August and the middle of September.
You can also plant tomato seedlings now for harvest in the autumn. Midway through August is when you should sow seeds for cruciferous vegetables like broccoli, collard, cabbage, cauliflower, kale, lettuce, and spinach. Then in September, you can either transplant them into the garden or buy them as transplants from a garden shop. Direct sowing of spinach and lettuce in the garden is also possible in September.
October is ideal for planting both garlic cloves and onion seeds outside. There will be two harvests this year, one in late spring and one in late summer. Tomatoes, cucumbers, and squash planted late in the summer will keep producing until frost kills them, while peppers and eggplant will keep producing until the first frost, which often happens in early November.
Vegetable harvests from winter-hardy plants like collards, kale, and cabbage should continue well into December. Covering your plants with cold frames or growing them in an unheated tunnel house will prolong the growing season for less hardy chilly season crops like lettuce, spinach, broccoli, and cauliflower.
What zone is NC for planting?
Zones 5b through 8b are found in North Carolina. Before laying out your garden’s layout, you need to know what kinds of plants and flowers will thrive in a given location. Similarly, plant hardiness in the face of severe winters is a function of the climatic zone. They assist with not just what to plant but also when to plant it. Everything about planting in North Carolina depends on when the last frost is expected to occur in a given zone.
When designing your garden in North Carolina, stick to using hardy plants in the zone you are located in and avoid using those that are hardy in zones higher than your own. For instance, only plants rated 1–5 should be utilized in zone 5b. This will help make sure that plants survive the local winters. In North Carolina, you can find various flora and fauna. If you want to grow healthy plants, it’s essential to stick to planting zones.
What fruit grows well in North Carolina?
Apples, chestnuts, figs, pears (both Asian and European), pecans, persimmons (both American and Asian), and plums are some of the preferred fruit and nut tree crops in North Carolina.
How to start a backyard garden in North Carolina?
Choosing the perfect location in the backyard
Your garden’s location is an important consideration. Plant your garden in a spot that gets plenty of sunlight, has rich soil, is close to your home, and is a water source. Most plant life forms cannot function without exposure to sunlight. Plant some leafy greens there, like broccoli, collards, or spinach that can handle a little bit of shadow. In most cases, the total shadow is not ideal for a plant. When tall trees, thick hedges, and thorny bushes are all around, it’s almost hard to grow a successful garden.
Having a garden close to your home is ideal so you can enjoy it frequently. Keeping a close eye on your garden can help you see the earliest indications of pests, diseases, and weeds, allowing you time to remedy the situation before it worsens. Think of the soil’s fertility, drainage, billability, moisture retention, and topsoil depth instead of the soil type when determining where to plant a garden.
A backyard garden will provide subpar results if not given enough water. Though organic matter and mulch can reduce the rate of water loss, there will still be some loss due to evaporation. If you want to water the garden regularly, it has to be adjacent to a water supply.
Soil preparation for your backyard garden
Doing a soil test is a necessary step for every backyard gardener. You can learn how much fertilizer to give to the soil based on the results of a soil test. Liming suggestions can be derived from the soil’s pH level, which is monitored. Soil pH between 6.0 and 6.5 is considered to be plant-friendly. For plants to grow, the soil pH must be lower than 5. To get lime’s benefits, spread it about 3 to 6 months before planting.
Lime should be worked into the soil before any further work is done. Preparing the soil in fall is crucial to having a fruitful planting season in the spring. To hasten decomposition and reduce the spread of illness, you should chop up the old litter and flip it over in the fall. Beds or ridge rows should be ready in the autumn for planting in January, February, or March. If at all possible, incorporate organic material into the soil. Increased tilth, improved water retention, and enhanced root growth are all benefits.
Organic matter decomposes at an alarming rate in garden soils because of the constant cultivation and hot temperatures. Composting is a fantastic method for replenishing exhausted organic resources. To create compost, you can use various materials, such as weeds, straw, hay, leaves, and excrement. While preparing the garden’s soil in the autumn, you may immediately mix in manure, leaves, and other organic matter.
Plant your backyard garden
It takes more than a day to have a garden planted and ready to harvest its produce. Prepare a detailed planting strategy. Using a sturdy rope to help you plant has several advantages. Just four stakes and a strand of thread or chain twice the length as the golden are all required to demarcate two rows in a garden. The width of a row must be tailored to the specific needs of each crop. Most plants do best when planted in drills, but others, like squash and melons, do better when planted in hills.
A “drill” is a straight line of plants. Cultivating beans, peas, or sweet corn requires either a tiny plow to form a furrow or walking backward while standing on the rope to bring the corner of the hoe blade down the string. Many gardeners utilize the hoe’s pointed end for small-seeded crops as a planter, but this is by no means universal practice. Most vegetable seeds can be planted with little effort in various compact, push-type pots.
Deeper planting is more effective. They’re destined for great heights. Some dormant seeds and very young plants can be saved using this strategy. However, sometimes not even seeds with a high germination rate will grow. Damage to a crop can be caused by insects, birds of prey, or disease. Once the plants have established themselves, you may remove the encroaching growth by pruning.
Pruning the plants as they develop is the simplest way to keep them from becoming too big for their space. Mulch small-seeded plots with 12 to 1 inch of straw. Mulching is helpful because it prevents soil compaction and defends young plants from predators. Mulching reduces the water needed for seed germination and early plant growth in drought-stricken locations.
In case you missed it: Home Gardening Tools, and Their Uses
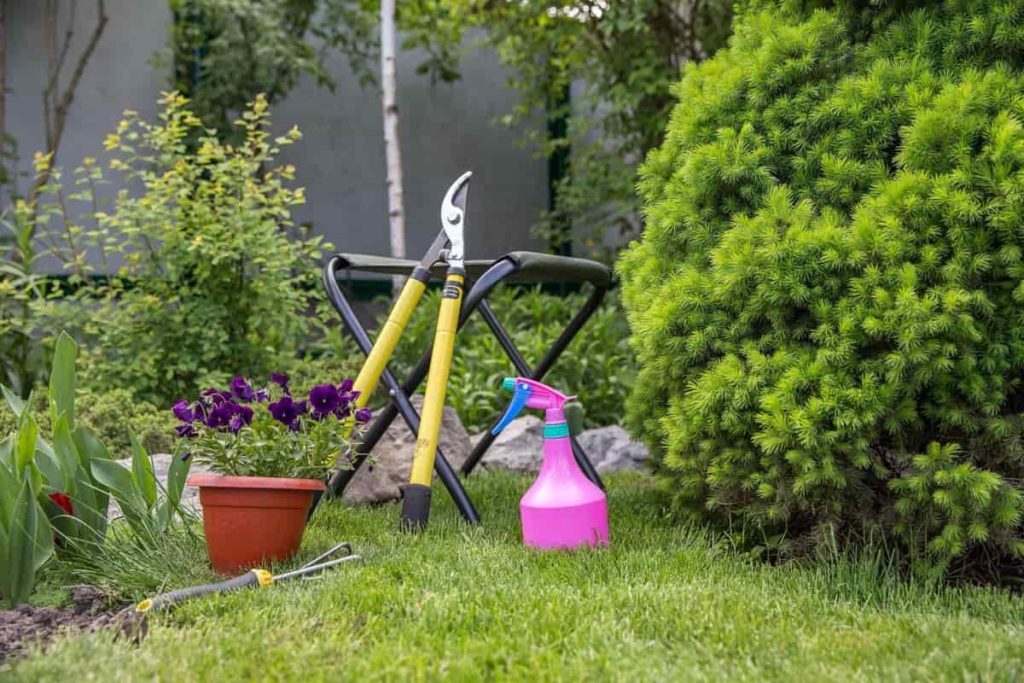
Home gardening is viable in the backyard, but many plants need to be established in a greenhouse or other protected setting before being transplanted. Plants need good seeds, clean soil, heat, light, water, and air to develop effectively. Before transplanting any plants, you’re them from the bed and ensure they are healthy and free of recognizable diseases. When you’re done planting, you should water the area surrounding the roots to keep the air out. To restore the soil after it has been soaked, dry soil should be spread over it.
Water your backyard garden
The amount of water your garden requires depends on factors such as the kind of soil, the stage of plant development, the amount of rainfall, the temperature, and the amount of sunlight the garden receives. One to a half inches of rain each week is ideal for vegetable gardens throughout the growing season. The soil remains wet due to the presence of water. If rain is rare, watering at a rate of about an inch per week is sufficient for medium and heavy soils. In other cases, as on sandy soil, weekly applications of 1/2 inch may not be enough.
Furrows can saturate water soil if the terrain is flat enough. Sprinkler irrigation is ideal for sandier soils and surfaces with more significant irregularities, whereas porous watering hoses can be used wherever. Remember that soaking the leaves with water for an extended period might induce sickness. Avoid having the leaves of your plants sit in water all day by watering them either very early or late in the day. Overwatering leads to lost water and fertilizer since the latter is carried away from the plant’s root system.
Manage pests and diseases in your backyard
For optimal crop production and quality, nematodes—which can spread from one plant to another via its leaves and soil—must be managed or eliminated. Plants grown using traditional gardening techniques should be healthier and more resistant to disease. This should also reduce pesticide consumption. Sickness can easily spread on wet leaves. You shouldn’t water plants in the afternoon.
Aphids, spider mites, pickle worms, tomato fruit worms, bean beetles, cutworms, leafhoppers, maize earworms, wireworms, and potatoes are just a few of the common garden pests. Home gardens may need fewer chemical pesticides if regular inspections and excellent growing methods are used. It’s essential to check the plant thoroughly for pests, paying special attention to the undersides of the leaves.
When should I start a container garden?
The month of May is the time to put together pots and containers that will be used for the remainder of the growing season. Tender container plants may look fantastic towards the end of October if they are protected from an early frost; thus, it is worthwhile to invest some time and money into getting them exactly perfect since they are not only for the summer.
Which crops grow well in containers?
Tomatoes, peppers, lettuce, squash, eggplant, green onions, beans, radishes, and parsley are some vegetables that do very well when grown in containers. Other options include green onions. Even while pole beans and cucumbers thrive in this garden, they still need a significant amount of additional area due to their vining growth behavior.
What’s the most challenging part of maintaining a container garden?
The planning and planting stages are the most enjoyable components of container gardening. However, regular maintenance is essential for flourishing flower and vegetable plants in containers. In terms of caring for a container garden, there is no more critical task than watering it. Considering the confined nature of your plant’s root system, it will have to rely on a relatively little volume of water. Plants will grow stressed if not rinsed regularly, opening the door to pests and diseases.
Reduced growth, blooming, and crop harvests are all possible results of improper watering. When it’s warm, water the containers daily and ensure that at least 20% of the water drains out the bottom. This will help remove any extra fertilizer salts. Water less often during the colder months, but don’t allow the soil in your pots to dry up entirely. Simply inserting your index finger into the knuckle into the soil will tell you whether or not to water. If it hasn’t, give it another day before checking again.
In case you missed it: North Carolina Container Gardening: For Vegetables, Herbs, Fruits, and Flowers
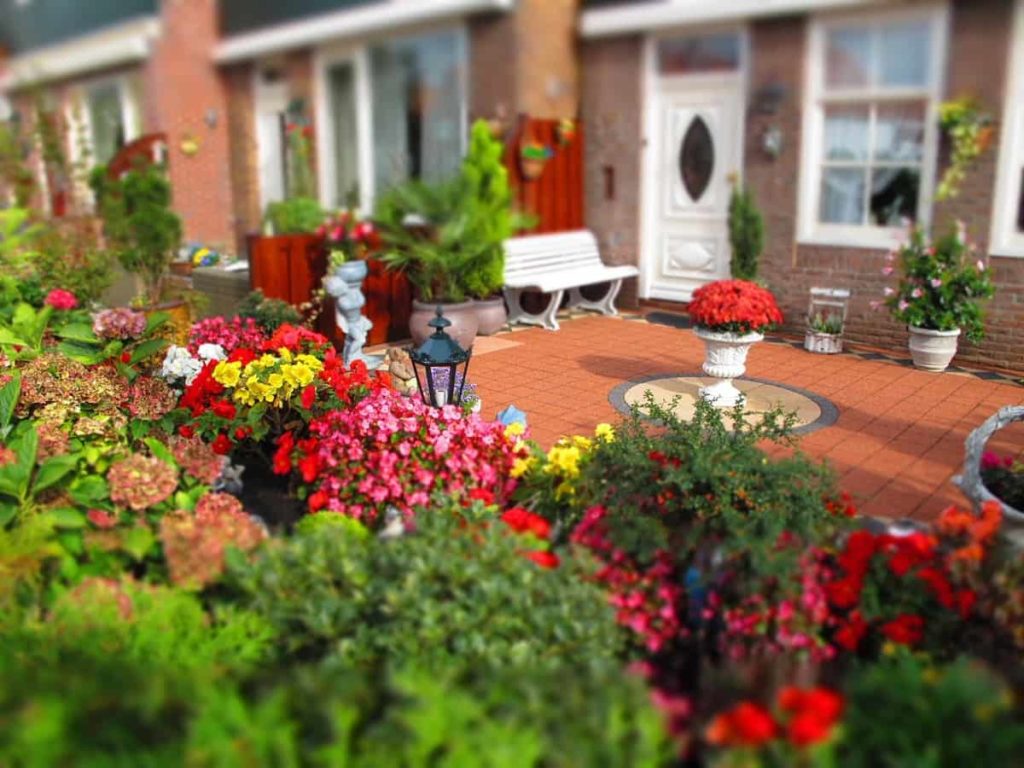
What soil is best for container gardening?
Since it is too heavy, it is impossible to utilize soil from your backyard or a garden bed in a container or on a raised bed. Instead, you should use potting mix, often known as potting soil, which is a lighter and fluffier option. This should be used for containers. When gardening in raised beds, you should use somewhat denser and purpose-formulated soil for raised bed gardening.
How do you start a container garden for beginners?
Choose an ideal container
Any specific plant or container preference can be met. The drainage holes in a balcony container are more important than its overall dimensions or aesthetics. If you choose not to drill a drain hole, you might use double-use materials. The plant should be started in a container with drainage holes and then moved to the container without drains. There is also the issue of the container’s size to think about.
Annuals need large containers, especially those that grow quickly and bloom throughout the summer. As their roots cannot expand outward, plants grown in too confining containers never reach their full potential. As a consequence, there are fewer flowers. Flower pots with a diameter of 6 inches can be trendy, but every experienced gardener knows you need something that can carry several kilograms of soil.
It’s hard to take your eyes off of these gorgeous flowering plants. Less water is required for these plants. If you want to grow plants in containers, you can get the pots you need from a garden center or nursery. They’re 2 to 15 gallons and inexpensive. Containers between 3 and 7 gallons in capacity are often used. Heavy fiber pots are ideal for balcony gardening.
Choosing the plants for your container
Numerous considerations are needed for this purpose. Do not try to plant roses on a balcony that only gets an hour of sunshine in the morning since they need six hours of sunlight daily. Consult your local garden center staff to find out which plants can thrive in your area’s light conditions. Using just one sort of plant in each container is the simplest approach to picking what to buy for your garden. Be careful to water and light each plant the same amount if you’re growing a variety of them together.
Choose the potting mix for your container plants
Plants kept in containers on the patio or porch should have potting soil replaced every year. Yard soil can be contaminated with weed seeds or insect-transmitted fungi, which could kill your plants. Organic matter that has decomposed is added to potting soil to better hold onto moisture. The minerals that make up potting mix include cat litter, vermiculite, and perlite. They are fantastic for container gardening since they keep the soil at the ideal consistency.
Standard Garden soil is not the same thing as potting soil; instead of using dense soil, which might smother the plant’s roots and stunt its growth, use a potting mix that is light and airy. You may find it on sale at any decent nursery or garden center. The ideal pH for a plant is set according to its required conditions. Consult the item’s tag or label, or contact a nearby nursery for further information.
Some prefer soil that is both light and rich in nutrients, while others choose soil that is both light and rich in nutrients and organic matter. Understanding what kind of soil is best for growing various plants is crucial. Light soil is great since it provides the roots with the nutrients, moisture, and air they need to flourish. If you want to spend less time and energy tending to your plants, a time-released fertilizer is a way to go.
Prepare your container for planting
Large containers should be placed where they will be stored before being filled. When nourished and hydrated, they may become too heavy to move. Cover an empty pot’s holes with a coffee filter or shard of a broken pot. While the potting mix cannot completely reabsorb water, some will evaporate. Find out how wet the soil is before you plant anything in it. Before you begin soaking, make sure you follow the instructions on the bag.
The addition of water should be done gradually while stirring by hand. For a general rule of thumb, the mixture should be moistened until it has the consistency of a wet sponge. You should put soil in the pot. Potting soil should cover the bottom of the container by approximately an inch. Before planting, gently push the soil with your hands to remove any significant air pockets. Take care not to compress the soil too much.
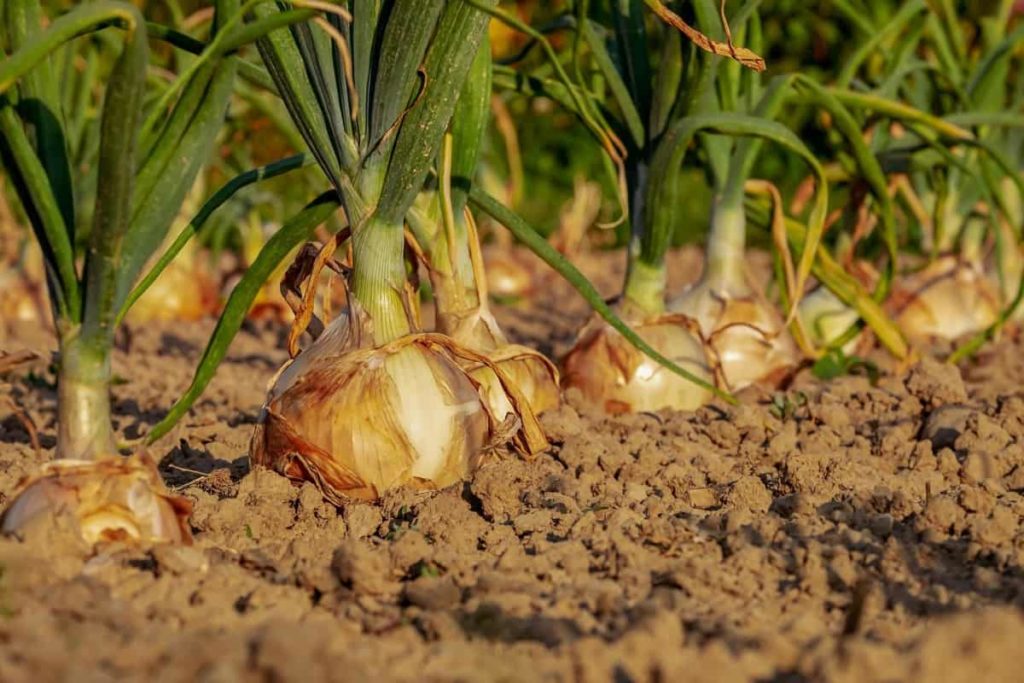
In case you missed it: How to Start Onion Farming from Scratch: A Detailed Guide of Planting to Harvest for Beginners
Plant your container plants
You should throw away the plastic pot you used in the nursery. Tip the container and carefully remove the root ball by grasping the stem. If you want to get rid of a plant, don’t try to pull at the stem. If the pot becomes stuck, tap the edges of the pot to release it. If the roots of a plant are always going in circles, we say that the plant is root-bound. Remove the roots carefully from the soil before planting.
Plant and water it. Providing an inch of space between plant root balls is recommended when repotting many plants. Fill up the holes with a tiny bit of soil. Use light tapping motions to remove air bubbles. Before covering the plant with soil, make sure the stem is visible. Leave an inch between the soil and container lip. Putting water into the container is a must. The new environment will become familiar to them in due time. Rootballs should be planted in soil at least an inch deeper than their tops.
Watering the container plants
You should never rinse a plant by dropping water on it from above. Maintaining a dry environment for the leaves can help prevent problems like mold growth. Instead of watering the plant’s leaves, water it at its roots. Since water evaporates quickly from container gardens, it must be re-applied more often and in more significant quantities.
Setting up an inexpensive automatic watering system is a breeze if you have a hose. However, you may find other methods to solve the problem, such as pressing a two-liter soda bottle into the ground. In terms of watering efficiency, these strategies are top-notch.
Fertilize your container plants
Fertilizer should be used even in the best plant pots. The quickest and easiest way to guarantee that your container plants thrive is to add a slow-release fertilizer into the soil when planting. For up to three months of feeding, use slow-release or controlled-release fertilizers. As your planter expands in size, you may find that regular applications of water-soluble fertilizer complement your slow-release fertilizer. Water-soluble fertilizer may be applied weekly or every six to two weeks following planting.
Instead of using slow-release fertilizer, you may use a regular water-soluble fertilizer. A typical weekly or biweekly regimen is to fertilize your plants with a water-soluble fertilizer while you water them. Refer to the product’s label for details on how to apply the fertilizer. Even though your planters may thrive without fertilizer, feeding them regularly is recommended for optimal growth.
Pest and disease management in your container plants
To eliminate mites and other tiny insects, you may use either neem oil or soapy water. Another option is to use a fingernail to scrape them off, followed by a soft brush if the issue is not too severe. Strong plants may repel insects with a water spray. Adhesive materials, such as yellow card traps may be used to catch insects.
Many insects and other pests, such as anthracnoses, whiteflies, and spider mites, are constantly a nuisance. It’s not always easy to see mites since they’re invisible, unlike more apparent pests like aphids, ants, and flies. In finely webbed areas, tiny, hardly visible creatures may be seen. Mite infestation is characterized by the appearance of tiny green spots on leaves and stems, a yellowish discoloration, and curled or dead leaves.
A soapy water spray is usually effective when dealing with a tiny insect infestation, such as whiteflies or mealybugs. The soap may be used without worry. Allows water penetrating deeply, blocking the insects’ spiracles and drowning them. The surface tension of the water is reduced. It has been discovered that “potassium salts of fatty acids” are the active ingredient in several garden sprays. These are the chemical components of dishwashing liquid. You can save money on pricey commercial cleaners by spraying on dish soap that has been diluted.
If you’re determined to use chemical pesticides, look for insecticides at your local garden center. If you intend on keeping the plant inside the house, it is recommended that you choose a product designed for indoor plants. Applying pesticides specific to the plant or pest species is recommended to get the greatest results. Please be careful to use the product by the directions provided. Because of the potential danger that sprays pose to children and dogs, they should be sprayed outdoors whenever possible.
When should I start seeds indoors in NC?
Typically, a seed is planted inside to grow into a young plant that may be moved outside. This gives you an early harvest compared to direct seeding since the transplants will grow and produce earlier in the season. Indeed, not all plants respond equally well to transplanting.
Cucumbers, squash, and tomatoes are all standard transplants throughout the spring and early summer. Veggies like carrots, beans, and parsnips don’t fare well when transplanted. Ideally, you would begin sowing your seeds six to eight weeks before the last expected frost. We expect our final frost to occur around April 15, so planting seeds on February 26 is optimal.
What grows best in a raised garden bed?
Plants that live for more than one growing season are known as perennials. The plants do not need human intervention to reappear annually. Daylilies, lavender, raspberries, oregano, rhubarb, and hostas are just a few perennials that thrive in elevated planters. If you plant them, they’ll stay for a while.
Plant some miniature raspberry or blueberry bushes (great on cereal or waffles) and surround them with some cutting flowers to liven up your breakfast nook and provide you with a healthy dose of vitamin C first thing in the morning. Think about various daisy species, such as the Shasta daisy, the gerbera, the black-eyed Susan, and the coneflower. In contrast, annual plants only exist for one year. Only one growing season is required for them, allowing you to rotate crops.
Petunias, pansies, basil, lemongrass, tomatoes, squash, potatoes, peppers, and onions are all excellent annual options in a raised bed garden. Another advice is to rotate the locations of your yearly vegetable crops to lessen the likelihood of disease and pests. Sure, switch them around! Plant annuals that attract butterflies to your flower gardens, such as blue and red gomphrena, salvias, zinnias, pentas, and lantana.
Is raised bed gardening better?
The raised bed’s framework shields the soil from the wear and tear of foot activity, which is particularly helpful when kids are tending the garden. Well-designed raised beds prevent soil compaction and plant damage by directing gardeners’ activities to the walkways. If the soil is correctly prepared, a longer growing season and improved growing conditions are possible with raised beds since they warm up faster in the spring and drain better. A well-prepared raised bed, especially in the South, provides oxygen to the plant’s roots.
After a raised bed’s soil has stabilized, seasonal tilling is usually unnecessary since there is little chance of soil compaction. A well-maintained and mulched raised bed will have dwindling weed populations over time. A raised bed’s elevated planting platform improves water drainage compared to a traditional ground-level garden.
Poor drainage in certain parts of Georgia necessitates using raised beds for gardening. With a raised bed, you can grow even in poor soil. Creating terraces with raised beds is an excellent option for gardens on steep inclines. Raised beds can be erected on compacted, urban soils. Raised beds provide more precise soil amendments for cultivating plants that need them.
Conclusion
Plant a garden with plants you find interesting. Find a heat-tolerant variety of your favorite large tomato plant and plant it instead of cherry tomatoes if you like their larger size. You can improve the look of your yard and bring in pollinators by planting flowers. And remember that everything is fine: a bumper crop is excellent! What a fantastic educational opportunity a pest issue presents.
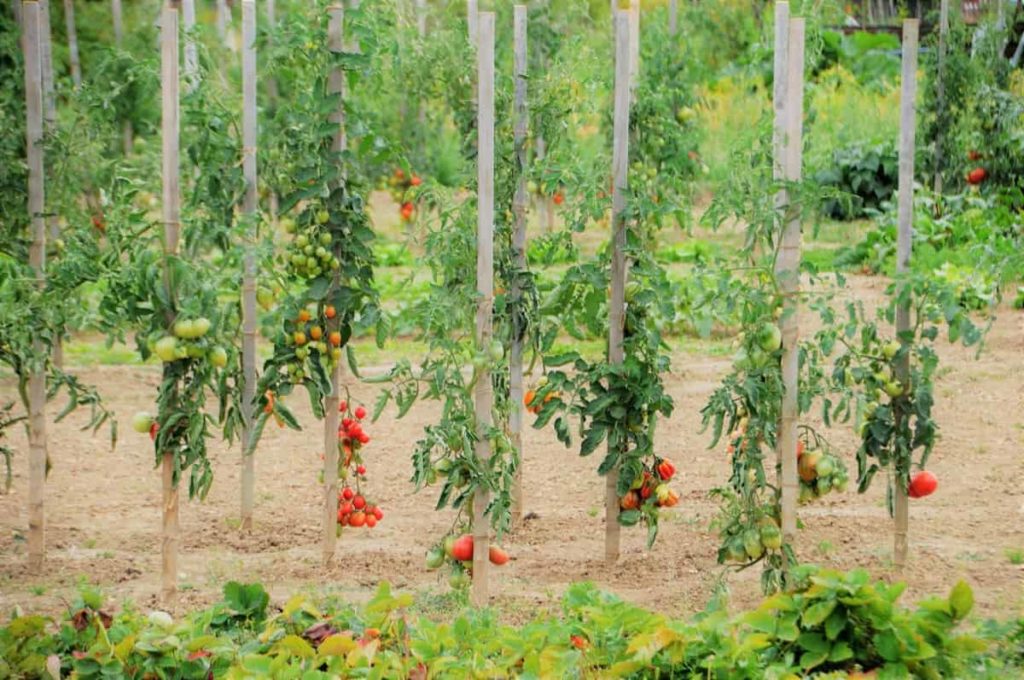
In case you missed it: How to Grow Tomatoes from Seeds: Starting from Scratch, A Beginners Guide to Indoors, Outdoors, and in Pots
- How to Grow Tomatoes Organically at Home: A Comprehensive Guide
- Organic Gardening on a Budget: Low-Cost Methods and Materials
- Gongura Seed Germination and Planting Methods
- Cabbage Seed Germination and Selection
- Broccoli Seed Germination and Selection
- Asparagus Seed Germination and Variety Selection
- Seasonal Flower Gardening: Best Practices for Spring, Summer, Fall, and Winter
- How to Grow Hibiscus from Flower
- Plantation Ideas for Home Decoration: A Beginners Guide
- Flower Garden Designs and Layouts for Beginners
- Planting and Spacing Techniques in Papaya: A Beginner’s Guide
- Growing Gold: Essential Techniques for Planting Pineapples
- How to Make Kalanchoe Plant Bushy: Home Remedies and Solutions
- 11 Reasons Why Your Gardenia is Not Blooming: Home Remedies and Solutions
- Eco Elegance: The Guide to Designing a Drought-Tolerant Landscape
- Gardening on a Slope: Strategies for Hillside Landscaping
- Nourish and Flourish: Top Organic Mulches for Thriving House Plants
- Everything You Want to Know about Indian Mogra Flower: Discover Uses and Growing
- Green Thumb Success: Expert Tips for Cultivating Greenhouse Pumpkins All Year Round
- Maximize Growth & Flavor: The Ultimate Guide to Companion Planting in Herb Gardens
- How to Control Rhododendron Problems Naturally: Home Remedies and Organic Ways to Fix Them
- Natural Magic: The Remarkable Benefits of Cinnamon for Plants
- Best Steps to Revive Dying Tulip with Natural and Organic Treatment
- 10 Reasons Why Your Angel Trumpet is Not Blooming: Remedies and Treatment
- How to Fix Periwinkle Leaf and Flower-Related Problems: Natural Remedies and Solutions
- How to Fix Zinnias Leaf and Flower Problems: Discover Natural and Home Remedies
- Organic Steps to Induce Lemon Tree Flowers: A Comprehensive Guide
- Bloom Booster: Crafting the Perfect Homemade Bougainvillea Fertilizer
- Optimizing Growth: A Guide to Applying NPK Fertilizer for Potted Plants
- 10 Best Homemade Fertilizers for Rubber Plant: DIY Recipes and Application Method
- How to Boost Female Pumpkin Flowers: Effective Steps for More Flowers and High Yields
- Transform Your Indoor Garden: Top Benefits of Pink Salt for Houseplants
- 10 Best Homemade Fertilizers for Peacock Plants (Calathea): Easy DIY Guide
- Unlock Blooms: 9 Reasons Why Your Potted Chrysanthemum is Not Blooming
- 8 Reasons Why Your Potted Hibiscus is Not Blooming: Fix it with Simple Solutions
- Unlock Blooms: 9 Key Reasons Your Potted Frangipani Won’t Flower