A garden is one of the favorite places for everyone. Everyone tries to make it beautiful, relaxing, and the best place to enjoy nature. But, whether you have a small area or large to build a garden, it needs an exciting design and concept to make it attractive and where you spend most of your time.
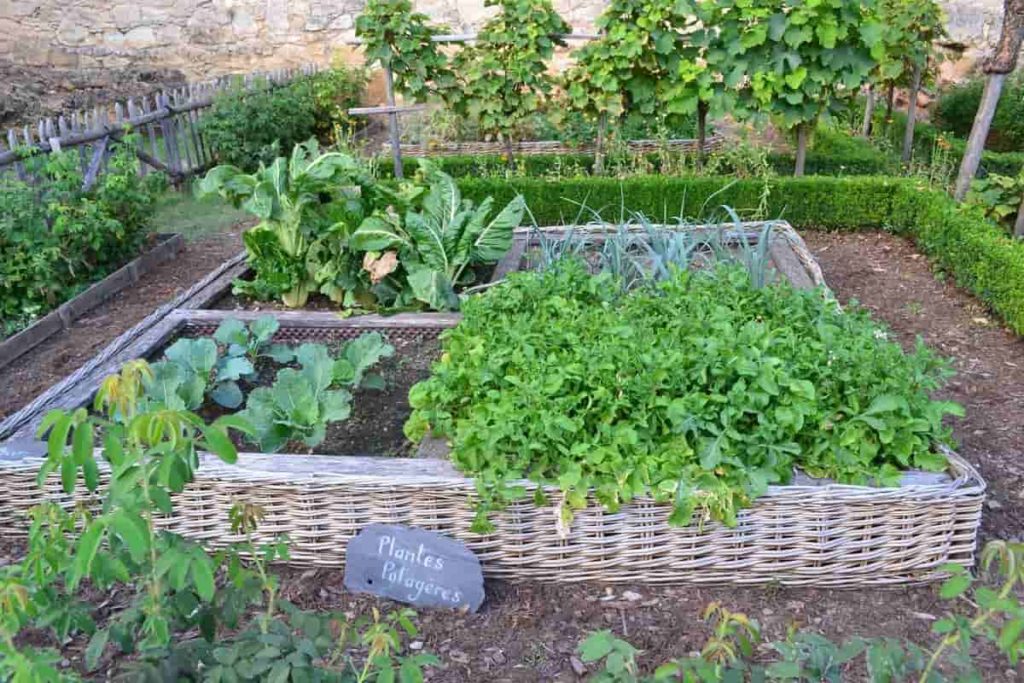
There are many things you need to consider before planning your garden. Imagine a garden, there must be plants, flowers, shrubs, lawns, fountains, etc. Know your garden area and know the plants and flowers that grow best in your garden according to sunlight, weather, and seasons.
Each gardener of a minimally large plot can do with experts’ small garden design tips. Of course, it’s not always easy to transform a tiny little yard, patio, or even balcony into a functional and magnificent place. But, it can be complete with a little bit of knowledge and creativity. So, let’s check out some helpful tips from experts for home gardening that you will be able to implement at home easily.
Helpful tips from experts for home gardening
Tips for the best location
- Sunlight – Most vegetables, flowers, and fruits will grow best in the full sun. It means you should pick an area of your yard that receives sunlight for at least six hours a day. If you have a site that receives six to ten hours of direct sunlight a day, your garden will be even better.
- Water accessibility – Make sure the water is nearby and is readily available near your gardening site. Also, having water nearby means you are unlikely to go out of watering if you feel a lazy little day. Excess water is likely to be necessary during dry spells, so locate new garden beds near the source of outdoor water.
- Avoid slopes – If you only have extreme slope land, you can still make it work, but the water will run out and risk erosion. A slight slope could be acceptable, especially the south-facing slope as it warms faster in spring.
- Well-drained soil – Plants will not grow well only in wet soil all the time. It will lead to problems of root rot and other diseases. Choosing an area with well-drained soil to start your garden can make all the difference for your plants to thrive or die. It gives them enough water to grow well without getting water.
In case you missed it: Top Gardening Mistakes Beginners Make and How to Avoid Them
Tips for the soil
- Clay soil contains small, dense particles with large moisture and nutrients deposits. However, clay soil also gradually disappears and can become complex and compact when dry.
- Sandy soil has large particles through which water passes easily with vital nutrients.
- The slits contain the sizes of fine particles that pack together firmly, preventing drainage and air circulation.
- The loam is the ideal soil for most plants; it balances all three mineral particles and is rich in humus (what is left after the organic matter is dissolved).
- The best way is adding organic matter to the soil is to make your soil more like loam and improve its structure.
- Another option is to build a tall garden bed and fill it with a balanced soil mix. Or adopt easy methods by growing plants that perform well in your soil type, such as selecting drought-tolerant plants for sandy soil.
- Check your soil pH – Your soil pH is one of the essential factors in determining its fertility. Whether your soil is too alkaline or acidic, it can make a big difference in the nutrients available to your plants.
- Amend the soil with organic matter – Organic matter in sandy soil improves water retention and nutrient retention. It loosens minerals that stick when the soil dries up and hardens in clay soils. Over time, a well-modified soil will provide most of your plants’ nutrients, reducing fertilizer requirements.
Tips for watering plants
- You should water cooled soil in the evening or at night, which results in less water evaporating than warm soil during the day. And plants can provide themselves with plenty of water before the next day’s heat.
- Constantly watering at a point only leads to the development of one-sided roots and thus absorbs nutrients in the soil. So constantly water around the plant and divide throughout the irrigation area.
- Do the water deeply and at short intervals to reach the roots, the part of the plant that needs nutrients, contained in the water. Soaking the soil from a depth of 5 to 6 inches encourages plants to grow deep roots, which will build a healthy garden in the long run.
- Use irrigation systems with fixtures near the ground. Choose small sprinklers that allow you to change water transmission patterns if using sprinklers. For larger areas, use a revolving sprinkler that rapidly flushes out water horizontally that controls damage caused by vapor or air.
- Do water container gardens regularly, usually once a day during hot, dry spells. Stick your finger in the soil. If it feels dry until your second knuckle, it’s water time.
In case you missed it: How to Make Money from Terrace Gardening?

Tips for climate conditions
- Whether it’s rain, sunny or cloudy, the essential factor is temperature. For example, crops like Peas, Lettuce, Broccoli, and Cabbage prefer cold weather. In many cases, you can plant cold weather crops shortly after the ground thaws for the year.
- Contrary to the general view, cold weather crops do not bolt due to hot weather, but a drastic slowdown in plant growth will result in small crops. Planting in early spring gives your cool weather vegetables more time to grow.
- Other plants, flowers like begonia, and hot weather vegetables like Chili and Tomatoes are best left by the end of spring. The seeds of hot loving plants will not sprout in cold soil, and the transplant will rot until the weather heats up.
- As it turns out, sunny, warm weather is not always the best season to work in the garden. It’s not always possible, but if you can plan the above jobs around the season, you’ll know that every task will be straightforward.
Tips for planting
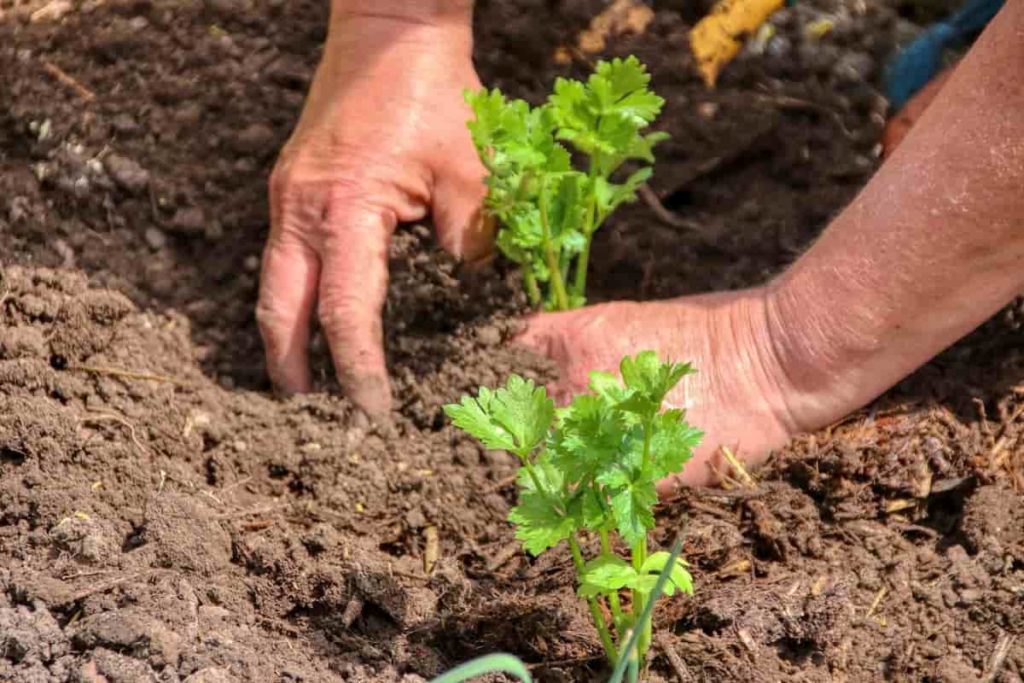
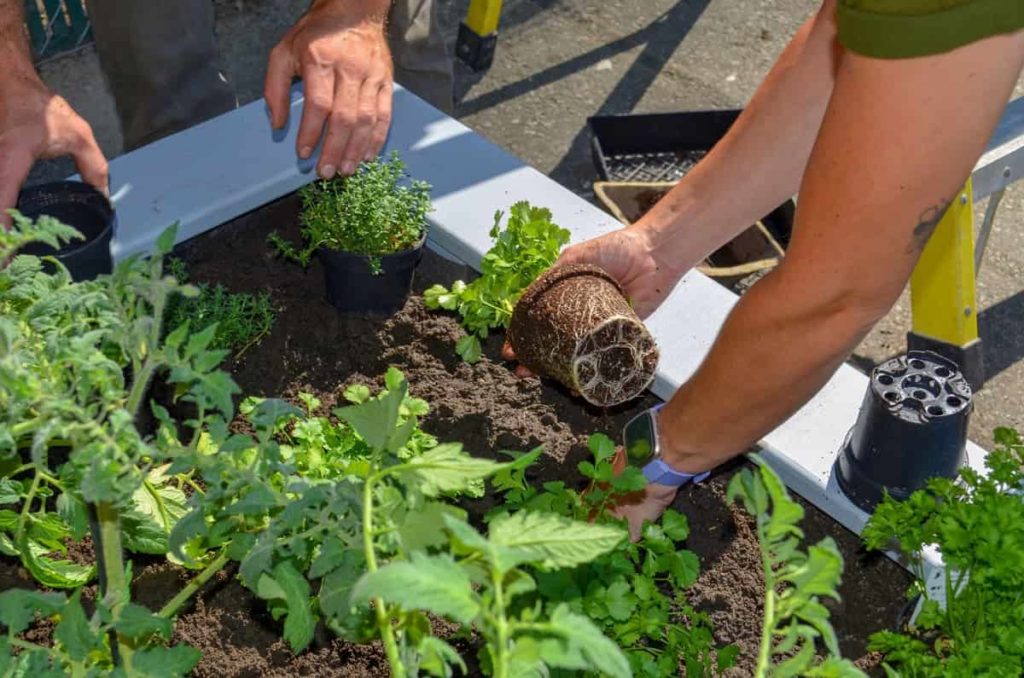
- Planting potted plants – Dig a suitable hole for your chosen plant. You can check it with a pot plant by placing the pot in the hole. It should fit comfortably, with an extra about 2 centimeters around the perimeter, while its depth should not be deeper than the pot itself.
- Bare-rooted bushes and trees – If you have a bare root plant, such as roses, trees, or shrubs, make sure there is plenty of scope for the roots to spread comfortably. Find the soil tide mark based on the plant, which shows the depth applied before. Cut the sides of the hole so that the soil is easier to penetrate the roots.
- Planting bulbs – If bulbs are in containers, add some rocks below to help with drainage. Then add a layer of compost. You can layer bulbs and later apply flowering varieties such as bottom Tulips and earlier flowering varieties, such as crocus, at the top.
- If spring bulbs are planted in the ground, you can naturalize them by digging on the lawn and pumping bulbs three times deeper than their depth. Many bulbs will benefit from adding a handful of grits to the hole, as they can rot as winter is wet.
In case you missed it: Vegetable Gardening Tricks for Beginners: Tips, Ideas for High Yield, Quality, and Fruit Size
Tips for mulching plants
- There is no perfect time to put mulch on the beds. Your plants will welcome mulch at any time of the year. Wait until the ground freezes before mulching if you apply mulch in late fall or early winter and live in a cold climate.
- Mulching around trees and shrubs is the best way to prevent injury from mowers and trimmers. Like with the bed, spread 2 to 3 inches thick mulch. Do not pile a lump against the stem; it can encourage pests and diseases.
- A four-inches of mulch will discourage weeds, although the two-inch surface is usually enough in shady spots. If you know that the garden bed is full of weed seeds, try double mulching techniques to prevent weed explosion. Set the plants in place, water them well, spread the newspaper, and place them on top with a mulch.
- Spreading mulch too thick can cause shallow roots and make them more likely to die during extended dry periods.
- Light mulch materials such as straw, easily worked in soil, are better suited to vegetable gardens where replanting can be commonplace.
In case you missed it: Apartment Balcony Gardening in Small Area: How to Start for Vegetables, Fruits, and Flowers.
Tips for fertilizing plants
- Broadcast Spreader Techniques – Broadcasters do a great job spreading grass seeds, fertilizer, and weed killers on the large lawn as they throw out the material more consistently in a vast area. The best way to find the original dispersal pattern for your broadcast spreader is to test run on your driveway and measure the results.
- Fertilizing dense plants – To get fertilizer up to the base of shrubs and other dense plants, use 2 inches length of pipe. Slide one end to the plant base and put the fertilizer in the pipe. Cut at 45 degrees above the pipe to give yourself a big opening.
- Epsom Salt Manure Trick – Like shop-bought fertilizers, Epsom salt contains magnesium which helps in seed germination, chlorophyll production, and absorption of essential nutrients like nitrogen and phosphorus.
- Add baking soda – If you think your soil can be very acidic (low pH) for a sensitive plant like uranium, mix in baking soda, sprinkle with soil before planting, then water the area well so it is well found. Baking soda is a naturally alkaline substance that will raise the pH level at a fraction of the cost of soil modifications like lime.
Tips for pesticides
- Homemade insect soap – Mix three drops of light dishwashing liquid into one quart of water. An extra tablespoon of cooking oil helps the mixture cling to the leaves. Spray plants to the extent wet, but do not use on flowers or when the temperature is above 27°C to prevent the plants from scorching.
- Garlic spray – Garlic has natural antibacterial, antiviral and antifungal properties and is also a powerful pesticide. Crush five garlic bulbs and mix with water. Let the garlic infuse the water overnight. Add dish soap to the mixture, then strain it through a fine sift. Dilute the mixture in a gallon of water, then place it in a spray bottle. To control most insect pests, spray this mixture on your plants once or twice a week.
- Epsom Salt Pesticide – To make the spray, dissolve a cup of salts in five gallons of water, pour it under the spray, and apply it to any insect-infected plants. Salt mixture is particularly effective on slugs and beetles. Another option is to sprinkle salt around the plant base every week. It will prevent insects and add magnesium to the soil, which increases the absorption of nutrients by plants.
- Oil spray – Oil spray softens and suppresses soft body worms, such as Aphids and mites. You should mix a cup of vegetable oil with a quarter cup of liquid soap and stir well. Mix a tablespoon of this concentrated liquid with four cups of water while treating plants. The best results require reapplying once a week.
- Citrus spray – A simple citrus spray effectively kills aphids and soft-bodied insects. Add a rind of a lemon to a pint of boiling water that has been removed from the heat only. After standing the mixture overnight, strain through a cheesecloth or fine sieve. Spray the mixture of both the top and bottom of the leaves on the affected plants.
In case you missed it: Gardening Basics for Beginners: For Pots, Terrace, Balcony, and Backyard
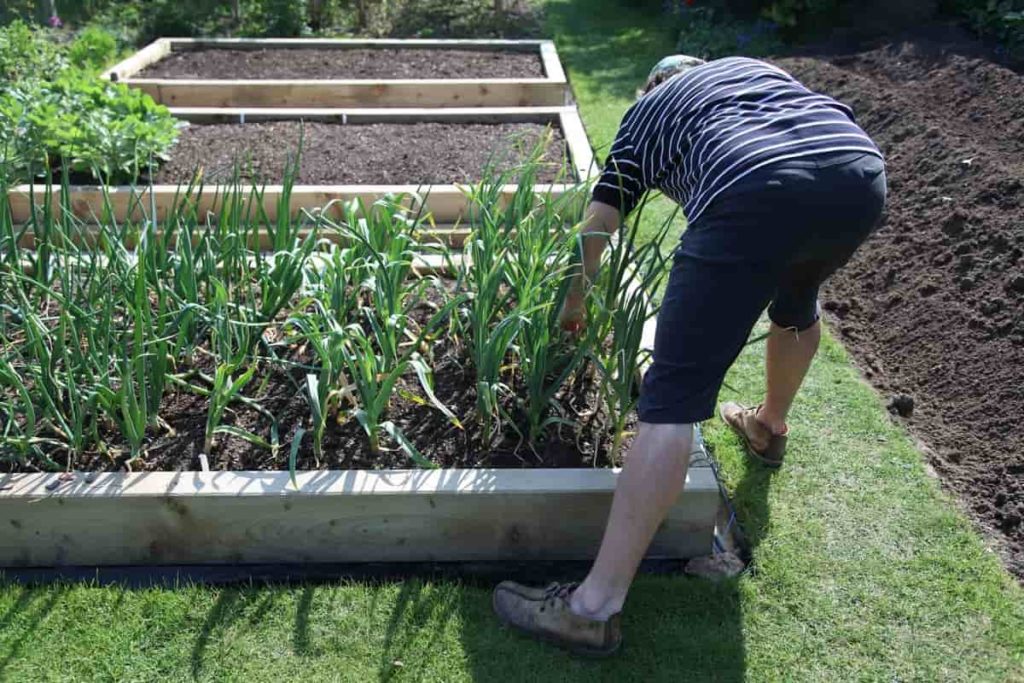
Tips for pruning plants
- Evergreen shrubs – Pruning bushes sometimes follow a one-third rule, where pruning cuts only one-third of wood to stimulate regrowth without damaging the plant. When cutting the bushes, reach the bush with hand pruners and cut the selected branches. You can remove any time dead or diseased branches.
- Perennial flowers – Use small scissors to cut the base of the stem of any old, dead, or dying flowers.
- Annual flowers – Annuals, like Petunia and Marigold, can be tall if not properly pruned. Leave the trunks in the back of your plant, but remove the front (about one-third of the growth).
- Fruit trees – Use a pruning saw or loppers to cut down lead and side shoots of your fruit plants like Apples, Cherries, Plums, and Pear trees. Avoid cutting into any wood growth where the fruit connects to the branch.
- Deciduous trees – If heading cuts on branches, cut away from the bud at a sloping angle, leaving no more than a quarter-inch of the stub from the end of the stem. The angle should not stand too much, as it can dry the bud and cause the entire horizontal cut bud to rot.
Tips for harvesting
- It is essential to know when is the right time to start harvesting the garden. It depends not only on when your crops ripen but also on the length of the growing season.
- Crops that you grow for their vegetative parts (leaves, stem, roots) should be harvested when they are young, soft, and immature. Basil, broccoli, lettuce, and radish are good examples. As a general rule, harvest quickly and often.
- Test the ripening with a few fruit samples for most fruits, depending on visual indications, taste, and texture.
- Handle the production carefully when harvesting. Hold the fruits and vegetables firmly but gently twist them with the stem or soil. Use scissors when needed.
- Vegetables and fruits have the best harvest time in the morning as water intake.
- You should allow ripe fruits such as Tomatoes and Apples on the plant. Many vegetables (Summer Squash, Eggplants, etc.) are much better if selected when young.
- Pumpkin harvesting should not be done before reaching maturity, which is best determined by the thumbnail test. Green pumpkins will not produce full color in storage.
- Harvest Onions and Potatoes when the top starts dying and falls.
- Harvesting pepper, and don’t worry about whether it’s ripe. It can only be eaten in any size or condition but are most tasty when mature. When the pepper has reached maturity is full size and has changed its last color.
- How to Grow Tomatoes Organically at Home: A Comprehensive Guide
- Organic Gardening on a Budget: Low-Cost Methods and Materials
- Gongura Seed Germination and Planting Methods
- Cabbage Seed Germination and Selection
- Broccoli Seed Germination and Selection
- Asparagus Seed Germination and Variety Selection
- Seasonal Flower Gardening: Best Practices for Spring, Summer, Fall, and Winter
- How to Grow Hibiscus from Flower
- Plantation Ideas for Home Decoration: A Beginners Guide
- Flower Garden Designs and Layouts for Beginners
- Planting and Spacing Techniques in Papaya: A Beginner’s Guide
- Growing Gold: Essential Techniques for Planting Pineapples
- How to Make Kalanchoe Plant Bushy: Home Remedies and Solutions
- 11 Reasons Why Your Gardenia is Not Blooming: Home Remedies and Solutions
- Eco Elegance: The Guide to Designing a Drought-Tolerant Landscape
- Gardening on a Slope: Strategies for Hillside Landscaping
- Nourish and Flourish: Top Organic Mulches for Thriving House Plants
- Everything You Want to Know about Indian Mogra Flower: Discover Uses and Growing
- Green Thumb Success: Expert Tips for Cultivating Greenhouse Pumpkins All Year Round
- Maximize Growth & Flavor: The Ultimate Guide to Companion Planting in Herb Gardens
- How to Control Rhododendron Problems Naturally: Home Remedies and Organic Ways to Fix Them
- Natural Magic: The Remarkable Benefits of Cinnamon for Plants
- Best Steps to Revive Dying Tulip with Natural and Organic Treatment
- 10 Reasons Why Your Angel Trumpet is Not Blooming: Remedies and Treatment
- How to Fix Periwinkle Leaf and Flower-Related Problems: Natural Remedies and Solutions
- How to Fix Zinnias Leaf and Flower Problems: Discover Natural and Home Remedies
- Organic Steps to Induce Lemon Tree Flowers: A Comprehensive Guide
- Bloom Booster: Crafting the Perfect Homemade Bougainvillea Fertilizer
- Optimizing Growth: A Guide to Applying NPK Fertilizer for Potted Plants
- 10 Best Homemade Fertilizers for Rubber Plant: DIY Recipes and Application Method
- How to Boost Female Pumpkin Flowers: Effective Steps for More Flowers and High Yields
- Transform Your Indoor Garden: Top Benefits of Pink Salt for Houseplants
- 10 Best Homemade Fertilizers for Peacock Plants (Calathea): Easy DIY Guide
- Unlock Blooms: 9 Reasons Why Your Potted Chrysanthemum is Not Blooming
- 8 Reasons Why Your Potted Hibiscus is Not Blooming: Fix it with Simple Solutions
- Unlock Blooms: 9 Key Reasons Your Potted Frangipani Won’t Flower