Introduction growing Kale organically
Kale is a cool-season vegetable and a member of the cabbage family. Kale plant prefers a sunny location and fertile, well-drained soil. Growing Kale organically in the home garden is easy.
A step by step guide to growing Kale organically in the home garden
Kale is a member of the Brassicaceae family and related to broccoli, cabbage, and cauliflower. It is a versatile plant that can grow in a wide variety of conditions. From traditional garden beds to raised beds or pots, and even in flower gardens as an ornamental edible. The range of colors in the Kale plant leaves can make them a stunning display crop.
Different varieties of Kale
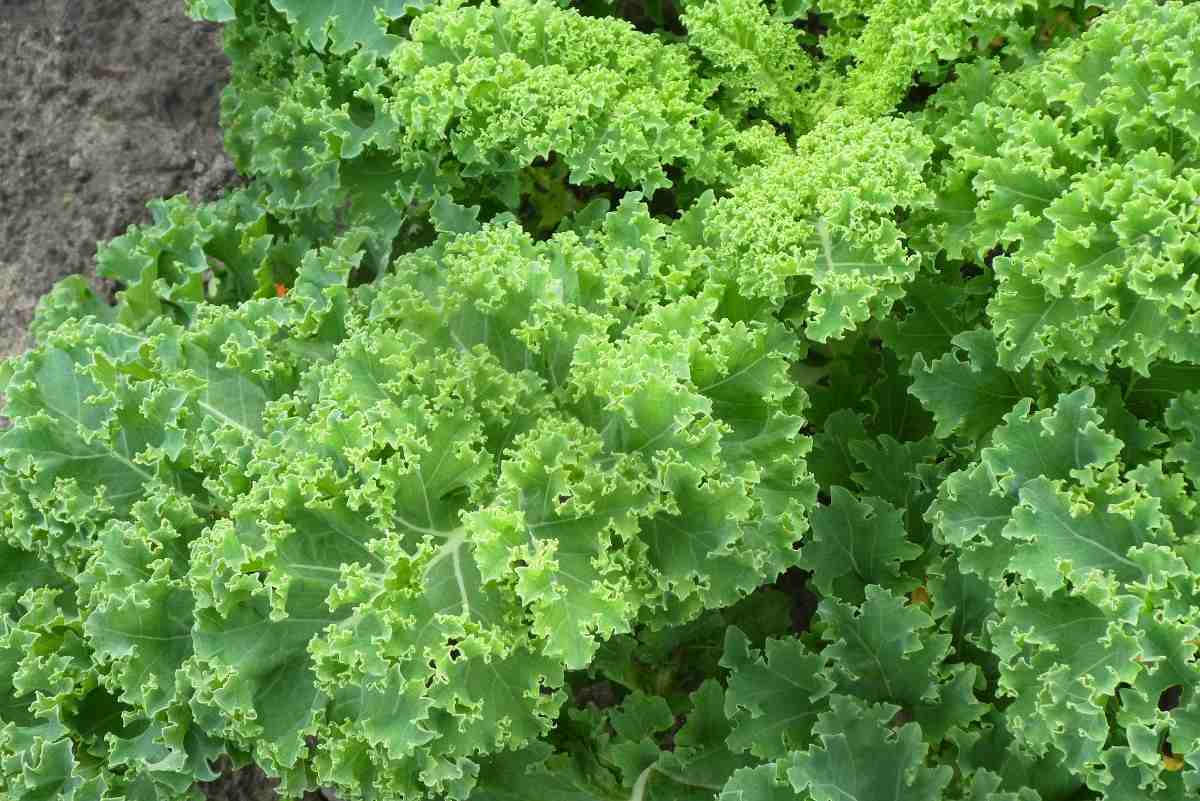
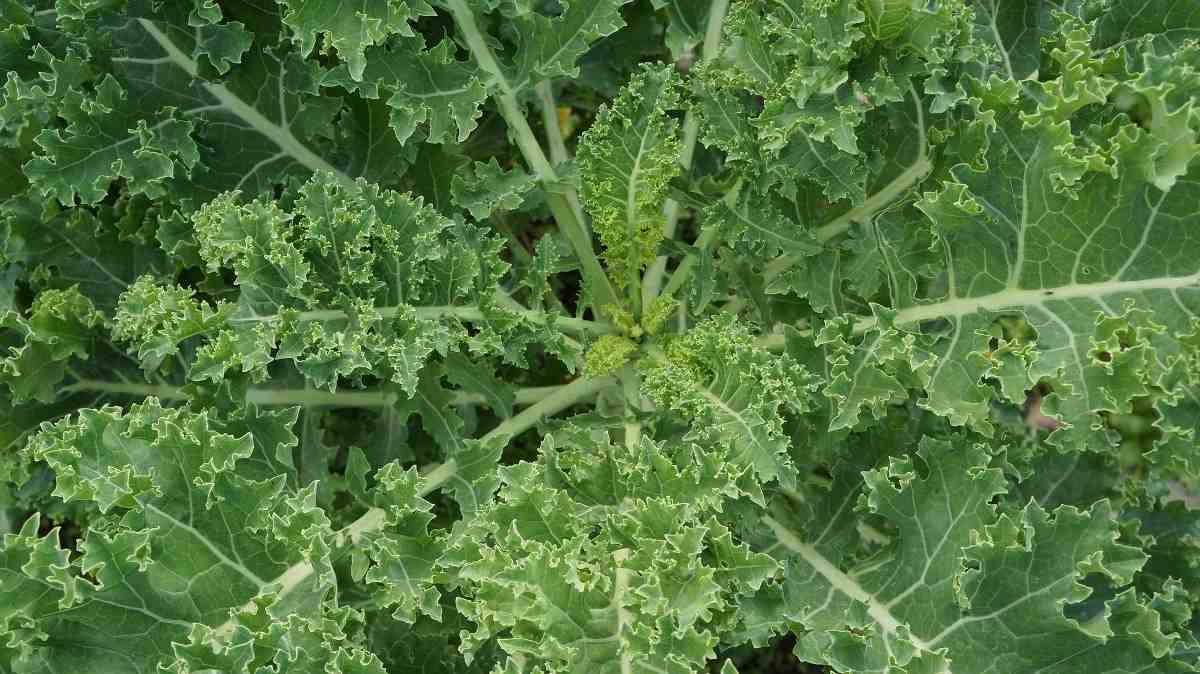
Kale plant varieties are categorized into many types depending on their leaf type. These leaf types are curly-leap, bumpy-leaf, leaf and spear, and plain-leaf. And within these types, there are many other varieties obtainable. But some common Kale varieties are Red Russian, Vates, and Winterbor. Choose the right Kale variety for home garden depending on its availability and surviving ability in your area. The best variety to sow indoors will be Dwarf Kale as many varieties can grow up to 3 feet tall and this one is ideally suited for indoor space.
Soil requirement for growing Organic Kale at home
Kale plants like to grow in a rich soil that’s high in organic matter with a slightly acidic soil pH level. The high nitrogen content provided by the organic matter is essential for healthy leaf growth. Select a sunny spot and prepare the soil by adding plenty of organic compost.

Kale plant grows best in full sun and cool, moist soil that is enriched with organic compost. Before planting, incorporate a legume cover crop or work in about 30 pounds of compost per 100 square feet. Kale plant requires moderate amounts of fertilizer rich in nitrogen, phosphorus, and potassium. Before you grow your organic Kale garden, grow your soil. Consider adding soil amendments such as alfalfa pellets, rock phosphate, greensand, and kelp meal to improve the structure of the soil and provide a slow-release mix of nutrients to plant roots.
Where to grow Kale organically
Kale plant grows best in full sun but will also do well in part-shade. Just be sure it has at least 4 hours of sun per day. It requires fertile and well-drained soil. It’s a good idea to amend the soil with a good amount of compost before planting Kale.
You can grow Kale in traditional garden beds, raised beds, and containers. If you decide to grow in a container, make sure that the container is at least 10 inches deep and that you give the plants plenty of room to grow. You can add Kale to ornamental beds; the blue-green leaves of ‘Lacinato’ or the light magenta stalks and veins of ‘Red Russian’ add plenty of beauty to a flower bed.
Seed germination for growing Kale organically
Kale seeds are surprisingly hardy and can germinate in cool soil, though you’re most likely to have success if you plant them in temperature levels above 21°C. Row cover can be used to warm up the soil and keep seeds above the 7°C needed for germination. When stored properly, your Kale seeds should last up to 5 years.
Preparing a bed for growing Kale organically
Kale beds are most effective when they are in full sun and then filled with organic compost. Try to keep your pH levels between 6.0 to 7.0 for the best success. For a more robust harvest, grow a legume cover crop in Kale bed before tilling over the soil to plant your Kale.
Sow seeds about 1/2 inch deep, allowing 1 foot between plants and 2 feet between rows. Fertilize with fish and seaweed and kelp extract to encourage more growth. After that, mulch around Kale plants with a heavy layer of garden compost. Then, this keeps the soil cool, prevents moisture loss, and provides readily available nutrients to the shallow feeder roots.
Size of a container for growing Kale organically
Select a container that is at least 12 inches deep and equally wide. Be sure to select pots with drainage holes at the bottom. Fill about 3/4 of the pots with well-drained soil. Because of its minimal space concerns, Kale plant can be easily grown in containers. Make sure you chose a pot that has at least 6 square inches for the plant to grow in, and that you can move it from sunny to shady places as the weather changes. If you plan to keep Kale plants indoors, be sure to position them near a sunny window or under grow lights.
The process of growing Kale organically
You should not miss this: Home Gardening Tips, Tricks, Ideas for Beginners.

Step 1) Kale plant is pretty easy to grow once it’s established. Be sure your plants get at least one inch of water per week, either from rain or the hose, and fertilize Kale once a month with fish emulsion or compost tea.
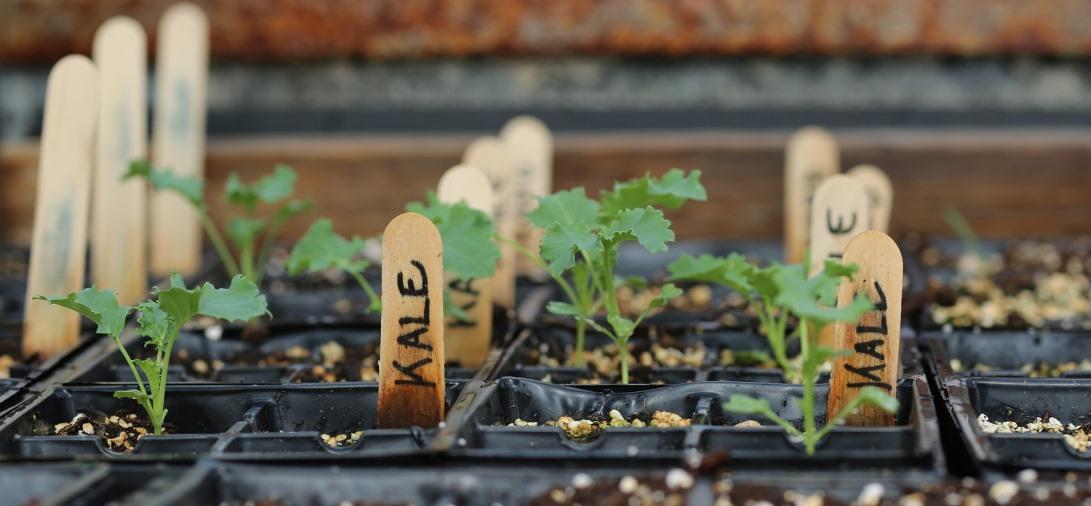
Step 2) For an early spring planting, you can start growing Kale indoors 4 to 6 weeks before the last frost date. To start Kale seeds, sow seeds in small pots filled with planting soil and composts. Plant each seed at least half an inch deep and keep the soil around the seeds consistently moist until the Kale seeds start to germinate.
Step 3) Kale can be direct-seeded in the garden or started indoors and then transplanted into the garden. You can direct seed in cold climates as soon as the soil temperature is at least 7°C. But Kale plants will grow slower outdoors than indoors under lights.
Step 4) Start plants indoors about 6 weeks before your last expected frost date. Kale seeds germinate quickly in warm soil and should sprout up within 5 to 8 days. Cover the seeds with about 1/2 inch of soil, and don’t allow the Kale seeds to dry out before germinating.
Step 5) Transplant your Kale seedlings after the danger of frost has passed. Leave about 16 inches of spacing between the Kale plants. This gives them room to spread and allows for air circulation. In warm climates, Kale can be direct seeded in the late summer or early fall, as well as in the spring. A winter crop of Kale in warm climates is much sweeter than a summer crop.
Caring Kale plants growing in containers
- Container grown plants like Kale requires a little bit of extra attention than those grown in the ground.
- Containers tend to dry out faster in hot weather and moisture levels could need to be checked daily. Water when the top about 1-inch of soil is dry to the touch.
- Pots and containers may require more frequent fertilizing. Plant roots can’t expand beyond container walls to find nutrients in the ground, and regular watering flushes them from the soil.
- A half-strength feeding every 2 weeks is recommended for container plants. A close up of healthy, mature curly plants growing in a black container in bright sunshine. In the background is a black plastic pot fading to soft focus.
- For indoor containers, a south-facing window sill generally provides adequate natural light for healthy growth. Though, if your windows don’t let in enough light, you might need to invest in an artificial source such as full spectrum grow lights.
Watering and mulching requirements for growing Kale organically
Kale tends to be a thirsty plant and appreciates at least an inch of water a week, particularly during the hottest part of the growing season. Once cooler weather hits you can limit your watering to only when the plant leaves begin to droop. It’s a smart idea to keep your Kale plants well fertilized throughout the growing season. Monthly injections of fish emulsion and compost tea can go a long way towards healthy leaf growth.
You can keep your Kale plant leaves clean and hydrated by mulching heavily under each plant. This prevents rainwater from splashing dirt onto the leaves and allows the soil to retain moisture longer. A biodegradable mulch like grass clippings and leaf litter is beneficial.
Plastic mulches help conserve water, reduce weed growth, and allow earlier planting and maturity, particularly with transplants. Fabric covers are used to protect seedlings and then transplants from frosts and insect pests. Apply organic mulches when temperatures increase above 26°C. Organic mulches like grass clippings, straw, and shredded newspaper help cool the soil, reduce water stress, and help control weeds.
Organic pest and diseases control for Kale
Pests and diseases tend to leave Kale plants alone, but there are a few that have the potential to wreak havoc on your plants. A common pest is the cabbage worm, and which is the larval stage of the white cabbage butterfly. These flying insects lay eggs on Kale plants that soon hatch into the cabbage worms that so happily munch on plants and create large holes in the leaves. The best way to control cabbage worms is to pick them off your plant leaves and squish them, or use an organic pest control spray to get them back under control. A floating row cover can stop the cabbage butterflies from landing on your Kale and preventing them from laying their eggs.
Kale plants are less prone to diseases and they can be affected by some pests such as aphids, cabbage worms and flea beetles. You can remove and destroy the affected leaves or entire Kale plants. And using organic insecticides will be effective for controlling most of the pests from your garden.
Eliminating Kale pests organically
Identifying and eliminating some of the common Kale pests organically. Common garden pests affecting Kale include;
Aphids – Allow natural predator insects to do as much of the work of controlling insects as possible. If you must use an insecticide, use a soap-based product and neem oil. You could have to spray several times.
Flea beetles – Good fall cleanup and regular weed removal are best bets in controlling these insects, which chew tiny holes in the leaves. If these Kale pests find their way to plants anyway, choose an insecticide labelled for use against flea beetles and make sure the label states the product is safe to use on Kale.
Caterpillars – You’ll probably notice moths darting around the Kale plant before you see the caterpillars. In most cases, you can handpick them. In severe cases, or if you can’t bear to touch the pests, and you can use Bacillus thuringiensis (Bt).
Whiteflies – These tiny, white flying insects rise in a cloud above the Kale plant. Then, use insecticidal soap or neem oil and spray every few days until they are gone.
Gardening tips for growing Kale organically

- Kale plant requires 8 hours of light daily, natural or artificial. A green ceramic pot containing a curly Kale plant with dark green colour leaves on a soft-focus background of soil.
- Ideal air temperature level for growth is around 18°C with nighttime temperatures of 10°C. A cool basement or garage are suitable sites for growing your Kale crops, provided they’ve got enough light. They can make an attractive addition to balconies, decks, and patios.
- The taste will be relatively bitter if grown in hotter climate under the shade and the frost makes Kale sweeter.
- If your Kale leaves start rotting, add mulch to the crop once it is about 6 inches tall.
- Kale is good at resisting pests. Yet, some of the pests that can affect the crop include aphids, cabbage worms, cutworms and flea beetles. Adding organic fertilizer to pots along the growing season and keep picking weathered plant leaves. Then, this can help in avoiding pests and diseases.
- Use bamboo sticks to support the Kale plant growth in pots through winter.
- Avoid overwatering or under- watering indoor plants and ensure they’re generously spaced with adequate air circulation. Then, this will prevent the growth and spread of fungi and mould that can cause problems such as damping off.
- Some species of Kale plant can reach a height of 2 to 3 feet which can be imposing in small spaces. For a more compact form, choose dwarf plant varieties.
How and when to harvest Kale
Kale plant should be harvested when the leaves reach full size. Older leaves are stripped off the plants first allowing the young leaves to continue to grow. Frosts help improve the flavour of the fall-planted crop. Kale can be stored for 2 to 3 weeks. Many gardeners leave Kale growing in the garden throughout the winter season.
Commonly asked questions about growing Kale organically
Will Kale keep growing?
If you harvest Kale correctly, the Kale plant will continue to grow and produce leaves. If you harvest it incorrectly, the plant will stop the plant growing. Kale produces leaves on a stem and the leaves grow from the top of the stem and the stem will continue to grow taller and to make more leaves throughout the plant’s life.
Why is my Kale bolting?
Kale can bolt the following spring when it overwinters in the garden. When the temperature levels begin to warm it can send up a flower stalk because it is a biennial plant that produces flowers and seed the second year of its life cycle. The leaves will become bitter when it bolts.
Why is my Kale dying?
Kale plant needs plentiful, consistent moisture means one to two inches of water per week is usually about right. Make sure you have a thick layer of mulch around your Kale plants to help with moisture retention. If the leaves get too dried out, they are likely to wilt.
How often should you water Kale?
Kale plant likes a nice, even supply of water, about 1 to 1.5 inches per week.
Is Kale easy to grow?
Kale is easy to grow from seeds either directly planted in the garden soil or started indoors and transplanted. It is commonly planted from nursery starts. Kale grows well in raised garden beds and containers if you’re short on garden space.
In case if you like How To Make A Compost Pit, Benefits, Composting Process.