A step by step guide to growing Hydroponic Dill from seed
Are you looking for information about growing Dill hydroponically? here is the complete guide of hydroponic dill gardening practices. Dill is amongst easy hydroponic herbs family and can be successfully grown with hydroponics cultivation. You can start your seeds hydroponically using grow media or use soil and then relocate them to the hydroponic garden. There are many views about different methods and the best way to go about starting dill seeds. For the idea of this article, we will discuss how to start dill hydroponically from seed and how to continue its growth until a suitable time for harvest. Unlike herbs such as hydroponic basil and coriander by hydroponics, dill does not keep producing foliage as it is pruned. Therefore, to ensure a constant supply of dill, you have to plan on successive plantings about every 3 or 4 weeks.
Hydroponic Dill seed germination
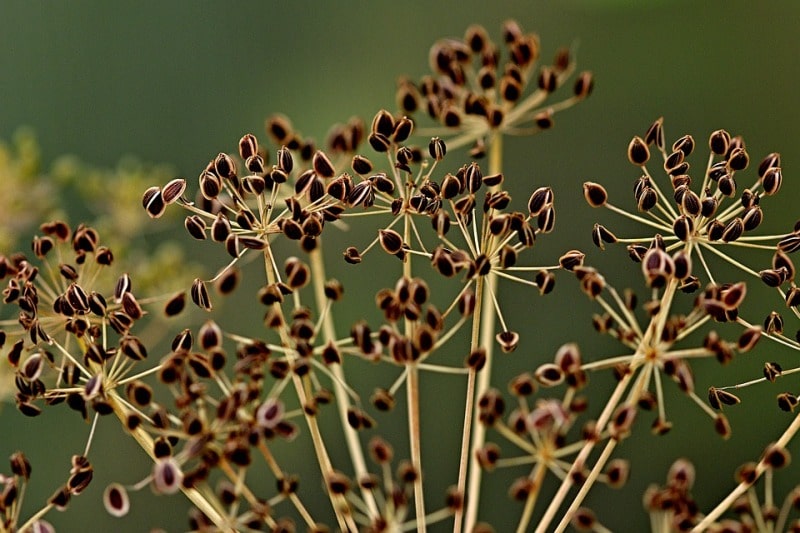
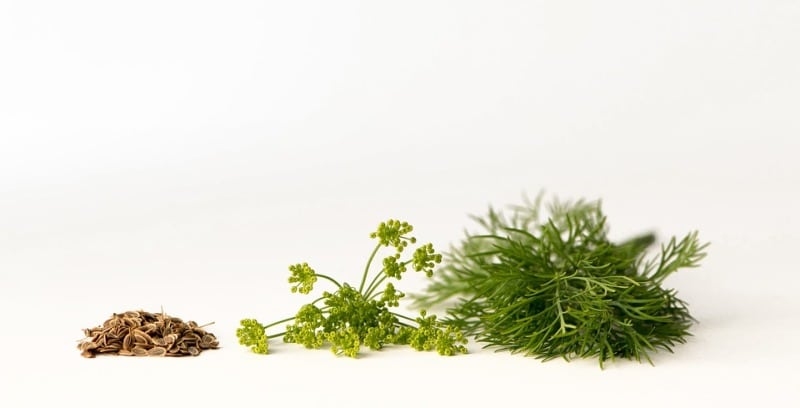
Dill (Anethum graveolens) is grown for its leaves, used to flavor plentiful dishes, and its seed heads or seeds that are utilized as condiments, pickles, pastries, and other foods. Dill does not transplant well, so it is best sown and germinated in the site it will grow further.

Some people will suggest that is better to start growing dill hydroponically and moving it in the soil after the seeds germinate. But if you really want your plant to get benefit from all the nutrients needed, hydroponics is the best way of raising it.
Dill seeds are often first sown once all threat of frost or flooding has passed, though the perfect temperature range for germination is about 60 to 70 degrees Fahrenheit. Successive sowing of dill seeds every few weeks permits for a continual harvest all the way through the growing season. The first thing you should do for germinating seed is to set up a bed from rock wool or coco-coir. On this bed, you will have to gently place the seeds. Make sure that the rock wool or grow media should be humid at any given time so that it imitates the proper growing condition dill needs. Nevertheless, be careful not to drown your seeds else your plant will not sprout out.
You may also like Growing Tindora from Cuttings.
Light availability also enhances dill germination it must receive at least 5 or 6 hours of direct sunlight or 12 hours of fluorescent light daily if you are growing indoors this encourages germination and rapid root growth.
Under ideal conditions, dill will germinate within 7 to 15 days of sowing. Regular weeding and thinning are essential to eliminate competition for water and nutrients. Once seedlings have reached a height of 2 inches, they get to benefit from thinning so that remaining plants are spaced 10 to 12 inches apart.
Moving the germinated seedlings of Dill
One the dill seedling has sprouted you have the option of moving it to your soil garden or continuing to raise it hydroponically. The seedlings and root systems should not be disturbed else developing plants will suffer from stress. The Rockwool or grow media used for germination can be placed directly into the hydroponic system. Rockwool being an excellent seed starter and hydroponic medium it is ideal for transplanting the dill to its new hydroponic system.
The best hydroponic system for Dill
Many different types of hydroponic systems with various growing mediums can be used successfully for dill production. For example, NFT is superb for growing top-quality dill in commercial greenhouses; drip systems using Rockwool can yield good quality of dill and hydroponic rosemary; aeroponic systems are excellent for growing hydroponic fennel, hydroponic thyme, and hydroponic dill; and flood-and-drain systems with expanded clay pellets are extremely versatile for producing a wide variety of popular herbs and it is also suitable for raising dill.
For the home and new gardeners, a small ebb-and-flow system and dutch bucket system is an excellent choice for a hydroponic herb garden. In an ebb-and-flow system, the plants are usually held in plastic net pots in a flood table, and the reservoir is placed underneath. When the submersible pump is kept on, flooding the roots with nutrient-rich water and expelling waste is done. When the timer clicks off, the water is drained back to the reservoir, filling fresh oxygen for the developing roots.
The nutrient solution for growing Dill Hydroponically
You can fetch ready to use hydroponic nutrient solution for dill it is suggested to pick products with sufficient nitrogen and a good phosphorus ratio. Dill plants prefer low to mid electrical conductivity levels (1-1.6) and total dissolvable salt levels should be between 800 and 1200 ppm (measuring total salts is a mode to ensure correct nutrient levels). A slightly acidic pH between 5.5 and 6.4 is ideal for growing hydroponic dill.
You should not miss the Growing Thyme Hydroponically.
Harvesting hydroponic Dill

Dill plant can be preserved by drying the leaves, seeds or entire stem of the herb. You should use pruners or sharp scissors when harvesting dill weeds for drying. Cut just the leafy foliage or take out entire stems to dry for canning and storing seeds. Remove the stems when the seeds are brown and ripened. Dill flavor is finest when it just begins to flower. Wash the herbs after harvesting dill weeds to remove dirt and insects prior to storing.
Drying dill seeds
Drying dill seeds actually increase their flavor. You can bunch dry dill seeds by tying the stems all together and hanging the herbs upside down. Keep bunches of stem lightly bundled so air can circulate well. Cover bunches using paper bags that have been punched for holes on the sides.
You may be interested in Natural Pesticides Preparation.