Introductiont to Fall Vegetable Gardening Tips and Ideas
You can start a fall garden in almost any climate, but your crops will vary depending on your location.
When to Start Vegetable Plants for Fall Gardening
To have a fall garden mature before frost, you’ll want to get it started in mid-summer. That means late July to August, mainly depending on your zone. Many plants will grow well in cool weather, but they want to be started while it is still a bit warm and the days are longer. Fall vegetable gardens are just an extension of summer succession planting. As one vegetable plant is finished, another vegetable is planted in its place. A few vegetable plants are hardy enough to direct seed, and some are even better grown from seed.
A Step by Step Guide of Fall Vegetable Gardening Tips and Techniques
Though some cool-season vegetables need about 3 months to mature from seed and might not seem ideal for a fall garden, you can either start seed in pots, in a cool shady spot or look for seedlings at the garden center and then transplant out when there is space freed up in the vegetable garden in the fall. Even the plants recommend starting from seed, can be started as transplants, if you prefer. Starting seed in pots and moving them into your garden as space opens up is a great way to maximize your crop harvest.
Locating the Fall Garden
If your spring garden was successful, the same location works well in the fall. When planning a new garden, keep in mind that vegetable crops should have at least 8 hours of direct sun each day and should be planted where the soil drains well.
Soil Preparation Tips for Fall Vegetable Gardening
If you’re using an established garden area, pull out all plant material and the remains of your spring crop and any weeds that have grown up in the garden. Don’t put plant residue from a spring garden into your compost bin as it is likely to be contaminated with insects and disease pathogens.
For a new garden location, remove all the grass. Just tilling it into the soil will not eliminate all the grass sprigs and they will continue to grow and interfere with the garden. Also, for a raised garden, remove all turf before building the frame and filling it with soil. Grass and weeds can be killed with a herbicide that has glyphosate. After removing the grass, shovel the garden area to a depth of about 10 to 12 inches. Rototillers will not penetrate adequately, but they can be used to loosen and mix shovelled areas.
Spread 1 to 2 inches of coarse, washed sand and 2 to 3 inches of organic matter on the garden surface and till it into the soil to increase the soil’s physical quality. If you are building a raised bed garden, don’t skimp on the soil and use weed-free loam or sandy loam soil.
Adding fertilizer is the next step. You have two options;
Apply about 1 pound of ammonium sulfate (21- 0-0) per 100 square feet (10 feet by 10 feet) before planting. Then sprinkle about 1 tablespoon of ammonium sulfate around each plant every 3 weeks and water it in. Or, apply about 2 to 3 pounds of slow-release fertilizer (19-5-9, 21-7-14, or 25-5-10) per 100 square feet of garden area. Apply 1 tablespoon of ammonium sulfate (21-0-0) around each plant every 3 weeks and then water it in. This second method produces a more abundant harvest, especially with hybrid tomatoes and peppers. Do not add too much ammonium sulfate, and do not put it too close to the plants. It can seriously damage them.
Horse or cattle manure can be substituted for commercial fertilizer at a rate of 60 to 80 pounds per 100 square feet of garden area. Never use poultry manure on a fall garden. After adding fertilizer, mix the soil thoroughly and then prepare beds on which to plant rows of vegetables. These beds must be 30 to 36 inches apart so you can move easily through the garden area when the plants grow larger. Pile and firm the planting beds. Then water the entire garden with a sprinkler for at least 2 hours and allow the area to dry for several days, and it will be ready to plant.
Planting Tips for Fall Vegetable Gardening
- When direct seeding, be sure to choose varieties that mature in the shortest amount of time. Count back from the first expected frost date and plan accordingly.
- As planting time for fall vegetables begins, it’s important to know that a fall vegetable garden will need to be managed somewhat differently than a spring garden.
- A plant seed deeper in the fall than in the spring and the ground is warmer in fall. Planting them a little deeper than the package suggests will get them down where it is cool and moist.
- Transplants can handle swings in temperature levels and water better than seeds and newly emerged seedlings.
- Pelletized seeds that are coated in clay are sometimes obtainable for vegetables that take a long time to germinate, like carrots.
- Watering is probably your most important task for a fall garden. The air and ground temperature is already hot. It will be important to keep your seeds consistently watered and adding mulch also helps water conservation.
Growing Tips for Vegetable Plants in Fall Gardening
Step 1) First, select a sunny, well-drained location. At planting, apply a slow-release fertilizer at the rate of about 2 pounds per 100 square feet.
Step 2) Most important is planning for adequate sunlight. Vegetable garden spaces should receive at least 6 hours of direct sunlight, unobstructed by shadows from taller objects nearby. Roots and fruits must be planted in areas that receive the most sunlight. If you have to push something a little more into the shade, do it with leafy greens, as they can tolerate a little less sunlight.
Step 3) Herbs can be annuals (live only one season) or perennials (grow back from their root systems each year). Annual herb plants can be planted in an annual flower garden or vegetable garden. Plant perennial herb plants at the side of the garden where they won’t interfere with next year’s soil preparation.
Step 4) Some herbs can be established by planting the seed directly in the garden or by starting seed indoors for later transplanting to the garden. You can obtain seed from a local garden center, and save the seeds produced by the herb plants for next year’s crop.
Step 5) To save your seeds, harvest the entire seed head after it has dried on the plant. Then allow the seeds to dry in a protected location that is cool and dry. After the seeds are thoroughly dry, separate them from the seed heads and then discard the trash. Store the seeds in sealed, labelled jars in a cool, dry location. Some herb seeds like dill, anise, caraway, or coriander can be used for flavoring. Perennial herbs can be mainly propagated by cuttings or by division. Some herbs such as sage and thyme can be propagated by cuttings. Chives can be propagated by dividing the roots or crowns.
Step 6) Divide the plants every 3 to 4 years in the early spring. Dig them up and cut them into several sections. Or, cut 4 to 6-inch sections of the stem and then place the cuttings in moist sand in a shady area. In 4 to 8 weeks, roots must form on these cuttings.
Best Plants and Tips for a Fall Vegetable Gardening
Arugula – Grow arugula as lettuce and seeds germinate in about 5-7 days, even in cold soil. Then, this leafy green vegetable has a spicy kick that works greatly mixed in salads. The dark green leaves and interesting leaf margins add a nice ornamental appeal to the garden as well.
Beets – For a fall harvest, plant beets 10 to 12 weeks before the first frost. Or look for seedlings already started for help with timing and seeds germinate in about 5-days. Beets taste best if you harvest them before they get too large. As with all root vegetables, beets are best grown from seed and you don’t want to disturb the root once it is growing. Beets are easy to grow in succession, allowing you a staggered harvest from spring into the summer season. While beets will still grow in the summer heat, they can tend to get bitter and woody quickly. But late summer is a great time to resume succession planting, at 2 to 3-week intervals. The bulbs will keep growing until a hard freeze, and even the tops can handle a bit of frost.
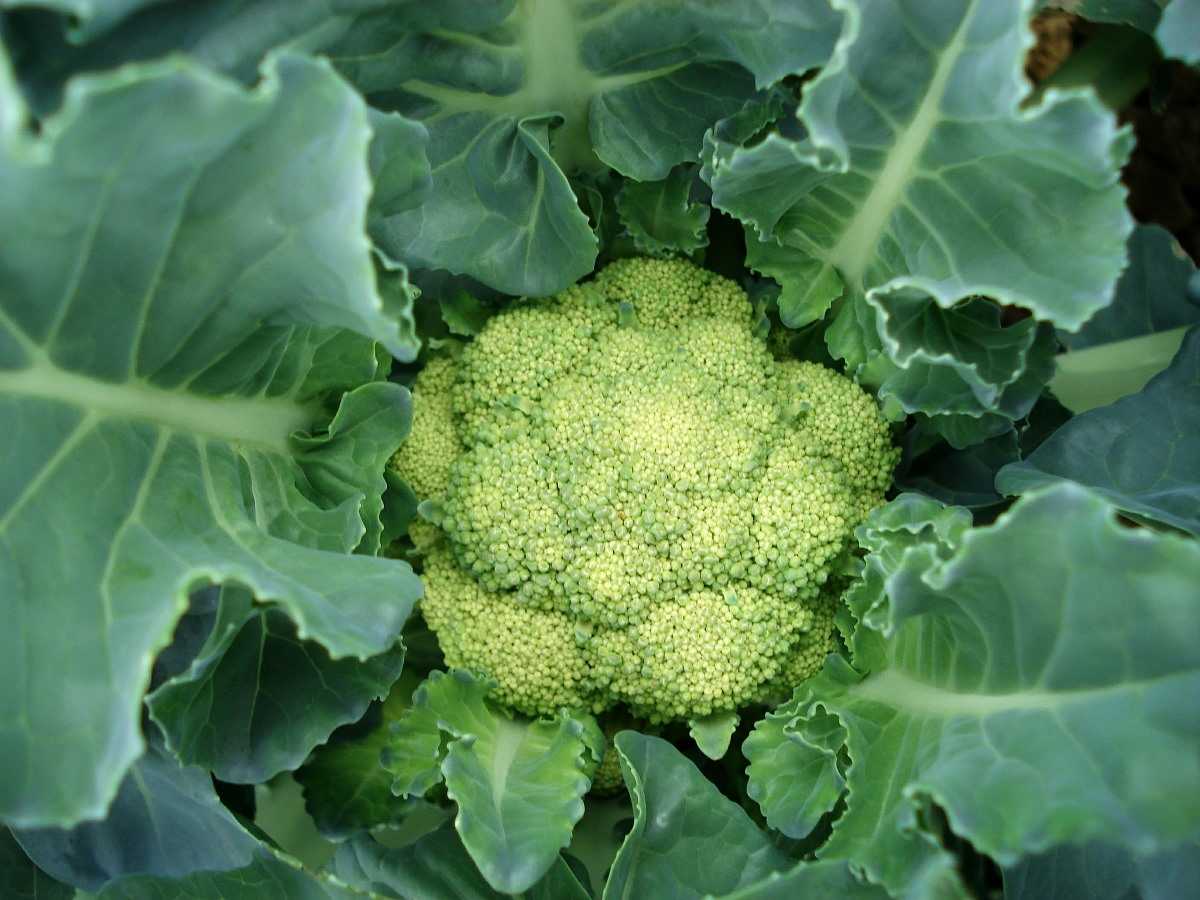
Broccoli – Late summer or early September, the direct seeding is best for timing, and sowing early will allow plenty of time for broccoli to head up. If you don’t want them all ready at once, consider staggering sowing times over a few weeks. Then, cut the main head from the plant when the crown is still rather tight. Leave the remaining plant in the ground and you can get additional smaller side heads later.
Brussels sprouts – Brussels sprouts should be planted 85 to 100 days before your first frost. You can directly sow the seeds into the garden (cooler climates) or start them indoors and transplant (warmer climates). They need full sun and these are some of the hardiest vegetables from the Cole Crop family.
Cabbage – Start your Cabbage plants indoors anywhere from 6 to 12 weeks before your first frost. You can narrow this time down depending on the early/late Cabbage variety you have chosen. Transplant to the garden when they are 3 to 4 weeks old and they prefer full sun. It is a hardy vegetable that can tolerate frost very well.
Carrots – Root crops are classic for cool-season growing and carrots seeds germinate in about 7 days but grow slowly. In fall, sow Carrot seeds no later than 10 weeks before the first frost for a fall harvest. Sow as evenly as possible but expect to come back after seed germination to thin out crowed sprouts for proper spacing.
Cauliflower – Start your Cauliflower seeds indoors 12 weeks before your first frost. Cauliflower is a challenging half-hardy vegetable. They are more sensitive to both cold and heat than most cole crops. They are frost-tolerant if the heads are mature before a deep freeze. You must harvest them after a deep freeze so you don’t risk losing your crop.
You should not miss this: Growing Organic Cucumbers In Containers.

Collards – Plant Collards 6 to 8 weeks before the first frost. You can grow them throughout the entire winter. Full sun to partial shade, though you should give 4 hours of sun for the best flavor. Collards are one of the most cold-hardy vegetables.
Garlic – Garlic is easy to grow, sow cloves directly into the soil about 2-inches deep in mid-fall and enjoy the harvest next summer.
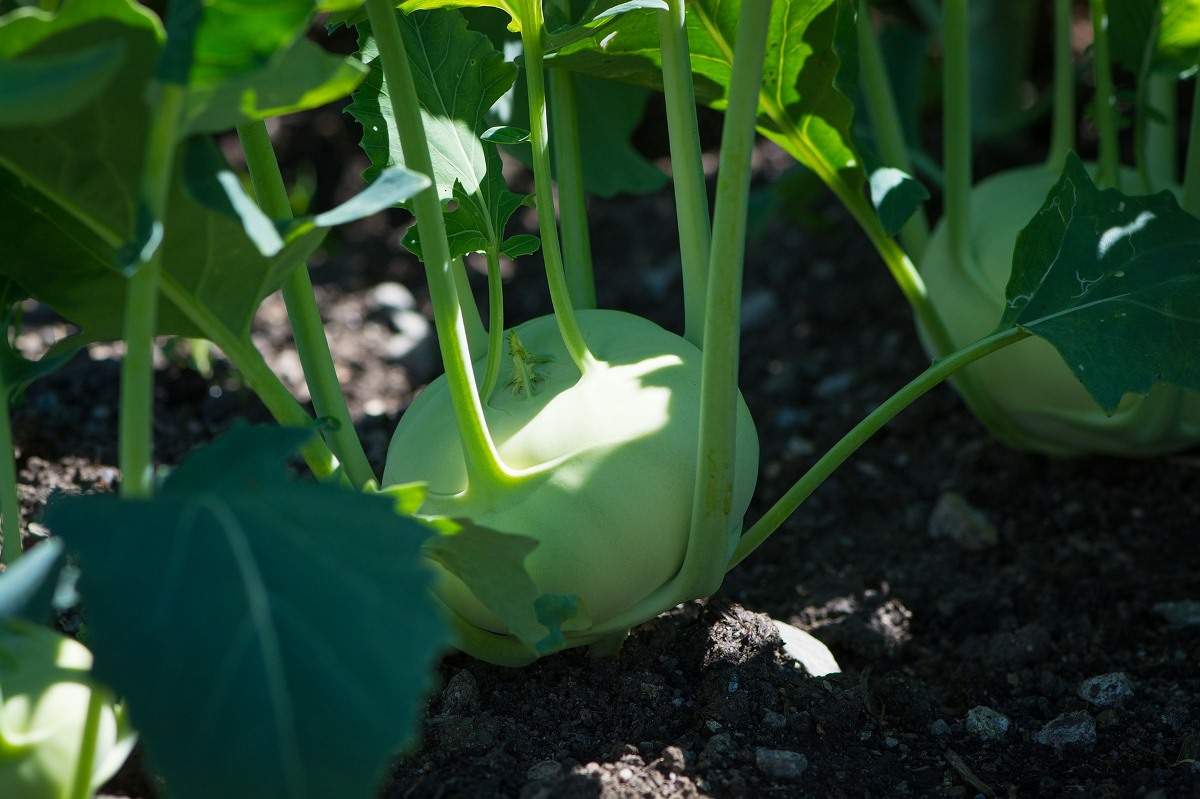
Kohlrabi – It is a great plant to direct sow in fall up to one month before the first frost. Harvest as needed. It is winter hardy and will store in-ground until you’re ready to harvest. For extra protection from cold snaps, cover with a layer of straw.

Lettuce – Plant lettuce 4-8 weeks before the first frost. Full sun to partial shade and this is a half-hardy vegetable that you can keep growing all season long by planting one small crop at a time. Hot weather makes it bitter and extreme cold freezes it.
Onions – Onions grow happily through the winter season, forming bulbs next spring for a summer harvest. Although not difficult to grow, there’s more to know about selecting the right kind of onions for the growing area (short-day or long-day), as well as seeds or sets.
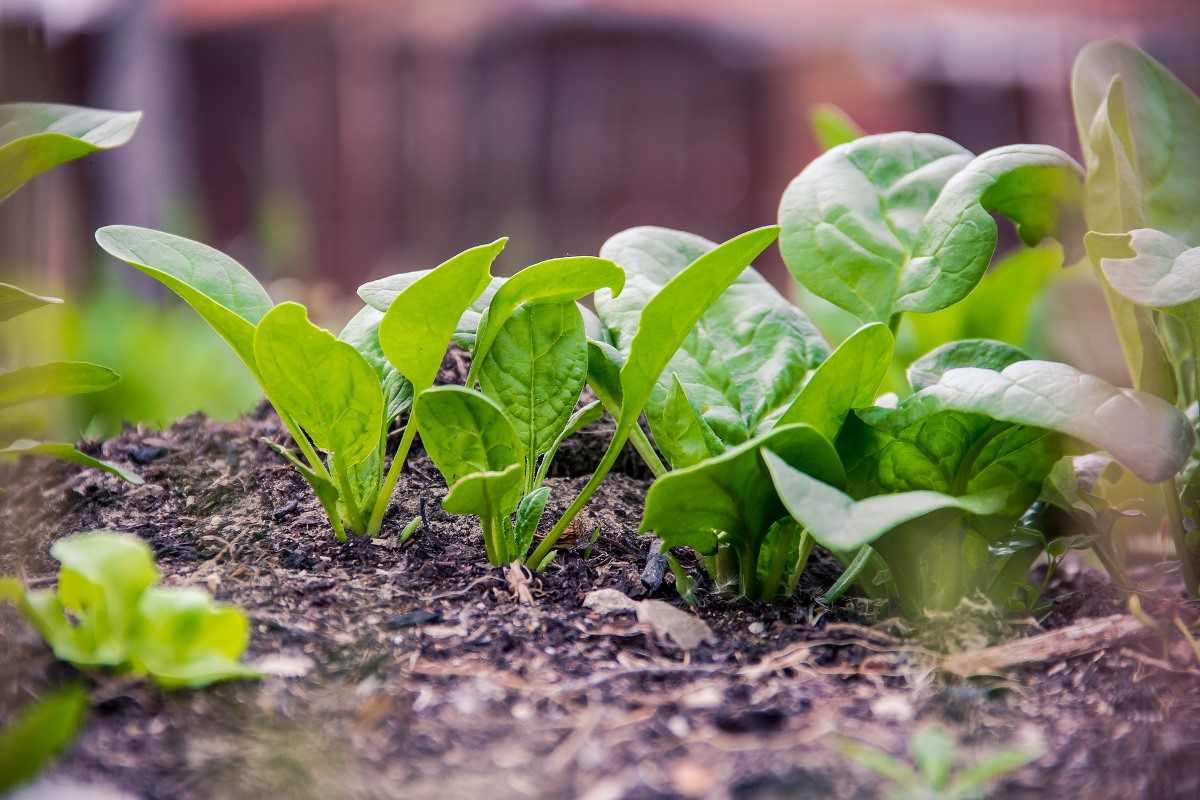
Spinach – Sow seeds in early fall. Seeds germinate in 3 to 5 days and plants grow well through fall. Harvest from the outside to allow plants to keep growing from the center.
You may also check this: Butterfly Gardening Ideas, Tips, And Techniques.

Radishes – Radishes like to grow quickly and in cool and moist soil. They prefer being planted in mid-summer and allowed to develop into fall. You can harvest bulbs in late fall to winter or allow them to over-winter in the soil and harvest next spring. They grow very much like turnips.
In case if you are interested in this: Hydroponic Spinach Farming, Growing Tips.