Whenever plants outgrow their containers, their root systems will be unable to provide the necessary water and nutrients to maintain the top growth. Plants get stunted as a result, and older leaves might lose their color and fall off. The remedy is to repot the plants in larger containers. It’s also best done in the spring, when the plant’s roots are most active, helping it to swiftly recover from the shock of repotting. Let’s check out the detailed guide to repotting house plants.
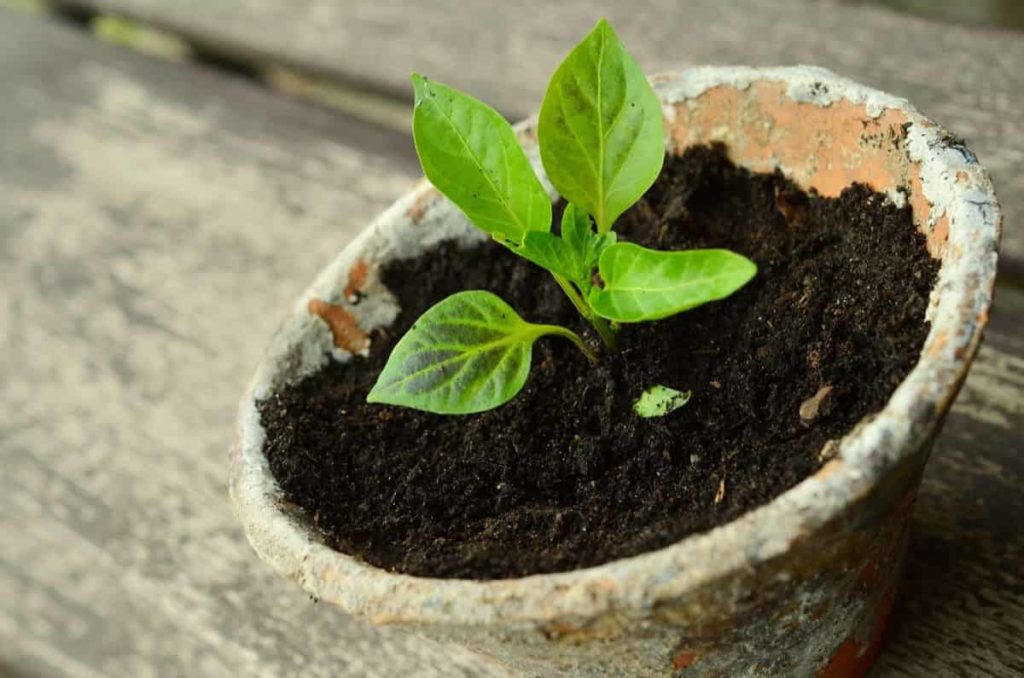
It’s not like all plants have to be repotted year after year, some may go for many years without even being repotted when they’re top-dressed at least yearly, however, if you do it yearly, you’ll observe a dramatic improvement in their health. Topdressing your houseplant container is removing the top 1-2 of soil and replacing it with new soil. After top dressing, make sure to water well.
When to repot your plant?
Some plants thrive when their roots are packed into a small pot; others require air, and yet others require constant wetness. To be sure, research what your specific plant requires. While each plant has its own set of requirements, here are some common indicators that your plant is outgrowing its container:
When its roots are starting to form one huge root
When roots become rootbound, this is an example of crowded roots. You have a rootbound plant if you take your houseplant out of its pot and see that the roots have joined together in such a circular manner. Because they have similar symptoms like frequent wilting, yellow foliage, and quick-drying soil, rootbound plants are sometimes mistaken with underwatered plants.
When its roots are overgrown
It’s time to repot if you see the roots of plants peeking out of the drainage holes or growing up the edges of the top. A plant that is ready to be repotted will have a network of roots that have developed to densely surround the sides when gently pulled out. Roots will create an identical replica of the inside of your pot.
In case you miss this: House Plants Care, Tips, Ideas, and Techniques
When the growth of the plants is really slow
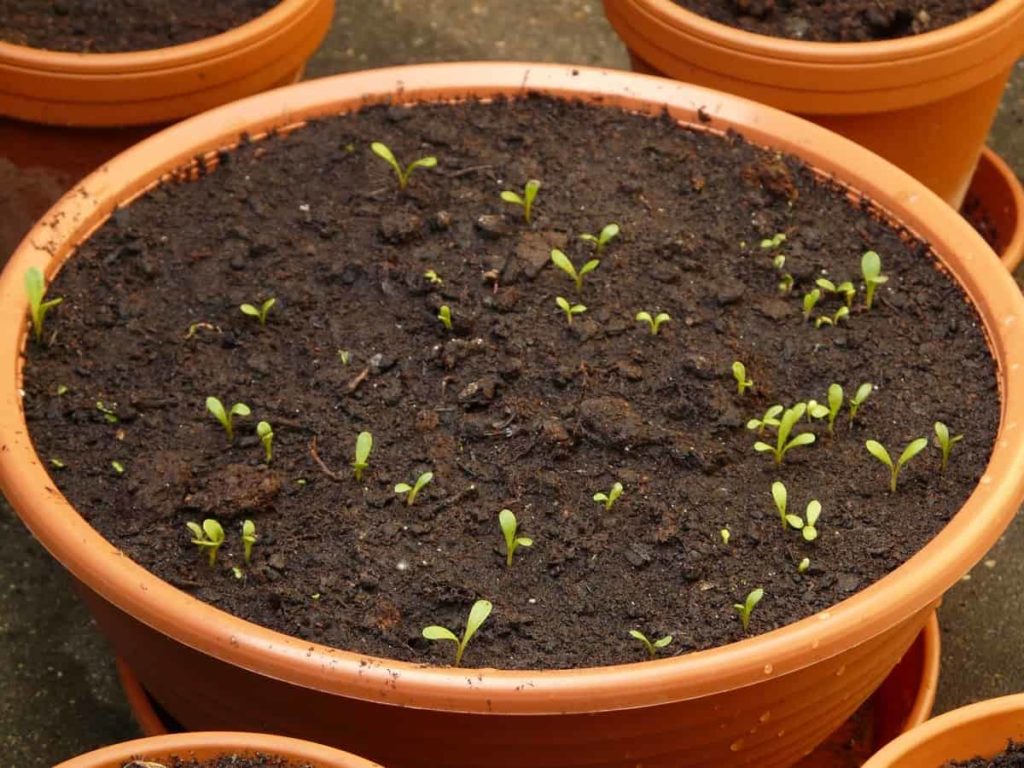
Take note of your houseplant’s growth to determine when it’s time to repot it. It’s probably time for a new planter if it’s been more than a year since it was last repotted, if it’s having trouble keeping upright in its present planter, or if there’s been a lack of development throughout the growing season despite your care and fertilization. Repotting houseplants straight from the plant store is also a good idea because you never know how long they’ve been languishing in those plastic pots.
How to choose a new pot or container?
The primary reason for repotting is that the plant has outgrown its present environment. You’ll want to allow the roots plenty of areas so that they can sustain the lovely section of the plant you’ll be admiring. Make sure the new pot is both broader and deeper than the old one. Depending on the size of the plant, we recommend giving it as least an inch more. Check for drainage holes in your new pot. Otherwise, your plant may decay if it is submerged in water.
Finally, keep away the pots with a narrowing top. You’ll have a lot of root damage attempting to pull the plant out the next time you have to repot since the roots will naturally adapt to it.
Guide to repotting house plants
Removing the existing plant from the pot
It may appear simple to remove the houseplant from its current container. However, if you’re repotting since the roots have filled the container, the plant will very certainly resist removal. This would be because the previous pot is full of roots, and as a result, it may be slightly deformed. The roots may also emerge from the bottom, as seen in the image below, and just one or two of these roots can be enough to keep everything in place.
You can trim or break any roots that have sprouted out of the drainage openings at the bottom. One of these roots can twist and latch on with incredible vigour, halting the whole release. If the squeeze approach doesn’t work and there are no hooked on roots to loosen, you’ll have to use a bit more power. You may gently push the plant up and out by gently inserting the blunt end of a pencil into each drainage hole a little up into the root ball.
Some plants, on rare occasions, leave you with no option but to crush or cut them out of their existing pot. If your plant’s pot is severely deformed, you’ll need to cut it free using a pair of big scissors. If the container isn’t in a plastic pot, you have two options: shatter it or quit the repotting effort completely.
In case you miss this: Polyhouse Plant Nursery Setup and Management
Cleaning of roots
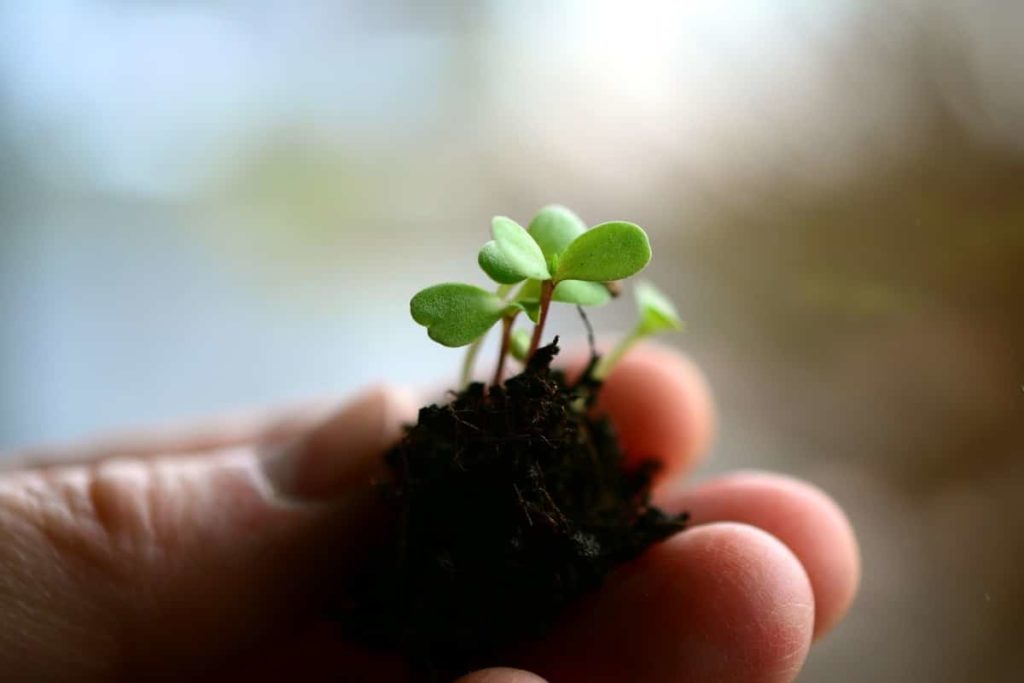
Now is the moment to inspect the roots for damage and the plant’s overall health; any mushy roots that are dark, dead, or dying should be removed. If you’re repotting your plant because it’s sick and you see that the root health isn’t excellent, it’s a sign that you need to change the way you’re caring for it in general. Some individuals will also advise cutting or pulling out good roots at this stage to stimulate new development.
You should avoid this at any cost. You’ll just be pushing the plant to regrow all of its roots, which is a waste of energy that could be better spent supporting new leaf development or blooms. We believe this concept came from how gardeners tease out roots when planting in the ground. It is not required for houseplants in pots. Only the dead or damaged roots should be removed.
To loosen and liberate the compressed roots from the tight bundle, teasing out implies gently pushing on them. Tightly constrained roots may wind up developing in loops rather than out into the fresh compost and container area. So, if your plant’s roots are all tangled up, go ahead and try tugging them out, but don’t be too violent.
Remove the potting mix of existing plant
One-half of the potting mix must be removed around the plant. Your plant used up part of the nutrients in the present mix as it grew, so if you’re potting it anyhow, you’ll have to provide it with a fresh mix.
Adding a new potting mix
Fill the new planter with a layer of fresh potting soil and pack it down, making sure there are no air spaces. If your new planter doesn’t have a drainage hole, pile lava rocks or anything similar on the bottom before adding the potting mix. The idea is to create fissures for the excess water to collect and drain away from the roots of your
Planting in the new pot
There are a few options for getting the plant into its new pot. Whatever you select, make sure the plant is still at the same soil level or depth as it was in its previous pot or ground after you’re done. Visually measure the distance between the top, bottom, and sides of the old pot as it is placed into the new container. When you’re satisfied, simply plant the pot by adding fresh compost to the edges of the new and old pots, then pulling the old pot up and out.
This creates an impression into which your plant may now be inserted for a precise fit. After that, just a little extra soil is needed to firm it up before soaking it well. This approach is simple to use and guarantees an accurate outcome. However, if the new pot you’ve chosen isn’t the same form as the previous one, is just slightly larger, or when the root ball has lost the shape formed by the old container while you’ve been liberating the plant, it may not be viable.
In case you miss this: Common Reasons Why Your Houseplants are Dying
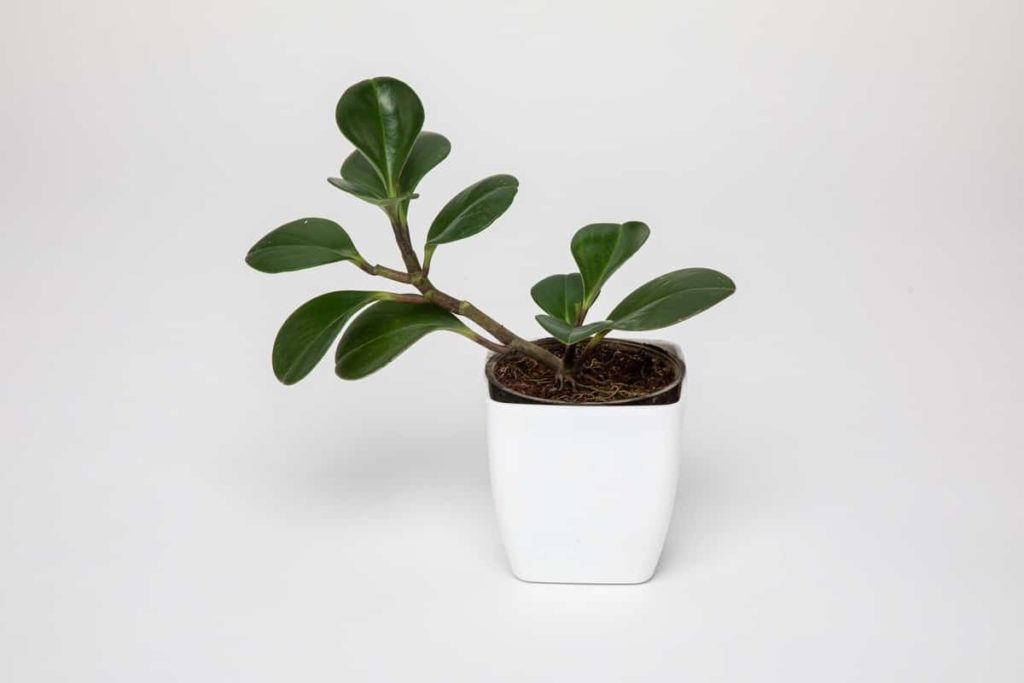
The second, and more common, method is to simply use the plant itself as a measurement guide. With one hand, place the plant in the container and hold it in the proper height and position; with the other, fill the area with compost. This method is fussier since you must get it exactly perfect, but if you make a mistake or are unhappy with the result, you can simply repeat the process until you are satisfied. When you’re pleased, gently firm the soil around the plant to hold it in place, then water it thoroughly to ensure that everything is in place.
Watering your new plant pot
Evenly distribute the potting mix on top and thoroughly water. It’s important to note that a newly repotted plant does not require fertilizer.
Signs that your plant is uncomfortable in the new pot
When its roots are drowning
The color of healthy roots is normally white to off-white. Its most recent, tiny roots may even appear blurry. If you find slimy, dark-colored areas on the roots, your plant is suffering from root rot and is unable to absorb all of the water it is receiving in its new habitat.
When there are bugs on leaves
The soil is a vital factor in whether or not your plant bud thrives, but make sure it’s free of bugs on the bottom. Bugs are inconvenient, but they also indicate overwatering and are excellent at hiding behind the leaves.
In case you miss this: Houseplants That Will Thrive In Your Kitchen
Commonly asked questions about repotting
What time of year is best to repot the indoor plants?
When the soil dries up faster than normal, repot the plant. Examine the drainage hole to see whether roots are growing through it. Roots that are firmly wrapped in the container also indicate that it requires additional room. Your plant may appear limp or even stop growing when it’s time to repot. Spring is the best time to start repotting.
How to know the time to repot a plant?
The optimal time to repot a plant is in the spring when the active roots have had time to develop into the fresh potting mix. When houseplants are pot-bound, they might show a variety of symptoms. First, make sure you’re watering the houseplant on a regular basis.
Should we break or trim the roots while repotting?
Trim the roots and loosen the root ball before repotting to improve nutrient absorption. If required, remove as much as the bottom third of the root ball with a sharp knife or pruning shears.
In case you miss this: Pruning Houseplants – Basics, Ideas, Techniques, Tips For Indoor, Balcony
Can you water a plant right after repotting?
Plants may seem withered and thirsty, but don’t water them for approximately a week after they’ve been re-potted to make sure that any roots that were injured during the re-potting have healed. Put plants in a cooler, shadier location throughout the healing phase.
- Broccoli Seed Germination and Selection
- Asparagus Seed Germination and Variety Selection
- Seasonal Flower Gardening: Best Practices for Spring, Summer, Fall, and Winter
- How to Grow Hibiscus from Flower
- Plantation Ideas for Home Decoration: A Beginners Guide
- Flower Garden Designs and Layouts for Beginners
- Planting and Spacing Techniques in Papaya: A Beginner’s Guide
- Growing Gold: Essential Techniques for Planting Pineapples
- How to Make Kalanchoe Plant Bushy: Home Remedies and Solutions
- 11 Reasons Why Your Gardenia is Not Blooming: Home Remedies and Solutions
- Eco Elegance: The Guide to Designing a Drought-Tolerant Landscape
- Gardening on a Slope: Strategies for Hillside Landscaping
- Nourish and Flourish: Top Organic Mulches for Thriving House Plants
- Everything You Want to Know about Indian Mogra Flower: Discover Uses and Growing
- Green Thumb Success: Expert Tips for Cultivating Greenhouse Pumpkins All Year Round
- Maximize Growth & Flavor: The Ultimate Guide to Companion Planting in Herb Gardens
- How to Control Rhododendron Problems Naturally: Home Remedies and Organic Ways to Fix Them
- Natural Magic: The Remarkable Benefits of Cinnamon for Plants
- Best Steps to Revive Dying Tulip with Natural and Organic Treatment
- 10 Reasons Why Your Angel Trumpet is Not Blooming: Remedies and Treatment
- How to Fix Periwinkle Leaf and Flower-Related Problems: Natural Remedies and Solutions
- How to Fix Zinnias Leaf and Flower Problems: Discover Natural and Home Remedies
- Organic Steps to Induce Lemon Tree Flowers: A Comprehensive Guide
- Bloom Booster: Crafting the Perfect Homemade Bougainvillea Fertilizer
- Optimizing Growth: A Guide to Applying NPK Fertilizer for Potted Plants
- 10 Best Homemade Fertilizers for Rubber Plant: DIY Recipes and Application Method
- How to Boost Female Pumpkin Flowers: Effective Steps for More Flowers and High Yields
- Transform Your Indoor Garden: Top Benefits of Pink Salt for Houseplants
- 10 Best Homemade Fertilizers for Peacock Plants (Calathea): Easy DIY Guide
- Unlock Blooms: 9 Reasons Why Your Potted Chrysanthemum is Not Blooming
- 8 Reasons Why Your Potted Hibiscus is Not Blooming: Fix it with Simple Solutions
- Unlock Blooms: 9 Key Reasons Your Potted Frangipani Won’t Flower
- 10 Reasons Why Is My Ice Plant Not Blooming: Remedies and Treatment
- 10 Reasons Why My Potted Hydrangea Not Blooming: Treatment and Remedies
- 10 Reasons Why is My Wisteria Not Blooming: Remedies and Treatment
- 10 Reasons Why is My Goldfish Plant Not Blooming: Remedies and Treatment