Onion Growing Tips, Techniques, Tricks, Ideas, and Secrets
Hello gardeners, we are back with a new topic today and the article is all about onion growing tips, tricks, techniques, ideas, and secrets. Do you want to onions? Well and then you need to follow this complete article to grow a perfect onion plant. In this article, we are going to mention all the important tips for growing onions and we also mention all the requirements for growing onion plants.
Introduction to Growing Onions
The onion is also called the bulb onion or common onion and it is a vegetable that is the most widely planted species of the genus Allium. The shallot is a main botanical variety of the onion.
Onions are a much-loved and liked bulb of the Indian subcontinent. It is eaten raw, cooked in gravies, stews, and even soups—it is very hard to imagine a dining table spread without this versatile vegetable. Onions are very easy to grow and they do not need a lot of space. But before we get into the process, here are some important pointers for you to keep in mind:
Onions usually need cool and pleasant weather without humidity and rain. Thus, the good and best time to grow onions is between November and February.
In any open space or even a container can be used for growing the onion bulb. But you need to ensure that the soil is fertile and even porous.
A Guide to Onion Growing Tips, Techniques, Tricks, Ideas, and Secrets
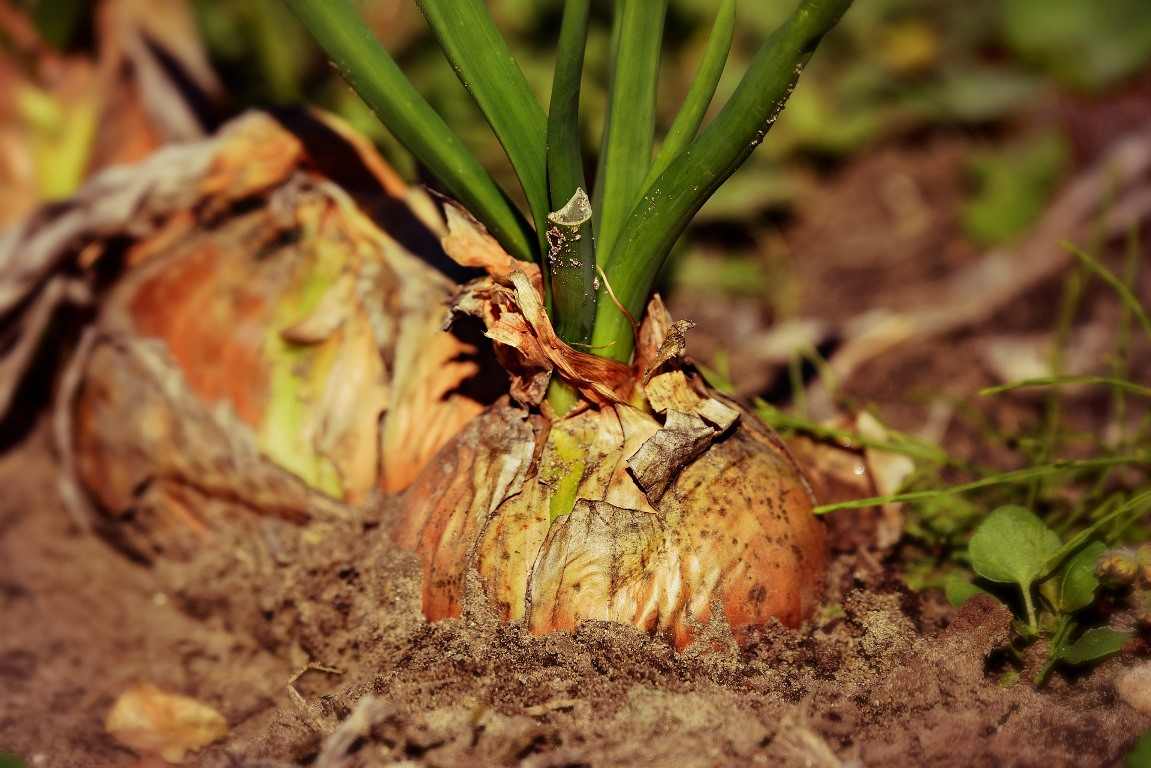
Overview Table of Onion Plant is Given Below
| Botanical Name | Allium cepa |
| Common Name | Onion |
| Plant Type | Biennial bulb and it is usually grown as an annual |
| Size | 12 to 18 in. tall and 6- to 12-in. spread |
| Sun Exposure | Full sun |
| Soil Type | Rich and well-drained |
| Soil pH | Slightly acidic to neutral that is 6.0 to 7.0 |
Onion Growing Requirements
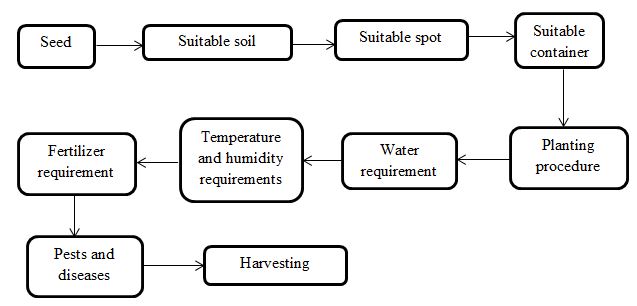
Soil Preparation Tips for Growing Onions
Preparing your soil before you plant your plant will greatly improve your onion plant’s performance and even promote healthy, vigorous growth. It is a very good idea to have your soil tested to determine if it is lacking in any essential minerals and even nutrients.
The main and important goal of soil preparation is just to replenish vital minerals and even nutrients, as well as break up and loosen any compacted soil.
- When to prepare your soil?
Soil preparation can be easily done at any time that the ground is not too wet or frozen. Your onion plants may be planted even when temperatures are quite cool. If a hard frost is expected in your area, then it is advisable to delay planting for a while until temperatures become more moderate. Generally, as long as your soil is workable, it is fine for the onion plant.
- How to prepare your soil?
Roots grow very faster when they are spread out. So, you need to dig the hole deep and even wide enough so the root system has plenty of room to expand very easily. Then keep the topsoil in a separate pile so that you can put it in the bottom of the hole, where it will do the best and well.
To loosen the soil, you need to mix dehydrated cow manure, garden compost, or even peat moss that is nearly up to 1/3 in concentration into your pile of topsoil. Better make sure the peat moss you get is either baled sphagnum or even granular peat. You can also add our coco-Fibre potting medium or 2 or even more inches of organic material and then work very evenly with the existing soil.
Your lawn can easily provide you with ideal organic materials such as grass clippings and even shredded leaves. Not only will the grass and leaves break down to provide soil nutrients, but they will also help to loosen the soil as well. You can easily gather these in the fall with spring planting in mind.
- Common soil amendments:
- Compost
- Sand
- Manure
- Lime
- Peat moss
By adding organic materials, such as our Coco-fibre potting medium and even compost will improve almost every soil type. Organic materials bind sandy soil particles easily so they retain moisture and nutrients better. They will also break apart clay and then silt the particles so that water can infiltrate and roots will spread.
Onion Planting and Propagating Tips
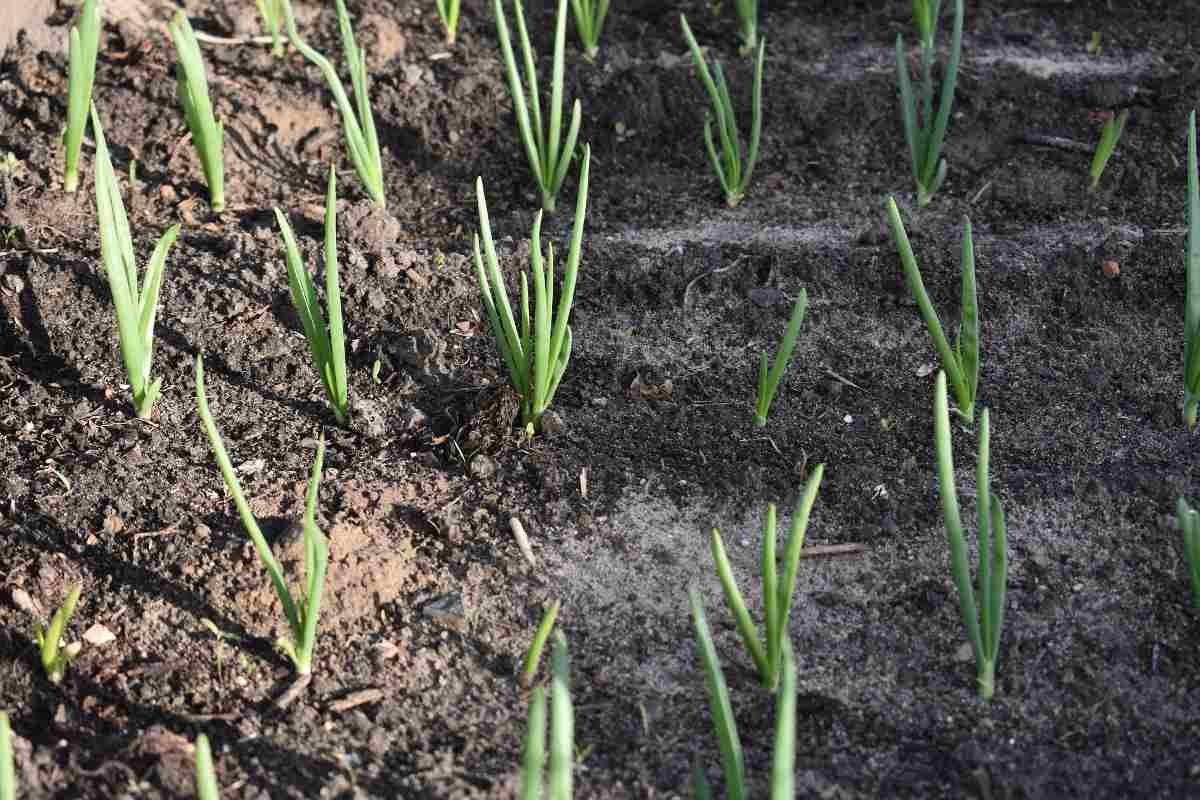
- Garden site
Onions grow best in loose, well-drained sandy loam. Turn much well-aged compost and manure into the onion bed beforehand of planting; turn the soil to a minimum of 8 inches deep. Onions prefer a soil pH of 6.0 to 7.5.
- Starting seeds
You need to sow onion seeds indoors 8 to 12 weeks before the last average frost date. Sow seeds in pots, flats, or trays. You need to thin seedlings to at least one inch apart once they are four inches tall. Sow seed outdoors fortnight before the last average frost date in spring or four weeks before the primarily expected frost in autumn.
Avoid sowing onion seed directly within the garden until the soil temperature has reached 10°C. in outdoors sow onion ½ inch deep and even 1 inch apart. Later, thin to four inches apart. Growing onions from seeds will offer you the widest choice of sorts.
- Setting out starts
Seedlings (starts) are often transplanted to the garden in early spring as soon because the soil is often worked–usually, about 2 to three weeks before the last frost when the soil temperature is a minimum of 4°C; the air temperature should be a minimum of 7°C. Set bulb onion seedlings one to 2 inches deep–depending on the dimensions of the bulb–and four to 6 inches apart. The set starts for scallions one inch apart. To encourage the event of bulbs, soak them in compost tea for about a quarter-hour before planting. Nearly about four weeks after planting, gently keep off the soil atop bulbs; this may help them to grow larger. Onions grown from transplants mature more quickly than onions grown from seeds.
- Planting sets
Choose sets that have bulbs about ½ inches in diameter. (Larger sets may attend seed before producing decent-sized bulbs. Sets with very small bulbs might not grow very well.) Plant bulbs with the sharp end up; the rounded end is that the rooting ends. Set bulbs ½ to at least one inch deep and 4 to 6 inches apart–depending on the dimensions of the bulb at maturity. Onions sets are often labelled “red,” “white,” or “yellow”–you might not know the precise variety you’re growing.
Watering Tips for Growing Onions
- When to water the onion plant?
If you use a hose or even a sprinkler to water your onions, then remember it is best to water early in the morning rather than in the heat of the day. Too much water is usually lost to evaporation if you water when the sun is very high.
Watering onions and other plants from above within the evening can leave plants with wet foliage overnight. Often this will be a call for participation to bother because with moisture remaining on the leaves, the disease can spread rapidly.
Onions do need tons of water, but the soil should not be soggy all the time. “Just enough” water is best than “too much.” Ideally, you would like to supply a radical soaking to a depth of six inches once every week instead of just a lightweight sprinkling every day.
- Watering guidelines
Here are some guidelines for watering onions:
If the soil is very dry, then water immediately after planting or transplanting.
Keep the soil very moist until seedlings come up or until plants and sets take hold.
In well-drained soil, usually, onions need a thorough soaking of one inch of rain or even water per week to grow well and best.
Watering when the onion bulbs are bulbing can easily keep some soils from hardening around the bulbs, by allowing for bulb expansion.
You need to cut back on watering when the tops start dying back to prevent the bulbs from rotting.
They usually require constant moisture in the bulb enlargement stage and dry conditions early on will cause bulbs to split. You need to give each plant nearly about 1 inch of water each week that is about 1.6 gallons. Transplants will easily require more water than sets. At midsummer–or about a month before harvest after onion bulbs have formed and when the necks of the onions begin to soften, you need to cut back on food and water and then allow bulbs to mature in drier, very less fertile soil
Tips for Growing Big Onions in Garden
It is only one of these onion facts that the key to growing big onions is early planting, with fertilizer or compost. Seeds also can be sown in trays and then leave in a very cool location until the seedlings reach about 1-2 inches or 2.5 to 5 cm. tall, at which era they will be placed in deep biodegradable pots crammed with loose, composted soil.
Place seedlings at the highest and keep pots somewhat dry to encourage more extensive rooting as they move down in search of moisture. Plant the pots within the garden in early spring, and as they absorb moisture from the soil, they’re going to eventually decompose, encouraging a secondary root age near the soil surface, which can produce larger onions.
Onion sets and onion plants require loose soil and will be planted early (end of February or March). Dig a very shallow trench, working in compost or fertilizer for giant onions. Likewise, raised beds are often implemented. Plant the onions about an in. deep and 4-5 inches or 10 to 12.5 cm. apart.
Wider spacing makes it easier to regulate weeds, which may compete for nutrients. Keep the world weed-free; otherwise, the onions won’t grow big. Once onion bulbs begin to swell (in late spring), make sure that they continue to be above ground. Onion plants will still increase in size until the center of summer, at which era their tops begin to fade. Once these tops have completely faded and fallen over, onion plants are often pulled and left within the sun to dry for several days before storing in a cool, dry area.
Growing onions doesn’t need to be frustrating. Start them early, follow the above big onion facts and remember to feature compost or fertilizer for giant onions.
Fertilizing Tips for Growing Onions
Onion bulbs need a steady supply of nitrogen to form very large bulbs. Side dress a growing plant in early and even midsummer with 1/2 cup nitrogen-based fertilizer. Better to use ammonium sulphate if your soil is alkaline because this fertilizer will lower the pH slightly. Ammonium nitrate will work very well for gardens with acidic soil.
- When should I fertilize my onions?
Fertilizer application for onion bulbs should, therefore, start by the first week after transplanting, with an NPK regime for the establishment of the better plant. 40% of the N and K, as well as calcium requirements, should then be applied by the third or fourth week in the first top-dress of the plant.
- Do onions need a lot of fertilizer?
Onions require a very high source of nitrogen. A nitrogen-based fertilizer that is ammonium sulphate or even ammonium nitrate should be applied at the rate of one cup per twenty feet of row. The first application needs to be about three weeks after planting and then you need to continue with applications every 2 to 3 weeks.
Onion Mulching Tips
You may also check this: How To Grow Hydroponic Parsley.
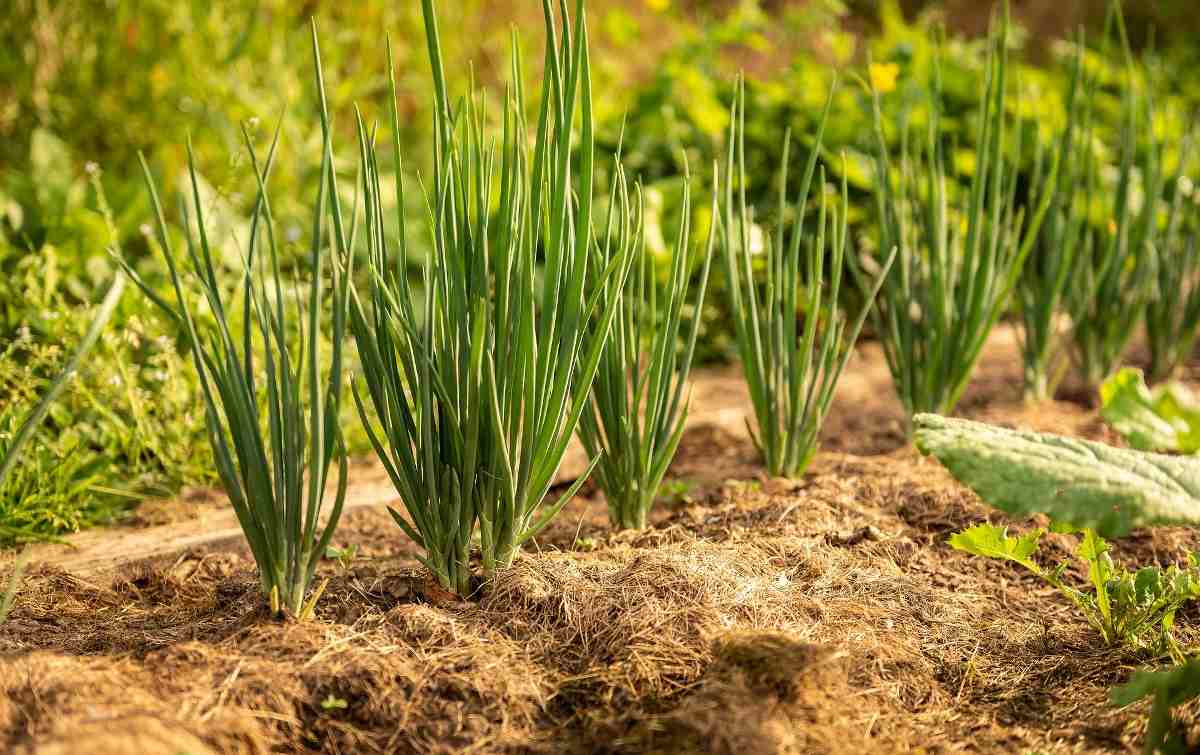
It is best to get your onions mulched as soon as possible just after planting. It can be very difficult to get the mulch around the small onion transplants. I find it very easy to wait a couple of weeks until they get something bigger and then mulch with a layer of marsh hay. You can also use a straw, grass clippings, or even leaves.
After the soil has warmed, you need to place a 1- to 2-inch layer of mulch around onions to discourage weeds and to conserve soil moisture. Better to use aged compost or any chopped leaves around onions. You need to keep the mulch back from bulb tops once they start to develop. (To grow very large onions, you need to keep both mulch and soil pulled back from the top two-thirds of developing bulbs.)
Onion Container Growing Tips
- How to grow onions in a container
Thanks to growing onions in container gardens are far like growing onions within the ground. You would like good soil, adequate drainage, good fertilizer, and much sunshine. Read this text on growing onions for more information on basic onion care.
The only difference between what you are doing once you grow onions within the ground and once you grow onions in pots is selecting the container you’ll be growing them in.
Because you would like several onions planted to urge an honest plant, attempting to grow onions in pots that are only 5 to six inches or 12.5 to 15cm. wide would be cumbersome. If you select to grow onions in pots, choose a large-mouthed pot. It must be a minimum of 10 inches or 25.5cm. deep but should be several feet or 1 m. wide so that you’ll be ready to plant enough onions to form it worth your while.
Many people have success growing onions in a tub. Because plastic tubs are less expensive than a comparable-sized pet, growing onions in a tub are economical and efficient. Just confirm that you simply put holes within the bottom of the bathtub to supply drainage.
You can also grow onions in 5 gallons or 19 L. buckets, but realize that you simply may only be ready to grow 3 or 4 onions per bucket as onions need a minimum of 3 inches or 7.5cm. open soil around them to grow properly.
In case if you miss this: How To Grow Capsicum In Greenhouse.
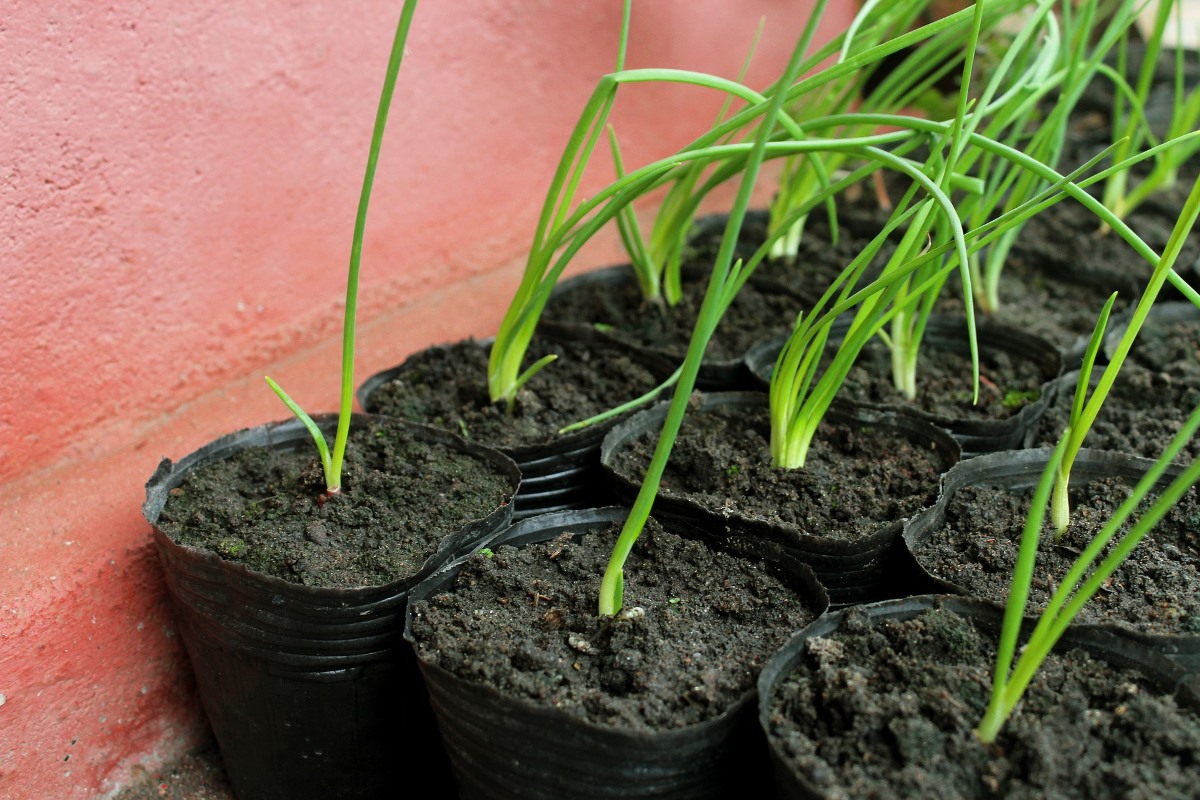
- Choosing a location for growing onions in containers
Whether you opt to grow onions in a tub or pots, you want to put the onion container somewhere that gets six to seven hours of sunshine. If you’re growing indoor onions and don’t have a location with adequate sunlight, you’ll supplement the sunshine with fluorescent bulbs set on the brink of the onions. A store light on an adjustable chain makes a superb grow light for people that growing indoor onions.
- Remember to water your potted onions
Water is vital to growing onions in container gardens because your container onions will have little access to naturally stored rainfall from surrounding soil like onions grown within the ground do. Onions grown in containers will need a minimum of 2 to three inches or 5 to 7.5cm. of water every week, maybe even more in weather. Check your onions daily, and if the highest of the soil is dry to the touch, give them some water.
Just because you’ve got limited space doesn’t mean that you simply got to limit what you grow. Growing indoor onions or growing onions in a tub on the patio is fun and straightforward. Now that you simply skills to grow onions in container gardens, you’ve got no excuse to not.
Tips for Growing Onions in winter
- Choose the best winter onions
Many types of onions are available and the best way to determine the best winter onions for your area is to experiment with many different varieties. Example of popular winter onions includes:
White multiplier onions, which will develop thumb-size bulbs
Yellow potato onions and heirloom onions have been around for well over 200 years. Other types include:
- Kentucky hill
- Red
- Yellow
- Greeley’s
- How to grow winter onions?
Onions can be easily planted in spring or fall. However, onions planted in the fall generally produce very larger yields. Many gardeners like to plant onions in the fall, then save a few small onions in a very dry location for planting in spring.
Winter onions can be easily planted any time the ground can be worked – usually between October and December in very most climates – or two to three weeks before the first hard freeze. Growing winter onions will require full sun, as the onions will not grow in shade.
You need to plant the onions 2 to 4 inches or 5 to 10 cm. deep, allowing 4 to 6 inches or 10 to 15 cm. between each onion bulb. Water very well. The onions are underground and even tolerate cold weather. However, a layer of mulch is helpful for overwintering onions in very cold climates.
You can also plant winter onions in a suitable container. Better to keep the container near the kitchen door and then harvest onions for use throughout the winter. A container with a width of at least 18 inches or 45 cm. is good and best.
Onion Pest and Disease Control Tips
- Plant high-quality transplants free from thrips and even iris yellow spot virus.
- Practice three years or longer rotation between onion plants.
- You need to eliminate volunteers, culls, and weeds in and around onion fields.
- Avoid plant stress.
- Better to spray insecticide when the thrips population crosses the economic threshold level of 30 thrips or plant.
- Thrips will control may provide some reduction in iris yellow spot, but thrips control alone is not sufficient to economically control the disease.
- You need to use virus-free planting material.
- Better to use resistant planters.
- Avoid waterlogging.
- Treat seeds with an appropriate fungicide before planting to scale back rot in mature bulbs; avoid bruising bulbs in and after harvest; storing at temperatures below 15°C prevents mould from spreading but it’ll resume once temperature increases.
- Plant onions in single rows allowing a minimum of 30 cm between plants to market good air circulation and quick drying of foliage after rain; time irrigation to permit plants time to dry out sufficiently; apply appropriate fungicide sprays when plants have a minimum of five true leaves and early symptoms of the disease.
- Avoid planting infected sets; rotate plants to non-allium species for 3 to 4 years; plant in well-draining areas and don’t overcrowd plants; destroy all infected plant debris; apply appropriate foliar fungicides taking care to use thoroughly to waxy leaves.
- Controlling aphids just by applying insecticides is not effective thanks to the short amount of your time aphid must transmit the virus; other control methods include planting sets or transplants which were produced in areas freed from the virus; growing plants from seed; removing any infected plants and planting more tolerant varieties.
Onion Harvesting Tips
New growth from the middle will just stop when bulbs start forming. When bulbs are ripe, leaves will begin to yellow and go over. After nearly three-quarters of the tops have fallen over, use the rear of a rake to horizontally bend over the remaining tops. The bent leaves can cause the plant to divert the remainder of its energy to the onion bulbs and far away from leafy growth. After the tops turn brown in a day or two, lift the bulbs with a garden fork on a sunny day, and leave them to dry within the sun. When bulb outer skins are dry and therefore the tops withered in a few weeks, wipe off any soil, and cut away the tops. If the weather is damp, then allow the onions to dry in an airy place. You will loop the leaves through the mesh of a fence or framed net or braid them into a garland to dry.
- Flower Garden Designs and Layouts for Beginners
- Planting and Spacing Techniques in Papaya: A Beginner’s Guide
- Growing Gold: Essential Techniques for Planting Pineapples
- How to Make Kalanchoe Plant Bushy: Home Remedies and Solutions
- 11 Reasons Why Your Gardenia is Not Blooming: Home Remedies and Solutions
- Eco Elegance: The Guide to Designing a Drought-Tolerant Landscape
- Gardening on a Slope: Strategies for Hillside Landscaping
- Nourish and Flourish: Top Organic Mulches for Thriving House Plants
- Everything You Want to Know about Indian Mogra Flower: Discover Uses and Growing
- Green Thumb Success: Expert Tips for Cultivating Greenhouse Pumpkins All Year Round
- Maximize Growth & Flavor: The Ultimate Guide to Companion Planting in Herb Gardens
- How to Control Rhododendron Problems Naturally: Home Remedies and Organic Ways to Fix Them
- Natural Magic: The Remarkable Benefits of Cinnamon for Plants
- Best Steps to Revive Dying Tulip with Natural and Organic Treatment
- 10 Reasons Why Your Angel Trumpet is Not Blooming: Remedies and Treatment
- How to Fix Periwinkle Leaf and Flower-Related Problems: Natural Remedies and Solutions
- How to Fix Zinnias Leaf and Flower Problems: Discover Natural and Home Remedies
- Organic Steps to Induce Lemon Tree Flowers: A Comprehensive Guide
- Bloom Booster: Crafting the Perfect Homemade Bougainvillea Fertilizer
- Optimizing Growth: A Guide to Applying NPK Fertilizer for Potted Plants
- 10 Best Homemade Fertilizers for Rubber Plant: DIY Recipes and Application Method