There are few things more fulfilling than starting your garden at your house. While gardening can help you lose weight and maintain healthy blood pressure, studies show that just being among plants can lift your spirits and enhance your overall well-being. Also, home gardening is getting popular in large cities in India. Kerela is one such state in south India that has some of the many huge cities such as Thiruvananthapuram, Kozhikode, Kochi, Kollam, Thrissur, and Kannur.
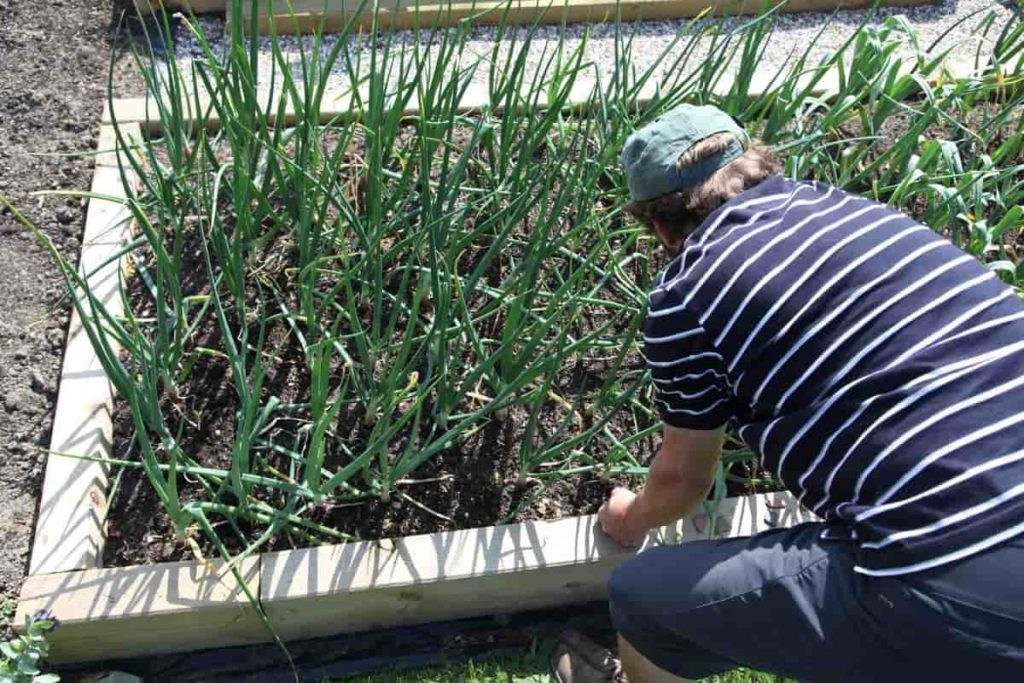
In recent years, many individuals in Kerala, are gardening as a hobby. However, people don’t realize that gardening at home is one of the finest hobbies to undertake right now for various reasons, and they are missing out. Many people see it as a means to go green and improve their health, as well as a chance to produce their food at home and participate in developing local food systems at a cost lower than similar products sold in supermarkets.
Below we will learn about how you can prepare your garden at home in Kerala, which vegetables, fruits, flowers, and herbs can be grown at home in Kerala, what plants to grow in Kerela, Kerela home garden plants, the different types of home gardens and how to set up a home garden from scratch in Kerela.
How to start home gardening in Kerala from scratch
Choose the type of home gardening
Backyard gardening/outdoor gardening
Select an ideal location in your backyard
It’s critical to choose the right spot in the garden. It is possible to grow vegetables in an unsuitable location. Most plants need anywhere from 6 to 8 hours of daily exposure to direct sunshine. Plants that thrive in the shade mainly have large, lush green leaves. Improving soil drainage by using raised beds or elevated rows is possible in Kerela. Soil moisture causes the roots to decay, which in turn causes the soil. Removing pebbles from the soil can improve root growth and disease resistance.
Avoid planting in wind-prone places where your young plants can be killed or pollinators prevented from doing their work. Likewise, areas prone to floods or heavy foot traffic should not be planted. The nutrients in your soil feed your plants. The health of your plants will suffer if you use soil devoid of nutrients and thus deficient in fertility. To help your plants thrive, amend the soil with a lot of organic material.
Improve soil and clear the ground in the selected spot
Make sure the area you wish to plant is free of weeds and grass. If you want quick results, get rid of it as soon as possible, such as if you plan on growing veggies this summer. A spade can be used to cut a trench under the soil. Cutting the sod into smaller pieces and putting them in your compost pile will make it easier to remove them.
Local experts in your county can collect soil samples. You’ll learn what your soil lacks and how to remedy the situation based on the results. A do-it-yourself kit may not be as complete as a commercial one, but it will give you a broad grasp of your soil’s nutrient levels. As a rule, residential areas with their topsoil removed need to improve their soil, especially in freshly created regions. Both inadequate drainage and soil that has been compacted are significant issues associated with the ground.
The solution is easy in the majority of cases: Include organic matter. Composted leaves and dried grass clippings may be added to the soil when digging or tilling for a new garden bed. Aged manure is also a good option. The thickness of this layer should range from two to three inches. Assume you have no intention of digging the bed or using the existing infrastructure. You should then leave the organic matter where it is, where it will eventually decay into humus. Humus will be added to the subsurface by earthworms.
In case you missed it: Homemade Fertilizers for Root Vegetables: Potatoes, Carrots, Beetroot, Onions, Radishes, Turnip, Ginger, and Garlic
Prepare the garden for planting
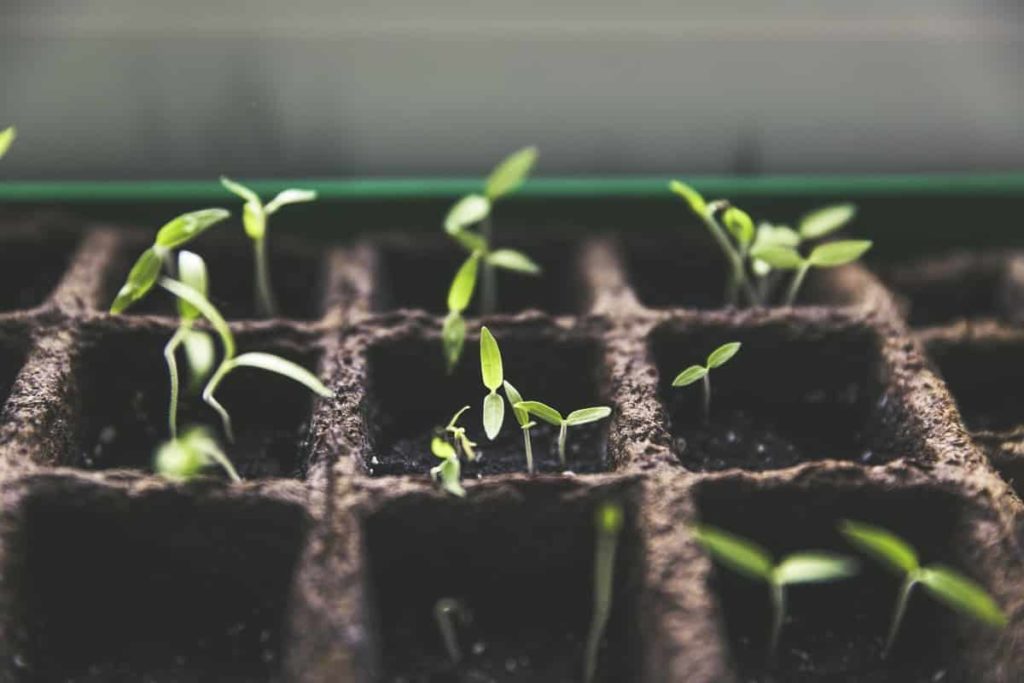
Having loose soil in a new bed before planting makes it simpler for roots to grow and reach water and nutrients. Rototillers can be used to till the soil, or you can use your hands to break up the soil. It’s best to utilize the first method when you have a lot of modifications to make. However, it is easy to overdo it, causing harm to the soil’s structure. Smaller plots can be prepared more quickly and easily by excavating.
Working the soil should only be done when it is sufficiently wet but not saturated, so it crumbles when thrown. To avoid damaging the structure of the soil, it is best to avoid digging in soil that is too dry. Use a spade or spading fork to incorporate the organic materials after turning the top 6-8 inches of soil. Walking on prepared beds compacts the soil, so put down plywood planks to disperse your weight.
Seeds vs. seedlings
Saving money by starting fresh with seeds is possible, but the process can be time-consuming and difficult. While some seeds cannot germinate, others take a long time to grow into sturdy plants that can endure the elements of the wide Kerela outdoors. Visit a local nursery to get young plants produced in a greenhouse under controlled conditions.
Another option is available. To prevent “root bound” plants, steer clear of larger ones. These seedlings have outgrown their pots and have established a thick tangle of plant roots in the ground. As a result, planting them in the garden can be difficult.
Plant your backyard garden
Ensure that the seeds are placed at the correct depth, that the soil is tamped down gently over them with your hand, and that they are hydrated when the top of the soil dries up. As you sow seedlings, turn the container upside down and grasp the stem between your fingers. Squeeze the pot gently on all sides to release it. Using your hands, manipulate the soil, so its shape no longer constrains the roots.
To free root-bound plants, use a knife or scythe. Next, dig a hole big enough to hold the root mass will. Afterward, the plant should be positioned, the roots covered with soil, and the plant pushed firmly into the ground. Many plants can be killed by the soil covering any part of the stem. Be careful not to do this.
Water your backyard garden
Plants need around an inch and a half of water every week throughout their growth. Providing appropriate water is necessary if there has been no rain. Put your finger approximately two inches down in the soil to determine whether your plants need water. There will be no opportunity for mistakes with this method.
If it feels dry to the touch, it’s usually time to water it. Also, remember that most plants prefer a somewhat dry environment rather than being completely submerged in water. Excess water can induce root rot, which is deadly. You don’t want to drown the soil in water, but you also don’t want to overwater it.
Mulch your backyard garden
It is difficult for weed seeds to germinate in soil coated with organic matter and rocks. Organic particles and pebbles regulate the soil’s moisture and warmth, making weed growth more difficult. For beneficial creatures that dwell in the soil, mulch is a popular food source; as it decomposes, it supplies the same nutrition as compost.
It’s critical to pair the right mulch with the right crop. Fruits, perennial flowers, shrubs, and other large, long-lived plants benefit greatly from adding wood chips to their soil. Straw or leaves are ideal mulches for fragile vegetables, such as peppers and tomatoes.
Balcony gardening
Choose the ideal container for your balcony
When selecting a container for your balcony, the most critical considerations are size, material, and drainage holes. Additionally, the container’s design and the substance it’s composed of should be considered. As a result of their porous construction, ceramic pots are prone to leakage, while plastic or metal containers are impermeable.
Despite this, clay pots are beautiful to look at. Drainage holes should be present in every container you choose. As a result, your plant’s roots will not rot from overwatering on your balcony. If the container has no drainage holes, you’ll need to make some yourself.
Choose the ideal potting mix
Plants need a nutrient-rich, well-drained, lightweight, and well-aerated container potting mix to be healthy and happy. Keep away from heavy and dense 100% garden soil. An acidic or alkaline pH is possible, as can the presence of weed seeds or disease organisms. Your container can be filled with either a soilless or a soil mix. Coarse sand, peat moss, and vermiculite are all included in these combinations.
Vermiculite can retain water and nutrients, which helps keep container combinations moist. The small weight of soilless mixtures makes them an excellent choice for pots that will be carried about. Composted cow dung, vermiculite, and pasteurized soil are all typical components in soil mixtures. Mixtures based on soil tend to hold moisture better than soilless equivalents.
Plant your balcony garden
After completing all necessary preparations, it is the last time to start planting and dispersing seeds. It’s essential to fill your containers to the capacity, but not so much that water pours out of the container. To help the mixture settle, add water to your container. Make sure to plant your seeds according to the package instructions, including instructions on the required depth and spacing between seeds.
In case you missed it: Best Season to Grow Bell Pepper/Capsicum at Home in India: in Pots, Terrace, Apartment Balcony, and Backyards
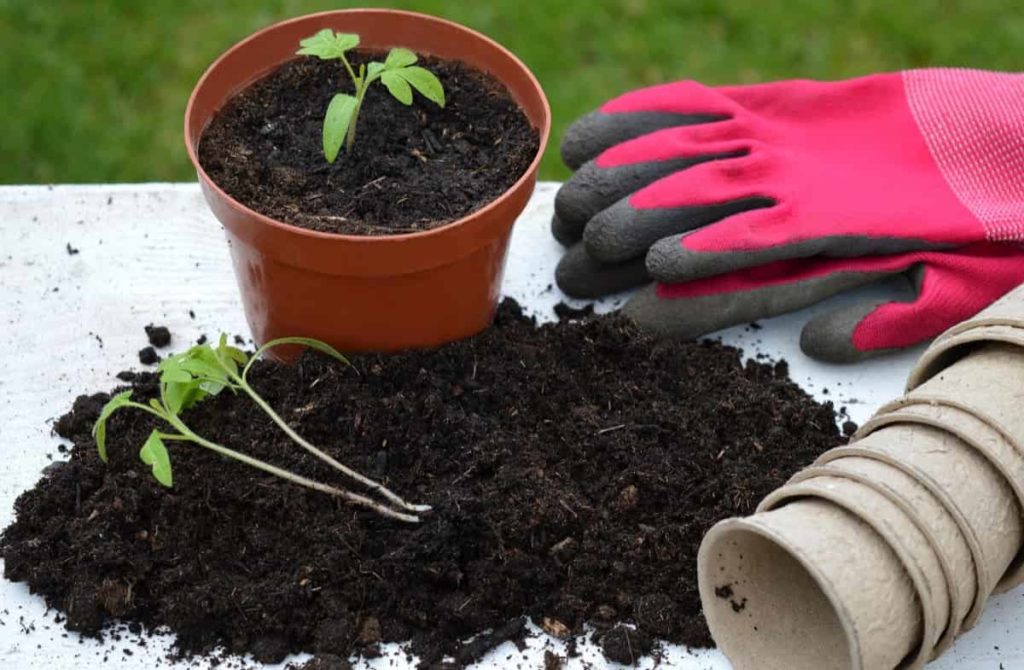
Ideally, the growing medium should extend one or two centimeters below container lip height. This may need some soil manipulation to reach the correct stiffness. For this period, the plant should stay in its pot as usual. Once it’s at the right height, remove it from its container, but be cautious not to damage the roots. There should be a layer of potting soil surrounding the plant, which should be put directly in front of it. Once you’ve given the plant a drink to help it adjust to its new surroundings, you’re done.
Be careful while watering your plants
In containers, the weather is harsher than it is on the ground. Increased watering will be needed as it becomes hotter outside. A water-holding gel can be applied to the container before the soil is put in it. To avoid the additional watering, they can swell up to their full size and release the moisture they need. Hydrogels and other organic compounds designed to hold water require daily or even twice-day watering, depending on the weather.
Feeder roots can be damaged if the soil dries out too much. To generate new feeder roots rather than blossoms or fruit, the plant’s energy is used up when it is ultimately watered, which causes the plant to become undernourished. During the summer, watering too much or too often might completely remove soil nutrients. To test whether or not the soil will stick to your finger or a popsicle stick, you should add water to the mixture.
In addition to lifting the container to determine whether it needs water, you can also check the container’s dry weight after planting. Fill the water tank to the brim. To prevent water from evaporating, mulch should be added to the soil mix. Compost, straw, pine needles, grass clippings, crushed bark, and leaf mould are all suitable mulches; position pots in shady areas throughout the day. A row-covering cloth can shield the plants from the sun while watered.
Fertilize your balcony garden
Fertilizers can be time-release or water-soluble. Plants grown in balcony pots need both to thrive. Slow-release fertilizers should be added to the soil at the time of planting. A 10-10-10, 13-13-13, or 14-14-14 formulation is an example of a complete and balanced formulation. Water-soluble fertilizers are administered for fruit or vegetable production during a growing season.
Adding this additional fertilizer is vital because watering stresses the plant’s roots and depletes the soil of its natural nitrogen. The bulk of potting mixes is poor in storing nutrients. It has been reported that “super bloom,” a kind of fertilizer popular among experienced container vegetable gardeners, has high phosphorus levels and is specifically intended to grow flowers and subsequent fruit development in plants. You should only use these water-soluble fertilizers once every two weeks and at a lesser rate than the label suggests.
Terrace gardening
Begin with waterproofing your terrace
Make sure your building can take the additional weight before planting any plants. It is essential to inspect the waterproofing of your patio regularly. To prevent more leaks, reapplying the waterproofing is the best option. Create a lawn out of soil or plant seeds in clay pots for your terrace garden. The terrace must be properly waterproofed to prevent water from seeping into the house. The terrace slab has to be coated with a waterproofing material. An insulating layer must shield the waterproofing layer.
Take care of drainage
Every plant’s development depends on the availability of water and nutrients. For the soil to breathe, it must be permeable. This soil is too wet for plants to flourish. A drainage layer is required to prevent water from accumulating on the terrace. Above the insulation must be a drainage layer to remove excess water. Drainage mats are often used as a drainage layer. Drainage must be separated from soil using geotextile filters.
Without these events, rushing water would have swept away debris and plant residues that would otherwise have blocked sewers. As a result, the soil and any other planting media will not move about. After putting the plant soil, it should be placed in the filter layer. If you don’t have modern materials, utilize perforated pipes to drain terrace water into burning coal and sand. A conventional terrace garden in pots requires no additional work on your part.
Drainage holes in pots should be left open to let water escape. A water supply is essential for your terrace garden. If the water supply is distant from your terrace, it will be more difficult to water your plants. Knowing the average wind speed on your terrace is essential since terraces have higher average wind speeds than the ground. A trellis for your terrace can be necessary if the year-round average wind speed is high enough. Using windbreaks in vertical gardens can also help minimize the wind’s severity.
In case you missed it: Best Season to Grow Cucumber at Home in India: In Pots, Terrace, Apartment Balcony, and Backyards
Choose the right plants for your terrace garden
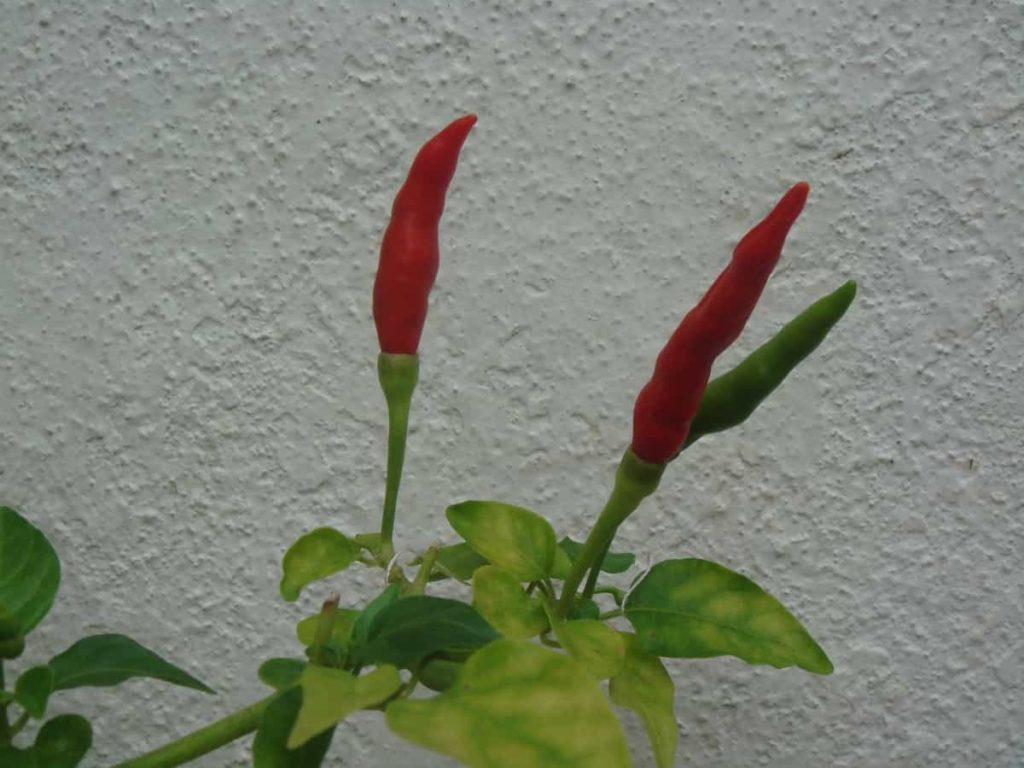
Drought-resistant plants should be used in urban rooftop gardens. Most terrace gardens are subjected to sweltering temperatures throughout the day. The environment and quantity of sunlight at your location are some factors to consider. Roofs can create one-degree warmer microclimates than those found in a garden planted on the ground because of their ability to retain heat.
A garden in a container cannot be expected to endure the cold better than a garden planted in the ground. Thus, you will need plants capable of withstanding the heat. There is currently no list of plants that have been shown to withstand the terrace elements. Many time and work may be required to choose the ideal plants for your home. Most plants can be grown on terraces, save for extremely tall trees.
Overwintering plants that wouldn’t be able to survive at ground level can do so in terrace microclimates. As an additional option, if you have the space and are willing, you can overwinter delicate plants inside your house. Even though they need more frequent watering due to their shorter lifespans, annuals thrive in bright, warm conditions.
Select the perfect raised beds and containers
Pots and containers are essential for terrace gardening. Concrete or clay pots can be used as desired. Raised beds are an option for your terrace garden if you prefer them over the more common ground-level beds. Raised beds are much more practical for growing than containers. Because of this, they are ideal for growing vegetables in Kerela. Using trellises for plant support is an option if you wish to grow your plants vertically. Hanging little blooming plants from the terrace creates a striking terrace garden design.
Prepare soil for your terrace garden
There is a substantial correlation between plant health and soil quality. To develop healthy plants, the soil must be properly prepared and fed. A potting mix should be formed by blending soil and organic compost. Soil too compacted or light is not ideal for a terrace garden. Soil consistency and water retention are essential for plant growth. To keep your garden soil healthy, use organic compost regularly. The soil nutrients on your terrace garden risk being washed away if it rains a lot.
You’ll need to feed them to get the most out of them. In addition, chemical fertilizers can damage soil microbes and infiltrate your system. Coco peat, composted organic matter, and red sand are all needed to make the best potting soil. Before putting your potting mix into pots, let it at least a week to settle. The consistency of the texture of your potting soil is very important. Fertilizer can be applied to your soil regularly to maintain its health. As a consequence, your greens will stay in tip-top condition.
Water your terrace garden
Regular watering is an essential aspect of plant care. In the summer, plants need twice-weekly watering; however, soil moisture levels must be monitored in the winter before watering can begin. You can feel how moist it is when you push down the soil. When it’s raining, don’t water your plants. Self-watering plant containers are great for terrace gardening. It’s a novel approach to vegetable gardening. Overflow holes, not drainage holes, are included in these containers to facilitate the removal of any excess liquid.
In case you missed it: Tomato Growing Tips, Ideas, Secrets, and Techniques
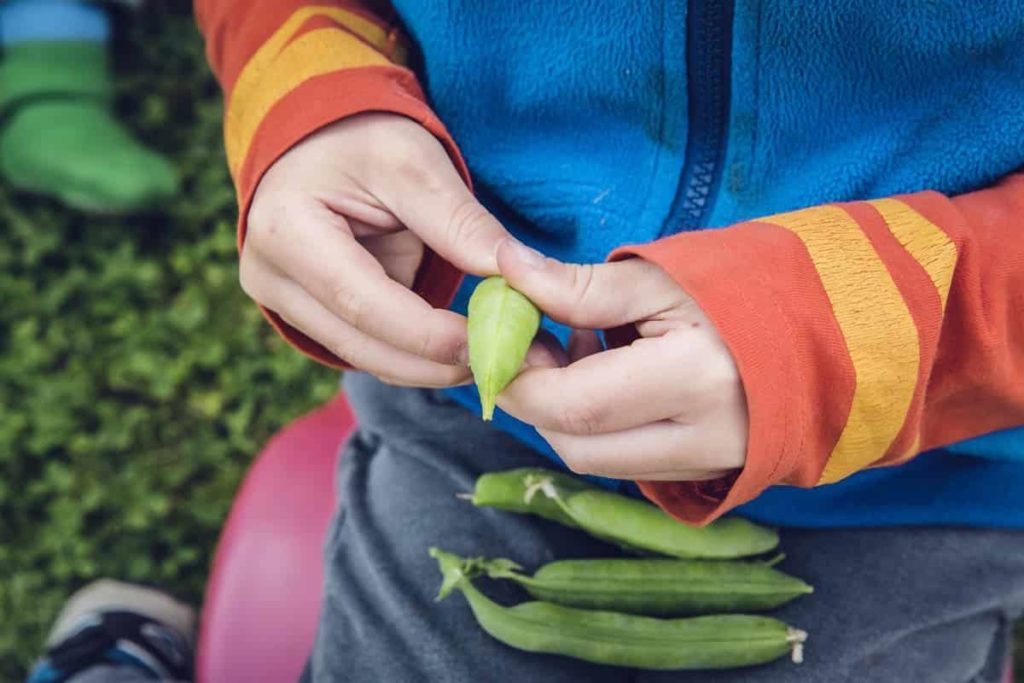
An overflow hole collects any excess water, which can subsequently be retrieved. Because it is possible to recycle this water, no nutrients or water are wasted. With its high platform, it looks down on the perforated tank below. During the upward development of the plant’s roots, it will travel through this soil medium. When compared to flood watering, drip watering was expected to save up to 80% of that amount. You can drip-water your plants using a bottle and a wick.
Drip watering needs a lot of planning and preparation. Drip watering systems are best suited for plants with specific watering requirements, light and heat exposure, and soil. A system of drip tubes was set up throughout the garden to ensure that the plants received enough moisture. Micro-sprinkler heads, porous pipes, or regularly spaced emitters can be employed to meet the garden’s watering needs. A feature that drip watering systems have is the ability to be automated.
Protect your terrace garden
Invasive pests will eat your plants, no matter how carefully you fight them. However, plants can be protected against pests using natural insecticides. Baking soda, neem oil, and soapy water can be used to make natural pesticides. Keep your plants pest-free by using this lovely combo every day.
Mulching is a great way to guarantee that your plants receive the water and nutrients they need. Additionally, mulch helps keep the soil wet for a more extended amount of time. Hay, wood chips, or fruit peels may all be used to make mulch. Insects and animals aren’t the only things posing harm to your plant. Birds and UV radiation can be a problem when the plant produces vegetables. It is possible to protect your plants using garden netting and wire mesh.
Wind barriers can protect your plants from heavy winds. Protective wind barriers can help your plants cope with wind damage. Verify the direction of the wind before installing any wind barriers. There are several ways to build wind barriers, including trellises, hedges, and fences. The first step is to build a wind barrier, but you must also ensure that your plants have enough room to breathe. Building a wind barrier doesn’t need a large investment; all you need is a helping hand. Trellises best provide wind protection.
Best vegetables for Kerela home gardens
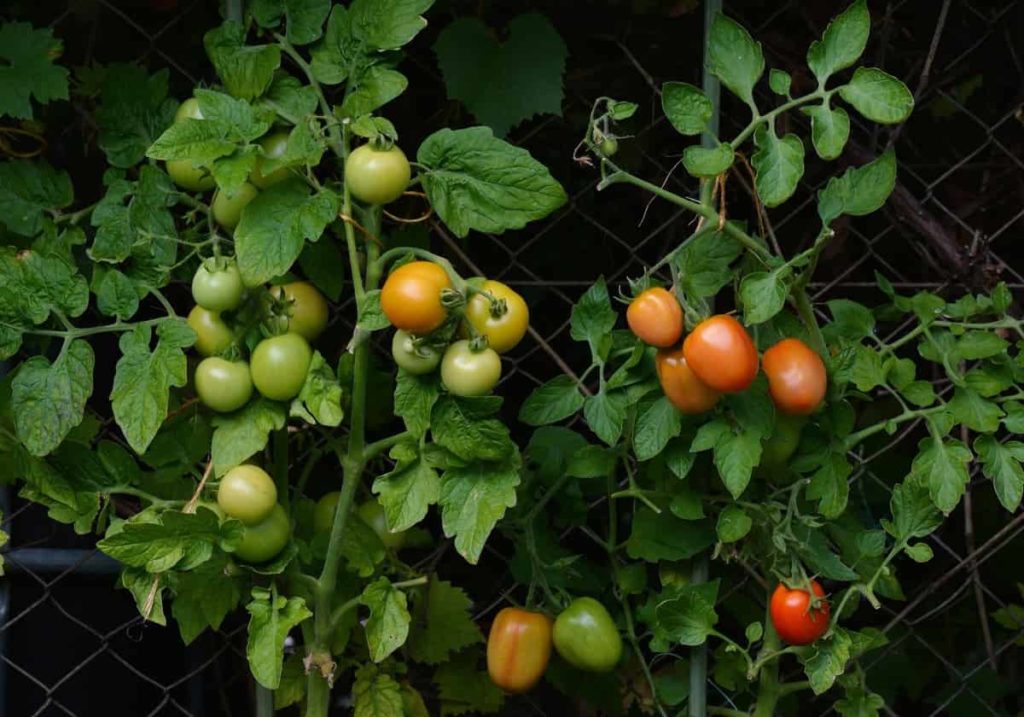
Tomatoes, carrots, radishes, lettuce, beans, potatoes, eggplants, chilies, okra, cucumber, onion, spinach, gourd, ivy gourd, peas, bottle, and bitter gourd are among many vegetables that can be grown in Kerela home gardens.
Best fruits for Kerela home gardens
Guava, custard apple, pomegranate, papaya, mango, mulberry, banana, pineapples, Indian gooseberry, sapota, and figs are among the many fruits grown in Kerela home gardens.
Best flowers for Kerela home gardens
Jasmines, chrysanthemums, roses, hibiscus, lilies, daisies, dahlias, marigolds, and gerberas are among the many flowers that can be grown in Kerela home gardens.
In case you missed it: Growing Vegetables In Kerala, Planting Calendar
Best herbs for Kerela home gardens
Fennel, chives, basil, mint, cilantro, coriander, and oregano are among the many herbs that can be grown in Kerela home gardens.
Conclusion
As was said before, the most effective method for growing vegetables inside one’s own home is to engage in home gardening. It is advantageous in a variety of different ways. You can achieve significant financial savings if you grow your veggies at home instead of purchasing them. If you create an excellent home garden by following the instructions, it doesn’t matter if the garden is in the backyard, on a balcony, or on a terrace.
- Flower Garden Designs and Layouts for Beginners
- Planting and Spacing Techniques in Papaya: A Beginner’s Guide
- Growing Gold: Essential Techniques for Planting Pineapples
- How to Make Kalanchoe Plant Bushy: Home Remedies and Solutions
- 11 Reasons Why Your Gardenia is Not Blooming: Home Remedies and Solutions
- Eco Elegance: The Guide to Designing a Drought-Tolerant Landscape
- Gardening on a Slope: Strategies for Hillside Landscaping
- Nourish and Flourish: Top Organic Mulches for Thriving House Plants
- Everything You Want to Know about Indian Mogra Flower: Discover Uses and Growing
- Green Thumb Success: Expert Tips for Cultivating Greenhouse Pumpkins All Year Round
- Maximize Growth & Flavor: The Ultimate Guide to Companion Planting in Herb Gardens
- How to Control Rhododendron Problems Naturally: Home Remedies and Organic Ways to Fix Them
- Natural Magic: The Remarkable Benefits of Cinnamon for Plants
- Best Steps to Revive Dying Tulip with Natural and Organic Treatment
- 10 Reasons Why Your Angel Trumpet is Not Blooming: Remedies and Treatment
- How to Fix Periwinkle Leaf and Flower-Related Problems: Natural Remedies and Solutions
- How to Fix Zinnias Leaf and Flower Problems: Discover Natural and Home Remedies
- Organic Steps to Induce Lemon Tree Flowers: A Comprehensive Guide
- Bloom Booster: Crafting the Perfect Homemade Bougainvillea Fertilizer
- Optimizing Growth: A Guide to Applying NPK Fertilizer for Potted Plants
- 10 Best Homemade Fertilizers for Rubber Plant: DIY Recipes and Application Method
- How to Boost Female Pumpkin Flowers: Effective Steps for More Flowers and High Yields
- Transform Your Indoor Garden: Top Benefits of Pink Salt for Houseplants
- 10 Best Homemade Fertilizers for Peacock Plants (Calathea): Easy DIY Guide
- Unlock Blooms: 9 Reasons Why Your Potted Chrysanthemum is Not Blooming
- 8 Reasons Why Your Potted Hibiscus is Not Blooming: Fix it with Simple Solutions
- Unlock Blooms: 9 Key Reasons Your Potted Frangipani Won’t Flower
- 10 Reasons Why Is My Ice Plant Not Blooming: Remedies and Treatment
- 10 Reasons Why My Potted Hydrangea Not Blooming: Treatment and Remedies
- 10 Reasons Why is My Wisteria Not Blooming: Remedies and Treatment
- 10 Reasons Why is My Goldfish Plant Not Blooming: Remedies and Treatment
- Maximize Your Space: Ultimate Guide to Balcony Gardening with Grow Bags
- 10 Reasons Why Your Iris is Not Blooming: Remedies and Treatment
- 10 Reasons Why Your Anthurium Plant is Not Blooming: Treatment and Remedies
- 10 Reasons Why Your Aquaponic Plants Are Not Flowering: Remedies and Treatment
- 10 Reasons Why Your Agapanthus is Not Flowering: Remedies and Treatment