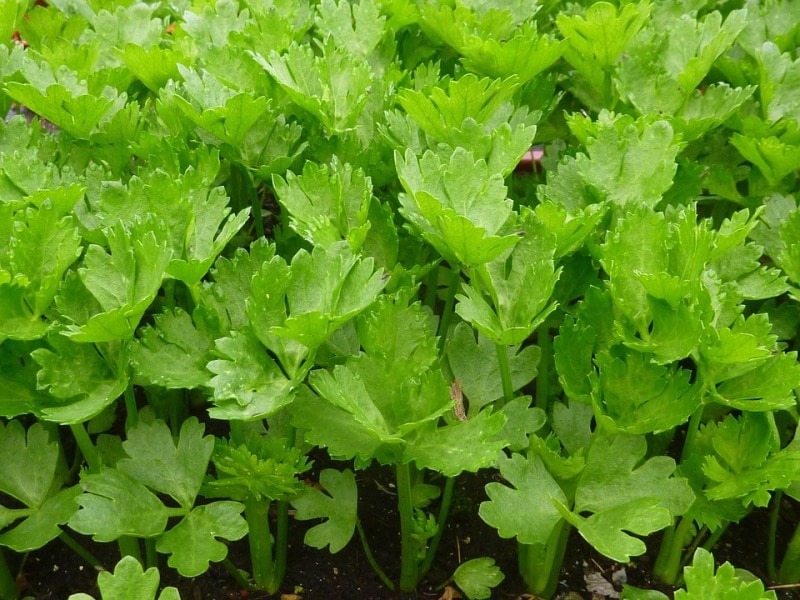
Organic Celery Gardening in Containers
Today, we discuss the topic of container organic celery gardening at your home. What is Organic Celery? Celery is a common household staple valued for its crunchy texture and distinctive somewhat sweet flavor. Organic Celery contains an abundance of vitamins and other nutrients, but is mainly rich in vitamin K. Organic Celery is 100% natural and it is organic.
Growing organic celery at home can be a challenge, but knowing that your product wasn’t sprayed with chemical pesticides. The fresh flavor is far superior to anything you can purchase at the grocery store. Give it plenty of water content and warm conditions and you’ll have a bumper crop come fall.
Celery has a reputation as one of the mainly daunting vegetables to grow. However, once you understand what type of conditions celery likes, it’s an enjoyable crop to grow in the backyard garden. Now, let us get into details of container organic celery gardening
Preparing the garden soil for Organic Celery Gardening:

Soil requirement for growing Celery is discussed below;
Celery is a heavy feeder, so work in some compost or organic fertilizer before planting the Celery transplants. Celery likes high-nitrogen soil, so a chicken manure fertilizer would work well.
Choose a gardening place that gets plenty of direct sunlight; make sure the celery gets afternoon shade or light shade all day. Celery prefers a fairly cool and moist soil, so plant it somewhere simple to water and mulch the soil as needed when temperatures rise.
Sunlight requirement for plant growth:
Patience is a key point when it comes to starting Celery from seed. Make sure Celery seeds aren’t covered by soil but set on the top of it. The Celery seeds require full sun to germinate. Germination could take from 14 to 21 days. Celery requires 5 to 7 hours of sun each day. Any less and it won’t be capable to take in the energy it needs.
Celery seed germination in Organic Celery Gardening:
Celery needs a long growing season, between 130 and 140 days for several varieties. The Celery seeds need to be started indoors, 10 to 12 weeks before your final frost date.
For excellent germination results, use organic seed and soak it overnight before planting. Begin in shallow trays of seed-starting mix and press the seeds into the surface of the soil, rather than covering them. How to save Celery seed? Celery is a biennial plant so it won’t place seed until the second year in the garden. To save celery seed, overwinter some stalks and let them grow out the next summer until they start flowering. Once the flowers die you will see the seeds begin to form. When the celery flowers are brown and dry and start to fall off the plant shake them into a bag to collect the seed. You can keep Celery seed in a sealed container in a cool place for up to 5 years. Utilize the seed to plant more Celery, or as a spice.
Read: How to Build a Greenhouse at Your Home.
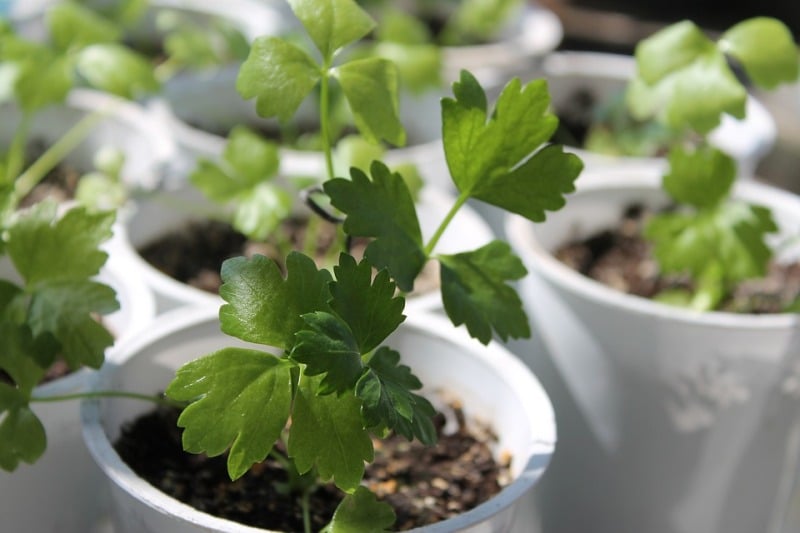
Maintain the seeds moist as they germinate this can be aided by putting a loose plastic bag over the tray. Once have celery seedlings, transplant them into small peat pots or trays with several inches of potting mix, keeping about two inches of space between plants. Continue to develop indoors under grow lights until it is time to transplant the seedlings to their final destination in the garden. Keep the soil moist but never waterlogged celery likes to have its feet wet at all times and the seedling period is no exception.
Blanching Styles:
- Mound soil approximately 4 inches up against the developing plant to hide it from the sun.
- To maintain dirt out of your Celery, blanch by tying the tops of the Celery leaves with twine. This remains the stalks close together, hiding the center from the sun, but not close enough to cause mold.
Transplanting Celery seedlings
Be careful not to transplant Celery too early, as a drop in temperature can kill off the plants. Wait for a consistent temperature of 55°F before planting out, and confirm to harden off your transplants for a few days before you plant them. Space plants 8 inches apart.
Care for Celery in a Container:
- Celery is a water hog, so be sure to maintain the growing celery in a container moist at all times.
- Use an organic fertilizer (fish emulsion or seaweed extract) every 2 weeks.
- Once the Celery seedlings have established, there is little to do but wait for those crunchy, zero calorie stalks to mature.
Growing Celery in a container:

How to grow Celery in a container? Celery can be a challenging vegetable to grow in the ground or in a container. Choose a container which is at least eight inches deep and large enough to space the celery plants 10 inches apart. Don’t use an unglazed clay pot since it will dry out too quickly. Plastic containers are a great option in this instance, as they maintain moist conditions. Confirm there are drainage holes in the bottom. Fill the container with half soilless planting mix, half compost and a small quantity of hard organic fertilizer. Mix well and water quantity with a weak solution of fish and seaweed emulsion, Let settle for an hour. If necessary, top off with a more moistened soil mix to leave two inches of headroom for mulch. You can plant Celery in a container in the early spring or in the late summer if the area has mild winters. Place the container outdoors, in a spot that receives full sun requirement.
Follow these below things whenever you grow Celery in containers;
- Fill the eight-inch container about halfway with the container soil mix. Add a trowelful of compost to the container soil, and combine together.
- Locate the Celery seedling in the center of the container, on top of the soil mix. Add more container soil around the seedling’s root ball, to about one inch below the top of the container. Don’t cover the outer stalks of the Celery with the soil, and don’t bury the roots too deeply.
- Pour about one tablespoon of compost tea into the watering can. Load the can with water. Water the celery to help it obtain established in the container.
- Water the container regularly. Don’t let the soil dry out. Celery needs a good quantity of water or else its quality will suffer. Underwater celery plants have stringy, pithy stalks. You can add a one-inch layer of mulch on top of the container soil to help retain moisture.
- Mulch deeply around Celery plants with organic compost. This helps maintain the soil cool, prevents moisture loss and creates a stable, long-lasting soil for your garden.
- Put in a handful of compost to the container soil once a month, up until the third month. Add a spoonful of compost tea to the watering can every week to maintain the plant well fed.
- Wrap a piece of cardboard around the Celery stalks and tie it in place with twine a week or 2 before harvest, if you want to blanch the celery. Blanching Celery gives it a milder flavor, but reduces the nutrient content of the stalks.
- Cut the entire Celery head on the harvest or cut the stalks separately. Cut the head from right below the soil line when the plant is bigger than about 3 inches. If you desire individual stalks, then cut stems from the outside of the plant.
Organic Fertilizers for Celery
The main role of Organic fertilizers for growing Celery;
- The nutrient supply is more balanced, which helps to maintain plants healthy.
- They improve soil biological activity, which improves nutrient mobilization from organic and chemical sources and decomposition of toxic substances.
- They enhance the colonization of mycorrhizae, which improves Phosphorous supply.
- They increase root growth due to better soil structure.
- They increase the organic matter content of the soil, then improving the exchange capacity of nutrients, rising soil water retention, promoting soil aggregates and buffering the soil against acidity, soil alkalinity, salinity, pesticides, and toxic heavy metals.
- They release nutrients slowly and contribute to the residual pool of organic Nitrogen (N) and Phosphorous (P) in the soil, reducing N leaching loss and P fixation; they can supply micronutrients.
- They supply food and encourage the growth of useful microorganisms and earthworms.
- They help to suppress certain plant pests and diseases, soil borne diseases and parasites.
Read: How to Make Liquid Organic Fertilizers at Home.
Insect and disease problems in Celery
If the foliage on Celery curls puckers and turns yellow, check for aphids. Yellow leaves may be a sign of Fusarium wilt. Infected plants show one-sided growth and the vascular strands become reddish brown color from the roots to the leaves. Check for garden slugs if notice large ragged holes in the leaves or stems.
Organic Insecticide and Organic Pesticides
For controlling pest and diseases in the organic way we will use organic insecticides and organic pesticides.
Some gardeners use a homemade insecticide, like salt spray, mineral oil, or garlic spray. These natural insecticides fight off pests without harming you or the plant. Just remember to reapply these natural garden pesticides frequently, particularly in rainy climates.
Encourage helpful insects to take up residence in the garden. Release lady beetles, spined soldier beetles, lacewings, praying mantis, or Trichogramma wasps to help control pest insects. Grow plants that will give nectar and pollen for beneficial insects; several beneficial insects are attracted to the herbs dill, caraway, fennel, spearmint, and lemon balm.
Bacteria, fungi, or virus infectious microorganisms can be used to injure or kill garden insect pests. The most normally used microbial insecticides are Bacillus thuringiensis (Bt) a species of bacteria that produces a toxin poisonous to several common insect pests. Make sure with a local nursery or garden center for microbial insecticides.
Most insect pests can be controlled with moderately nontoxic sprays. A forceful spray of water from the garden hose is one of the easiest methods to dislodge pests. Mineral oil, vegetable oils and proprietary oils, such as those prepared with cottonseed oil, will suffocate soft-bodied pests. Natural vegetable based soaps or detergents are added to sprays in little amounts to make them stick to plants. Several insects dislike and are harmed by soap also.
How to harvest and store your Celery
You can cut celery stalks individually from the outside of the plant as it grows or harvests the whole head at once. If you cut the stalks about 1 to 2 inches above the soil level and keep the stump watered. Water the celery copiously and consistently after that, feed it liquid seaweed, fish meal, or worm casts fertilizer every 2 to 4 weeks. Stay an eye on the mulch, and be sure to replenish it whenever it appears necessary.
Keep Celery in a perforated plastic bag in the fridge and use as soon as possible for best flavor and vitamin content. You can freeze or dry celery pieces for use in soups and stews later, as well. Harvest Celery once it’s reached a little more than a foot in height.
Storage of Celery
How to store Celery? Store Celery in cold and moist, 32°-40°F as cold as possible without freezing and 95 percent relative humidity. Cold and moist storage of Celery is a challenge. Usage of the refrigerator is cold but the air is dry. Wrap Celery in a moist cloth or paper towel and put it in a perforated plastic bag in the vegetable crisper section. Celery with the leaves attached will stay in the refrigerator for a few days, without the leaves up to two weeks.
That’s all folks about Organic Celery Gardening.
Read: Guinea Grass Farming.
Thanks for sharing great knowledge