Introduction to potato seed germination process: Potatoes are very easy to care for and produce a large yield. Potato plants are grown from small tubers or seed potatoes generally emerge within 3 to 4 weeks when you use certified seed potatoes. And give them proper growing conditions and keep them free from disease. Potato tubers germinating before planting them helps increase the growth of young plants, bring the harvest a few days or weeks earlier, and increase the plant harvest. This method doesn’t apply to pre-germinated potatoes purchased in horticulture stores, which are ready-plant potatoes. In this article we also discussed below topics;
- Time to take potatoes to sprout
- Potato seed germination temperature
- Process of growing potatoes
- Do potatoes need to sprout before planting
- Process of growing potatoes from seed potatoes
- How many potatoes do you obtain per plant
- Potato seed germination time
What are we waiting for? Let’s us get into the details of seed germination process of potato.
A guide to potato seed germination process

Soil conditions for growing potato
- Requires acid soil
- Requires well-drained soil
Potato plants prefer well-drained, light, deep, loose soil, high in organic matter. Unlike most vegetables, potatoes perform best in acid soil with a pH level of 4.8 – 5.5. (Scab is less of a problem at low pH. If pH level is more than 6.0, use scab-resistant varieties.). The plant needs plentiful, consistent moisture.
Seed potatoes need well-drained soil that has reached a temperature of at least 40°F. Cold, soggy soil is not appropriate for seed potatoes, as the pieces will rot. If your garden has poorly drained soil such as heavy clay, consider sowing the seed potatoes in raised beds to improve the drainage system and prevent rotting. You can improve soil conditions by adding organic matter to the soil before planting, such as compost, rotted leaves, and manure, to aid in tuber growth.
You should not miss the Squash Plant Diseases, Pests, Control Methods.
The growth cycle of potato
The growth cycle of the potato can be divided into five stages. They are;
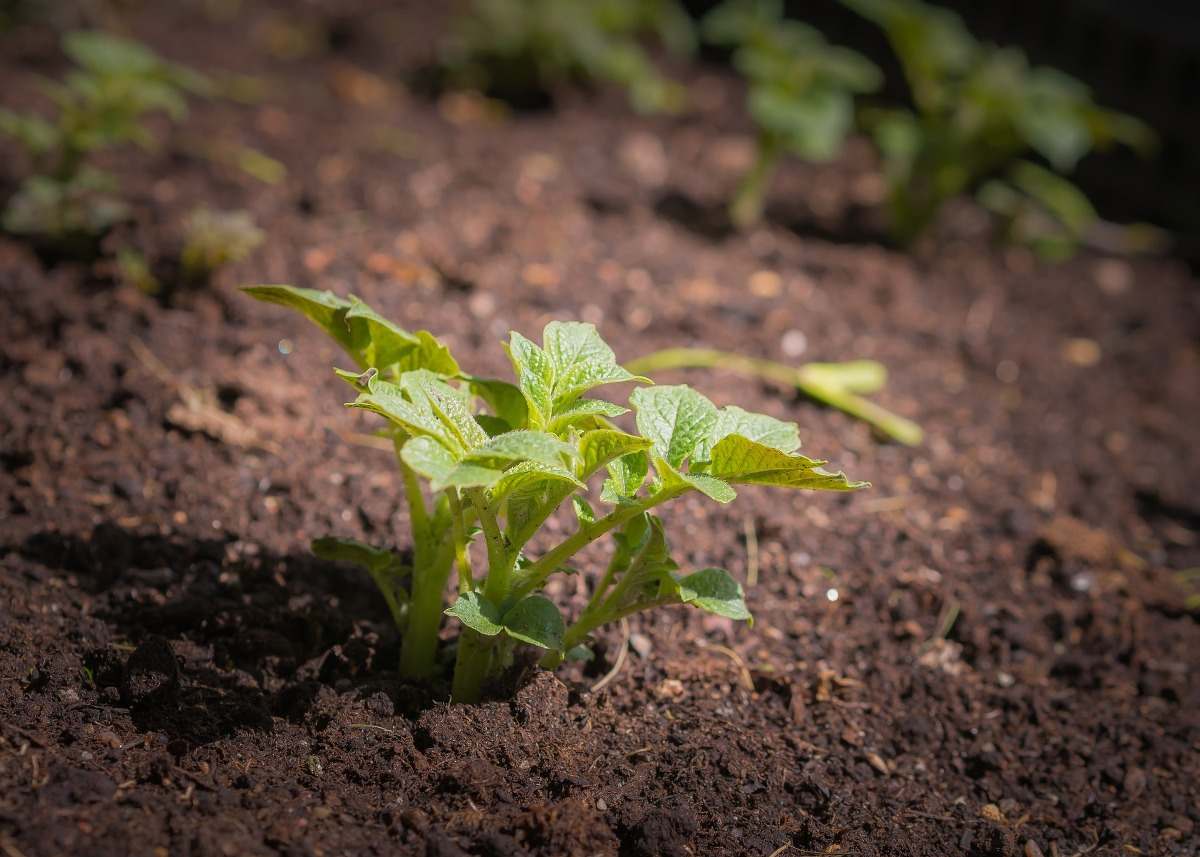
Sprout development – During this stage, the eyes from the potato piece develop sprouts that emerge from the ground. These sprouts become the visible, above-ground portion of the plant, the stems, and leaves. The piece of potato is the source of nutrition for the plant. The temperature range of the soil will affect how long this stage takes and sprouting will not happen if the soil temperatures are too close to freezing.
Vegetative growth – This vegetative stage of the potato’s growth cycle is when the visible portion of the plant emerges and develops. The plant leaves, stem, and root system of the plant grow and photosynthesis begins, providing nourishment for the growing plant. During this stage, warmer temperatures of 77°F or more and long days of 14 to 18 hours of sunlight are preferred. The sprouting and the vegetative states in potato combined can last from 30 to 70 days. The leaves, stems, and root system form, photosynthesis begins, and the potato plant prepares to store nutrients in tubers.
Tuber initiation – Tubers begin forming on the end of stolons or underground stems, usually before the plant flowers.
Tuber bulking – In this stage the tubers enlarge. Sugars and starches accumulate. The tuber cells expand and produce signs in the next stage. There is a buildup of carbohydrates, water, and nutrients in the tubers. This bulking stage lasts the longest, taking up to 3 months to complete, depending on the growing conditions of the potato plant. During this stage, the plant prefers cooler temperatures and shorter days.
Maturation – The tubers reach full size and the top of the plant dries out and dies. During the maturation stage, the tuber skin toughens, extending storage life. The photosynthesis process now begins to slow down, leading to yellowing vines and fallen leaves. As the tubers continue to bulk up during this period, the visible portion of the plant will slowly die. Though, if the potato variety has a longer life cycle than the growing season, the maturation stage may not fully finish before plant harvest needs to take place. As the plant progress through this stage, the skin of the potato toughens up, making it more storage-friendly.
Cutting potatoes before planting
A week or two before your planting date set your seed potatoes in an area where they will be exposed to light and temperatures between 60-70°F. This will begin the sprouting method. A day or two before planting, use a sharp knife to slice the larger seed potatoes into smaller pieces. Each piece must be approximately 2 inches square and must contain at least 1 or 2 eyes or buds. Then plant smaller potatoes whole. And a good rule of thumb is to plant potatoes whole if they are smaller in size than a golf ball. In a day or your seed will form a thick callous over the cuts, which will help prevent rotting.
Planting potatoes in the garden
We find that potatoes are best developed in rows. To begin with, dig a trench that is 6 to 8 inches deep. Plant each piece of potato (cut side down, with the eyes pointing up) every 12 to 15 inches, with the rows spaced 3 feet apart. If your space is limited or if you would like to grow baby potatoes, you can decrease the spacing between plants.
Incase if you miss this: Coconut Coir Benefits for Gardening.

To begin with only fill the trench in about 4 inches of soil. Let the plants start to grow and then continue to fill in the trench and even mound the soil around the potato plants as they continue to grow. Before potato planting, always make sure to cultivate the soil one last time. This will remove any weeds and will loosen the soil and allow the potato plants to become established more quickly.
Grow potatoes from seed potatoes
Seed potatoes could be whole potatoes or pieces of whole potatoes. A seed potato should have at least one eye to sprout. An “eye” is a puckered spot where sprouts can be developed.
- Plant certified disease-free seed potatoes and supermarket potatoes have been chemically treated to prevent sprouting.
- About 2 or 3 weeks before planting, set seed potatoes in a bright, 65° to 70°F place to encourage sprouting.
- Cut whole seed potatoes into pieces with a sharp knife 2 days before planting; each piece should have at least two eyes.
- Plant seed potatoes in a hole or trench 4 inches deep and cover with about 2 inches of soil. Plant cut pieces with the cut side down.
- Sow seed potatoes about 12 to 18 inches apart; space rows 24 to 36 inches apart.
- When seedlings or developing sprouts emerge, add the remaining 2 inches of soil to the hole or trench.
- Keep adding light soil as plants grow tall and leave the top two sets of leaves exposed.
- Potatoes also can be planted on top of the ground if they are covered with about 12-inch thick mulch of straw or hay.
Germinate potatoes
This is the correct method to help your potatoes germinate before planting.
- First, use a small crate or an egg carton.
- Then line up the potatoes along the bottom, only a single layer.
- If a bud is already present, turn it so that it faces upwards.
- Expose the potatoes to the light in a dry, cool and well-ventilated place.
- The ideal preservation temperature between 40°F and 50°F (10°C to 15°C).
- Potatoes take about 4 to 6 weeks to germinate.
Using your potato plants for germinating
It is perfectly possible to use the previous year’s potatoes to make germination.
- Pull them out 4 weeks before the potato harvest.
- Select potatoes that are not diseased and come from vigorous plants.
- Let them sit on the ground for a few days.
- Select tubers that have resisted best, with no sign of rotting.
- Store them in a cool and ventilated space until the following year.
- A few weeks after having begun to germinate, when the soil is averaging temperature range of around 55°F (12°C), it is time to plant them to the ground and grow potatoes for a beautiful harvest.
Process for potato germination
Spread seed potatoes in a single layer on a table in a warm, sunny location in early spring. Ideal potato sprouting conditions for temperatures range between 50 and 70°F and high humidity. But potatoes will sprout eventually as long as the temperature always stays above freezing and there is some humidity in the air. And turn the potatoes daily to encourage even sprouting. They must sprout within two to three weeks in a warm location. Plant when the sprouts are an inch long.
Dig a furrow in the garden about 5 inches deep with a hoe after the soil has warmed to 50°F. If seed potatoes are between 1 and 2 inches in diameter, plant them whole with as several sprouts pointing up as possible. Then cut seed potatoes that are larger than about 2 inches in diameter in half with a sharp knife so that there are sprouts on each half, and plant with the sprouts up. Space potato tubers 9 inches apart in rows set about 30 inches apart. Then cover with 2 to 3 inches of soil.
Hill the sprouting plants when they reach about 6 inches tall. Use garden soil and the hoe to form a mound along the row of plants. Repeat in 2 to 3 weeks, depending on conditions. Hilling will help support the potato plants and encourage them to form new potatoes close to the surface.
Timing for potato seed sowing
Six weeks before the date of last frost or desired transplant date sow seed ¼ inches deep in plug trays or maximum 2 inches pots with nutrient-free soil media (pH 5–7). Larger containers take longer to fill with roots and potato plants can start to produce tubers before transplant, which is not desirable. Maintain constant 21°C (70°F) without bottom heat, water so media remains evenly moist, and then provide sufficient light for 12 hour days. Once all seeds have germinated in 10 to 14 days, the plants can be moved to a cooler (above freezing) area and foliar or liquid fertilizer applied. Gradually harden off over 1 week before transplant.
Watering and feeding potatoes
First, keep potatoes evenly moist but not wet; water before the soil dries out. And potato tubers will rot if the soil is too wet. Mulch to protect tubers from the sun, conserve soil moisture, prevent the soil from becoming too warm, keep weeds down, and discourage insects.
You may also like the Propagation of Rose Plants from Cuttings.
Feed potatoes by sprinkling fertilizer 5-10-10 across the planting bed before planting; add this again as a side dressing at midseason. Select a fertilizer that includes calcium and magnesium. Avoid giving potatoes too much nitrogen; too much nitrogen will encourage foliage growth over potato tuber growth. Where the soil is very poor, drench the soil with a cup or more of compost tea shortly after planting. Spray-mist foliage with compost tea every 2 weeks through the season.
Potato plant protection

Pests of potato plants
Colorado potato beetles – Handpick beetles, eggs, and larvae.
Aphids – A hard stream of water can be used to remove aphids from plants and wash off with water occasionally as needed early in the day. Check for evidence of natural enemies such as gray-brown or bloated parasitized aphids and the presence of alligator-like larvae of lady beetles and lacewings.
Flea beetles – Use row covers to help protect potato plants from early damage. Put in place at planting and remove before temperatures get too hot and control weeds.
Leafhoppers – Wash small nymphs off with a hard stream of water.
Diseases pf potato plants
Early blight and late blight – Use certified potato seed. And avoid wetting plant foliage if possible. Water early in the day then aboveground plant parts will dry as quickly as possible. Also, avoid crowding plants. Resistant or moderately resistant varieties contain Allegany, Elba, Rosa, and Sebago.
Scab – Use certified seed and locate new plants in a part of the garden different from the previous year’s location. Lower soil pH level to 5.2 with sulfur. Plant resistant varieties are Chieftan, Norland, Russet Burbank, Russet Rural and Superior.
Viral diseases – Use certified seed then control aphids.
How and when to harvest potatoes
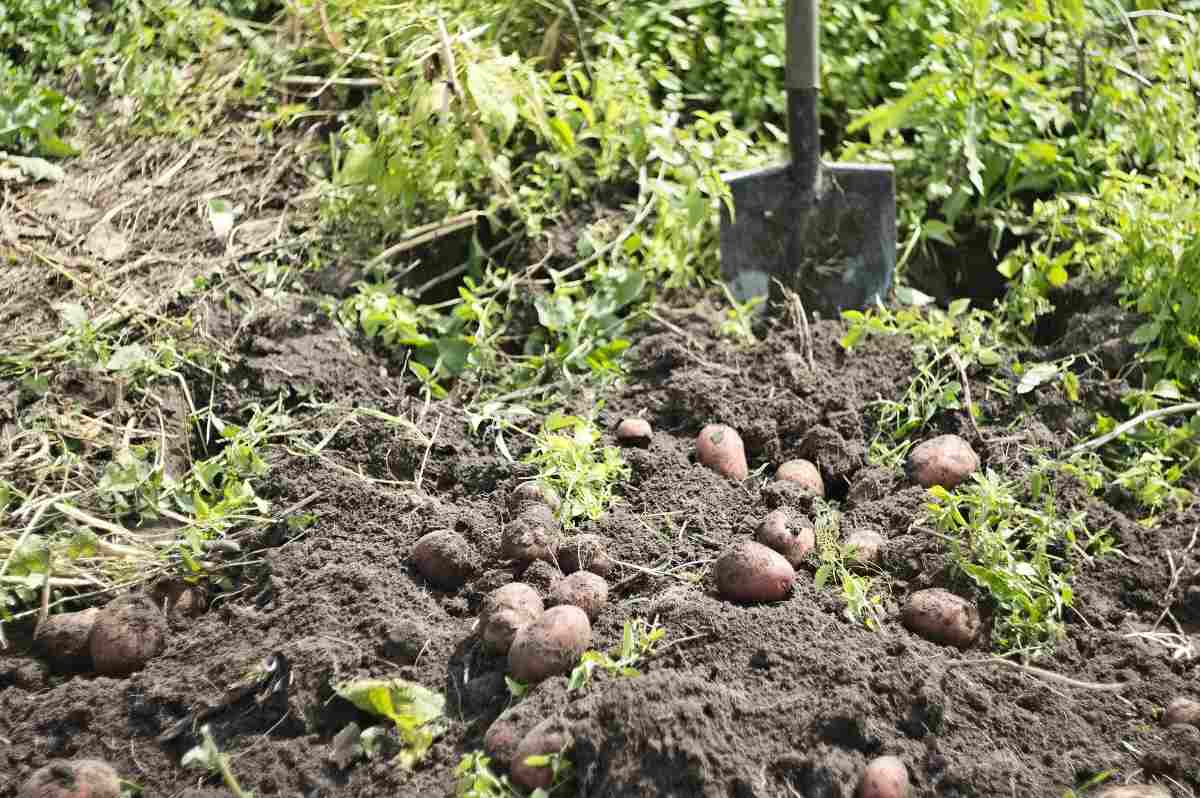
Baby potatoes typically can be harvested 2 to 3 weeks after the plants have finished flowering. Gently dig around the potato plants to remove potatoes for fresh eating, being careful not to be too intrusive. Try to remove the biggest new potatoes and leave the smaller ones in place then they can continue to grow. Only take what you want for immediate eating. Homegrown new potatoes are a luxury and must be used the same day that they are dug.

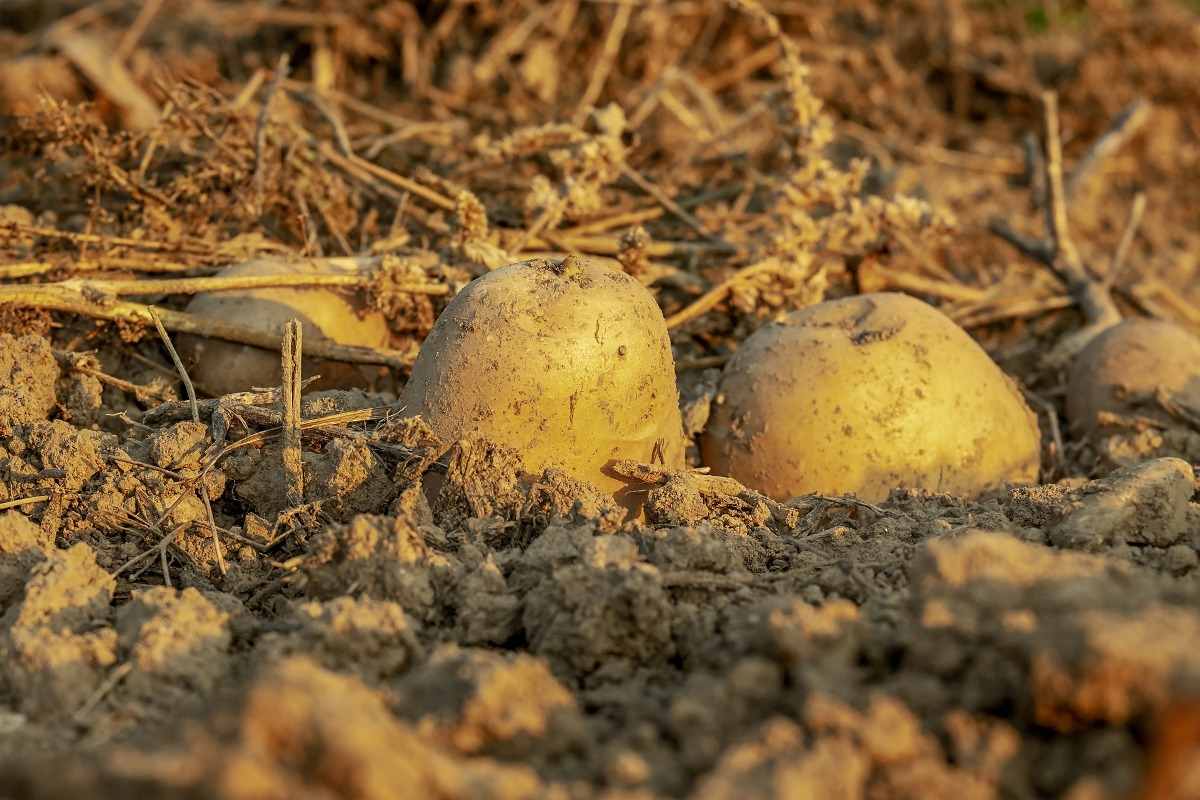
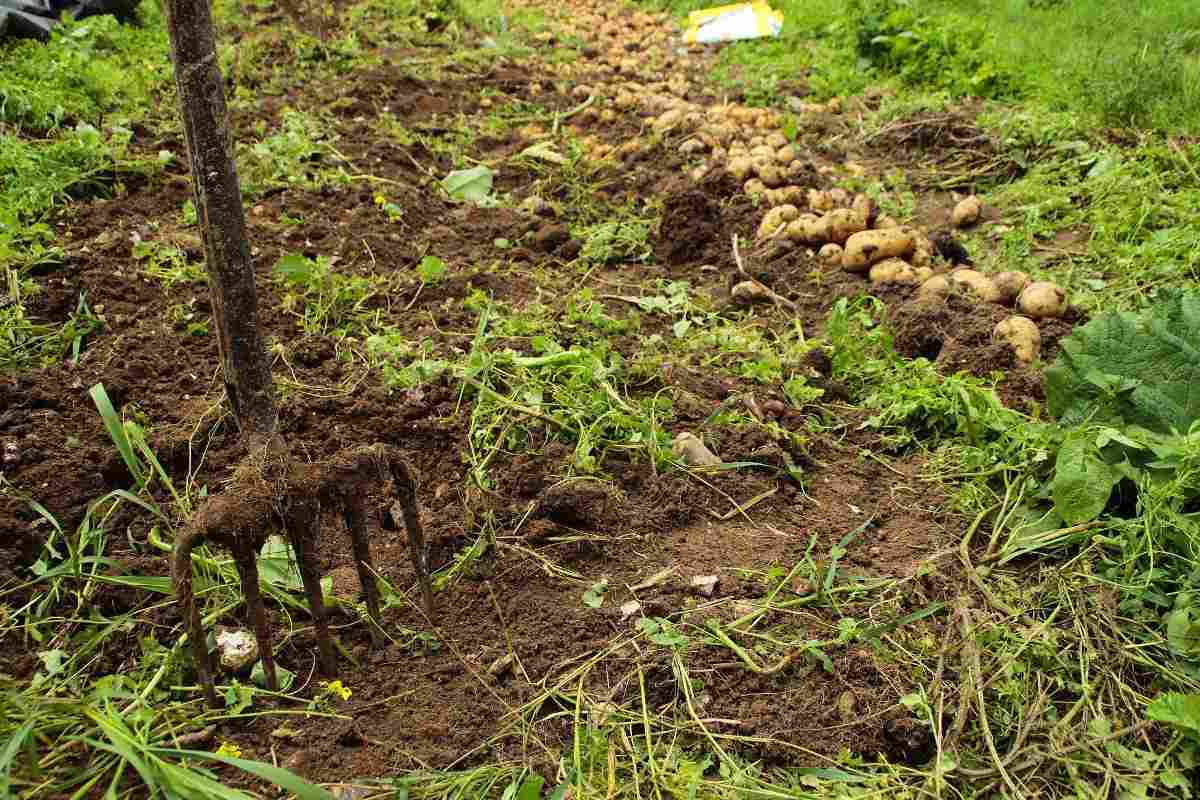
Potatoes that are going to be kept for storage should not be dug until 2 to 3 weeks after the foliage dies back. Carefully dig potatoes with a sturdy fork and if the weather is dry, allow the potatoes to lay in the field, unwashed, for 2 to 3 days. This curing step allows the skins to mature and is necessary for good storage. If the weather during harvest is wet and rainy, allow the potatoes to cure in a dry protected area such as a garage or covered porch. If all conditions are ideal, you may harvest about 5 to 10 potatoes per plant for your gardening efforts. Yields are based on both the care you’re giving your plants during the growing season and the variety of potatoes you select to grow.
That;s all folks about potato seed germination process and potato sowing procedure. Heppy gardening!. You may be interested in Horticulture Cultivation Practices in Summer.