Welcome to our DIY gardening blog! Today, we will talk about how to build a garden wall. Whether you’re looking to add some privacy to your outdoor space, define a boundary, or add visual interest, a garden wall can be a great addition to your yard.
Building a garden wall can seem daunting, but with the right instructions and materials, it’s a project that even a beginner can tackle. In this post, we’ll walk you through the steps for building a garden wall and give tips for keeping costs low and coming up with creative ideas for your design. So grab your tools, and let’s get started.
What is a garden wall, and why is it essential for a garden outlook?
A garden wall is a structure typically made of stone, Brick, or other materials built to enclose or divide a garden or outdoor space. Garden walls can be used for various purposes, including providing privacy, defining garden boundaries, creating separate garden rooms, and adding visual interest to a landscape.
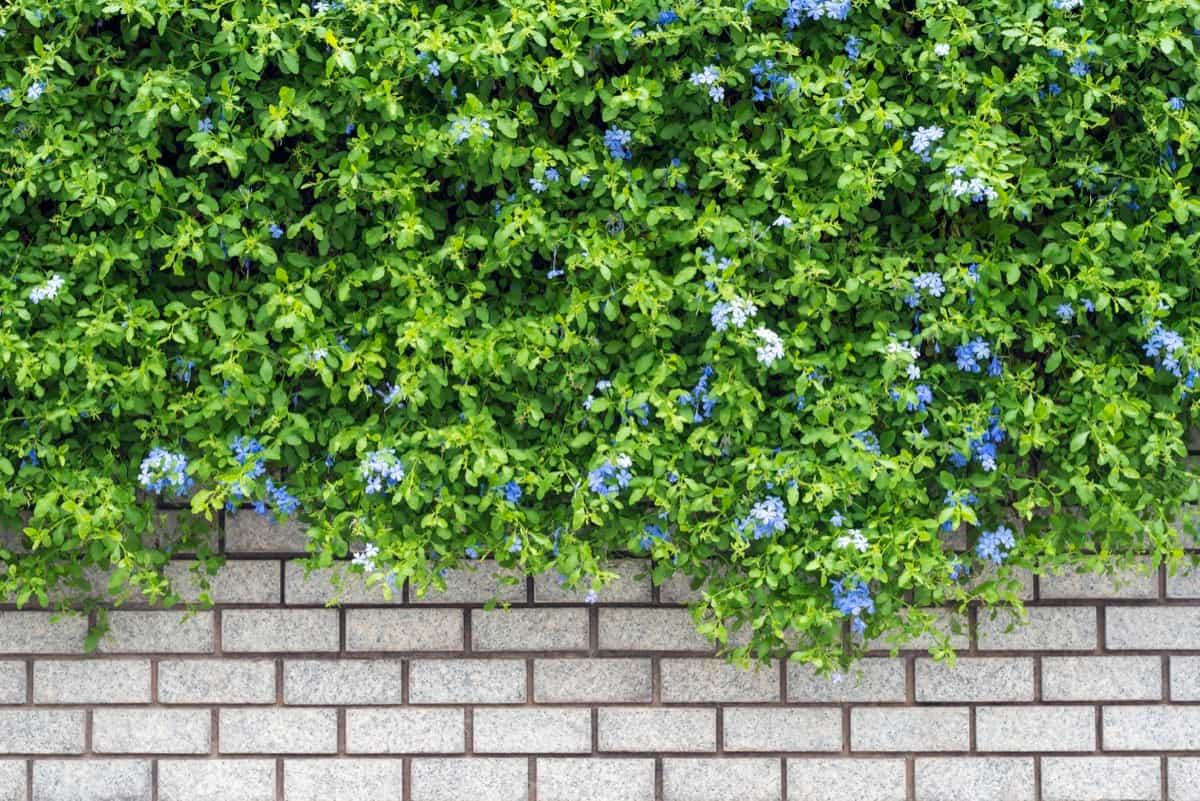
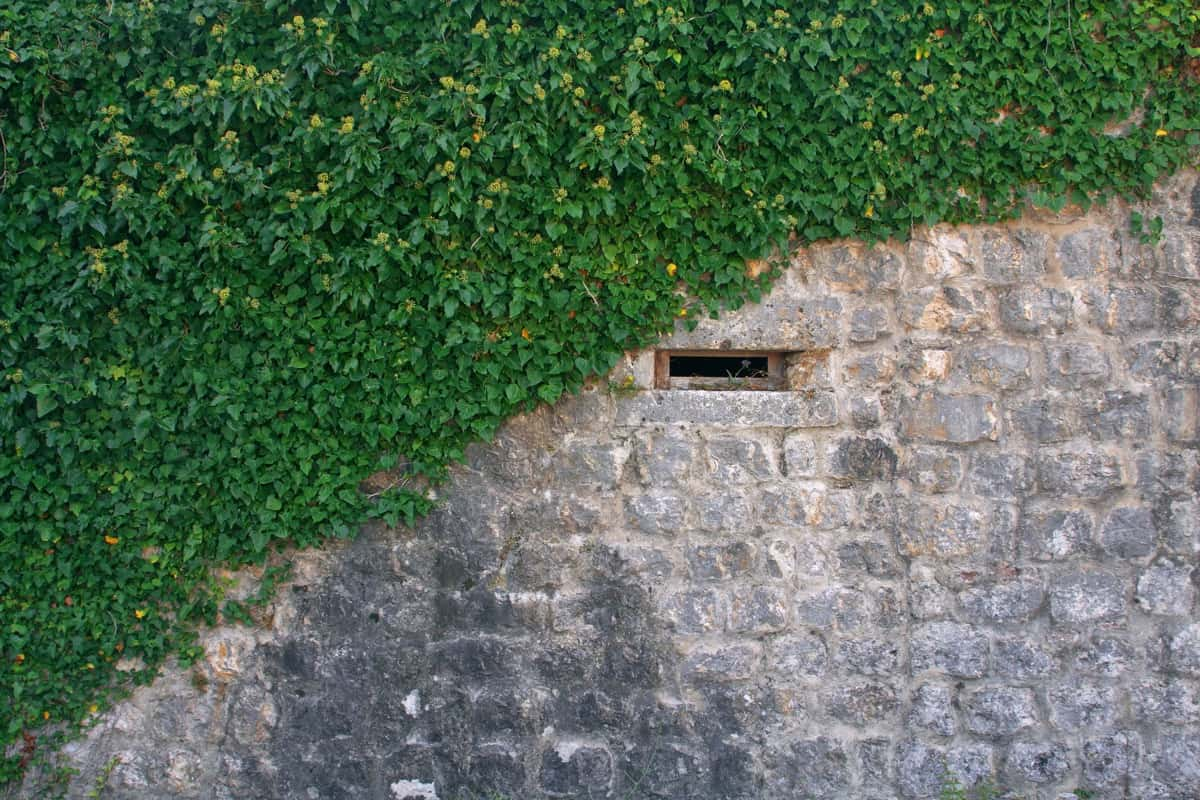
They can also support climbing plants and help control the microclimate in a garden by providing shade or wind protection. Garden walls can be both functional and decorative. They can help to create a sense of cohesiveness and structure in a garden design. A garden wall is a beautiful and functional addition to any outdoor space.
It adds visual interest and aesthetic appeal to your garden and serves practical purposes such as providing privacy, separating different garden areas and even helping to control the microclimate within your garden. Whether you opt for a classic stone wall or a modern, minimalist design, a garden wall feels like your garden, making it a true oasis for you to enjoy. With its versatility and endless design possibilities, a garden wall is essential in creating the perfect garden retreat.
How to build a garden wall: A step-by-step guide
Materials needed
| Tape measure | String and line pins |
| Thin pieces of timber | Spirit level |
| Pencil | Brick trowel |
| Club hammer | Brick jointer |
| Bolster chisel | Gloves |
| Mortar and mixing tools | Safety goggles |
In case you missed it: How to Start a Container Garden from Scratch: Creating Ideas, DIY, Tips, and Techniques
- Lay a strong foundation for your bricks and determine how many horizontal rows of bricks you want; you can then use this as a guide to ensure your wall is straight as you build it.
- Make a Guide: Place another short piece of lumber at the foundation’s edge where you want to build the wall. It will also serve as a guide to keep everything straight.
- Start Brick Laying: Make a mortar bed on top of the foundation, then start laying bricks at one end. Apply a small mortar to the end of the second Brick, then use the timber to press it close to the first.
- Examine the Level: Continue placing the first row of bricks, then utilize a spirit level to ensure everything is Level.
- Cut Bricks as Needed: When constructing a wall, the center of each Brick should be above the joints below. It means some end bricks must be chopped to the proper size.
- Continue Laying Bricks: Place mortar over the first three bricks at one end of the first course. Feather your trowel through it. Then, begin laying the first few bricks of your second course, making the end block square and straight and using a spirit level, level with the block below. Check the height with the guide you established earlier, knocking the Brick down if necessary with your trowel. Repeat at the opposite end, so the second course has bricks on both ends but a gap in the middle.
- Make a Level Line: Make a Level line with a string length and pins at each end. Insert one pin into the mortar underneath the first course of bricks at one end of the wall. Extend the lineup over the bricks, along the wall’s length, and down over the bricks at the opposite end. Insert the second pin into the mortar at this end, ensuring the line is sufficiently taut.
- Continue Building: Apply a mortar bed between the two ends of the first course of bricks. Lay each Brick next to one another to complete the course, applying a small bit of feathery mortar. Repeat the previous steps to continue constructing your wall. Keep checking the Level as you go to ensure it’s straight.
- Finish: Once your wall has reached the desired height, use a brick jointer to fill in any gaps in the mortar by smoothing the material.
Guide to building a DIY garden wall from timber
Step 1: Prepare the area
- Dig out the area for the wall and the space in front of it.
- Dig a trench underneath the new ground level to build the tall wall’s base, which should be three tall timber layers.
In case you missed it: How to Start an Indoor Garden from Scratch: DIY, Steps, Tips for Beginners
Step 2: Add drainage
- Lay gravel and stones at the base of the trench for drainage.
- Place a porous membrane (such as a weed suppressant) on the bank behind the wall to prevent the earth from sliding into the channel.
Step 3: Lay the timber sleepers
- Layer the timber sleepers using a ‘bricklaying’ approach so that the ends intersect at the corners.
- Screws are used to secure the construction. Vertical timbers may be required to support taller walls.
Step 4: Install drainage pipe
- Install a porous drainage pipe along the wall’s line, leaving one end open to drain away. It will keep water from accumulating behind the wall.
Step 5: Backfill and finish
- Backfill behind the wall with coarse gravel as you go, ensuring the porous film stays in place to prevent drainage from becoming clogged.
- Use a spirit level to keep checking that it’s straight.
- Building a tall wall may require a series of vertical posts for added support.
For a simple wall that divides garden zones, mark it out first with string lines and pegs, build it on a sturdy foundation, and use screws on the bottom row of shingles to secure them from others to the mixture as it sets. Stack the timber, intersecting where they join and secure each piece to the piece below.
Building a DIY living garden wall with pocket planters
Step 1: Gather materials
In case you missed it:
| Pocket planters | Measuring tape |
| Soil | Level |
| Plants or seeds | Saw |
| Screws | Wooden boards |
| Drill |
Step 2: Measure and plan
- Measure the area where you want to build the wall and plan out the size and layout of the wall.
- Determine the number of pocket planters and wooden boards you will need based on the size of your wall.
Step 3: Cut wooden boards
- Use a saw to cut the wooden boards to the desired size and shape for your wall.
- Measure and cut accurately to ensure a smooth and even wall.
Step 4: Screw wooden boards together
- Using a drill and screws, attach the wooden boards to form the wall’s structure.
- Make sure to use Level to ensure the wall is even and straight.
In case you missed it: DIY Garden Decor Ideas

Step 5: Attach pocket planters
- Using screws, attach the pocket planters to the wooden boards.
- Make sure to distribute the planters across the wall evenly.
Step 6: Fill planters with soil and plants/seeds
- Fill the pocket planters with soil and plants or seeds of your choice.
- Make sure to Choose plants that will suit your living wall’s conditions.
Step 7: Water and maintain
- Water the plants regularly and maintain the wall by pruning and removing dead plants.
- Keep an eye out for any issues with the wall, such as leaks or structural problems, and address them promptly.
Step 8: Enjoy your DIY living garden wall!
Admire your handiwork and enjoy the beauty and benefits of your new living garden wall.
Ideas for creating a beautiful and attractive living garden wall
- Use various plants with different textures, colors, and heights to create visual interest.
- Incorporate herbs and edible plants to add a functional element to the wall
- Use a self-watering system to save time and water.
- Consider the location of the wall and choose plants that will thrive in the available sunlight and shade.
- Use a modular system that allows for easy maintenance and plant replacement.
Best tips and techniques for building a living garden wall
Finding the best location for building
When choosing a location for your living wall, consider the amount of light and humidity in the area. Select plants that will thrive in the specific conditions of the location, such as shade-loving foliage for a shady spot or succulents for a bright area. Remember that the location will influence your plant choice, and plan accordingly.
Preparation for building a living wall
- Prepare the surface by protecting it from dampness.
- Use a membrane or create a gap between the wall and the living wall.
- Ensure that any wooden surfaces have been painted with exterior paint and that any weeds or plants have been removed from the area. If the living wall is hanging above the decking, make sure to treat the decking to prevent damage from water running out of the planters.
In case you missed it: DIY Balcony Garden Ideas, Tips, and Techniques
Fixing planters
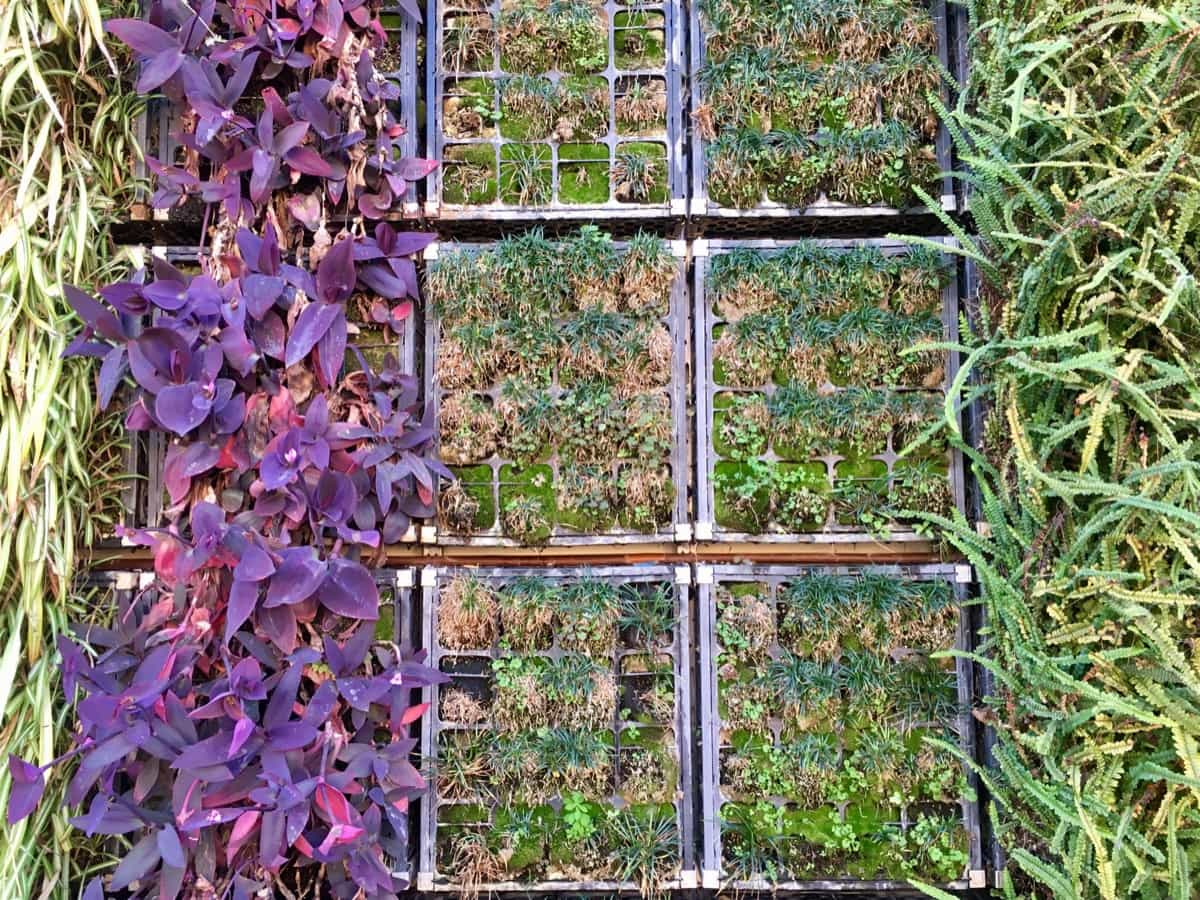
Fix planters to the wall with screws or sturdy nails, ensuring they’re evenly spaced and that each row is snuggly beneath the one above.
Choosing plants for a living garden
- Choose long-living, disease-resistant plants, light with shallow roots and suitable for the location (sun or shade).
- Consider using evergreens for a year-round effect and adding seasonal color. You can grow various plants, such as edible treats, pretty flowers, and foliage.
- Use small plants to save money and make planting and maintenance easier.
- Remember to follow proper planting and regular maintenance for best results.
Potting, Irrigating, and maintaining of living garden wall
- Fill pots with soil and add plants, ensuring they’re planted firmly, and the pots are topped up with more soil.
- Put the planted pots in the pockets of the planters.
- When the top plants are unhappy, water them, and the entire wall will receive a good soak.
- Living walls should last approximately four years, and to keep them looking beautiful, replace plants when they outgrow their space.
Cheapest ways to build a garden wall in DIY style
- Use reclaimed materials: One of the most cost-effective ways to build a garden wall is to use reclaimed materials such as bricks, stones, or even old wooden pallets. These materials can often be found for free or at a low cost, adding a unique and rustic look to your garden.
- Use cinder blocks: Another inexpensive option is to use cinder blocks. They are relatively cheap and easy to work with, and they can be stacked to create a sturdy wall. Cinder blocks can be painted or covered with a layer of moss to give them a natural look.
- Build a rock wall: You can also use rocks or stones found in your local area. It is a great way to add natural elements to your garden and create a unique, rustic look. It can also be relatively cheap if you have access to a source of free rocks.
- Use wooden pallets: Another cheap way to build a garden wall is to use wooden pallets. You can stack them up and secure them with screws, and they can be painted or stained to match your garden.
- Use old tires: Tires can be used to make a garden wall with the help of soil and plants. It can be a great way to reuse waste material and a cheap way to create a garden wall.
In case you missed it: DIY Backyard Gardening Ideas, Plating Tips and Tricks
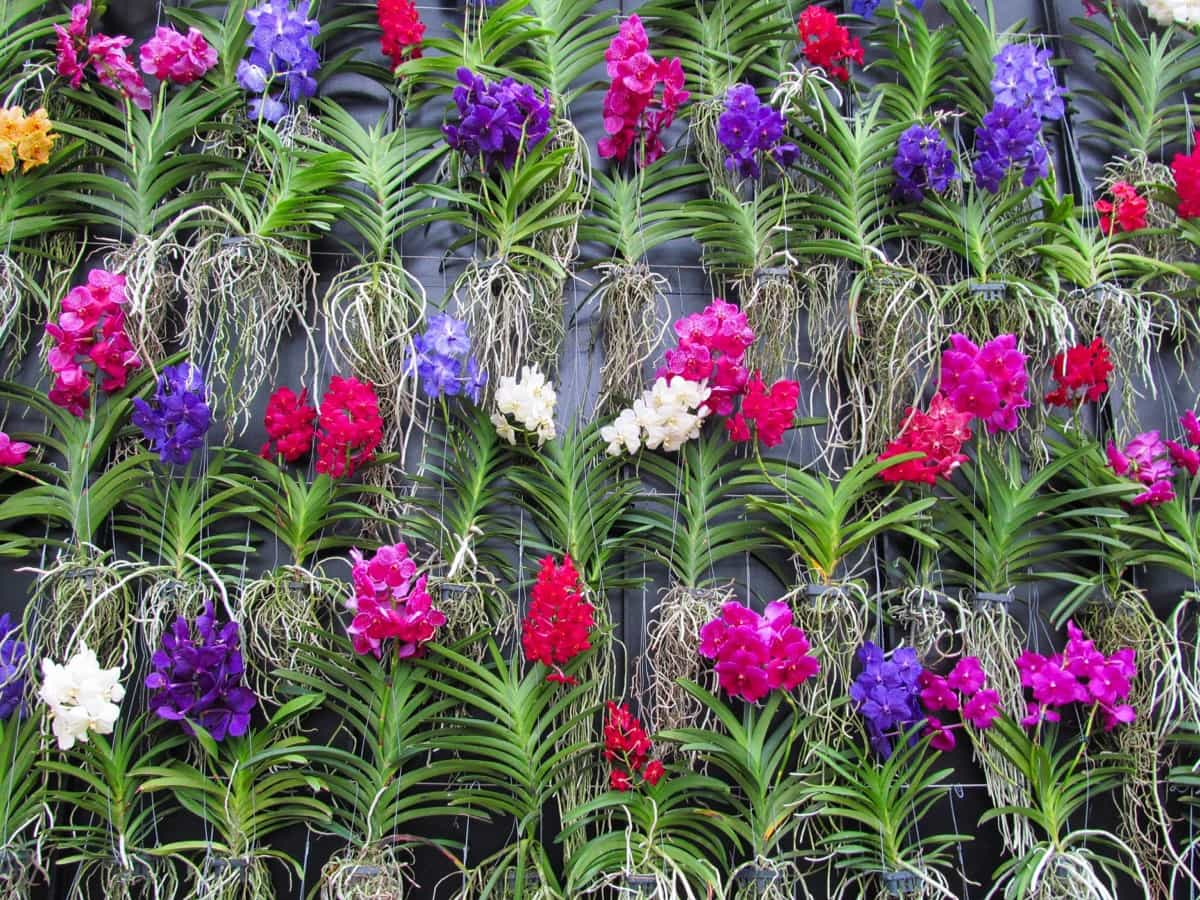
Best plants for living garden walls and their benefits
Living walls have many benefits, including decorative disguises, insulation, biodiversity, privacy, soundproofing, and air purifying. Some plants well-suited to living walls include Pachysandra, Heuchera, Vinca minor, Erigeron, Pelargoniums, Gaillardia, Thyme, Marjoram, Strawberries, Hops, Laburnum, and Honeysuckle.
It is essential to select plant varieties that suit the conditions of the space, whether annuals or perennials or plants that thrive in shade or sun. The plants in a living wall should be planted more densely than in a garden bed, and careful watering, feeding, and pruning should be done to ensure the health of the plants.
Conclusion
Building a garden wall can be an excellent way to enhance the aesthetic and functionality of your outdoor space. You can build a lovely garden wall that will survive for years with a little design and effort.
Remember to adhere to any local building codes, utilize high-quality materials, and take the time to plan and design your wall properly. With a little imagination and handy DIY skills, you can create a garden wall that will make your neighbors jealous. So, roll up your sleeves and get to work on your garden wall!
- Flower Garden Designs and Layouts for Beginners
- Planting and Spacing Techniques in Papaya: A Beginner’s Guide
- Growing Gold: Essential Techniques for Planting Pineapples
- How to Make Kalanchoe Plant Bushy: Home Remedies and Solutions
- 11 Reasons Why Your Gardenia is Not Blooming: Home Remedies and Solutions
- Eco Elegance: The Guide to Designing a Drought-Tolerant Landscape
- Gardening on a Slope: Strategies for Hillside Landscaping
- Nourish and Flourish: Top Organic Mulches for Thriving House Plants
- Everything You Want to Know about Indian Mogra Flower: Discover Uses and Growing
- Green Thumb Success: Expert Tips for Cultivating Greenhouse Pumpkins All Year Round
- Maximize Growth & Flavor: The Ultimate Guide to Companion Planting in Herb Gardens
- How to Control Rhododendron Problems Naturally: Home Remedies and Organic Ways to Fix Them
- Natural Magic: The Remarkable Benefits of Cinnamon for Plants
- Best Steps to Revive Dying Tulip with Natural and Organic Treatment
- 10 Reasons Why Your Angel Trumpet is Not Blooming: Remedies and Treatment
- How to Fix Periwinkle Leaf and Flower-Related Problems: Natural Remedies and Solutions
- How to Fix Zinnias Leaf and Flower Problems: Discover Natural and Home Remedies
- Organic Steps to Induce Lemon Tree Flowers: A Comprehensive Guide
- Bloom Booster: Crafting the Perfect Homemade Bougainvillea Fertilizer
- Optimizing Growth: A Guide to Applying NPK Fertilizer for Potted Plants
- 10 Best Homemade Fertilizers for Rubber Plant: DIY Recipes and Application Method
- How to Boost Female Pumpkin Flowers: Effective Steps for More Flowers and High Yields
- Transform Your Indoor Garden: Top Benefits of Pink Salt for Houseplants
- 10 Best Homemade Fertilizers for Peacock Plants (Calathea): Easy DIY Guide
- Unlock Blooms: 9 Reasons Why Your Potted Chrysanthemum is Not Blooming
- 8 Reasons Why Your Potted Hibiscus is Not Blooming: Fix it with Simple Solutions
- Unlock Blooms: 9 Key Reasons Your Potted Frangipani Won’t Flower
- 10 Reasons Why Is My Ice Plant Not Blooming: Remedies and Treatment
- 10 Reasons Why My Potted Hydrangea Not Blooming: Treatment and Remedies
- 10 Reasons Why is My Wisteria Not Blooming: Remedies and Treatment
- 10 Reasons Why is My Goldfish Plant Not Blooming: Remedies and Treatment
- Maximize Your Space: Ultimate Guide to Balcony Gardening with Grow Bags
- 10 Reasons Why Your Iris is Not Blooming: Remedies and Treatment
- 10 Reasons Why Your Anthurium Plant is Not Blooming: Treatment and Remedies
- 10 Reasons Why Your Aquaponic Plants Are Not Flowering: Remedies and Treatment
- 10 Reasons Why Your Agapanthus is Not Flowering: Remedies and Treatment