Growing Kale – A step by step guide:
Kale is a leafy vegetable which can be grown in the indoor locations. This is the one which is very much rich in terms of nutrients and will also be available all across the year. The seeds of the kale have to be germinated in a tray and the seedlings of kale have to be replanted into pots which are larger once their growth is completed. Always ensure that you are providing your kale plants with a very good amount of moisture and light for helping them to survive. Kale is a wonderful addition to salads, meals, smoothies and many other foods which are nutritious. Growing kale indoors is also possible when you have ample light and water to fulfill the requirements of the plant.
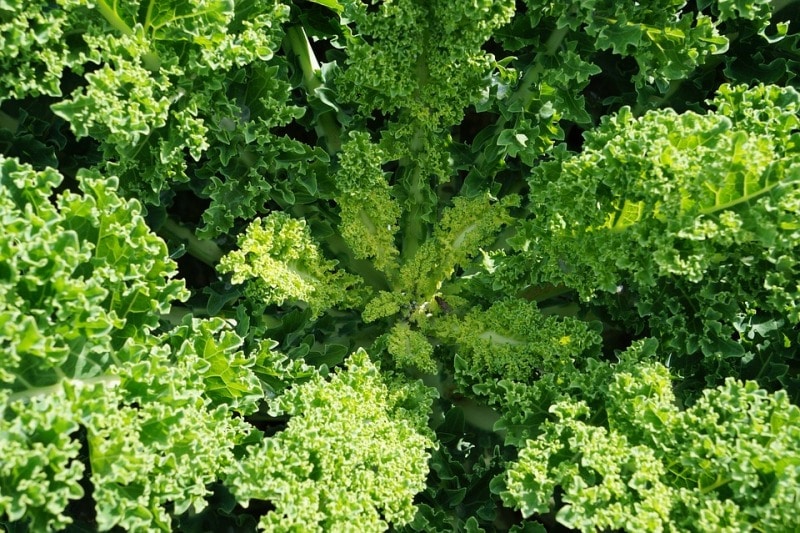
Usually, kale is assumed as a crop which grows well in cold weather, but it is the one which is tolerant to the temperatures which are as low as -8°C and as high as 30°C. The kale which is a cooking green belongs to the family of cabbage and it is treated as a superfood which contains all the important minerals and vitamins. You will need to follow the below steps for the plantation of kale in your own garden.
Before you start the plantation of kale in your garden, you will first have to choose a variety of kale which would suit the climate in your locality. Kale is generally grouped by the shape of the leaf and the times of growing will differ based on the varieties of kale. Most of the kale would be ready for harvest in 1 ½ to 2 ½ months after the completion of the plantation.
Varieties of Kale:
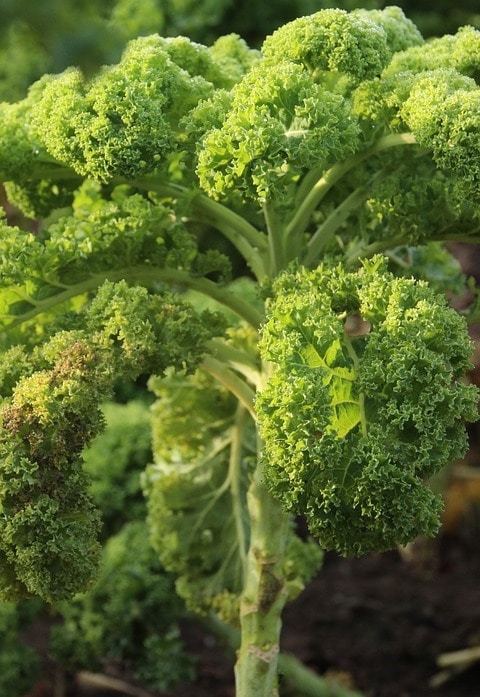
- Curly kale: This kale is a mild one which has sweetness too. This is the one which is found most commonly among all the varieties of kale. The characteristics of this kale variety are that it has leaves which are wrinkled and also curly.
- Premier Kale: This is the one which is known for its hardiness to cold climatic conditions. It has also got the capability to grow soon.
- Lacinato: This kale has a texture which is wrinkled. The leaves of this variety of kale are skinny and also tall. This kale is also called as Dino Kale.
- Red Russian kale: The leaves of this variety if kale would be red and also impressive. This kale is almost similar in terms of resilience to the Siberian Kale
- Siberian kale: This is the variety of kale which is the hardest one. This kale has the capability to tolerate the temperatures which are harsh and are resistant to pests.
- Walking stick kale: This variety of kale has a stalk which is thick and would be able to grow up to 6 feet tall. The stalk of the walking stick kale can be used as a walking stick and hence this variety is named so.
- RedBor Kale: This is a variety of kale which has the color of deep purple. This is the one which can be used for adding color to any kind of recipe.
Preparation of the site in your garden for Kale plantation:
You may be interested in Growing Tomatoes from Seeds.
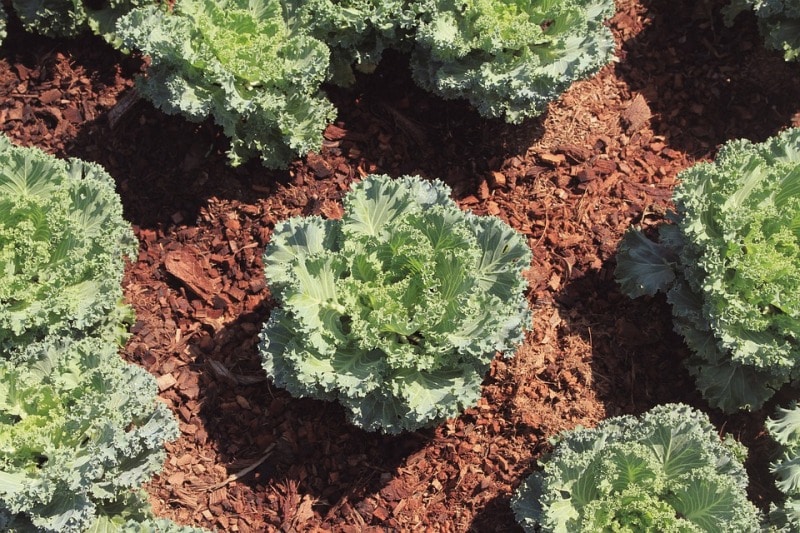
- You will be required at least 6 sq inches of the space of growing per one plant irrespective of the type of container you use. You will have to select an area which would get full sunlight if you are planning to plant it at the time of autumn and you can select an area which has partial shade when you are planning to plant in at the time of spring.
- Make sure that you are avoiding the areas which are low-lying and the spaces in which the water remains after getting collected due to a flood or something. If you notice that there is no site in your garden which has suitable drainage for growing kale, then you can go ahead and build a raised bed garden.
- Always try to use the cedar planks for building your garden bed, as cedar is the one which will never rot even if it gets wet.
- Also, ensure that you are planting the kale in a soil which is loamy and fertile. The soil should have a very good amount of Nitrogen, phosphorus, and potassium. If you see that these three elements are low, then you will need to make amendments to the soil. The soil which is like clay or sandy will cause damage to the flavor of kale and also to its capability of production. Kale will always love to be in the soil which has its pH in between 5.5 to 7.
- If you see that the pH of the soil is less than 5.5, then make sure that you are enriching the soil for making it less acidic.
- If you see that the pH of the soil is above 7, then you will have to add some granular sulfur to decrease the level of pH of the soil.
- If you are planning to start the kale seeds in the indoor locations, you will have to plant them in between 1 to 1 ½ month prior to the last frost. If you are planning to start the seeds in the outdoor locations, then you will have to plant the seeds at least 15 to 30 days before the last frost or at least a week before the first frost in the autumn.
- For the germination of the kale seeds, the temperature of the soil has to be at least 4°C and the seeds of kale will sprout in the most effective way when the temperature of the soil is at least 21°C.
How to grow kale from seeds:
- Make a mixture by combining the soil and fertilizer and put them in small pots which are having a size minimum of 6 square inches. You will have to use organic composts and fertilizers whenever possible. Kale is the one which would specifically like fish emulsion and the compost tea.
- As an alternative, you can also churn the soil in your garden and add fertilizer for sowing the seeds in a direct manner into the garden. Always make sure that you are sowing the seeds at least 15 to 30 days prior to the last frost date if you are going to plant them directly in the outdoor location like your garden.
- If you see that the plants are crowding at the time of their growth, then you can thin them further for allowing more space in between every individual plant.
- Seeds have to be sown under a thin soil layer. The seeds of kale will be small in size and will only be able to grow through a ½ inch of soil. The seeds have to be spaced at a distance of 3 inches. The soil has to be patted in a light manner for covering the seeds.
- The plant has to be watered in a thorough manner. When the seeds of kale are growing, let the soil’s top layer to get dried before you water them next time.
- The seedlings have to be grown till they reach a height of 4 inches. At this particular point, the kale seedlings will need to have a minimum of four leaves which are developed. It will take almost 1 month to 1 ½ month for the kale seedlings to reach this stage.
Transfer of kale to your garden:
You may read How to Grow Chinese Cabbage at Home.
- You will have to spread a fertilizer of a thin layer in a uniform manner all over the area of plantation. You will have to follow the instructions of the type of fertilizer and make sure that you are adding the appropriate amounts of it. For mulch and compost, you will have to add a layer at a depth of a few inches. For rock dust and seaweed powder, make sure that you are applying a thin layer or a uniform sprinkle.
- The kale seedlings have to be removed from their container. You can do that by patting the container in a gentle manner on its side if you have made use of pots made of plastic in order to start your seedlings. If you have bought kale starts in a nearby garden store or nursery rather than starting it from seeds, you can remove the seedlings which are bought from the plastic containers.
- Make use of your hands or any trowel for digging holes at a distance of 10 to 15 inches between them. The holes have to be sufficiently deep for the plantation of seedlings at a similar level as they are growing in the pot. If you are going to plant kale in multiple rows, ensure that the rows are placed at a distance of 20 to 24 inches from each other.
- The kale starts have to be planted in the holes which are dug. The soil has to be pat down to a similar level when it was in the plant making sure that you are not burying any of the kale leaves. Also, make sure that you are planting the kale starts in a perpendicular way to the ground, irrespective of the root shapes.
- Make sure that you are watering your kale plants in a thorough and uniform manner.
Care and maintenance of Kale:
- The soil which is present around the kale plants has to be kept in a moist condition. Based on the amount of sunlight your kale plants are receiving, you can take a decision on how frequently you can water them on a daily basis.
- Make sure that you are fertilizing your kale plants at the time of the growing season for every 2 to 3 months. The fertilizer will help the kale plants to grow in a strong manner and will also make them robust. It will also help them to produce the leaves which are not only sweet but also healthy.
- The mulch has to be kept around the kale if you see that the leaves are rotting or you notice that they are discoloring. Always ensure that the kale reached a height of 6 inches before you start mulching the kale plants. Mulching will help in the prevention of wet soil from getting stuck to the leaves and then molding them.
- When you notice any leaves which are discolored and also withered, make sure that you are removing them as soon as possible. This will help you for decreasing the chance of pests which are harmful to the plant.
Plant Care.
Harvesting techniques of Kale:
- Kale can be harvested about 2 to 3 months after you have sown it and about 2 to 2 ½ months after you have transferred them into the garden, The kale plant should be at a height of a minimum 8 inches before you prepare to harvest the kale leaves. Always keep in mind that the time of growing kale will be completely based on the variety of the kale you have chosen to grow, so make sure that you are waiting for the required time before you get ready for harvesting.
- To harvest the kale leaves, you will need to remove the outer leaves in the first place if you are harvesting only the leaves.
- If you are harvesting the complete kale plants, then you will need to cut the stem down to approximately 2 inches above the soil with one cut which is clean. This will let the kale plant to keep growing and continue producing leaves.
- Make sure that you are not leaving the leaves of the kale plant for so much time after they are ready for the harvest. If you leave leaves without harvest for too long, then they will produce the leaves which are not only tough but also bitter.
Facts about Kale:
You may be interested in Growing Water Spinach.
- You can grow kale from leaves for several months. You can take kale which is planted in spring and grow it for summer, but the leaves will become tough and even the taste of them would be bitter. Quality of the leaves will see improvement again at the time of autumn and the plants will continue to grow even at the time of winter when the climatic conditions are mild.
- Germination of the kale seeds will take approximately 1 week to 10 days of time. When the kale plant reaches a height of 9 inches and you see that there is a development of four leaves, you can then go with transplanting kale to their respective positions in your garden.
- Kale can also be grown in water using Hydroponic methods, but you will need to make sure that you are providing the right conditions for it to grow.
- Growing kale in winter is also possible as they are tolerant of the temperature which is as low as -8°C. But you will need to make sure that the temperature is not falling down more than that.
- You can grow beans and peas after you have grown kale as the Kale will fix the nitrogen in the soil which will benefit the beans and peas because of the conditions created by the kale making them rich in terms of nutrients.
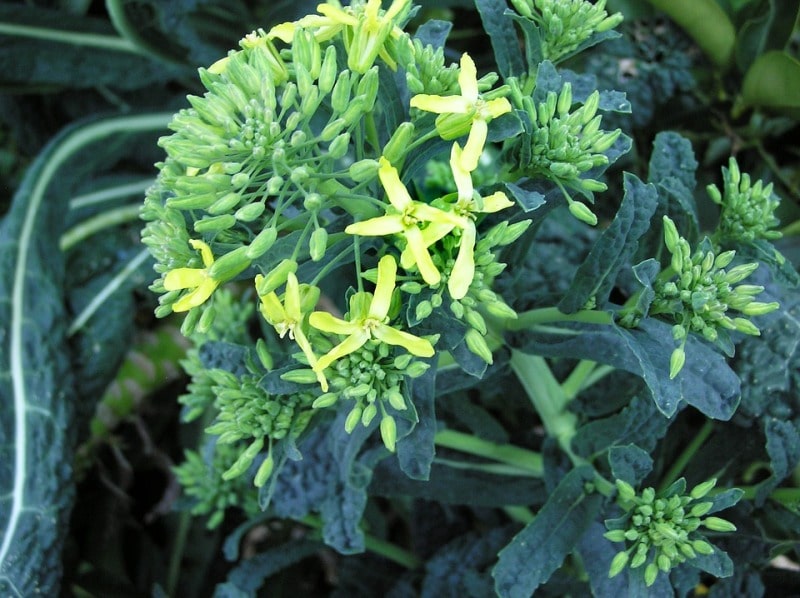
- It is always suggested to eat kale before it starts flowering. Once you see it forming the flower heads, the stems get tough and the leaves will start tasting bitter.
Read: Kadaknath Chicken Egg Production.