Growing your fruits and vegetables in your garden is a fantastic way to learn about plants, explore new veggie kinds, contribute to preserving the natural world, and provide for your own food needs. Growing plants in Chicago might be difficult, mainly if you use organic methods in gardening.
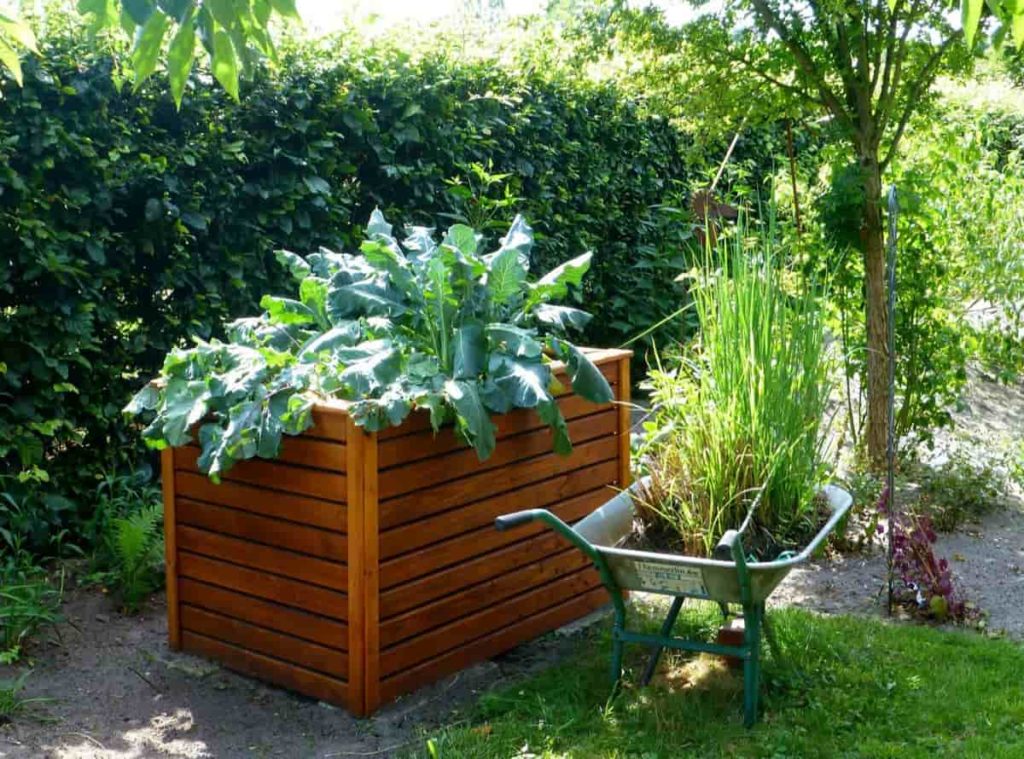
Any resident in Chicago, however, is capable of growing a flourishing garden via careful planning. Below we will learn about Chicago backyard gardening, the best vegetables, flowers, fruits, and herbs to grow in Chicago backyards and a step-by-step guide to growing different plants in the Chicago backyard gardens.
Chicago backyard gardening: A step-by-step process to starting backyard gardening in Chicago
Know the planting zones and pick plants accordingly
To understand the planting zone in Chicago, you will need to consult the heat zone map, which reveals that Chicago is located in zones 6 and 7. It means that southern Illinois plants and crops won’t thrive well in Chicago. Be careful to verify the zone hardiness of the plants you are contemplating by referring to the USDA Hardiness Zone chart. For plants to grow and blossom for many years to come, they must be able to endure the harsh winters of the region.
The lowest annual average temperature for each zone is represented by the range of values represented by that zone. The temperature in Chicago ranges from -20 degrees Fahrenheit to -10 degrees Fahrenheit on average, placing it in zone 5. Plant labels almost often include the phrase “hardy up to zone x,” which indicates the maximum temperature at which the plant can survive. In addition, websites often classify plants according to the zone in which they thrive.
It’s important to remember that if you pick plants with a zone number greater than your own, the likelihood is that they won’t do well. Even while it may not cause as much damage as the cold, heat can still harm plants. The American Horticulture Society has developed a Heat Zone Map to serve as a basic guideline to assist in selecting plants that would be successful in a particular region.
The map is broken up into a total of 12 different zones. The average number of days of precipitation per year in Chicago is between 30 and 45. Even while the Heat Zone advice is not presently printed on all nursery plant tags, more and more nurseries are starting to include it. Bear in mind that this is only a basic rule of thumb.
Your plantings can be influenced by several factors connected to temperature, such as the amount of shade and wind that a particular area provides. Having chosen plants appropriate for your climate, remember that just because they are in your hardiness or heat zone does not guarantee they will thrive in your garden. It requires special attention and care.
In case you missed it: Guide to Growing Cucumbers in California: In Containers, Backyard, Summer, and Winter
Select the perfect location in your backyard
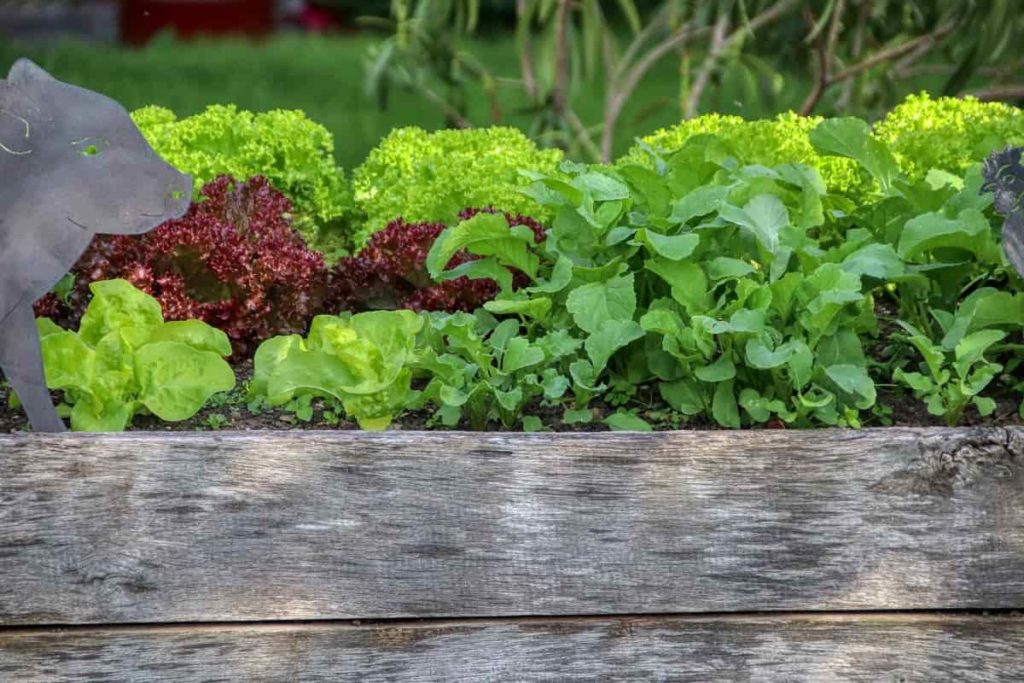
Choosing a good garden location is crucial. A less-than-ideal site could produce less-than-ideal vegetables. Most plants must have between six and eight hours of exposure to sunshine each day. Several plants can survive in shadow, most of which are the leafy green varieties. Raised beds or elevated rows can increase drainage in soil that doesn’t drain properly. When the soil is damp, the roots also get wet, leading to rotting.
Removing rocks from the soil can help to improve root development and make your plants more resistant to pests and disease. Steer clear of areas prone to be blasted by high winds since this might kill your young plants or prevent pollinators from accomplishing their jobs. It’s best to avoid planting in regions prone to floods or with a lot of foot traffic. Your soil nourishes your plants. If you have poor soil that is thin and lacking in nutrients, your plants will be weak and sickly. To encourage the growth of your plants, include a significant amount of organic materials.
Plan your backyard garden
Although raised beds are more pleasant to look at and may make gardening tasks more manageable, they can lose moisture faster. Instead of planting your garden in individual rows, you may want to consider planting it in blocks or beds of plants. Beds should have a width of between three and four feet, which is small enough to allow access to the middle from either side. Beds should be around 10 feet long or shorter to eliminate the temptation of stepping into the bed and compacting the soil.
Arrange the plants in the garden beds to form rows or a grid layout. The idea is to increase the growth area while minimizing the number of paths. The planting area is the only place fertilizer and soil amendments are applied, which results in time and financial savings. Utilize companion plants to increase your harvests and attract insects that are good for your garden. Begin on a modest scale, and ensure sufficient area for each plant to expand as it matures. The seeds and seedlings are small, yet the mature plants can reach enormous sizes.
Plants that were grown in too close proximity to one another struggle to thrive. A tiny garden that is well-tended may yield as much as, or even more than, a huge garden that is not well-tended. Most people sleep on rectangular or square beads, but the shape of your bed may be whatever you can imagine as long as you can make it. If you can’t find a rectangular raised bed kit, consider using a portion of drain pipe or an old animal water tank.
Clear the ground and improve the soil
Clear away any weeds and turf in the area where you want to plant. Get rid of it immediately if you want immediate effects, such as if you want to grow vegetables this summer. Use a spade to cut a trench below the sod. You may make removing the sod much simpler by cutting it into parts and then adding those portions to your compost pile so they can break down. It is simpler to employ the lasagna gardening approach for a project that will last longer.
In case you missed it: Easy Plants to Grow at Home in USA: For Containers, Backyard, Patio, and Indoors
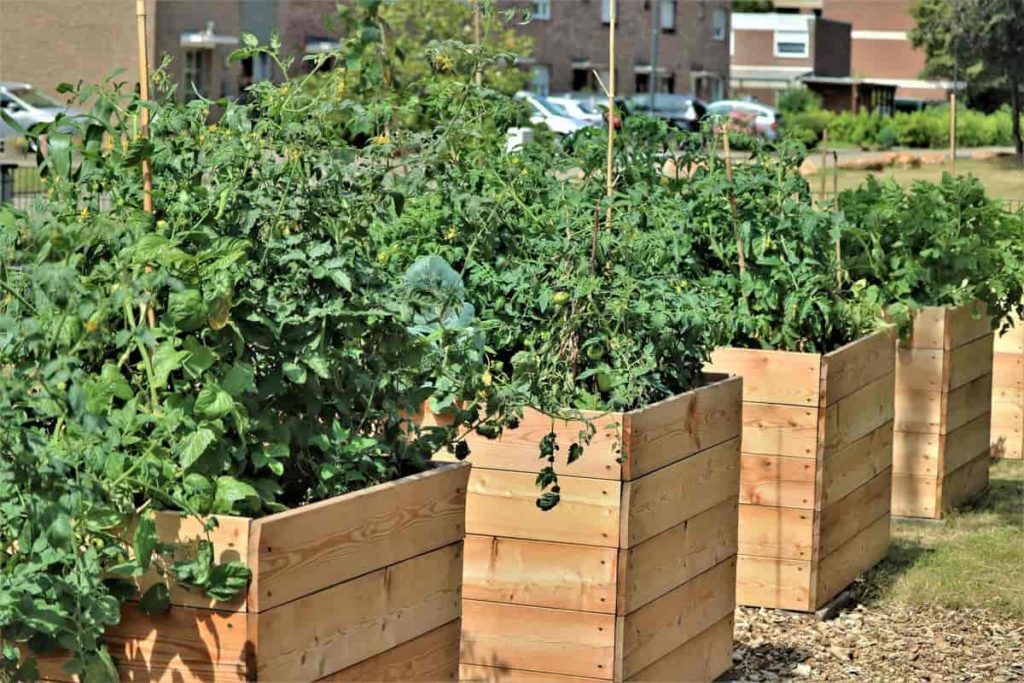
Put five sheets of newspaper on top of your future garden. After the newspaper has been covered, wait for three inches before adding a layer of compost (or a mixture of potting soil and soil). It should take roughly four months to disintegrate the compost and the paper. However, if you begin the process in the autumn, you will have a bed ready to plant in by the following spring.
This bed will not have any grass or weeds growing in it and will have an abundance of rich soil. Local county specialists will aid you in collecting soil samples. The findings will tell you what your soil lacks and how to fix it. You can also use a do-it-yourself kit, which may not be as thorough as a commercially available one, but will still provide you with a general understanding of the nutrient levels in your soil.
Soil improvement is nearly always needed in residential areas, particularly in newly constructed areas with their topsoil removed. When it comes to soil, poor drainage and compacted soil are two common problems. In most cases, the remedy is simple: Add organic matter. When preparing the soil for a new bed by digging or tilling, include a layer of compost, decomposed leaves, grass clippings that have dried up, or aged manure.
This layer should be between 2 and 3 inches thick. Suppose you do not intend to excavate the bed or work with what is already established. In that case, you should leave the organic materials on the surface, where they will decompose into humus over time (organic material). Earthworms will do most of the task of adding humus into the subsoil.
Prepare your garden for planting
Roots are easier to develop and access water and nutrients when the soil in fresh beds has been loosened before planting. There are two ways to do this task: by tilling the soil using a mechanical device like a rototiller or digging by hand. When you have a lot of changes that need to be mixed in, the first approach is an excellent one to use. However, it is simple to do too much of it, which can result in the structure of the soil being damaged.
When preparing smaller beds, digging is the most efficient method. As a general rule, only work the soil when it is sufficiently moist but not soggy that it will crumble when dropped. Digging in soil that is too dry requires more effort than digging in soil that is too moist, which might harm the structure of the soil.
After you’ve turned the top 6-8 inches of soil, add the organic materials using a spade or spading fork. Because walking on prepared beds causes the soil to become more compact, temporarily laying down plywood planks to distribute your weight is recommended equally.
Decide to choose between seeds and seedlings
Growing seeds from scratch can result in monetary savings, but it is a time-consuming procedure that might have unexpected challenges. Some seeds refuse to germinate, while others take an extremely long time to mature into robust plants that are prepared to withstand the elements of the great outdoors.
You can also visit a nursery nearby and purchase young plants grown in a professional greenhouse. This is another possibility. Larger plants are often “root bound,” so avoid them. These seedlings have exceeded their containers and have developed a dense tangle of plant roots under the earth. Because of this, they may not adapt well to being planted in the garden.
In case you missed it: Gardening Basics for Beginners: For Pots, Terrace, Balcony, and Backyard
Start planting your backyard garden
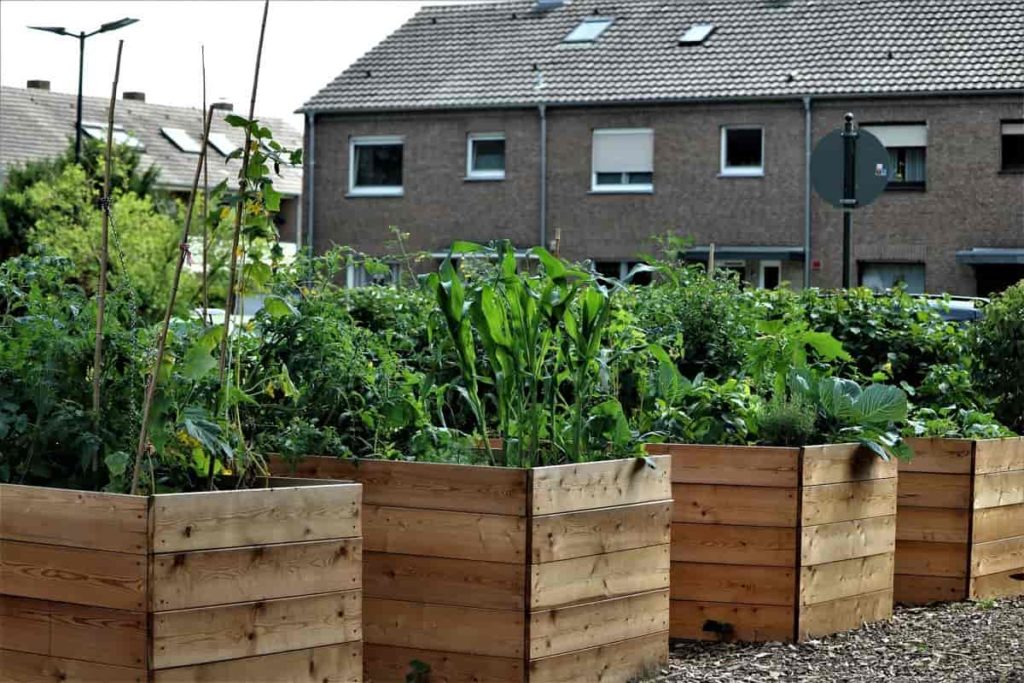
When planting seeds, it is important to ensure that they are sown at the appropriate depth stated on the seed package, that the soil is tamped down firmly over them using the palm, and that they are watered when the top of the soil dries out. Turn the container over while holding the stem among your fingers while planting seedlings. Remove the pot by squeezing it gently on both sides.
Take the lump of soil in your hands, and give it a little massage so that the form of the pot no longer constrains the roots. To release the roots of a root-bound plant, you may need to use a knife or even a scythe. You’ll next need to dig a hole in the ground that’s just large enough to fit the root mass in there. The plant should then be positioned, the roots should be covered with dirt, and the plant should be pressed firmly into the ground. Covering any portion of the plant’s stem with soil can kill many different plants, so take care to avoid doing so.
Start watering your backyard garden
The average amount of water plants need throughout the growing is around an inch and a half weekly. If there has been no precipitation, you must provide adequate water. If you want to know whether or not your plants need water, you must put your finger into the soil about two inches deep. This will remove any room for error.
It is probably about time to water it if it has a dry feel. And remember that most plants should have a little dryness rather than complete saturation in water. Root rot can be caused by excess water, which can be dangerous. When you water, you want to get the soil wet, but you don’t want it to be soaked.
Use different mulches for your container garden
Weed seeds have difficulty sprouting in soil covered with organic matter and rocks, which help maintain the soil’s temperature and moisture levels, making it more difficult for weeds to grow. Mulch is a favorite food source for earthworms and other beneficial organisms that live in the soil; when it decomposes, it provides the same nutrition to the soil food chain as compost.
Using the appropriate kind of mulch in conjunction with each crop is essential. Wood chips are an excellent amendment for many big, long-lived plants, including fruit trees, perennial flowers, shrubs, and others. Lighter-weight mulches, such as straw or leaves, are best used around delicate veggies.
Take proper care of your backyard garden
Maintaining a consistent routine for your garden tasks will allow you to guide its development toward its greatest potential as it takes shape. Be sure to give the plants some water before they completely wither. Weeds should be removed before they may produce seeds. Get rid of any plant life that is unhealthy, dead, or dying.
Insecticides bought from a garden shop can be used to get rid of pests like tomato hornworms. A trellis, a stake, or a tepee can be used to provide support for tall plants such as tomatoes. Additionally, you should harvest the plants as soon as they are mature. And don’t forget to take some time to enjoy the aroma of… whatever it is that you’re growing.
Best vegetables to grow in the backyard in Chicago
Many vegetables can be grown in the backyards of Chicago, such as kale, lettuce, eggplants, tomatoes, carrots, radishes, beans, cucumbers, and other veggies.
Lettuce: Begin with growing lettuce, which matures in a short time and may even be done in containers. You may have a near-constant supply of salad greens if you start from seeds in regions that are partially shaded and harvest them from the beginning of spring until around the middle of summer.
Experiment with young greens, such as a mesclun mix, and plant them as closely as possible in rows. You’ll always have lettuce if you plant seeds every week or two throughout the growing season. To harvest the lettuce, just cut off the tops of the plants or pluck individual leaves as required.
Tomatoes: When you’re a rookie gardener, tomatoes are great to produce. Tomatoes may be grown just about any place that gets a lot of light, including in hanging baskets, pots, or even the ground. It is suggested to utilize starting plants such as cherry tomatoes and ensure that you have some support for the stalks of the plants, such as tomato cages. Cherry tomatoes are a type of tomato. Planting basil next to tomato plants can naturally ward off pests and increase the taste of the tomatoes.
Radishes: These are one of the easiest to grow and provide speedy results. Radishes of many different types are ready to be picked after just 20 days of growth. Radishes are an excellent vegetable for children to assist with since the seeds are big enough to be planted, and after three weeks, the radishes are simple to pluck from the soil after they have matured.
Cucumbers: Cucumbers are another enjoyable produce to attempt growing in a beginner’s garden. Cucumbers thrive in environments with plenty of sunshine and warm temperatures. They have characteristics similar to tomatoes, including quick growth, the need for support for vertical development, and the ability to thrive in containers. You will have an abundance of cucumbers at the end of the summer if you provide them with water and sunlight. Give some to your neighbors if you can!
In case you missed it: Urban Organic Terrace Gardening: A Step-By-Step Guide for Beginners
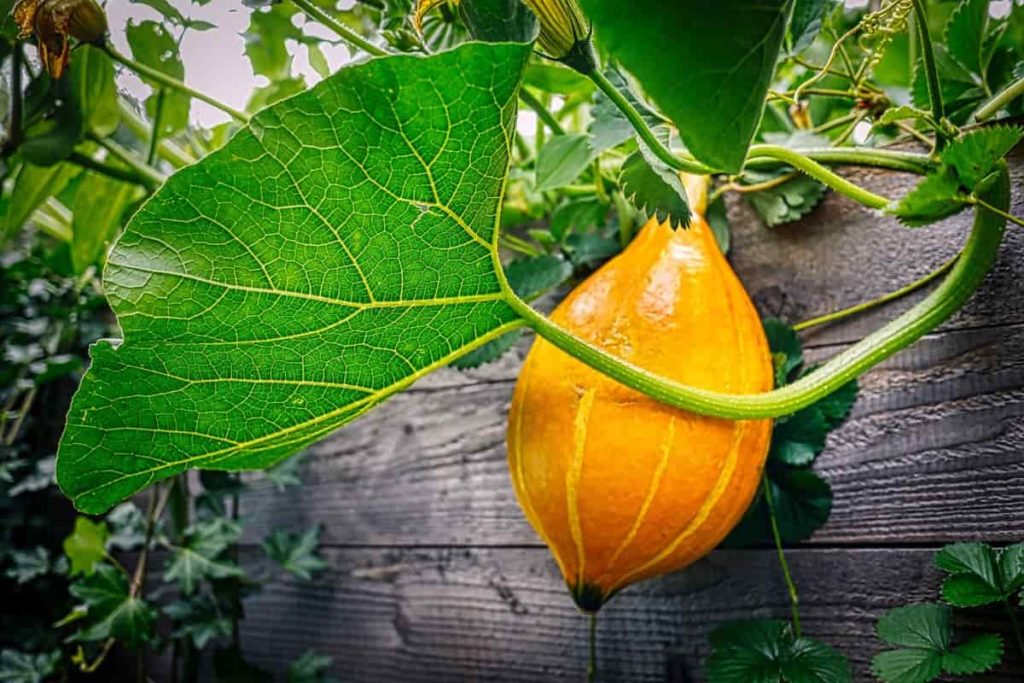
Green beans: Gardeners with little children may appreciate the opportunity to assist in harvesting and snapping green beans from poles, generally referred to as “pole or bush beans.” Bush beans develop space-efficiently, may reach a width of up to two feet, and do not need to be supported. The climbing vine that forms while growing pole beans may reach heights of up to 15 feet. Although bush beans are easier to maintain, pole beans produce a greater number of beans. Therefore, choose the one that will function best in the area and landscape that you have.
Best fruits to grow in the backyard in Chicago
Many fruits can be grown in Chicago, such as persimmons, peaches, cherries, figs, apples, pears, blueberries, and other fruits.
Persimmons: Persimmons are more adapted to the Midwestern winters since they are all American types. Cross-pollination may need the use of two trees. This might be a fantastic beginning project since persimmons are devoid of disease and pests. The American kind of persimmon tree ripens its fruit from September to the end of December. As soon as the berries are transparent, soft, and ripe, they will taste terrible if they are astringent.
You may verify this by purchasing a Fuyu persimmon from the supermarket and eating it while it is still firm. These persimmons do not have an astringent taste. Unripe Hachiya persimmons are astringent and typically used in baked dishes, so you’ll want to be careful if you decide to consume one. Freezing an astringent persimmon overnight can help it mature more rapidly.
Peaches: Peach trees may be successfully grown in Chicago, despite their reputation as a southern delicacy. Unlike other fruit trees, peach trees begin bearing fruit after three to four years of planting. Choose a tree no higher than 12–14 feet, such as the Red Haven or the Belle of Georgia, and you’ll have a much easier time maintaining it.
Cherries: Early Richmond Cherries are self-fertile trees that provide an abundance of tart cherries in three to five years. Even though the fruit is often too acidic to consume fresh off the tree, it is great in preserves and prepared in several different ways.
Pears: To avoid being overwhelmed by an overabundance of pears when harvest time comes, you may wish to prevent the Kieffer pear. If the Kieffer isn’t given enough time to develop, its firmness and strong flavor make it ideal for baked or fried. Fire blight, which often affects pear trees, does not harm Kieffer’s, which is sturdy and resistant to it.
Figs: It’s a treat to eat figs from your garden, and they’re delicious in salads, tarts, and other sweets. If you want to enjoy ripe figs, try planting a tree near a south-facing wall. Fruit production is increased when it is grown against a wall because roots can no longer spread as freely.
Best flowers to grow in the backyard in Chicago
Many flowers can be grown in Chicago, such as false indigo, Wild bergamot, prairie smoke, hellebore, oak leaf, hydrangea, black cherry, hollyhock, garden phlox, culvers root, coneflowers, etc.
Wild bergamot: The erect tubes at the heart of a wild bergamot’s flower are adorned with lavender or pink petals. They provide a burst of color to the landscape and bloom in the middle of summer. They are attracted to oregano’s bright blossoms, and the minty smell entices bees. This flower grows best in full to part sun, although it will tolerate some shade.
At times of extreme drought in Chicago, you may see yellowing or wilting foliage on the lowest branches. Drought usually causes people to behave in this way. This plant is excellent for stabilizing slopes and preventing erosion because of its extensive root system.
Oak leaf hydrangea: Known for its creamy white, pyramidal blooms, the oakleaf hydrangea makes a lovely hedge or border plant. The deep, dark green hue of its wide, six-fingered leaves gave this variety its name. Once the blossoms have faded, its flaking bark adds visual interest to the winter months. These hydrangeas have no severe insect or disease concerns.
The best way to get rid of aphids is to spray them with water several times a week. A mulch layer around the base can help retain moisture during hot summers when they thrive best in damp soil. If your plant is starting, adding a layer of mulch can help it survive the winter.
Black cherry: The black cherry, the biggest native cherry tree, is highly prized for its wood. It’s a year-round feature in your backyard garden: Summer brings lush green vegetation and purple fruit, while the fall colors are a fiery orange-red. It’s possible to make jam and jellies out of the fruit. However, the bark is poisonous.
Fully-shaded conditions are preferred for the greatest growth of this particular tree. It tolerates a wide range of soil types but prefers damp loam above anything else. Transplanting this tree may be challenging due to its extensive taproot. One of the most important trees for wildlife is the black cherry. Pollinators attract the plant’s nectar, beneficial insects, and caterpillars.
Culver’s root: Culver’s root is a stunning perennial that will thrive in full light. Its towering spikes of tiny, tubular pale blue or white blooms provide contrast in terms of height and texture to more typical floral arrangements. It looks like a candelabra when it’s fully bloomed between June and August. In the heat, Culver’s root may require more watering. An attractive and ecologically beneficial rain garden can be created by planting it in a depression with other water-loving plants.
Garden phlox: You may add a dash of color to your yard by planting garden phlox. The blossoms, which emerge in July, have five tiny petals symmetrical. Staking may be necessary for certain plants, particularly during periods of severe rain. Early in the growing season is when it’s ideal for staking your plants in the ground.
Rejuvenate your plant before winter comes by cutting it down to the ground. This will reduce the likelihood of powdery mildew developing. You can also avoid mildew by removing a few stems to improve air circulation or by selecting cultivars that are resistant to mildew in the first place. In the summer’s heat, mulch helps keep plants roots cool.
In case you missed it: 17 Common Blueberry Plant Problems: How to Fix Them, Solutions, and Treatment
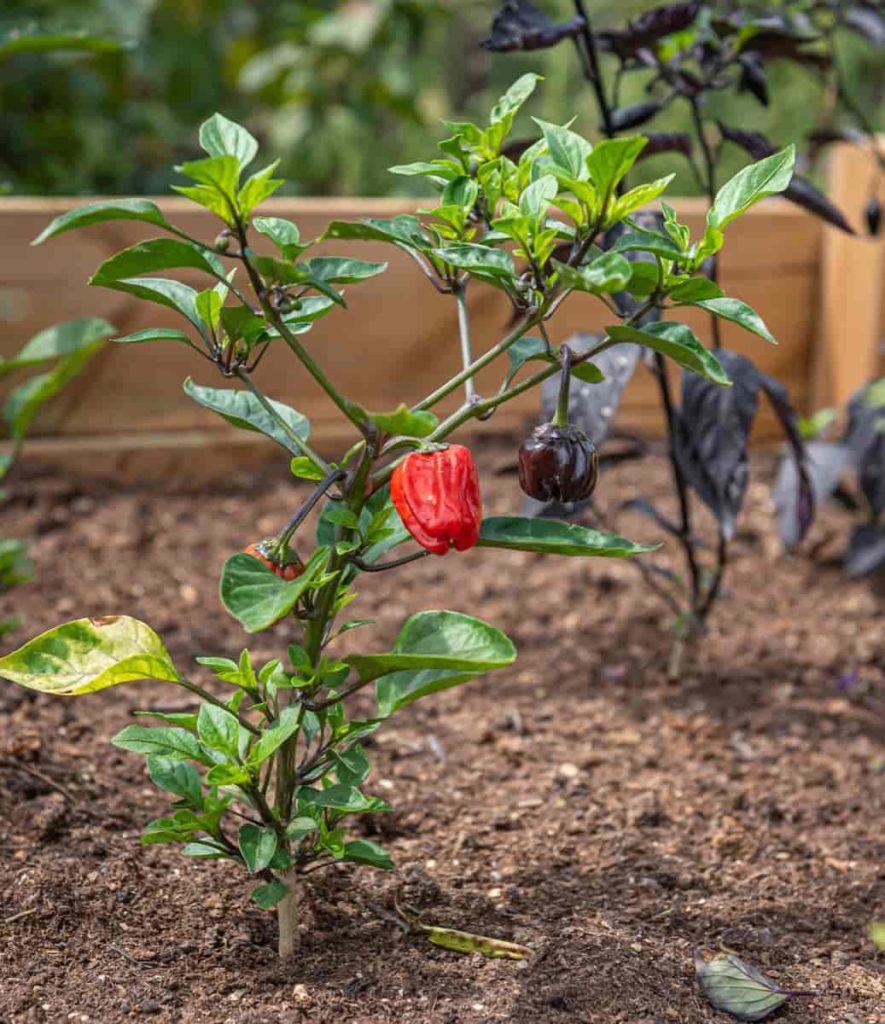
Best herbs to grow in the backyard in Chicago
Many herbs can be grown in Chicago’s backyards, like basil, dill, parsley, cilantro, oregano, chervil, mint, rosemary, sage, tarragon, and other herbs.
Basil: Basil is a common component in homemade sauces, vinegar, soups, and stews because of its fragrant qualities. Unique basil tastes include lime, Siam Queen Thai, cinnamon, lemon, and the more usual large-leaf variety. Leaf color varies from green to white in the Pesto Perpetuo basil. For those who like their basils a little smaller, there’s a 12-inch-tall “dwarf” variety. From seed, they’re all simple to grow.
Parsley: When using fresh parsley, the taste is at its optimum. When starting from seed, curly and flatleaf parsley are both simple to grow. The plant’s leaves become bitter as it reaches full bloom. It is possible to avoid this by constantly picking the leaves.
Dill: Dill is a versatile herb used in various dishes. It adds flavor and depth to the meal when used in egg and potato recipes and gravies. Cooked meats and vegetables can benefit from adding this seasoning to a cucumber salad or other dish. Sow seeds after the plant have bloomed to use in bread or pickles. As soon as 40 days after planting, depending on the type, you can begin harvesting the leaves.
Chervil: Parsley’s cousin, chervil, is underappreciated. It has an anise and lemon smell that resembles parsley. Keep a regular seed-sowing schedule of 3 to 4 weeks apart. When it’s hot outside, the chervil quickly returns to seed (bolts). It is a fantastic ingredient in seafood, salads, soups, and vinaigrettes. Add it before serving if you’re using it in a hot meal like soup or stew. Chervil’s taste is diminished if it is overcooked.
Oregano: Italian and Greek recipes, stews, tomato sauce, and meat are some of the most common ways to include it. Add some soilless potting mix to a bigger container, then buy a plant from the produce aisle. On a windowsill or in a light-filled room, cultivate it. By the middle of May, you should be able to take it outside.
- Flower Garden Designs and Layouts for Beginners
- Planting and Spacing Techniques in Papaya: A Beginner’s Guide
- Growing Gold: Essential Techniques for Planting Pineapples
- How to Make Kalanchoe Plant Bushy: Home Remedies and Solutions
- 11 Reasons Why Your Gardenia is Not Blooming: Home Remedies and Solutions
- Eco Elegance: The Guide to Designing a Drought-Tolerant Landscape
- Gardening on a Slope: Strategies for Hillside Landscaping
- Nourish and Flourish: Top Organic Mulches for Thriving House Plants
- Everything You Want to Know about Indian Mogra Flower: Discover Uses and Growing
- Green Thumb Success: Expert Tips for Cultivating Greenhouse Pumpkins All Year Round
- Maximize Growth & Flavor: The Ultimate Guide to Companion Planting in Herb Gardens
- How to Control Rhododendron Problems Naturally: Home Remedies and Organic Ways to Fix Them
- Natural Magic: The Remarkable Benefits of Cinnamon for Plants
- Best Steps to Revive Dying Tulip with Natural and Organic Treatment
- 10 Reasons Why Your Angel Trumpet is Not Blooming: Remedies and Treatment
- How to Fix Periwinkle Leaf and Flower-Related Problems: Natural Remedies and Solutions
- How to Fix Zinnias Leaf and Flower Problems: Discover Natural and Home Remedies
- Organic Steps to Induce Lemon Tree Flowers: A Comprehensive Guide
- Bloom Booster: Crafting the Perfect Homemade Bougainvillea Fertilizer
- Optimizing Growth: A Guide to Applying NPK Fertilizer for Potted Plants
- 10 Best Homemade Fertilizers for Rubber Plant: DIY Recipes and Application Method
- How to Boost Female Pumpkin Flowers: Effective Steps for More Flowers and High Yields
- Transform Your Indoor Garden: Top Benefits of Pink Salt for Houseplants
- 10 Best Homemade Fertilizers for Peacock Plants (Calathea): Easy DIY Guide
- Unlock Blooms: 9 Reasons Why Your Potted Chrysanthemum is Not Blooming
- 8 Reasons Why Your Potted Hibiscus is Not Blooming: Fix it with Simple Solutions
- Unlock Blooms: 9 Key Reasons Your Potted Frangipani Won’t Flower
- 10 Reasons Why Is My Ice Plant Not Blooming: Remedies and Treatment
- 10 Reasons Why My Potted Hydrangea Not Blooming: Treatment and Remedies
- 10 Reasons Why is My Wisteria Not Blooming: Remedies and Treatment
- 10 Reasons Why is My Goldfish Plant Not Blooming: Remedies and Treatment
- Maximize Your Space: Ultimate Guide to Balcony Gardening with Grow Bags
- 10 Reasons Why Your Iris is Not Blooming: Remedies and Treatment
- 10 Reasons Why Your Anthurium Plant is Not Blooming: Treatment and Remedies
- 10 Reasons Why Your Aquaponic Plants Are Not Flowering: Remedies and Treatment
- 10 Reasons Why Your Agapanthus is Not Flowering: Remedies and Treatment